Flower Hat Pin

Designed by Tracey McKenzie © 2011
Skill Level: Intermediate
Technique: Round Wire
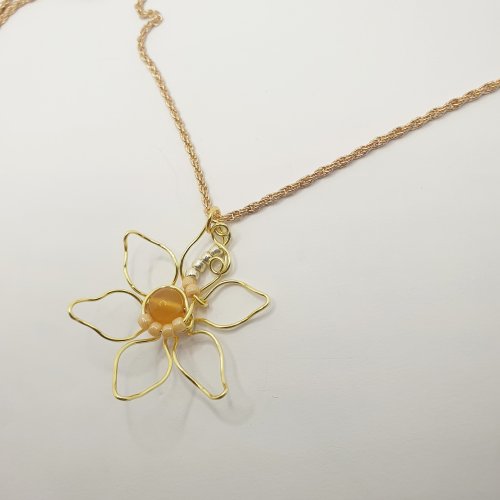
A lot of folks like a pin that can be versatile. It is difficult to find hat pins these days, so I decided to make my own! This design can be also good for woven and crocheted scarves (but not silk ones as the wire is rather heavy) and as a knit shawl pin. Try variations if you would like, using smaller-gauge wire and your own combination of beads and maybe add flower and leaf-shaped components!
Materials
- 16-gauge square half hard wire, 4 3/4" (12cm)
- 18-gauge square half hard wire, 9 1/2" (24cm)
- 26-gauge round dead soft wire, about 1 foot (30cm)
- 18-gauge half round half hard wire, about 6" (15.5cm)
- 6 beads, your choice of 8, 10, or 12mm round (be sure the holes are large enough to accommodate several passes of 26-gauge wire!)
Tools
- Flat nose pliers
- Round nose pliers
- Wire cutters
- Ball peen or embossing hammer
- Bench block
- Small round mandrel
Instructions
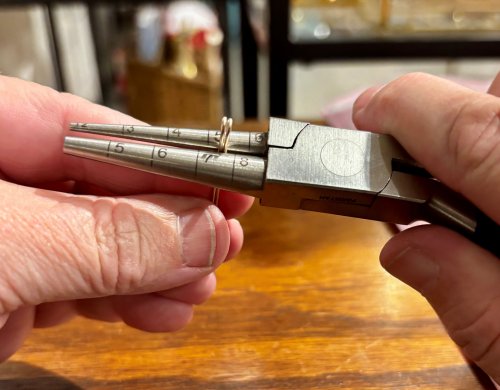
- Straighten, measure and cut the needed 16-gauge wire. Using the largest jaw section on round nose pliers, make an "eye" at one end.


- Place the eye on the small mandrel (so the eye is perpendicular to the mandrel) and bend the wire around the mandrel to form a shepherd's hook. This will become the pin. Set this aside.


- Making the leaves: Straighten, measure and cut two pieces of 18-gauge square half hard wire, each 4 3/4 inch (12cm) long. Find and mark the center of each wire. Use flat nose pliers to make a 45° bend at each mark.


- Using flat nose pliers, and the ratio of 8mm for the longer segments and 3mm for the shorter ones, create the leaf points one each side of the center bend.


- After you have made the leaf points on both leaves, use your fingers to gently curve each leaf and point (the bottom wires will cross over one another). Tweak your leaves to attain the look you desire.


- When you are happy with the shape of your leaves, where the wires cross, use flat nose pliers to bend one of the side wires straight.


- Bend the other wire so it crosses the now straight wire, at a 90° angle. Continue bending this wire around the straight stem, wrapping it twice and then trim and tuck the end. Repeat on the second leaf.


- Use a ball peen or embossing hammer to texture both leaves as much as you want. Do not hammer the stems! When you are happy with the look, reshape your leaves as necessary.


- Now it is time to attach the leaves to the shepherd's hook/pin. Each pin will turn out differently. First you need to think about how and where you would like your leaves and flower to be placed, keeping in mind that you do not want the flower wraps to show!
To attach a leaf: From the leaf connection point measure down the stem about 10 mm and make a 90° bend to one side. This will eventually go through the eye on the shepherd's hook.


- From the connection point, use 18-gauge half round wire to begin a wrap below the leaf connection point and wrap down the stem 4 or 5 times to show. Insert the bent stem through the eye and then bend the stem around the eye. Repeat the procedure with the second leaf, leaving the stem a tad longer than the first leaf. Use the 18-gauge half round to wrap them tightly together.
Tip: If your leaves feel a bit loose, don't panic! When you "sew" in your beaded flower it will all firm up nicely.


-
Creating the flower: Attach one end of the 26-gauge wire to the eye of the shepherd's hook, wrapping it tightly around the eye twice.


- Slide your first bead onto the 26-gauge wire, the one that will be the center bead. Keep the bead hole positioned so it cannot be seen from the front, and wrap the wire back through the eye.


-
When the wire comes back through the eye to the front, add the second bead, or the first "petal" bead. Continue sewing petal beads around the center bead, securing each bead one-at-a-time, remembering to go back through each one at least once during the entire process.


- Tweak the beads so they resemble a flower and reposition the leaves if necessary. Now use a sharp pair of angle flush cutters to make an extremely angled cut across the very base of the shepherd's hook, and use an emery board to remove any burrs. The pin is now complete!


 Free Wire Jewelry Patterns
Did you find this pattern through a link from a friend? This Free Wire Jewelry Pattern is just one of dozens of free wire jewelry patterns we send via email. Get patterns like this one straight to your inbox - click here!


