Beaded Ear Wires with a Twist

Designed by Sonja Kiser
Skill Level: Intermediate
Technique: Ear Wires
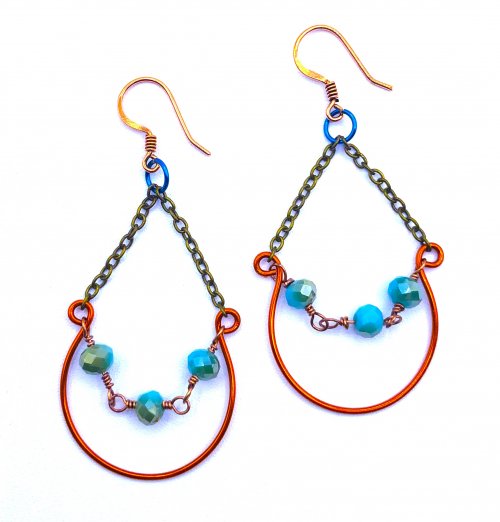
These earring wires have a twisted attitude with a little more sparkle than the smooth ones, and they don't slip easily out of the ear! With the additional of a 3 or 4 mm bead you can have a little more decoration than using ordinary ear wires. You may chose to use metal beads, gemstone or crystal beads for your own creative design. With the addition of headpin drop components, you now have a pair of beautiful earrings.
Tip:Make both wires at the same time to ensure they will be perfectly matched.
Materials
- 1 5" length of 22 Gauge Square Half-Hard Gold-Filled Wire
- 2 4mm Gold-Filled Beads
Tools
- Flat Nose Pliers
- Round Nose Pliers
- Double-Barrell Pliers
- Wire Cutters
- Pin Vise
- Power Wire Twister
- Ruler
- File
Instructions
-
Straighten, clean, then measure and cut one 4½ inch long piece of 22g square ½ hard wire.


-
Use a power twister or pin vise to twist this piece of wire.


-
Cut 2 pieces from the twisted wire, each 1⅞ inches long. Be sure to eliminate the ends of the wire that are not twisted when cutting the two 1⅞ inch pieces.


-
Using round nose pliers hold both wires together, and working both wires as though they were one wire, make a small loop at one end.


-
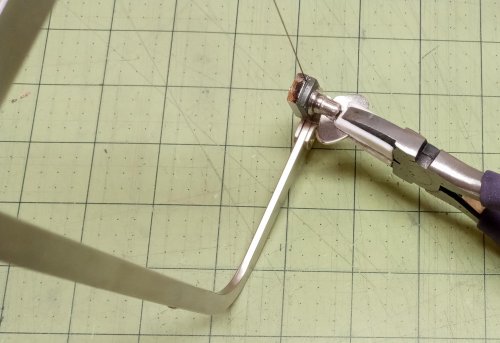
Place a 4 mm gold-filled bead above this loop on each wire. With flat nose pliers, make a 90° bend above the bead, leaving enough room above the bead so pliers will not mash it when making the bend.


-
Curve the wires around the handle of a pin vise or the small side of a pair of bail pliers. Remember that if you work both wires at the same time, they will be more uniform.)


-
File ends of both wires to remove any sharp edges and burrs. With flat nose pliers, bend the ends slightly. The ear wires are now ready to be connected to other components to complete a beautiful new pair of earrings.


 Free Wire Jewelry Patterns
Did you find this pattern through a link from a friend? This Free Wire Jewelry Pattern is just one of dozens of free wire jewelry patterns we send via email. Get patterns like this one straight to your inbox - click here!


