


Make a Perfect Loop

Designed by Lilian Chen © 2015
Skill Level: Beginner - Part 1 of a two part pattern by Lilian Chen. Part 1 of this creative earring project will help you work on your traditional wire wrapping skills, then Part 2 will show you Lilian's wire sketch style sculpture making method and introduce you to Lilia'ns creative world! (Look for Part 2 in a few weeks!)
Materials
- 2 pieces 18 gauge Square wire - Two full coils of wire from the spool
- 2, 1 inch head pins
- One pair of Ear wires
- Beads of your choice
Tools

Instructions:
- String the beads on both head pins. Try to use unique style of beads with bright color, to create the most interesting pattern. (The first part of new creative thinking.)
.

- Grasp the head pin at a 90 degree angle to the jaw of the pliers. Hold it as tight as you can, not too far away from the beads. Check the part between the beads and the jaw of pliers.

- Push the head pin to the jaw, then around the jaw straight toward to you, until the pin touches the beads.

- Turn the wire to the left side, cross the beads, set it at a 90 degree angle to the beads as shown in photo.

- Change and grasp in by the left hand. Hold the jaw at a 90 degree angle to the beads, not to the loop as shown in photo.

- Grasp the head pin by your right hand with chain nose pliers. Turn it toward you, then move the loop straight to the beads, as shown in photo.

- Then wrap the wire around just once as shown.


- Cut the remainder and push the end to join the wire that has been wrapped.


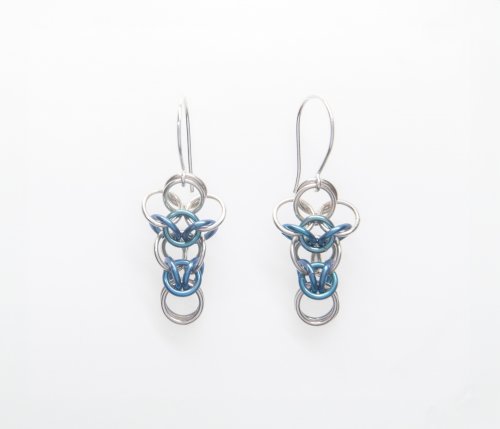
Congratulations! You have now completed a traditional wire wrapped earring bangle. Now make one more and you can add it to any ear wire for a complete set of earrings!
 Free Wire Jewelry Patterns
Did you find this pattern through a link from a friend? This Free Wire Jewelry Pattern is just one of dozens of free wire jewelry patterns we send via email. Get patterns like this one straight to your inbox - click here!
![]()
The premier place for all your jewelry making needs. The best in wire, tools, cabochons, gemstone beads and more. As well as a superior resource for educational support to help build your jewelry making skills and techniques.
Connect With Us

® 2007 - 2024 Wirejewelry.com Powered by ClaimTheWeb Cart