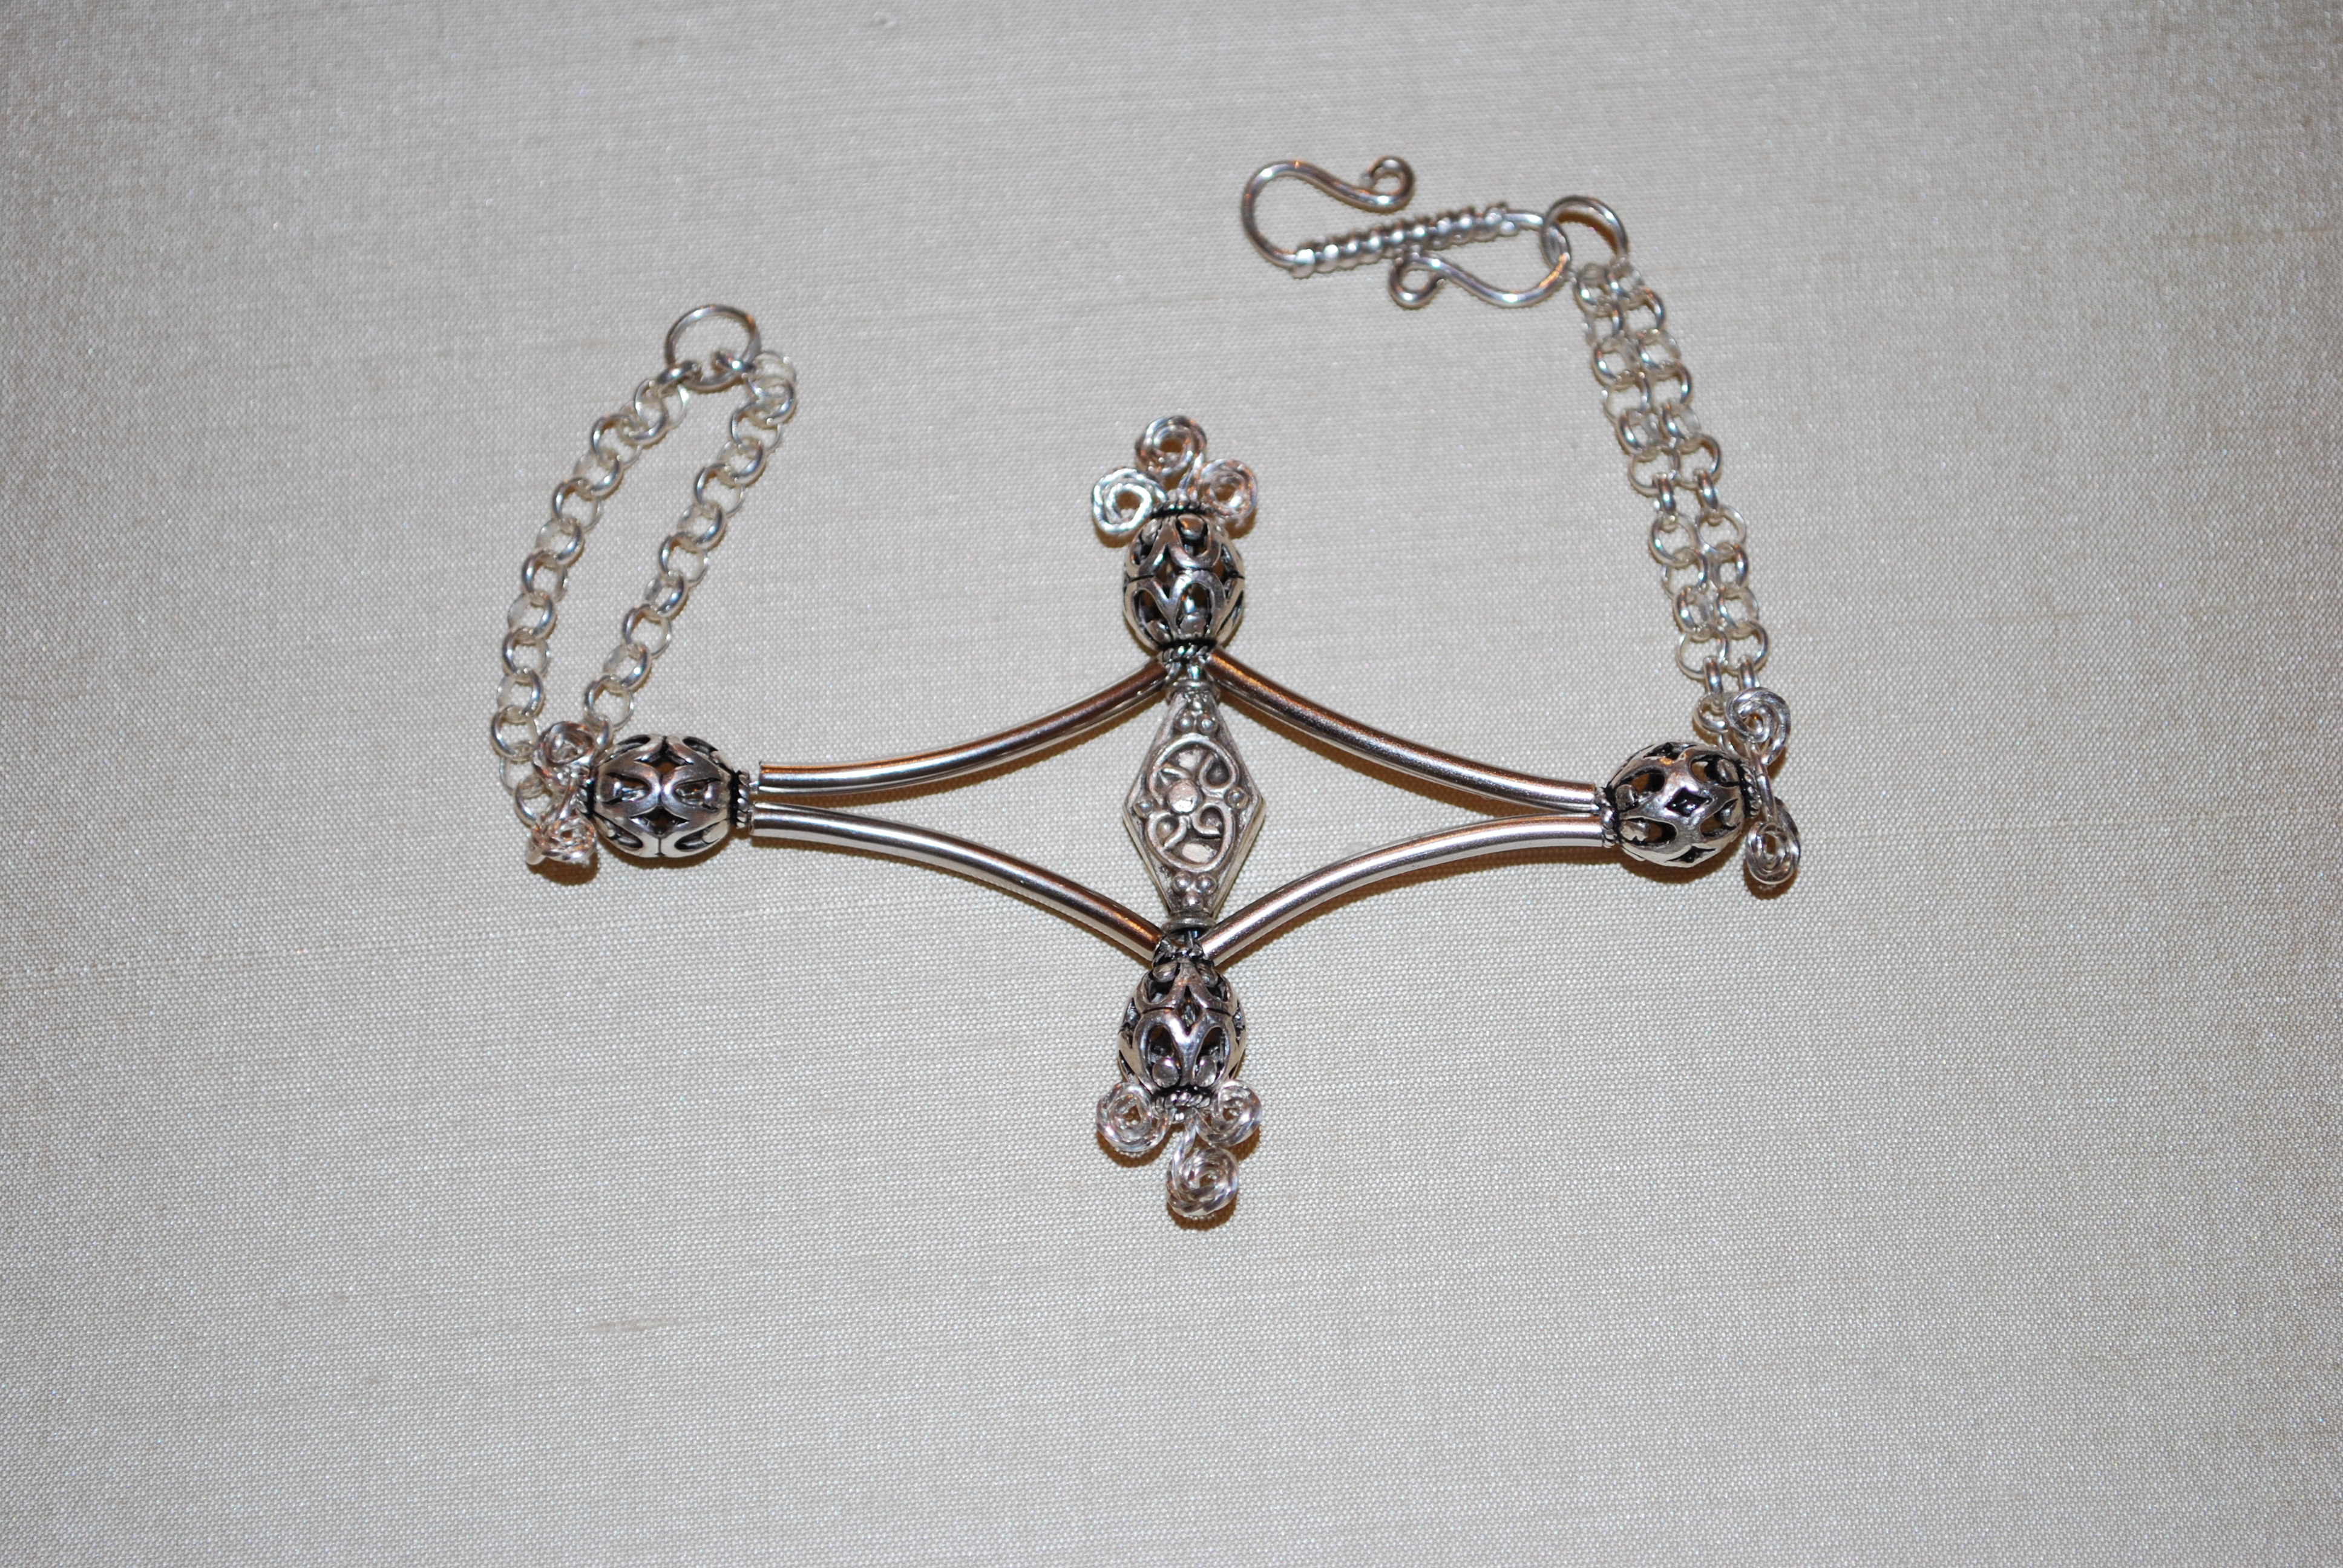
Bali and Noodle Bead with Chain Bracelet
Designed by Mint Spring © 2013
Skill Level: Beginner
Technique: Simple wire bending and twisting, adding beads and chain.
Materials
- 22 Gauge square wire, Approx. 18" - This will vary based on the size of your beads.
- Noodle beads, all the same length, 4 about 1" each.
- Bali Beads, 4, with holes large enough to get 3 pieces of 22 gauge wire through. On occasion I have had to drill the holes a tiny bit bigger.This is not hard to do.I use pliers with plastic inserts to hold the bead and use a 1/16th or 5/64th bit in my drill that I use for twisting.I drill one end and then turn it around and drill the other.
- Oval Focal Bead, 1"
- Chain , Approx. 11 inches of chain. This will vary based on your wrist size and the width of your finished feature area, as well as whether you use one or two lengths per side. 11" will work for double chains on each side.
- Jump rings , 2, 3mm - Use whatever size will fit your chain and the 2 coiled wires. You may need 2 additional if you are using a hand made S hook.
Tools
- Wire Cutters
- Flat Nose Pliers
- Chain nose Pliers
- Ruler
- Drill - if you are twisting the wires.
Instructions
- Straighten and cut 4 pieces of wire at least 1-3/4" longer than the length of 1 noodle bead PLUS 2 of the Bali beads. These wires can be twisted if you like. Mark 2 pieces 3/4" from 1 end.


- Straighten and cut 1 piece of wire at least 1 3/4" longer than the single bead PLUS the other 2 Bali beads. This can be twisted if you like. Set this piece aside.

- Using one of the 4 wires put 1 of the 4 beads at the 3/4" mark followed by a noodle bead and then another of the 4 beads. Make 2 pieces like this.


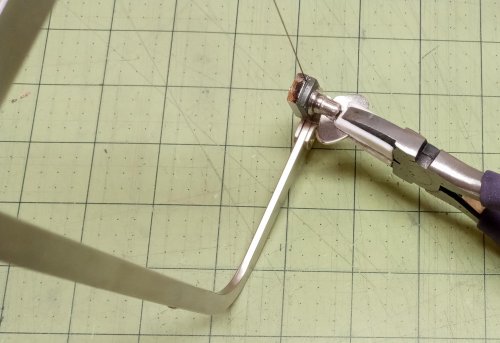
- At the joint between the noodle and one of the end beads, make a 90 degree bend. Note how it bends UP from the curve of the noodle bead..


- Center the 2 noodle beads on the other two pieces of wire.


- At one end of the noodle bead make a 90 degree bend like before following the curvature of the bead.


- Insert 2 of these bent wires through 1 bead. (Use one piece with the noodle bead only and the other is the piece with the noodle AND Bali bead.)


- Now make a spiral out of the ends of both wires sticking through the Bali bead. Make SURE that the beads are tight at the bend. The spiral will bend out over the length of the noodle beads. Also be sure that the left wire bends to the left and the right wire goes to the right. This way they will pivot inside the bead and make the focal section flexible and more comfortable to wear.

- Holding the 2 sections together back to back insert the 2 wires through a bead and swirl the ends as before. Again be sure that the beads are tight to each other.


- Using the piece of wire that you set aside earlier, thread it through the center of one Bali bead, through the single bead and then through the other Bali bead making sure that you are going through the shortest distance of the piece. You may have to separate the 2 Bali beads a little to have enough room for the center bead.
- Measure the finished width of your piece just made as well as the width of your clasp. Measure your wrist over your widest point and add 1/2" or a little more if you like your bracelets loose. Add the width of your clasp and the width of the finished piece just made. Subtract this from your wrist + 1/2" measurement. Now divide this in half. That is how long your chain will be. Depending on the size of the chain you can have one or two lengths on each side. Because this is a fine chain I have elected to use 2 pieces per side.

- Attach a jump ring to two pieces of the chain and attach this around the 2 swirled wires at each end of the center piece just made. Repeat this for the other side..


Congratulations! You've made your new bead and chain bracelet!
 Free Wire Jewelry Patterns
Did you find this pattern through a link from a friend? This Free Wire Jewelry Pattern is just one of dozens of free wire jewelry patterns we send via email. Get patterns like this one straight to your inbox - click here!


