Ear Pillows, an Earring Design

Designed by Charley Key
Skill Level: Beginner/All
Technique: Wire Wrapped Bead Component
Earrings are a great way to show how to make different wire and bead components. Although used in this design as earrings, the techniques shown can be used in many other wire jewelry making venues that incorporate beads.
Tip: Make both earrings at the same time, working one step on one earring and then the same step on the other.
Materials
- 1 10" lengths of 22 Gauge Square Half-Hard Wire
- 2 5mm Laser Cut "Stardust" Beads
- 2 10mm Disk Beads
- 1 pair Ear Wires
Tools
- Chain Nose Pliers
- Flat Nose Pliers
- Round Nose Pliers
- Wire Cutters
- Pin Vise
- Ruler
- Extra Fine Point Marker
Instructions
-
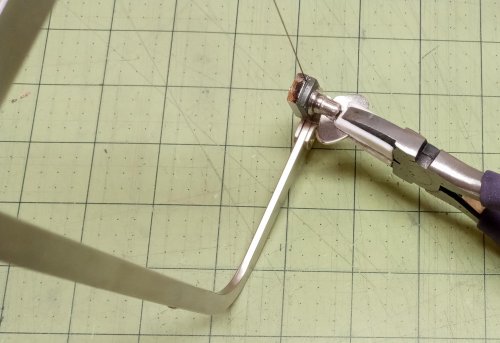
Straighten and clean, then measure and cut two 5-inches long pieces of 22 gauge square half-hard wire. Mark the center of each wire and use flat-nose pliers to make a 90° bend at each mark. Thread a disk bead onto each wire and slide it up to the bend.


-
Use fingers to tightly wrap each of the wires up and around the bead, criss crossing them on the top, with the longer wire going in front on one and toward the back on the other.


-
Use flat-nose pliers to make a 90° bend on each longer wire, heading it up and away from the top of each bead.


-
Use the shorter wire to tightly wrap around the longer wire, working from the bead and up, 3 times to show.


-
Use chain-nose pliers to make a small loop at the end of each shorter wire, heading toward the bottom of the bead, and use flat-nose pliers to roll the loop into a rosette, ending on top of the bead in front of the wrap.


-
Place a 5mm laser cut bead on the remaining wire. Place flat-nose pliers on the wire immediately after the bead and bend the wire 90° toward the opposite side the rosette cam from. Repeat on other component, bending the wire in the opposite direction.

-
Use either a larger section of round-nose pliers, or the small barrel on small double barrel bail pliers to make a wrapped loop from this bend up and around. Attach your favorite ear wires.

 Free Wire Jewelry Patterns
Did you find this pattern through a link from a friend? This Free Wire Jewelry Pattern is just one of dozens of free wire jewelry patterns we send via email. Get patterns like this one straight to your inbox - click here!


