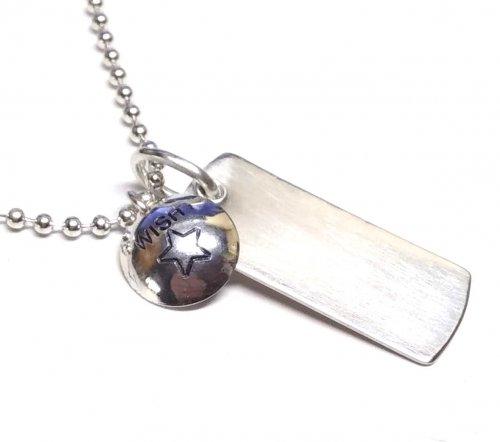
Brandon Park Pendant

Designed by Lindi Schneck
Skill Level: Beginner/All
Technique: Pendant
As a stained-glass artist I spent many tedious hours repairing original Tiffany windows and to relax I enjoy making fused and dichroic glass pieces for my jewelry making "hobby". I designed the following pendant as a way to use some glass pieces I had made with holes across their tops.
Materials
- 1 12" lengths of 18 Gauge Round Soft Wire
- 1 Elongated Glass Pendant Bead
- Additional Assorted beads for embellishments, if desired
Tools
- Flat Nose Pliers
- Round Nose Pliers
- Chain Nose Pliers
- Wire Cutters
- Ruler
- Ring Mandrel
- Extra Fine Point Marker
Instructions
-
Clean, straighten and then cut the one 12" piece of wire. Measure and mark the center. Place the wire with its center mark on a ring mandrel at the largest size, (or use any round object that is at least 1" in diameter, but no bigger than 1½" around), and wrap the wire around the shape until it crosses over itself. Remove from mandrel.


-
With the front of the pendant bead facing you, thread it onto the wire loop; and pull the wire ends until your desired size is formed. Where the wires cross each other, use flat nose pliers to make a 45° bend in the bottom wire, heading up and away from the circle.


-
Still working with the bottom wire, measure and mark ½" up from the bend just made. Place round-nose pliers on this mark and roll the tool and wire away from you, toward the back of the pendant forming the bail.


-
While using flat-nose pliers to hold the bail just formed, use the shorter wire on the front to wrap around the bail, 2 times to show, and ending with this wire sticking out to the side of the pendant.


-
Bend the bail tail up and out toward the opposite side of the wrap wire, and use fingers to swirl it to the front of the pendant.


-
Use round-nose pliers and fingers to shape, swirl and form, adding any embellishments you like or not, to finish the pendant.


 Free Wire Jewelry Patterns
Did you find this pattern through a link from a friend? This Free Wire Jewelry Pattern is just one of dozens of free wire jewelry patterns we send via email. Get patterns like this one straight to your inbox - click here!


