Button Ring

Designed by Albina Manning © 2010
Skill Level: Beginner/All
Technique: Round wire
How much fun it is to be able to use round craft wire and a few "found" items to make a fashionable item! Instead of using buttons, you can substitute large flat beads, add your own flair with a few accent beads, use colored craft wire, and you're making a new ring in just a few minutes. (This is a great crafts project for young girls at a party or on a rainy afternoon, too!)
Materials
- 2 feet 20-gauge round dead soft wire
- 8 2.5mm round metal beads (your button may require more beads, depending on its size)
- 1 4-hole button
Tools
Instructions
-
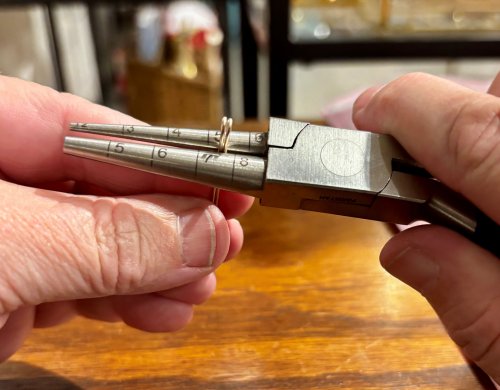
Cut the necessary wire. Place the center of the wire on the ring mandrel, at ¼ size larger than the desired finished size. Wrap both ends of the wire very tightly around the mandrel until you have 3 or 4 full wraps around it.


-
Keeping the wire on the ring mandrel, insert each wire end through the respective bottom hole on each side of the button.


-
On one wire end, place an even number of as many beads as needed to cross the top of the button diagonally, and then thread the wire through the opposite, diagonal hole in the button.


-
On the other wire end, place the same number of beads as used on the first wire, and lay this beaded segment diagonally across the button, so the center of the beaded segment lies across the center of the first beaded segment. Thread this wire through the opposite, diagonal hole in the button.


-
Carefully remove the ring from the mandrel and turn it to the back side. While keeping the ring base flat, wrap each of the wire ends firmly around the ring base, 4 or 5 times to show. Trim and tuck each end.


-
Now that you have completed a single-button ring, have fun experimenting with 2-hole buttons, and more variations!


 Free Wire Jewelry Patterns
Did you find this pattern through a link from a friend? This Free Wire Jewelry Pattern is just one of dozens of free wire jewelry patterns we send via email. Get patterns like this one straight to your inbox - click here!


