


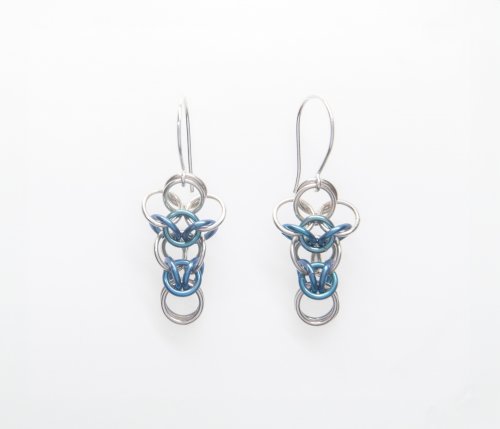


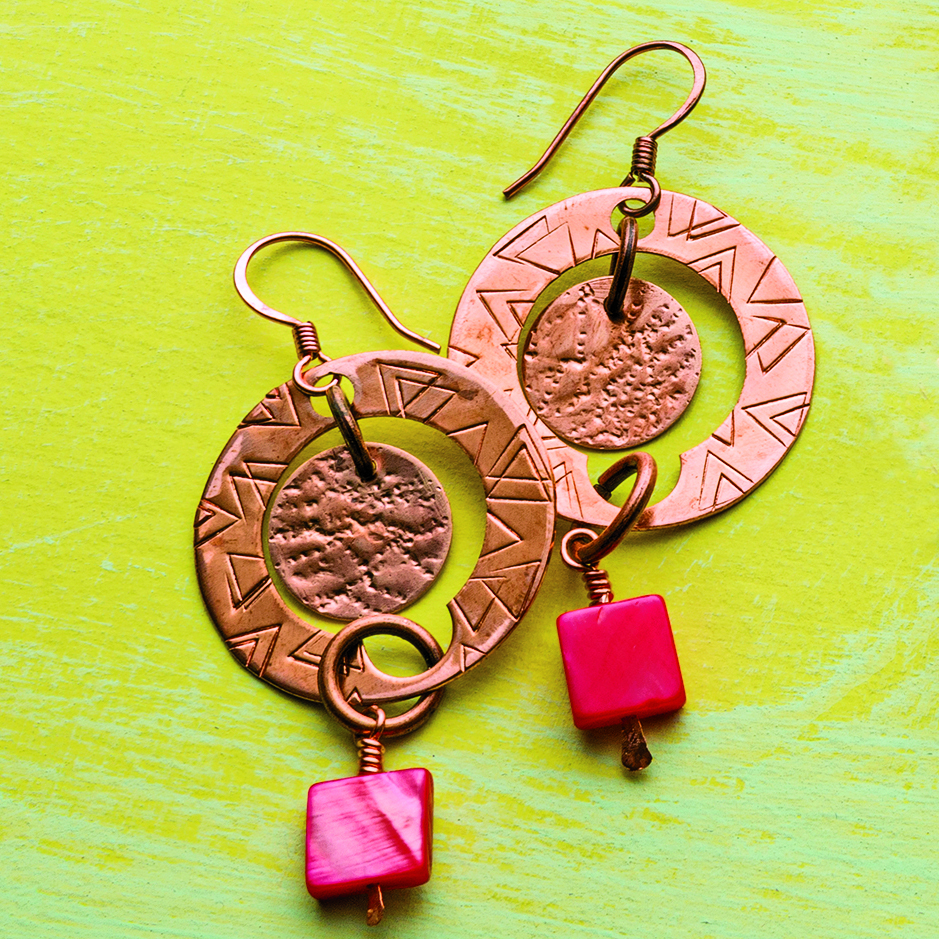
Disc Cutter Earrings
Designed by Helen Driggs © 2016
Level: Beginner to Advanced
This easy assembled earring project will help you become an expert user of the disc cutter. You can either texture the metal before you cut it or after, but keep in mind that texturing after cutting may deform the metal edges.
Take your time with the measuring and the layout, because the more patience you have, the better your results will be. I left my earrings with a natural copper finish, but you could patinate them before assembly if desired.
Materials:
- 28 to 24 gauge brass or copper sheet
- 2 or more beads
- 4 or more large jump rings
- 2 Eye pins (or wire to fabricate them yourself)
- 2 Earwires (or wire to fabricate them yourself)
Tools:
- Marker
- L-Square and Ruler
- Disc Cutter (1/8 to one inch diameter)
- Brass or copper mallet
- Texture tools: metal stamps, texture hammers, etc.
- Steel block
- Half Round Hand file and abrasive papers to 600 grit
- 2 sets Chain nose pliers
- Hole punch tool (or Center punch, #52 Drill bit and rotary tool)
Instructions:
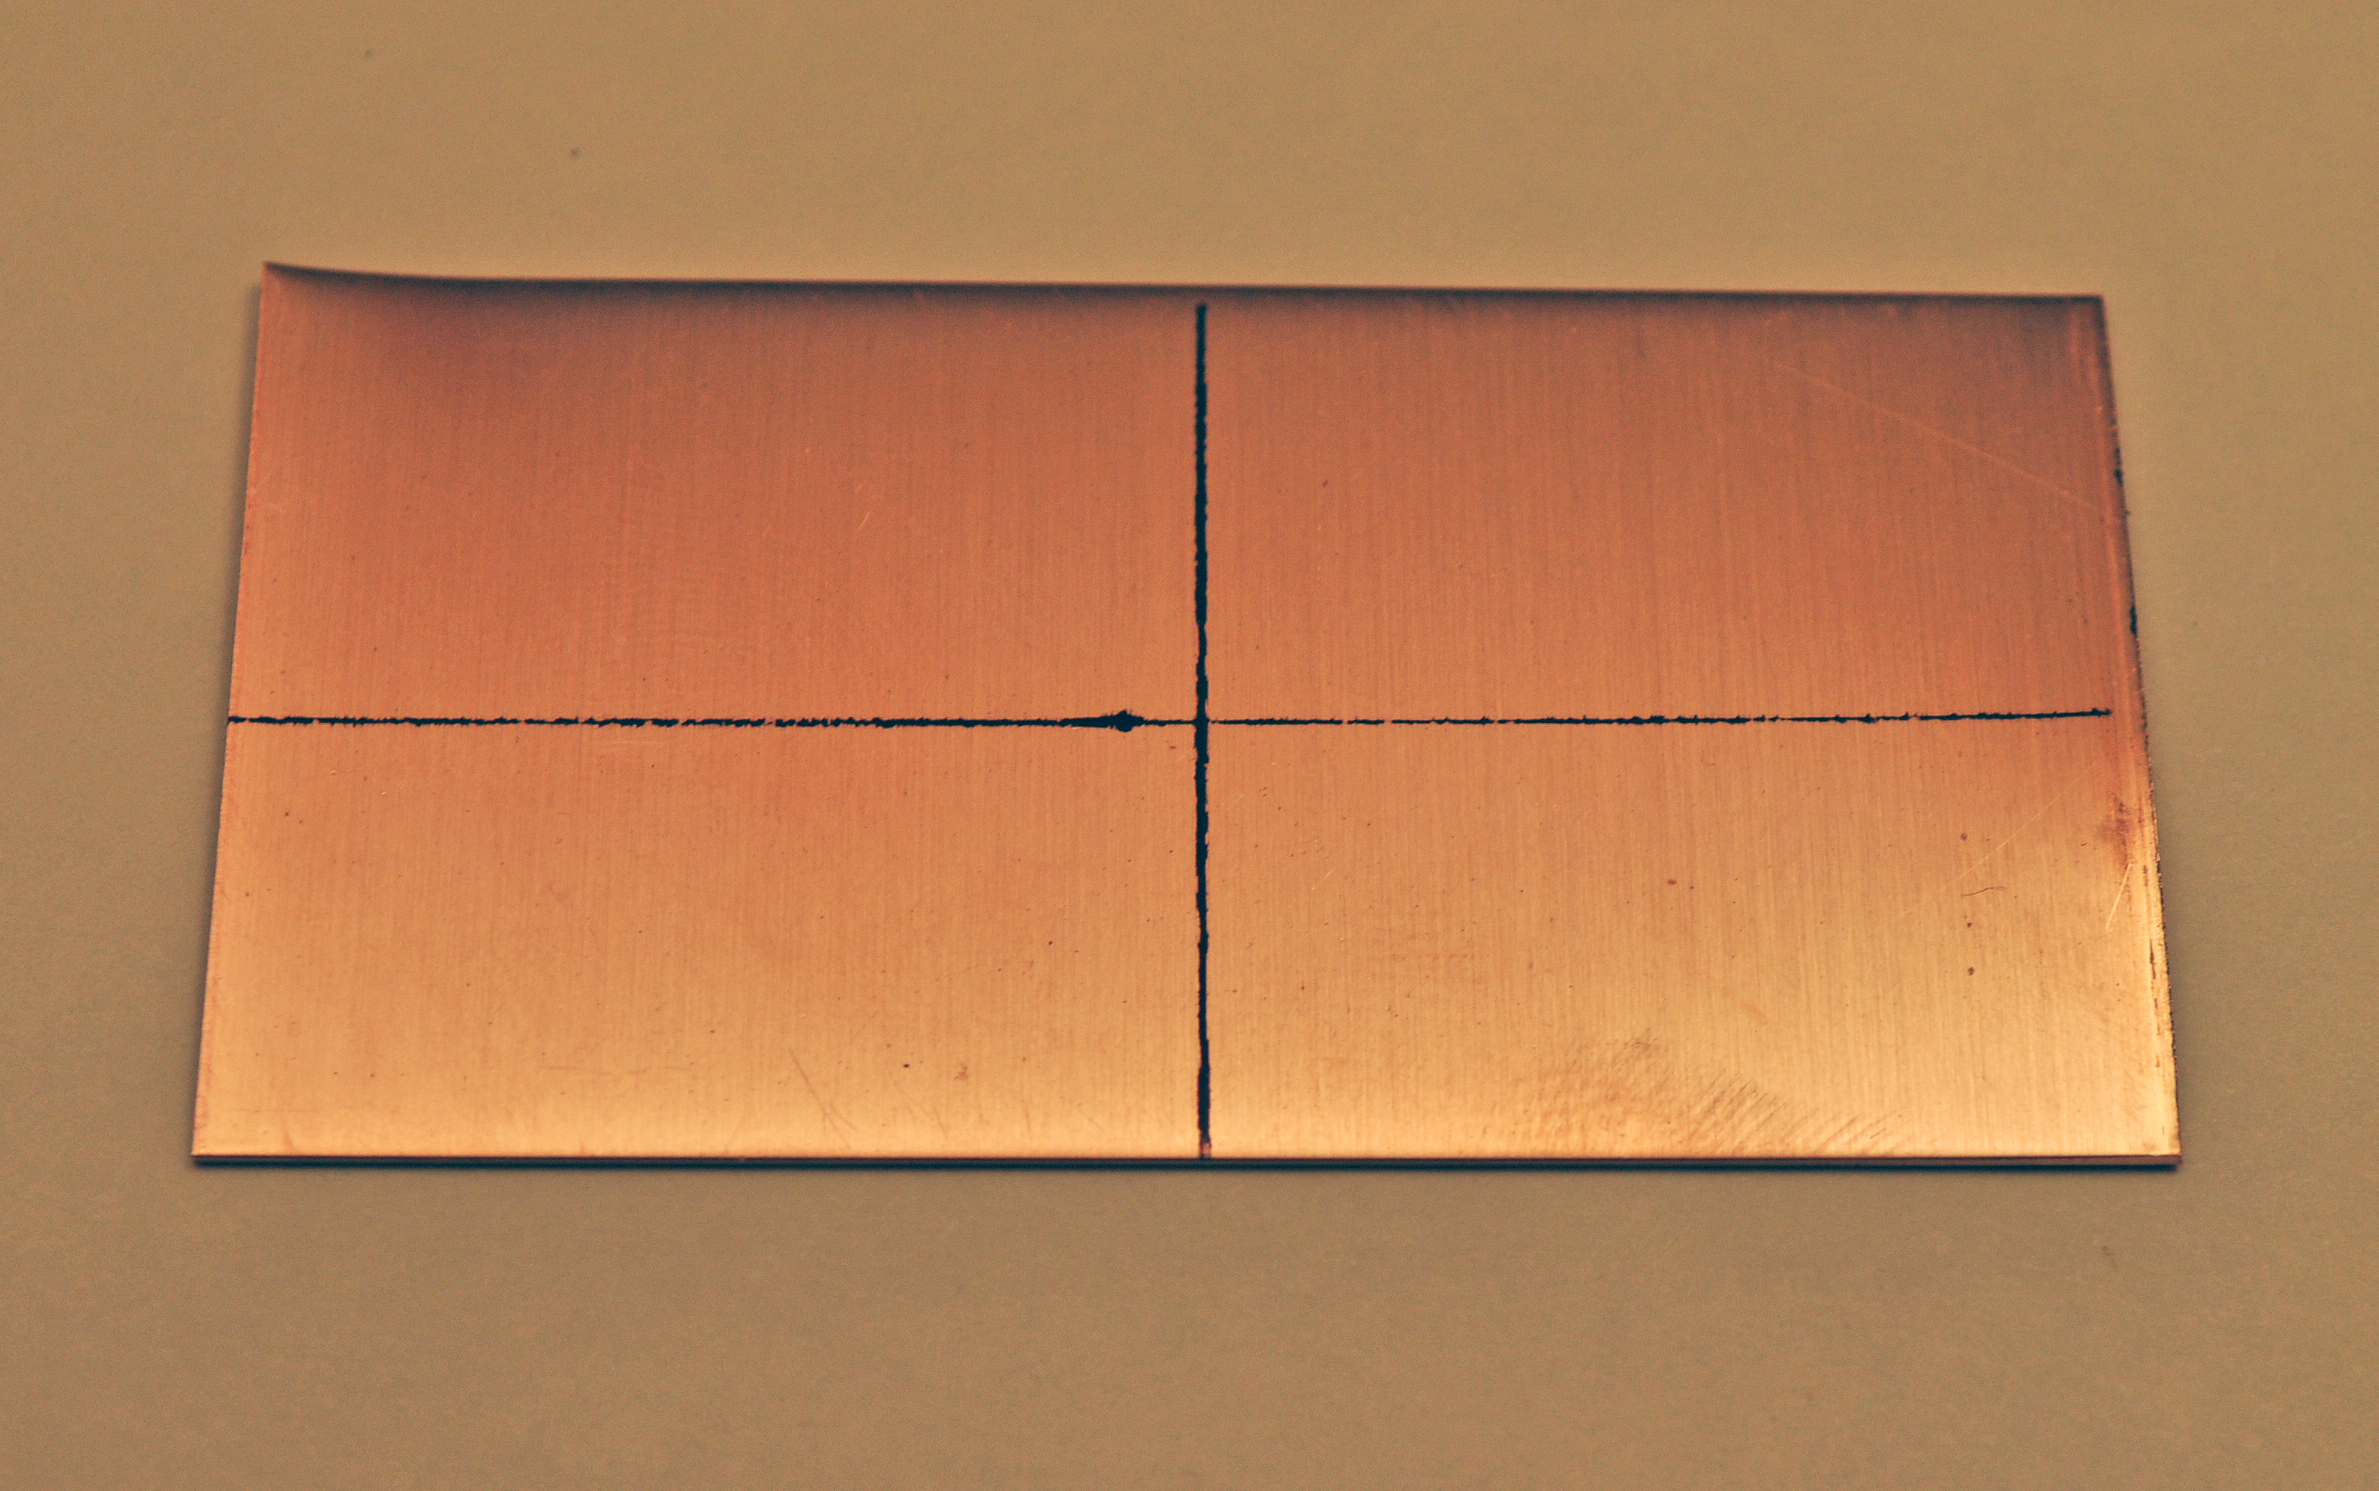
Step 1: Find the center of the sheet and mark crosshairs on the metal.
Step 2:Draw outlines where you plant to punch. Don't waste the inner discs - I always conserve metal and plan to use it for another pair of earrings or something else.

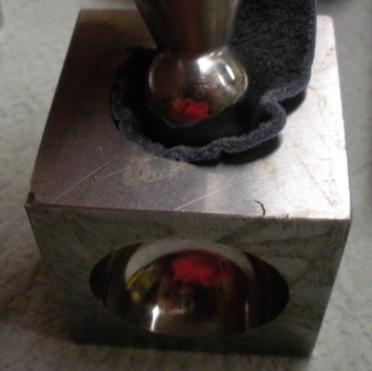
Step 3: Cut the innermost openings first. Peek inside the die and do your best to line up the outlines you've drawn with the walls of the die. Do not let the metal jump as you hammer the punch, and always use a brass or copper mallet to prevent the steel punch from damage.

Step 4: Economize on your metal and cut as much as you can out of each sheet. Sand and file as needed.

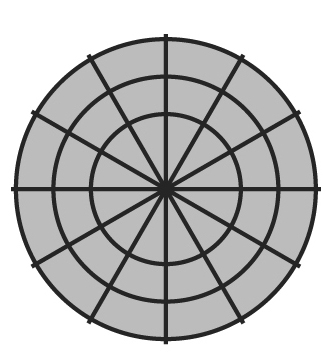
Step 5: Plan the drilled holes and either centerpunch them and drill, or use the hole punch to create them. Tip: Gears and other manufactured components make great measuring devices. Or, use this circle center finder pattern.

Step 6: If you decide to texture the metal after drilling, take care not to deform the drilled holes. I always drill the holes a second time after texturing to ensure they are round.

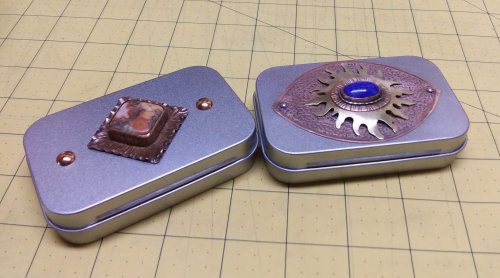
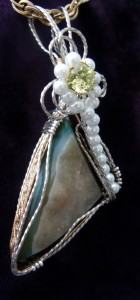
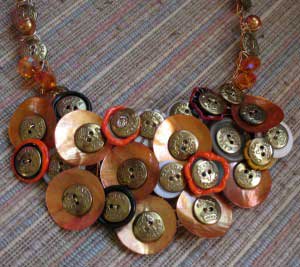
Step 7 - 9: Patina if you wish, then do a final sanding and polishing on all of the parts. Assemble the earrings by referring to the sample photos. Once you become comfortable with the tools try using the metal and the cutter creatively. Several options are shown.


Congratulations! You've made your first Disc Cutter Earrings
HELEN I. DRIGGS is an experienced metalsmith, lapidary and studio jewelry instructor and has appeared in 6 instructional jewelry technique videos. Her book, The Jewelry Maker's Field Guide was published in 2013. Follow her blog: materialsmithing.wordpress.com, Instagram: hdriggs_fabricationista and Twitter feed @fabricationista for news, her teaching schedule and for other jewelry-related information.
 Free Wire Jewelry Patterns
Did you find this pattern through a link from a friend? This Free Wire Jewelry Pattern is just one of dozens of free wire jewelry patterns we send via email. Get patterns like this one straight to your inbox - click here!
![]()
The premier place for all your jewelry making needs. The best in wire, tools, cabochons, gemstone beads and more. As well as a superior resource for educational support to help build your jewelry making skills and techniques.
Connect With Us

® 2007 - 2024 Wirejewelry.com Powered by ClaimTheWeb Cart