Ribbon Wrapped Bracelet tips
On a recent Florida trip to visit family, I saw many young people wearing vacation mementos on ribbon wound around their wrists. Most ribbon ends were tied in a knot, making them almost impossible to remove. There is nothing wrong with that, but I knew the girls in my family would like to be able to change out the ribbon colors. A bow could easily untie and a clasp meant the wraps had to be the perfect length for each wrist. My solution might work for you.
Instructions
Materials:
Focal element and 40-48 inches of ½-inch wide silk ribbon, with or without finished edges (adjust length to suit you).
If silk ribbon isn't available locally, a quick internet search will reveal many sites selling beautiful options.
Directions:
Read through the tutorial before starting. Follow all safety precautions related to your tools, supplies, and workspace.
Begin with a focal element. This could be grouped charms on a ring, a bead link, a gemstone donut, or similar.
I made my own focal using scrap Argentium sheet metal, following the Argentium Silver Scrap Chain tutorial. After using coins as templates, scraps were layered, melted, and shaped to the desired thickness and look. Shells and ball accents were soldered inside each circle.
They were so fun I made another using a quarter as a template, then added a Liver of Sulfur patina to that ring


If your focal elements are circular or have loops/openings at either end, fold the ribbon in half and make a lark's head knot on one side.
For charms, secure them together with a lark's head knot or slip them onto the ribbon and tie at the center.
Wrap the ribbons around your wrist in opposite directions. End the ribbons as described in Steps 5-6.
For charms, secure them together with a lark's head knot or slip them onto the ribbon and tie at the center.
Wrap the ribbons around your wrist in opposite directions. End the ribbons as described in Steps 5-6.


Place the focal on top of the wrist.
Wrap one ribbon under wrist to the opposite side.
Wrap the ribbon twice around the focal element opposite the lark's head.
Pull the ribbon end until it is comfortably tight on the wrist.
Wrap one ribbon under wrist to the opposite side.
Wrap the ribbon twice around the focal element opposite the lark's head.
Pull the ribbon end until it is comfortably tight on the wrist.


Wrap the ribbons in opposite directions, ending under the wrist.


Tie the ribbon ends together only once.
Twist the ends tightly (the ends were pinned because both hands were needed for the photo).
Tuck the twisted ends under the ribbon wraps. Pull ribbon over the twisted ends if needed. This is secure enough to last for the day.
Twist the ends tightly (the ends were pinned because both hands were needed for the photo).
Tuck the twisted ends under the ribbon wraps. Pull ribbon over the twisted ends if needed. This is secure enough to last for the day.


Adjust the ribbon wraps on the front of the bracelet.

Materials

22 Gauge Dead Soft Argentium Silver Sheet - 6 Inches
H19-22SM6
- Lesson Quantity: 1.00 pieces
- Purchase Quantity: 1.00 1 Inch
- Price: $104.76
- Gold Club Price: $78.57
Tools

Basic Soldering Kit
G15-4
- G15-4
- Lesson Quantity: 1.00 pieces
- Purchase Quantity: 1.00 each
- Price: $58.95
- Gold Club Price: $44.21
- Category: Design
- Technique(s): Design






 Cleaning Your Jewelry
 Build A Tool Rack
 Clamps for Jewelry Making
 Finishing Wire Ends
 Handmade Closures
 Removing Tarnish From Your Jewelry
 Homemade Pickle
 Wire Wrapped Loops
 How to Make Balled Head Pins
 Lessen the Noise - Save Your Eardrums
 Make a Rivet and Eyelet Tile
 Two Tips for Making Pendant Bails with Craft Wire
 Petal Forming on a Wood Block
 Save Your Fingers while Texturing
 Soldering on Copper
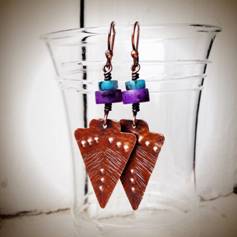 Sticker Templates
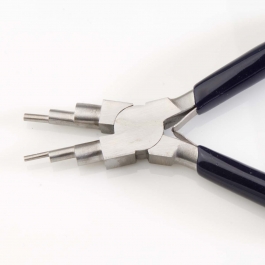 Using 6 Step Barrel Pliers
 Using a Center Finder
 Using a Tile to Cut Rivets
 Using Household Super Glue on Minor Cuts, Nicks and Scrapes
 Using Tiles on Tube Rivets and Eyelets
 Clothespin Tools
 Making Decorative Granulation Beads
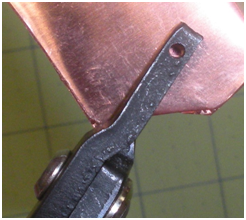 Using Your Hole Punch Pliers
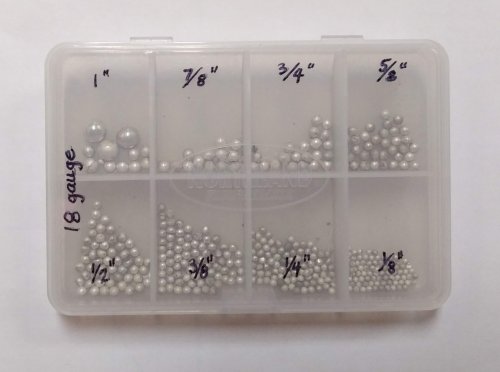 Decorative Granulation and Beads
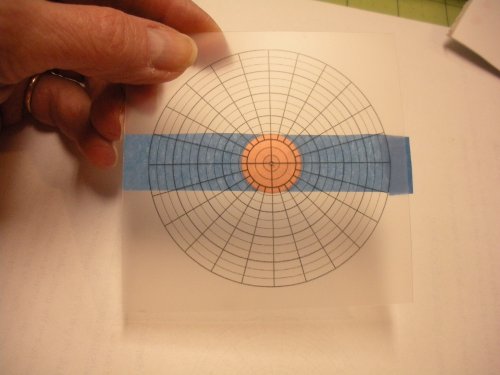 How to Find and Mark the Center of a Disc.
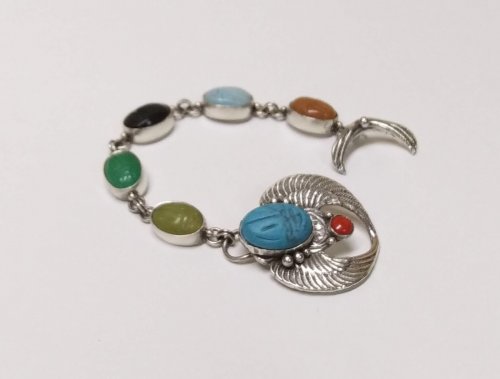 Choosing the Right Clasp
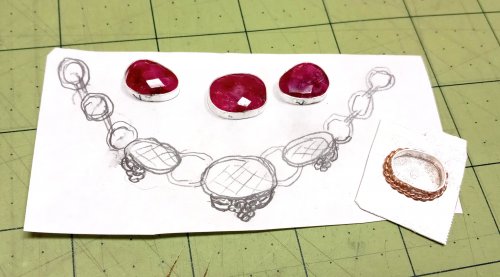 Chunky Chain Inspiration
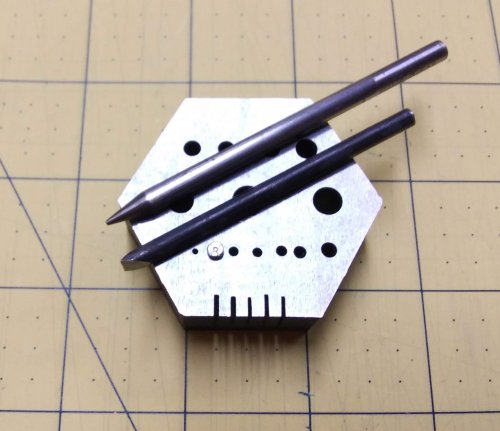 Tool Tip - Steampunk or Industrial Rivets
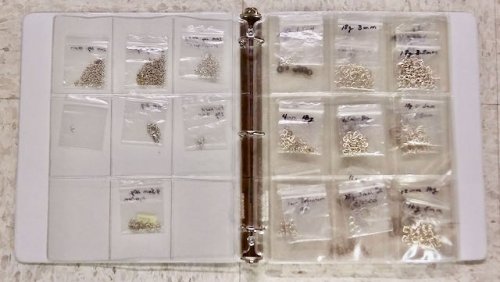 Storing Jump Rings
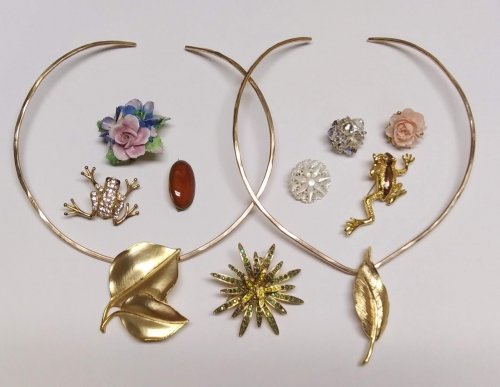 Wear Your Brooches on a Neckwire
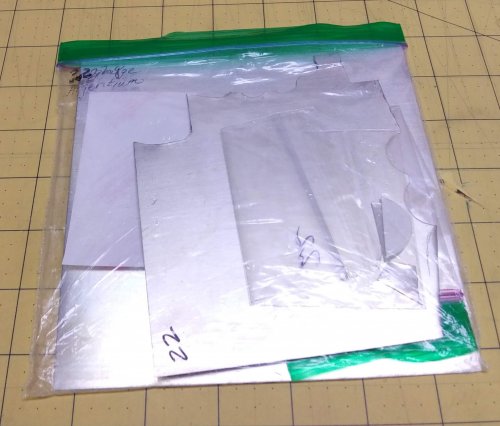 Storing Your Metal
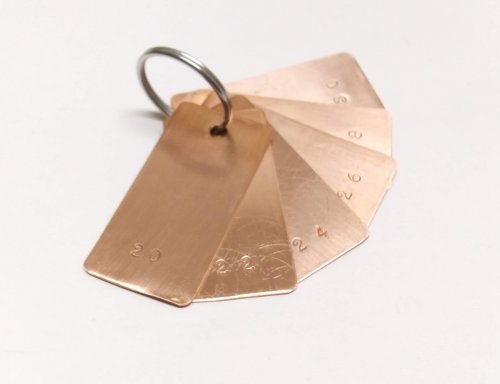 Using Disc Cutter Shims
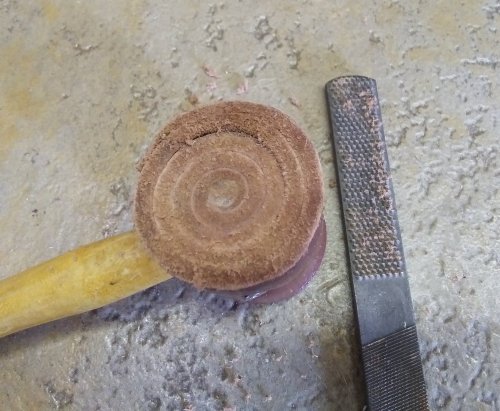 Conditioning a Rawhide Mallet
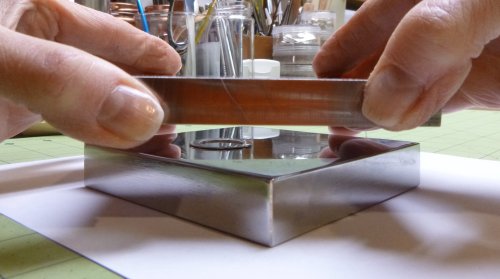 Flattening Metal Pieces
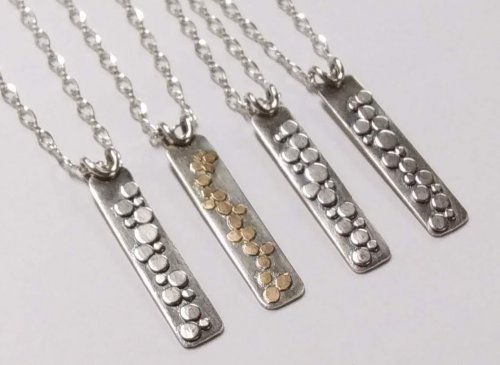 Quenching
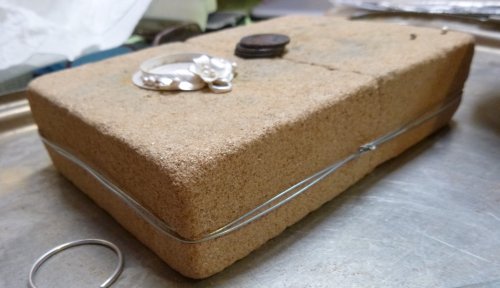 Saving a Broken Solder Brick
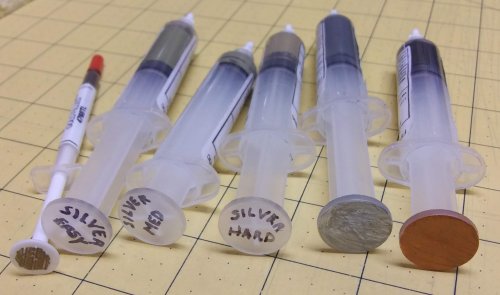 Why I Use Solder Paste
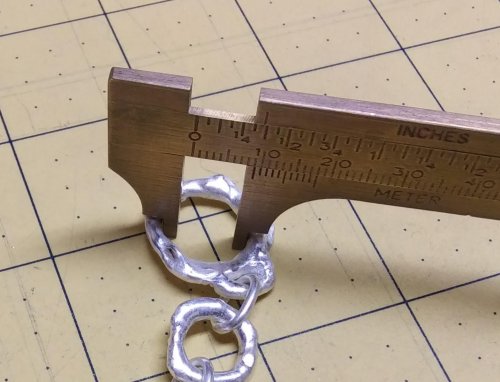 Designing a Toggle Clasp That Works
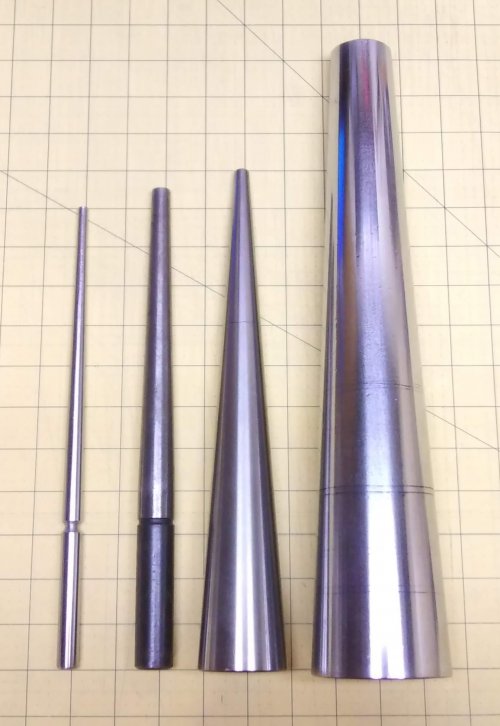 Round Mandrels
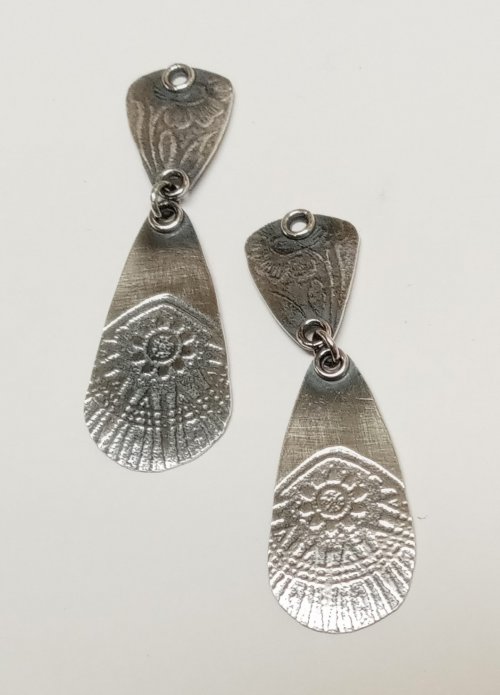 Get the Look of Eyelets
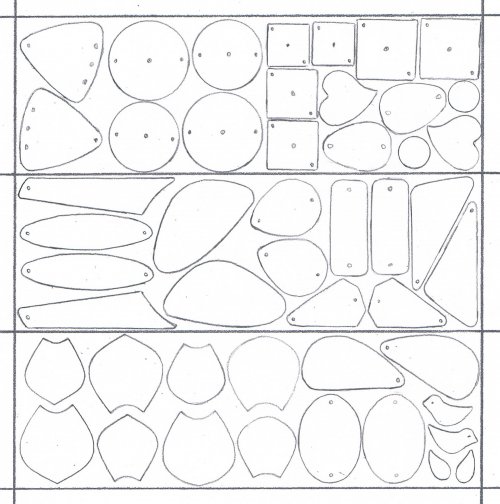 Earring Pairs Template
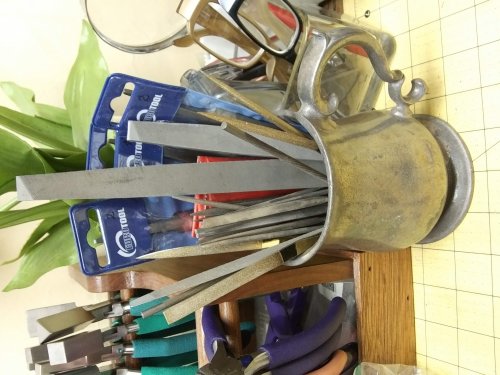 Storing and Caring for Files
 Open or Closed Jump RIngs on Bracelets and Necklaces
 Versatile Permanent Markers
 You Used What
 Rescuing a Very Used Magnesia Soldering Block
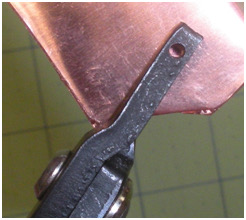 Using Hole Punch Pliers
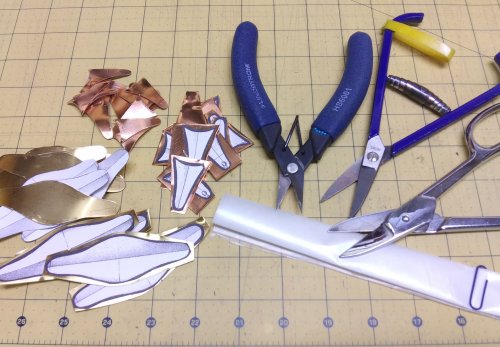 Metal Shears Care
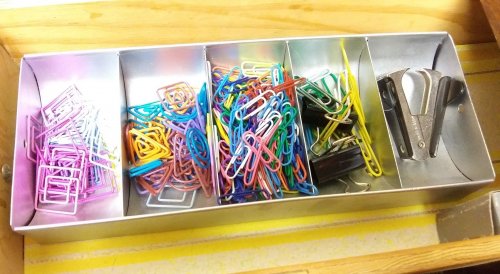 Paperclip Earrings
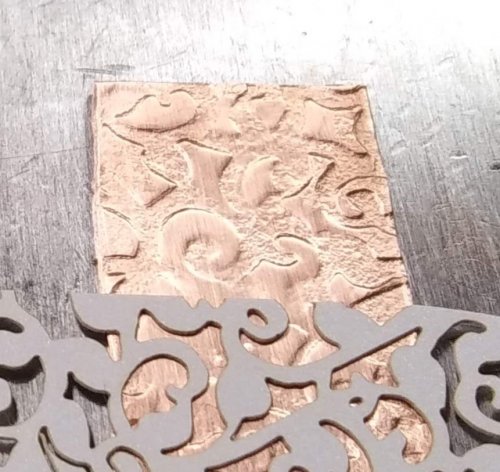 Think Outside the Box - Alternative Metal Texturing
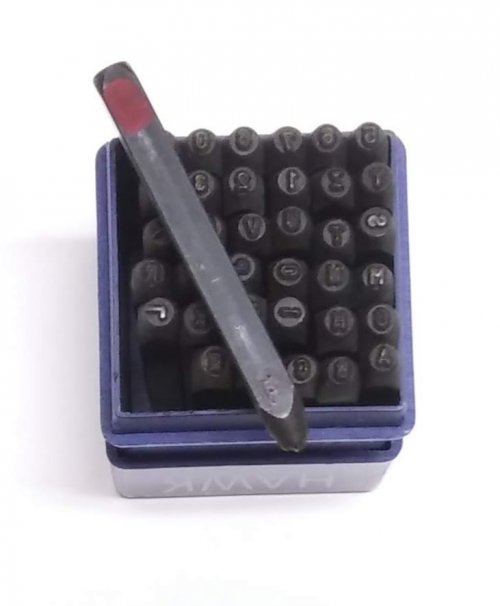 Make Stamping Metal a Bit Easier
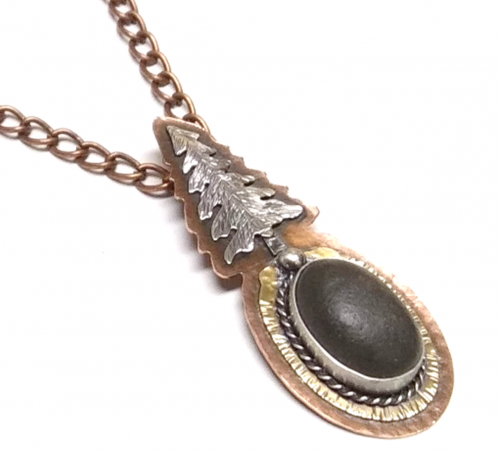 Stone Bezel Setting Tips
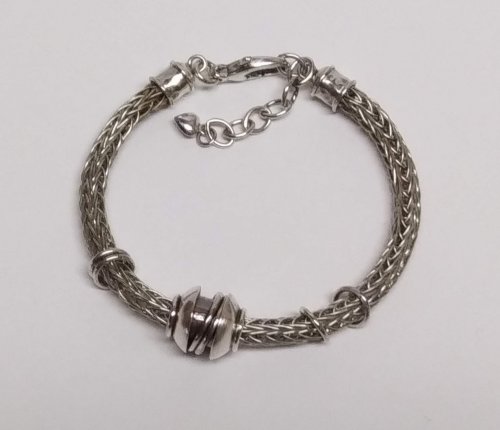 Viking Knit Tips
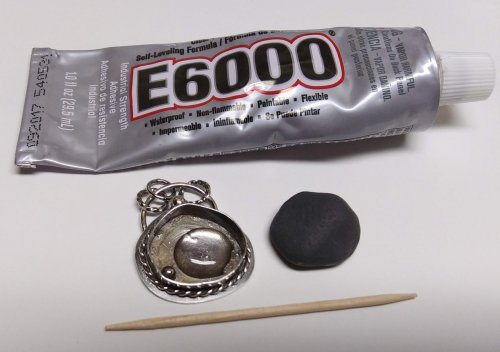 Using Glue Under Cabochons
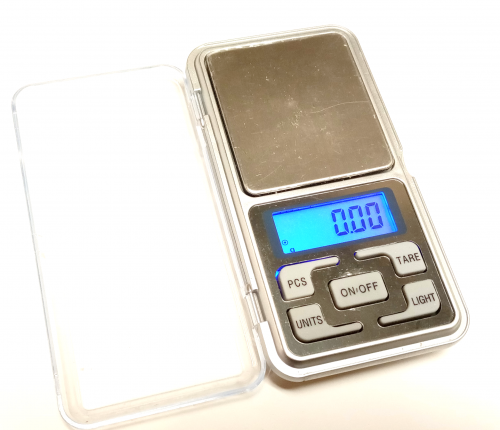 Tool Tip - Digital Pocket Scale
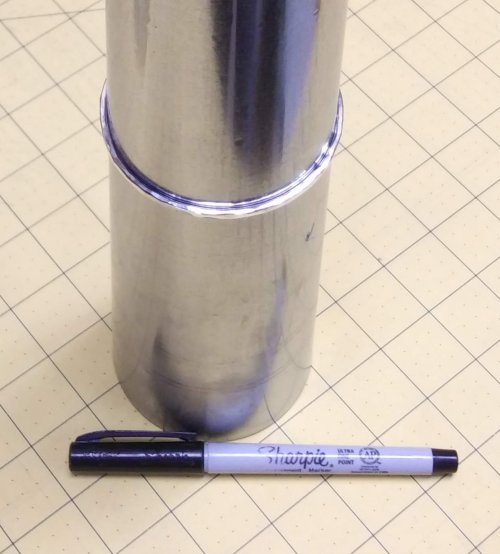 Repeat Performance
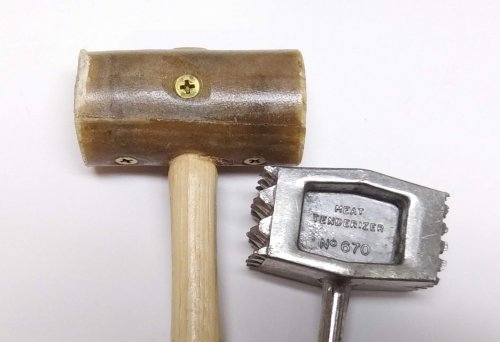 Another Way to Condition a Rawhide Mallet
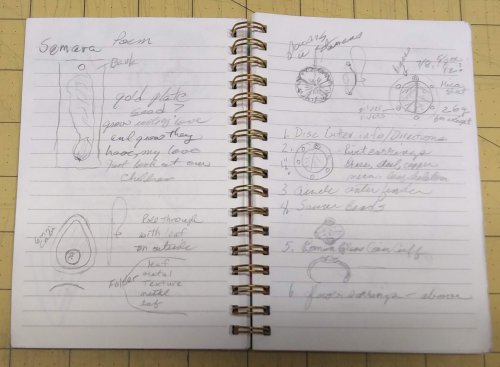 Carry a Sketch Pad
 Why You Should Take a Class
 Jewelry Making Templates
 Carry a Sketch Pad
 Keeping Your Bracelet Focals in Place
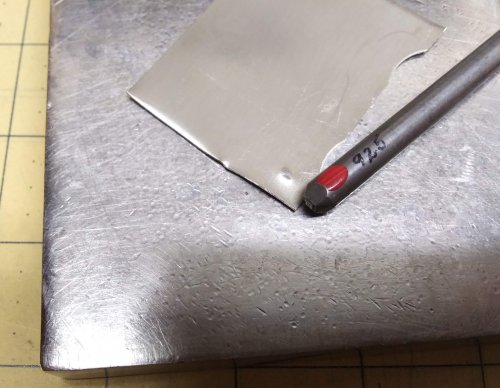 Metal Content Stamping
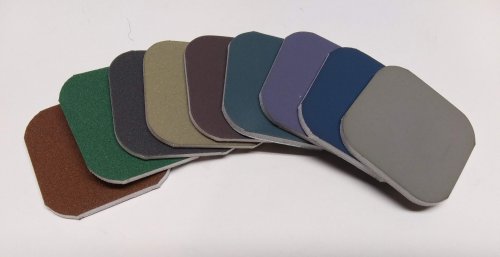 Using Sanding Sponges and Papers
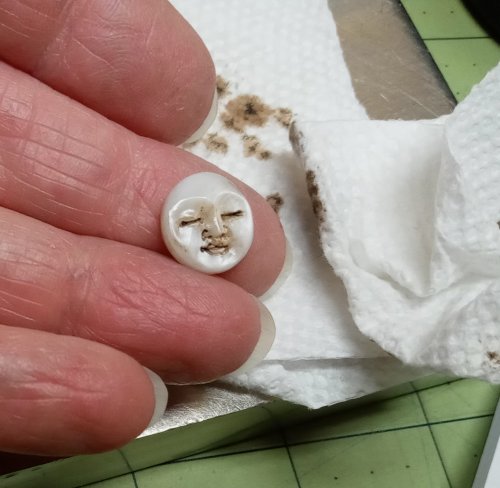 Adding Depth to Carved Beads and Cabochons
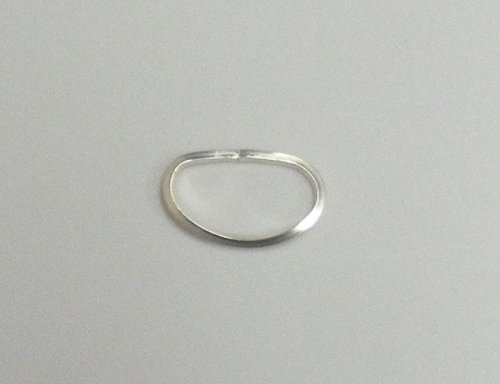 Closing Rings Tightly for Soldering
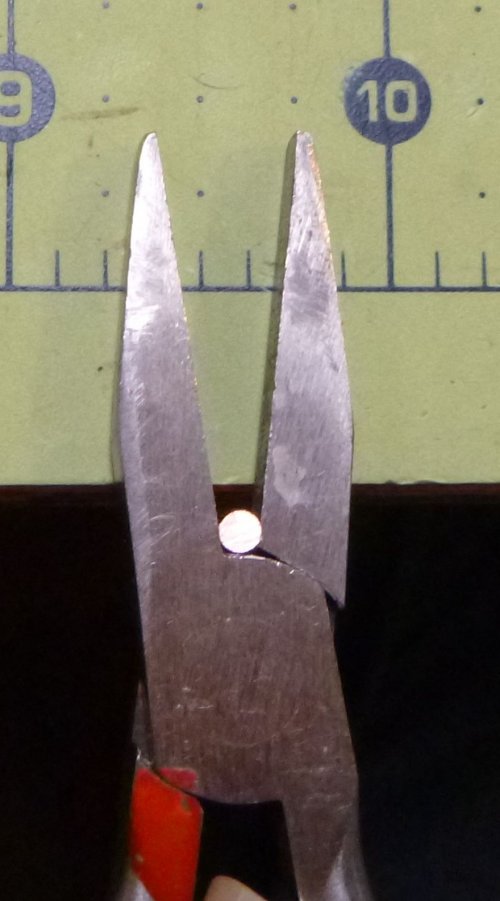 Squaring Wire Ends
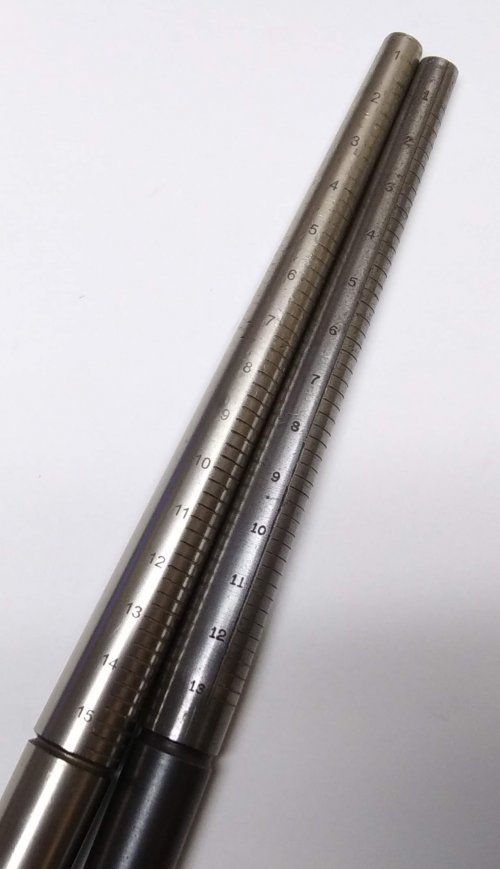 Ring Mandrels
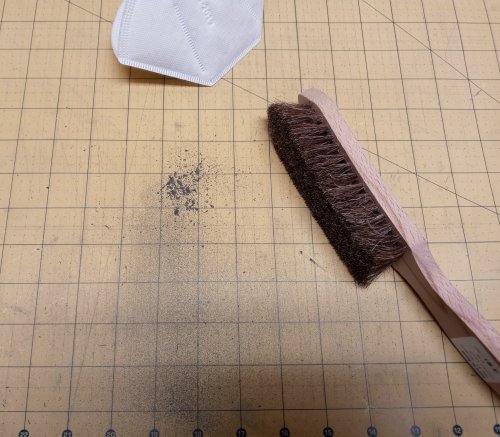 Tool Tip - Bench Brushes
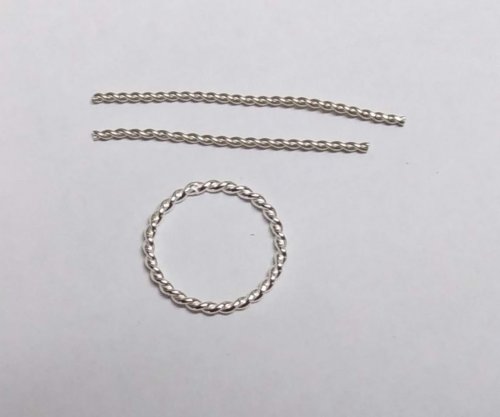 Scrap Wire Twisted Rings
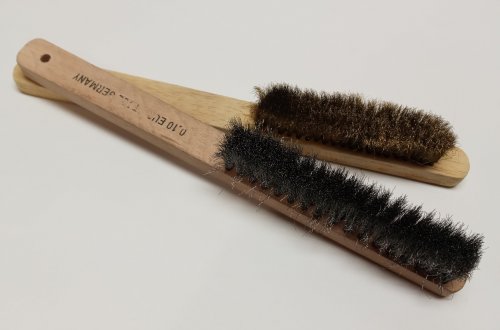 Tool Tip - Soft Bristle Metal Brushes
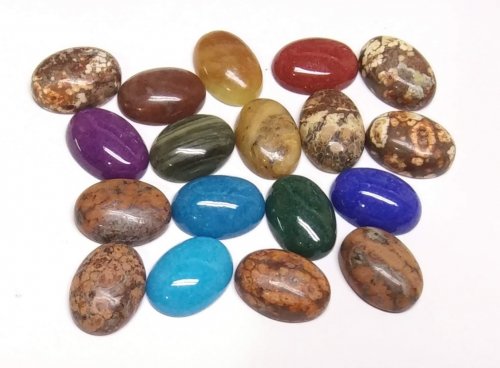 Project Multiples - Calibrated Cabochons
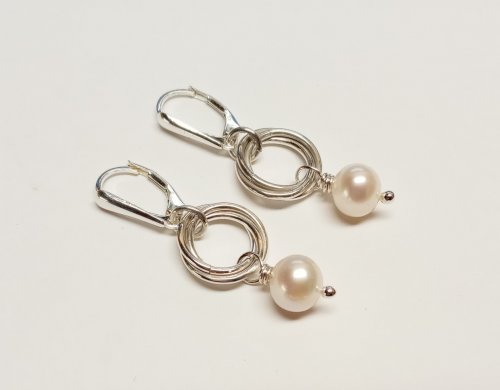 Mobius Pearl Drop Earrings
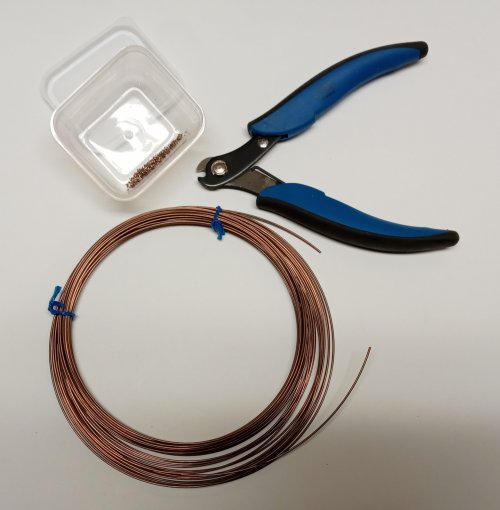 Copper Wire Solder
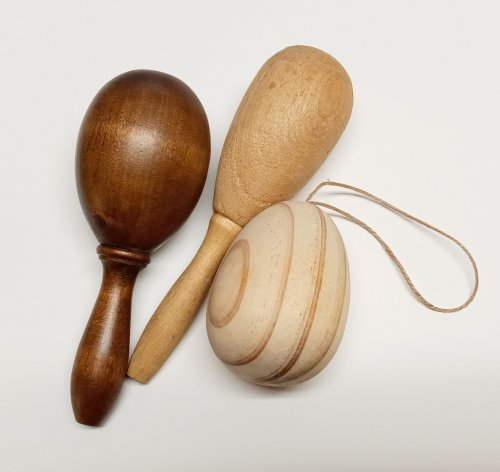 Large Dapping Punches and Alternatives
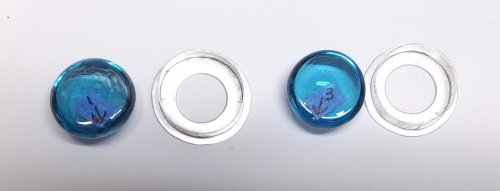 Project Multiples - Glass Pebble Cabs
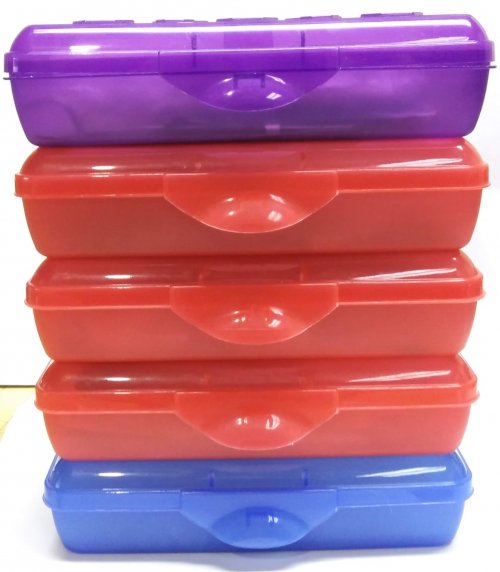 Project Storage
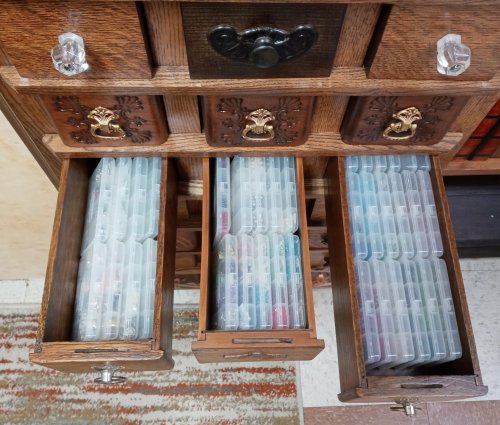 Tiny Bead and Findings Storage
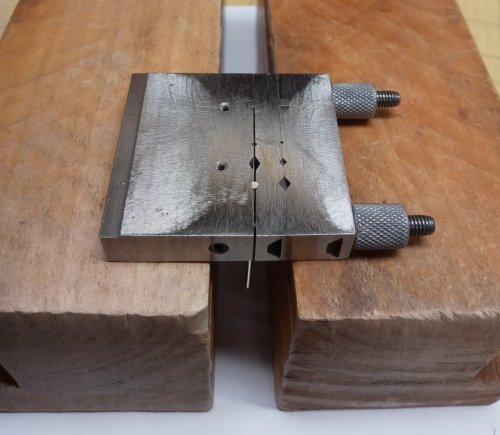 Working Smart
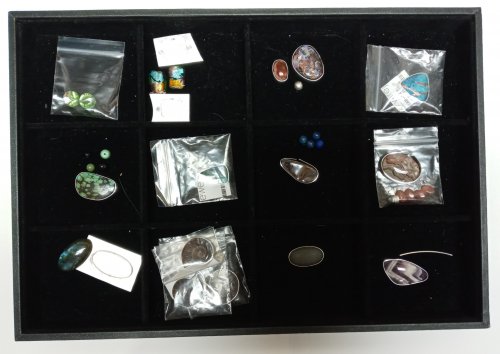 Display Trays as Storage
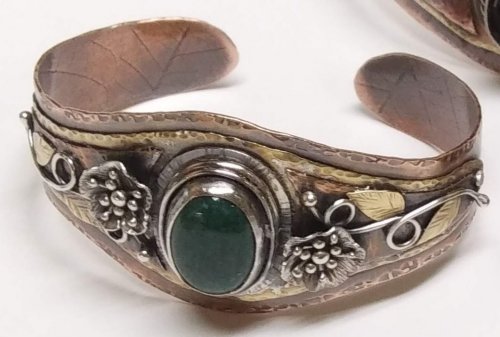 Making TIny Leaves
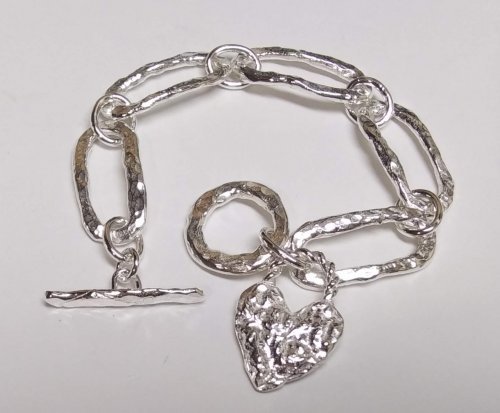 Adapting a Tutorial
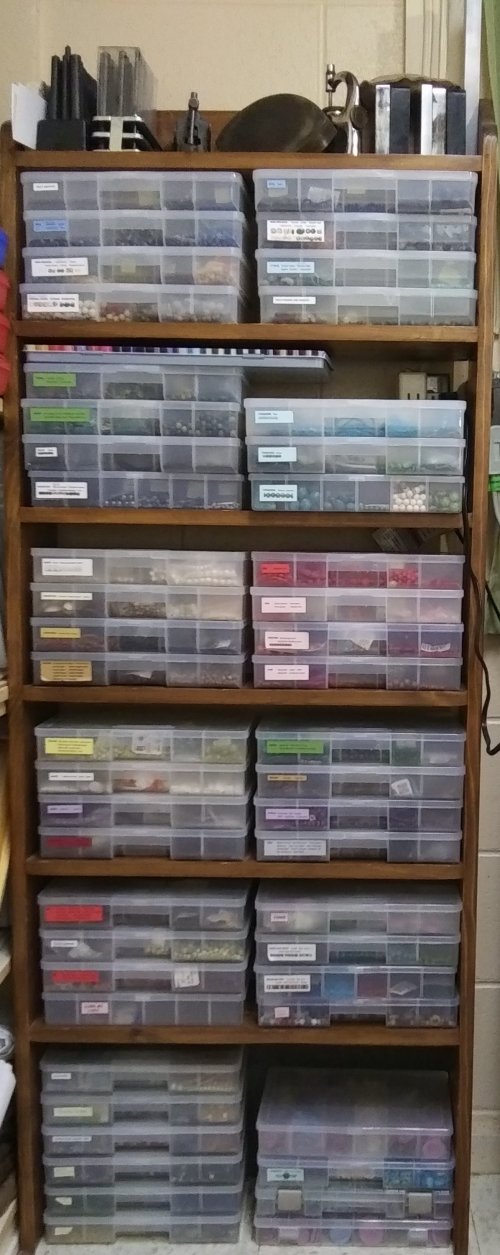 Build Better Bead Storage
 Using Magical Crimping Pliers
 Add a Touch of Gold
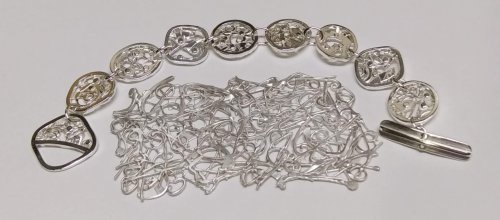 Make a Lacy Argentium Scrap Metal Sheet
 Birch Bark Texture
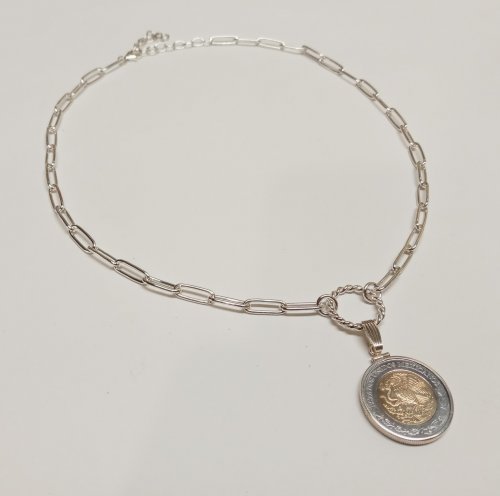 Versatile Snap-on Bails
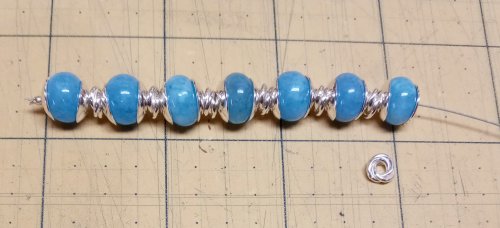 Bead Cap Primer
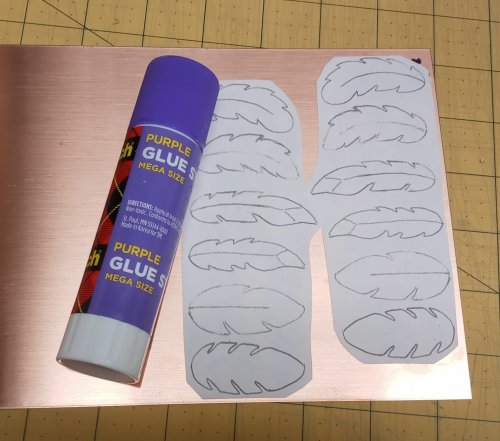 Using Glue Sticks with Printed Templates
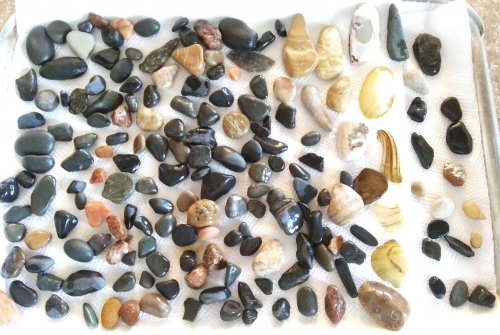 Choosing a Lake or Riverstone
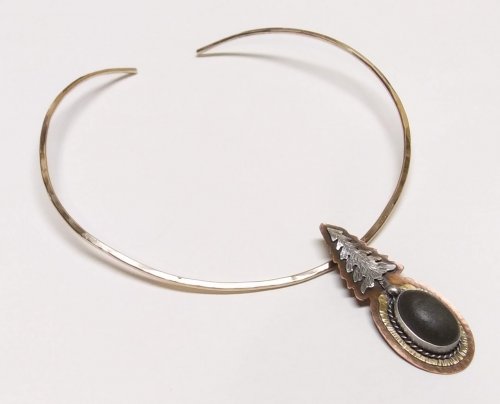 Do a Facebook Collaboration
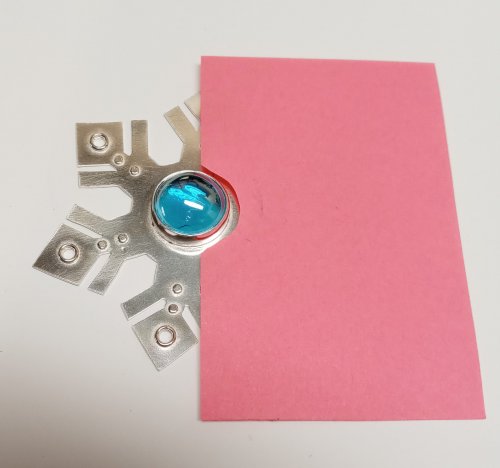 Shielding a Jewelry Piece When Stone Setting
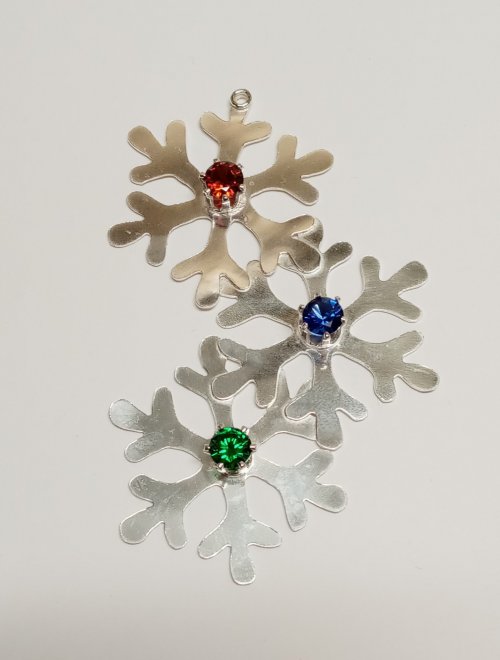 Some Ideas Are Right in Front of You
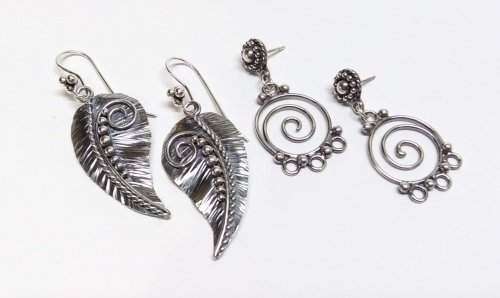 Curving and Scrolling Wire
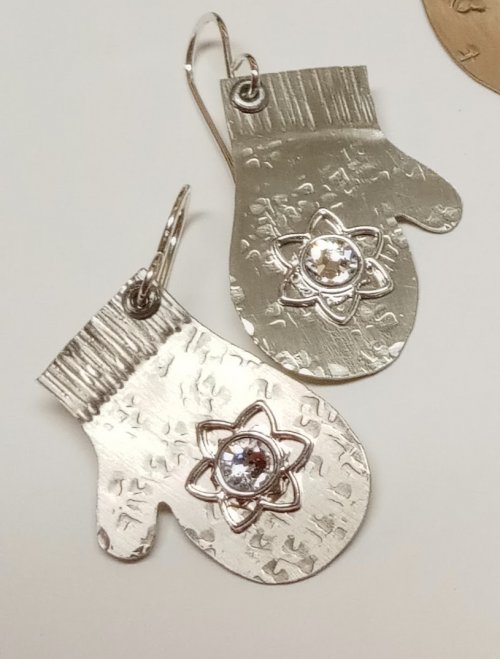 Using Snapsets to Add Sparkle to Your Work
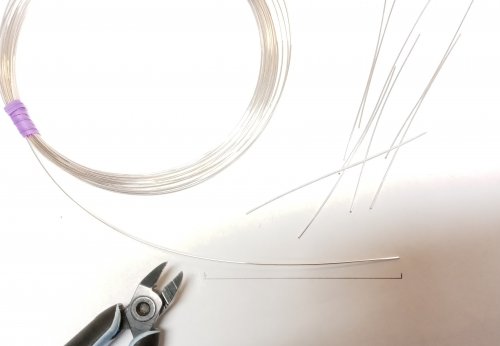 Cutting Wire Multiples of the Same Length
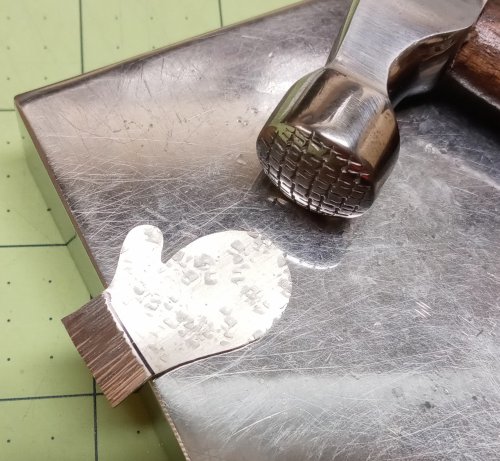 Separating Distinct Textures on a Single Piece of Metal
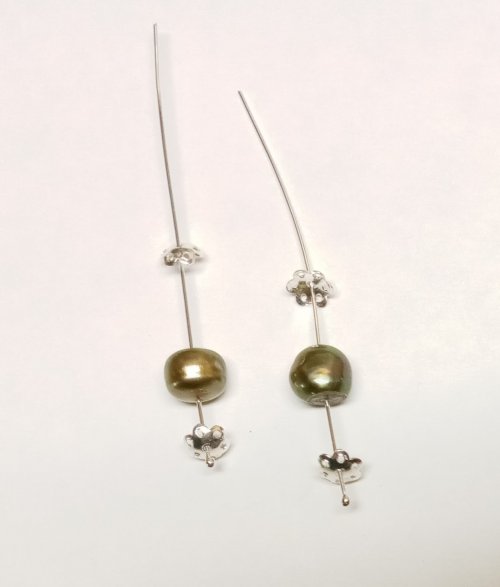 Changing the Size of a Pearl
 Easy Ring Cleaning
 Add a Bit of Dimension
 Keeping Projects Separate
 Tumbling and Polishing Metal Beads
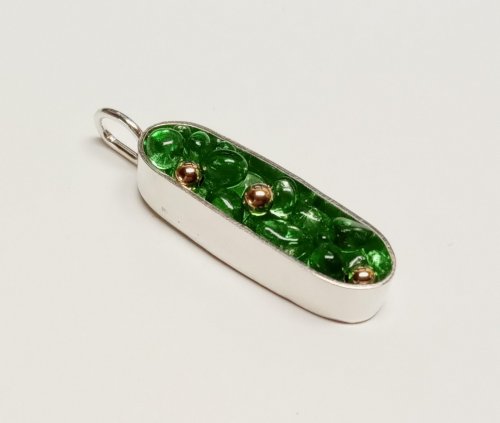 Unexpected Jewels
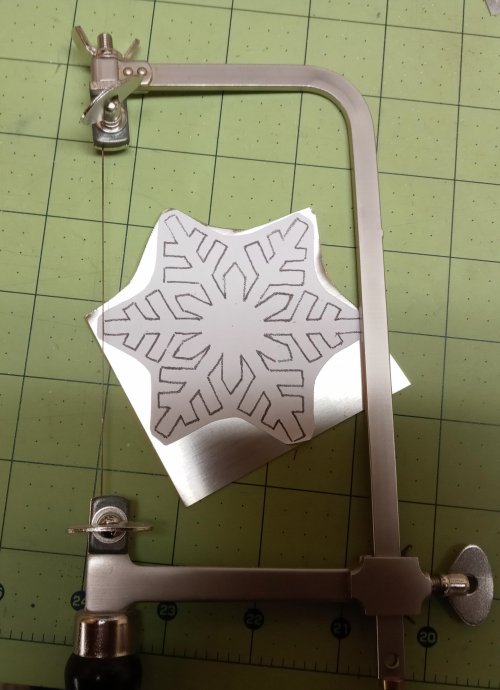 Saws and Turning Radius
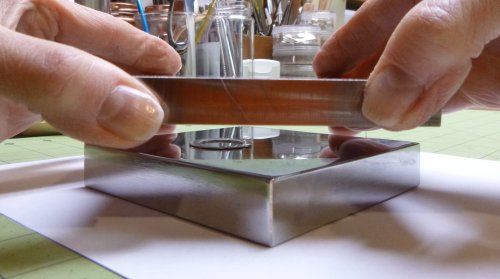 Flattening Metal Pieces
 Mobius Ring Spacers
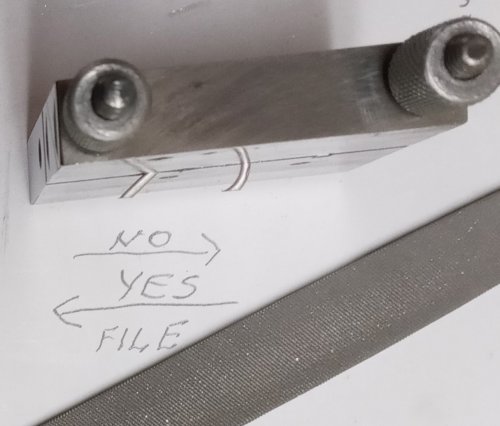 Filing Angled Wires in a Jig
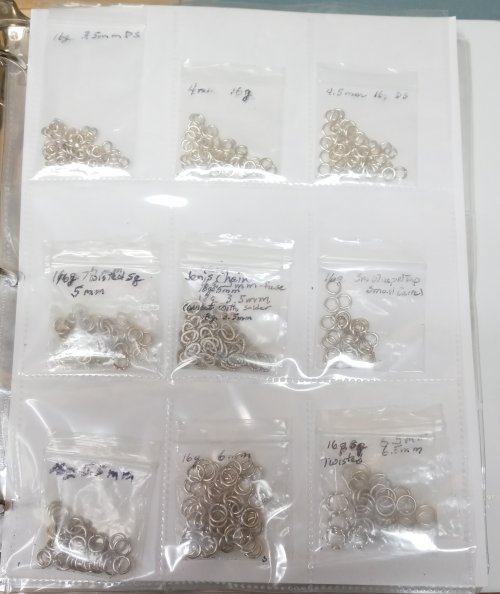 Storing Handmade Elements
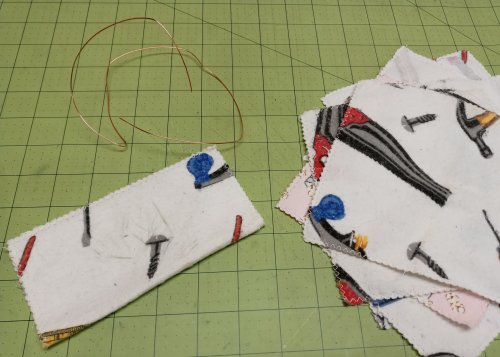 Simple Way to Straighten Wire
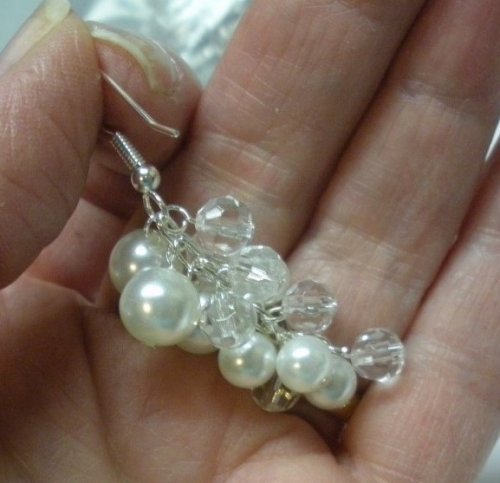 Two Ways to Make Simple Loops
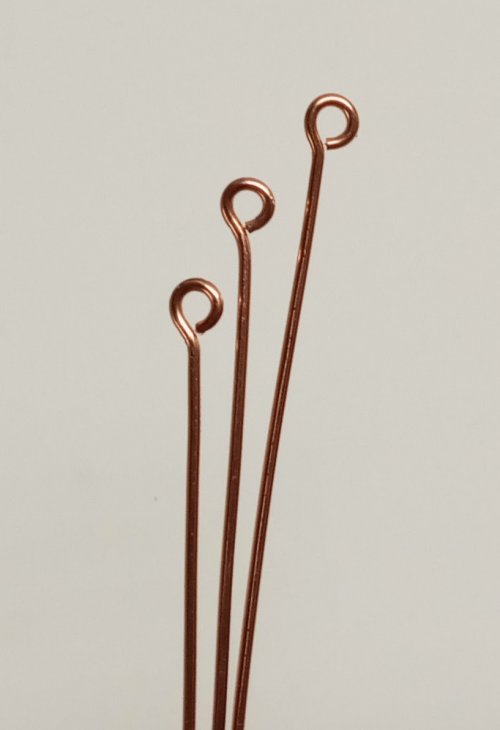 Making Simple Eyepins
 Using Fun Tak as a Resist
 Why Use a Binder to Store Embellishments
 Storing Dapping Blocks and Punches
 Wire Basics - Opening and Closing Jump Rings
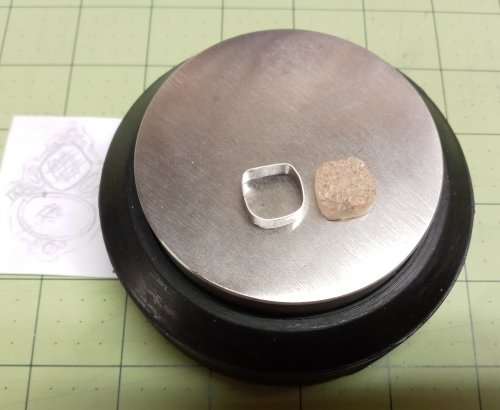 Enlarging a Bezel
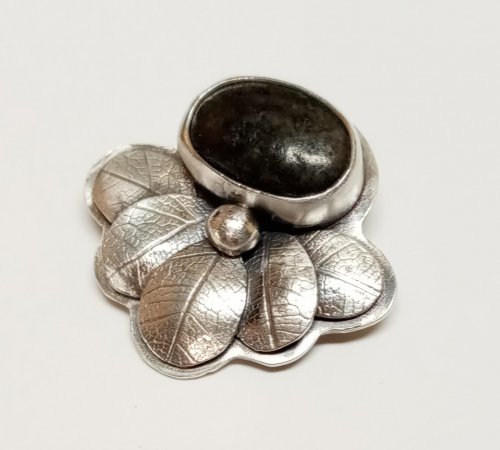 Leaf Inspirations
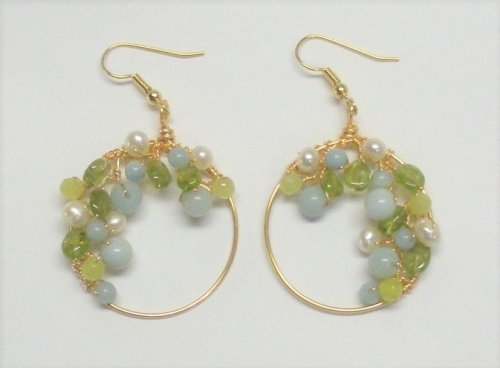 Earring Findings for Different Ages
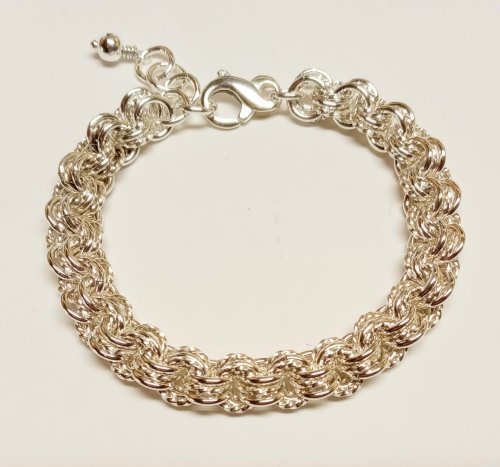 Accidentally Learning Something New
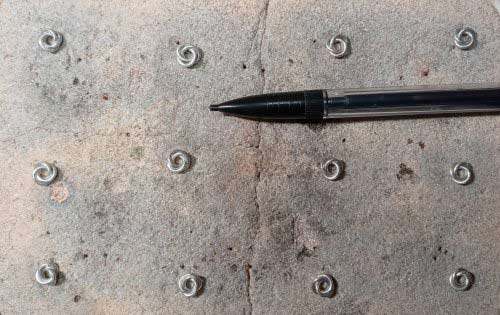 Fusing Jump Rings
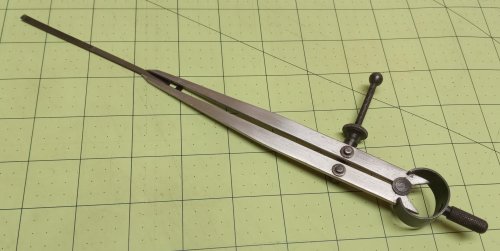 Tool Tip - Divided Caliper Scribe
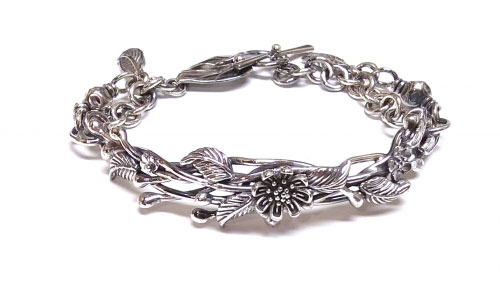 Out of the Mouths of Babes or Fixing a Spinning Bracelet
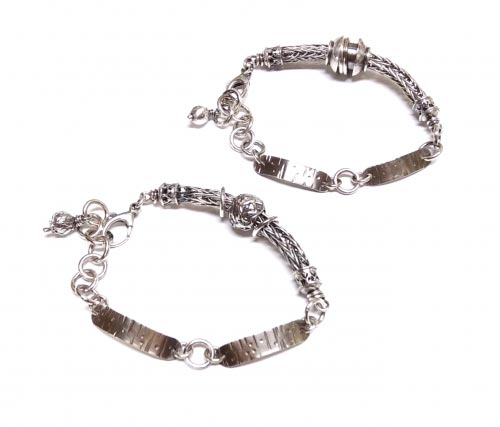 Rethinking a Design
 When Bead Holes are Too Large
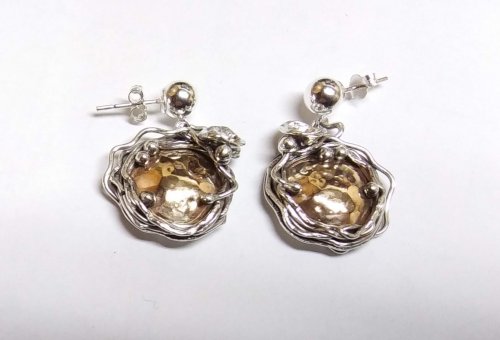 Soldering a Dome to a Backplate
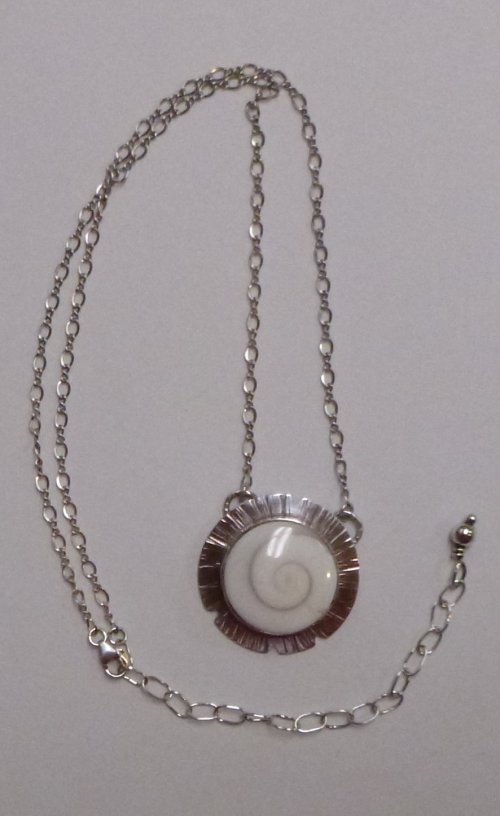 Eye of Shiva AKA Pacific Cat's Eye
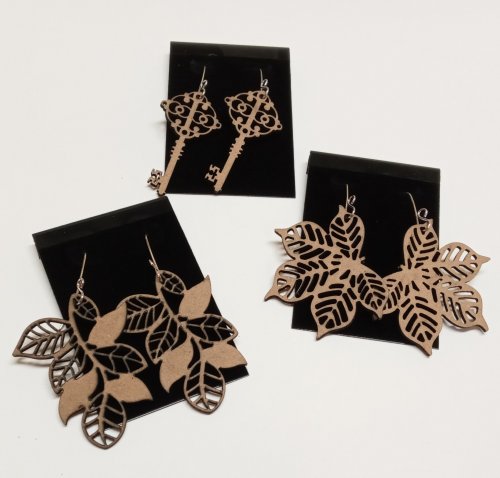 Making Lightweight Earrings with Unexpected Finds
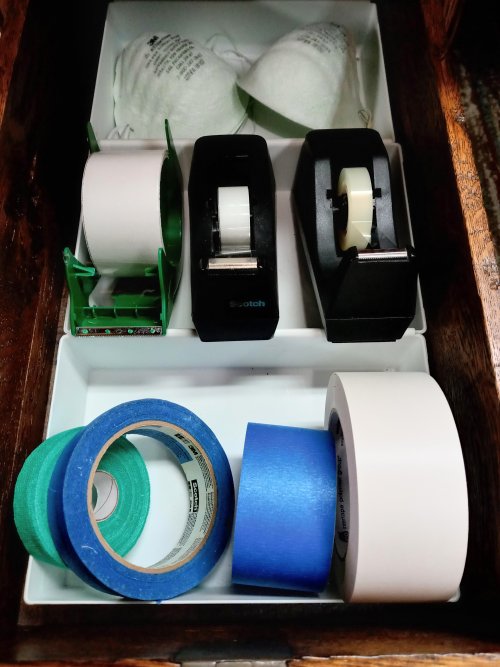 Tool Tip - Indispensable Tapes
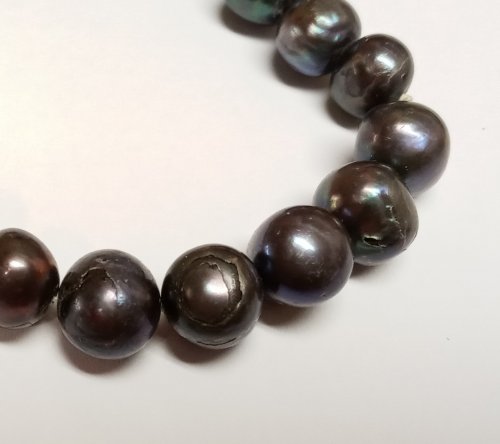 What Happens To Pearls Not Worn, Cleaned, and Stored Properly
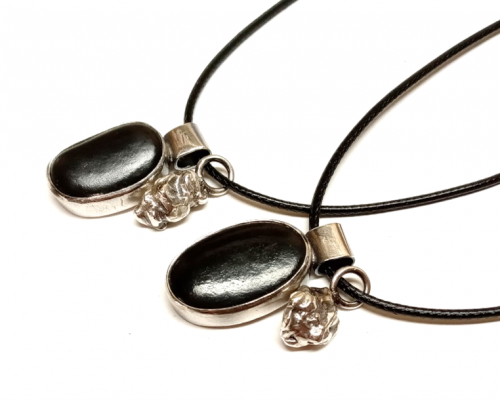 Aha Lightbulb Moment
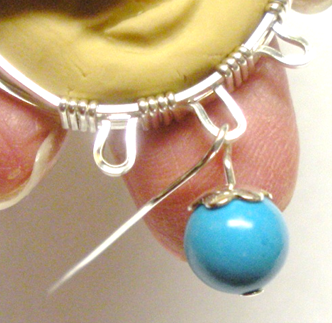 Adding Loops for Dangles on a Classic Wire Bezel Wrap
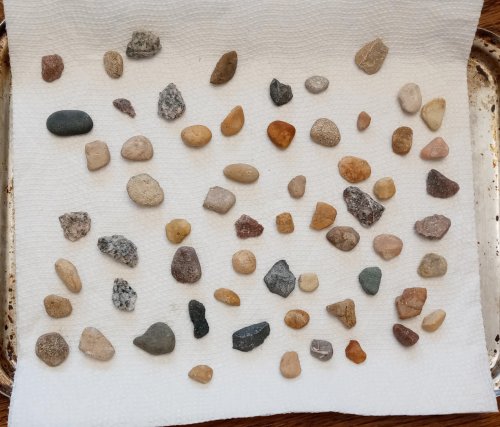 After the Rain - Found Treasures
 Back to School
 Bezel Solution for Corners and Points
 Filling Holes in Stones
 Dots to the Rescue
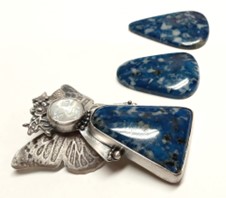 Raising Stones in Bezel Settings
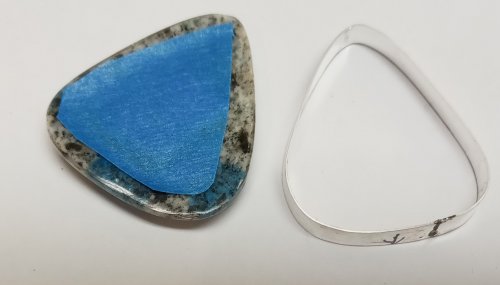 Leveling the Bottom of a Large Bezel
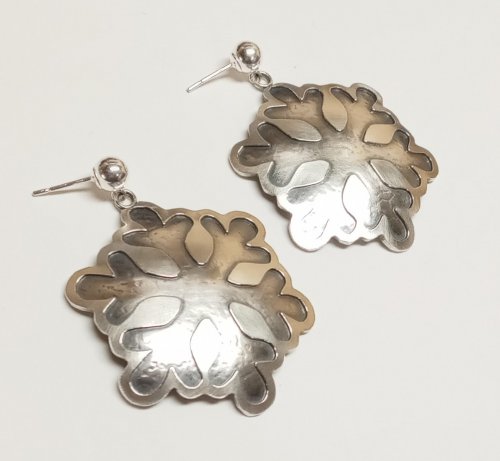 Using Leftovers
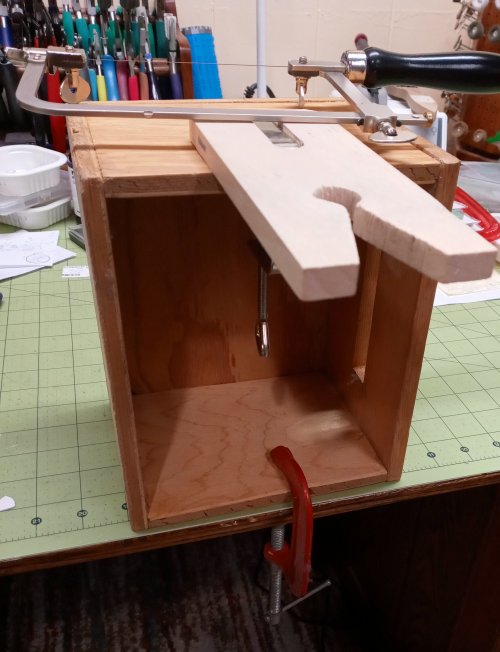 Make-do Sawing Solutions
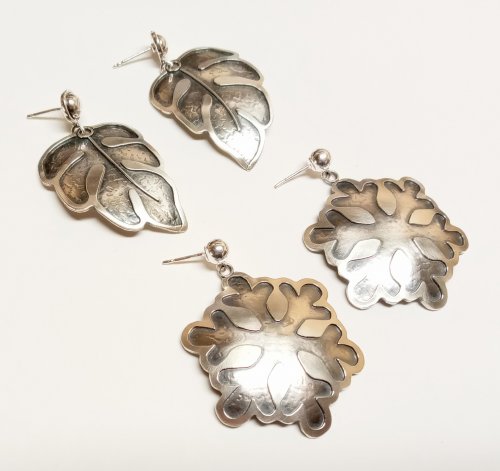 Combining Tutorials
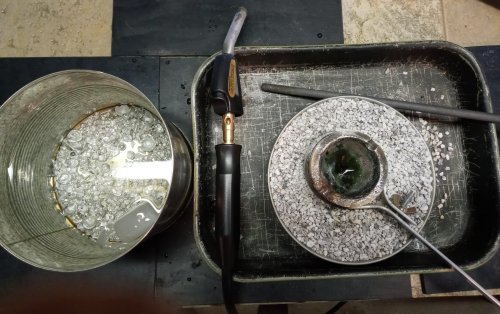 Scrap Melt
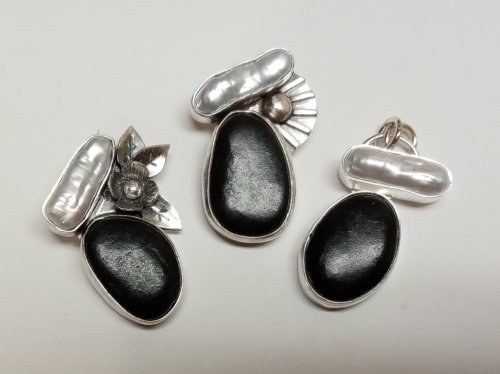 What's Your Jewelry Style
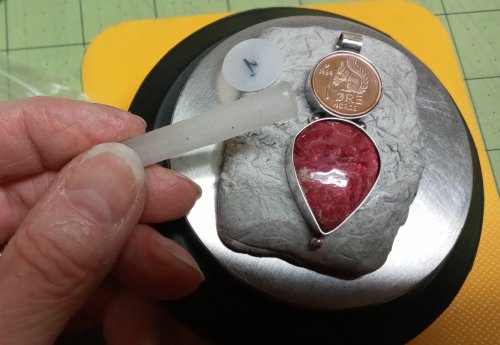 Using Wax from Braces
 Sometimes Simple Really is Better
 Bead Soup and Small Changes
 Repurposing Sterling Cord End Findings
 Wire Wrapped Bail Finishing Options
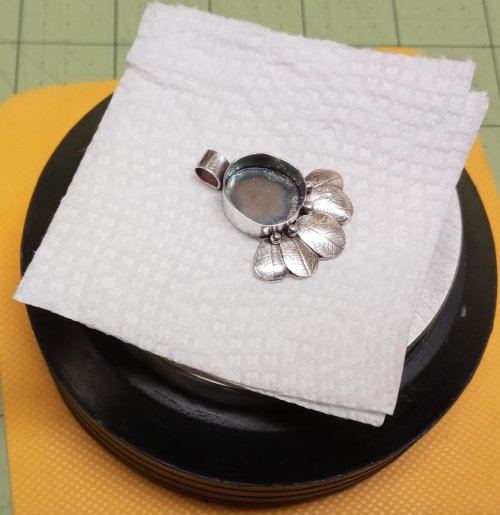 Protecting The Back of a Piece When Setting Stones
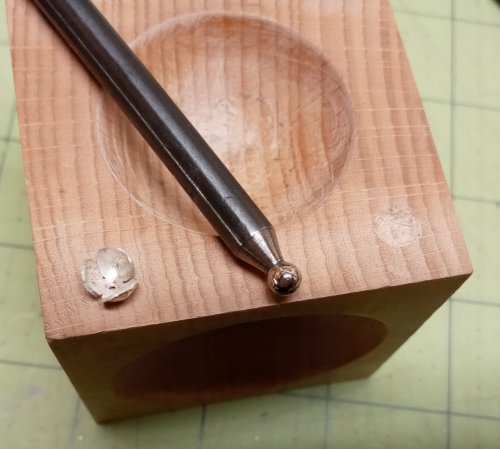 Altering Your Dapping Block
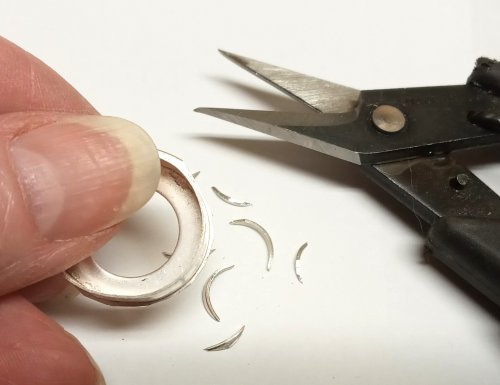 Trimming Around a Bezel
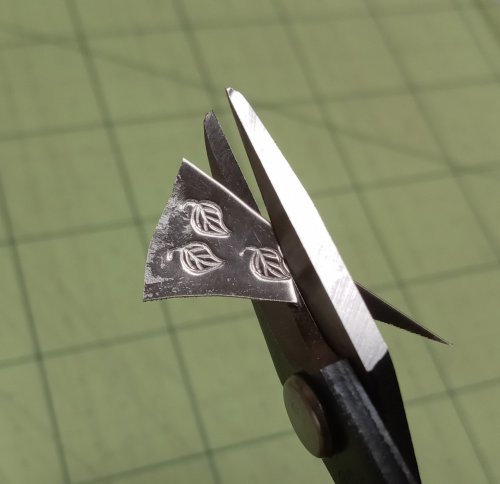 Making Tiny Dapped Metal Leaves
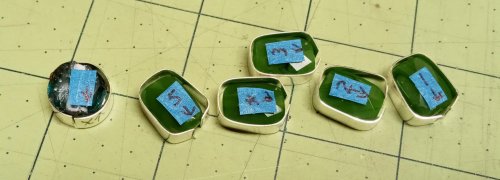 Labeling Cabs When Working with Them
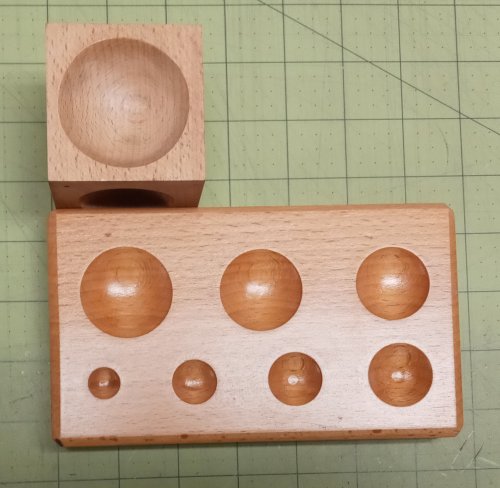 Basic Round Well Wood Dapping Blocks
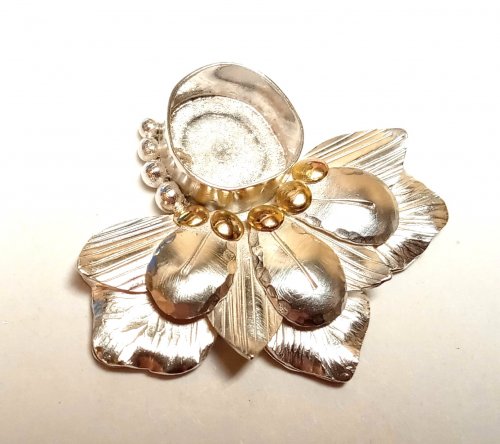
 Get Inspired by What's on Your Bench
 When Things Go Awry
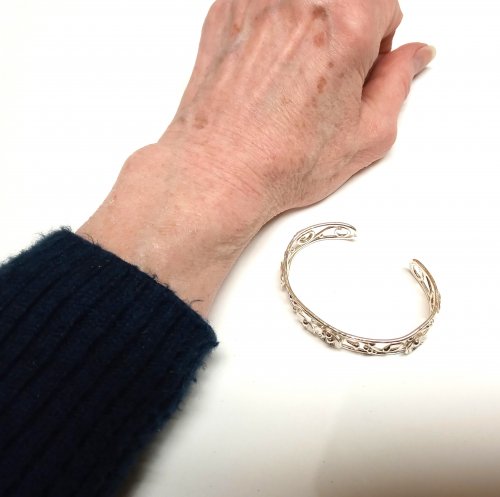 Putting On and Taking Off a Cuff Bracelet
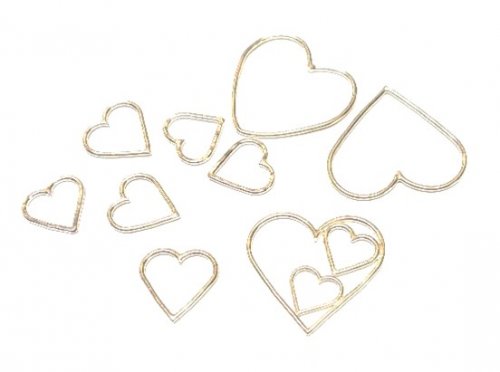
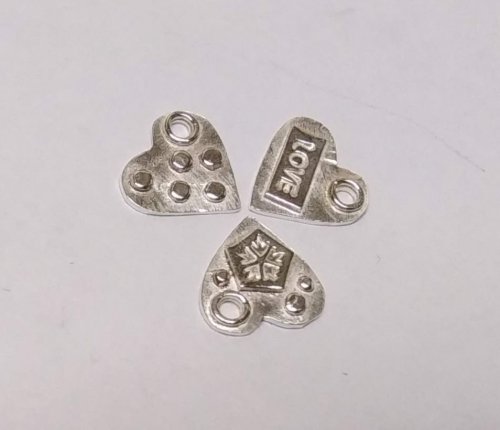 Adding Hearts to Your Designs
 Taking Care of Your Rolling Mill
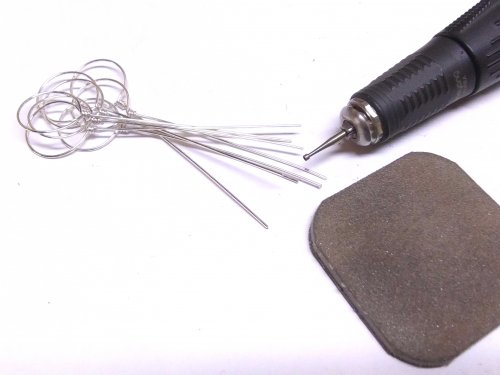 Power Up
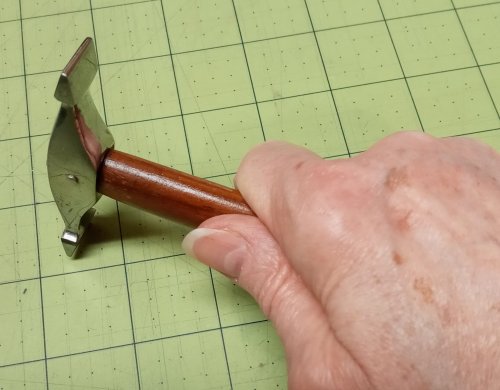 Hammer Basics
 Wire Temper and Jump Rings
 Embellish Bezels with Twisted Wire
 Embellish a Treasure Box
 Make a Polymer Clay Cabochon Mandrel
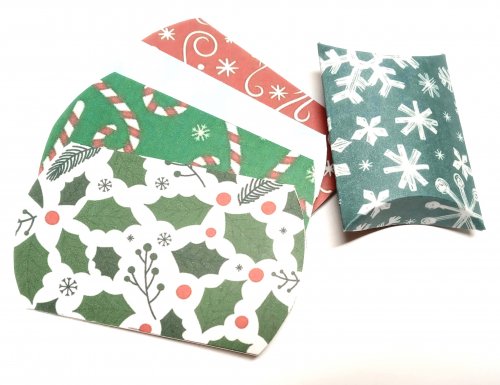 Jewelry Packaging for Small Items - Pillow Boxes
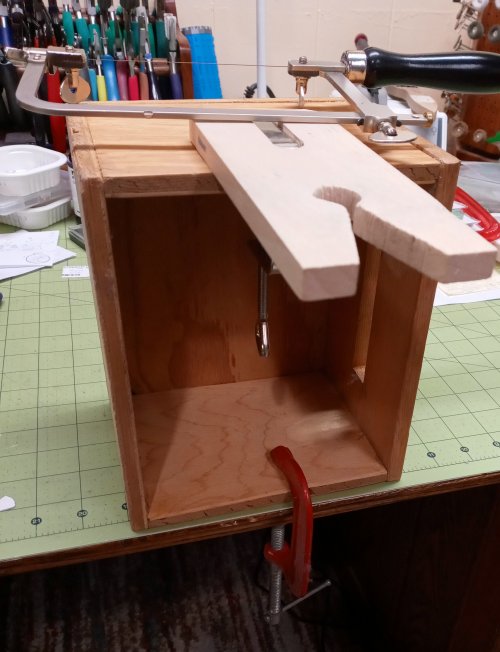 Make-do Sawing Solutions
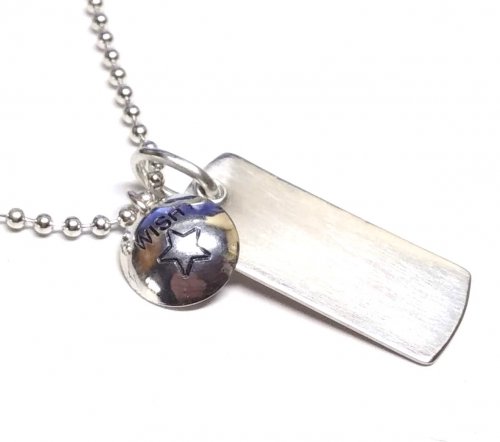 Ball Chain Embellishments
 Pickling and Super Pickle
 A Better T-bar
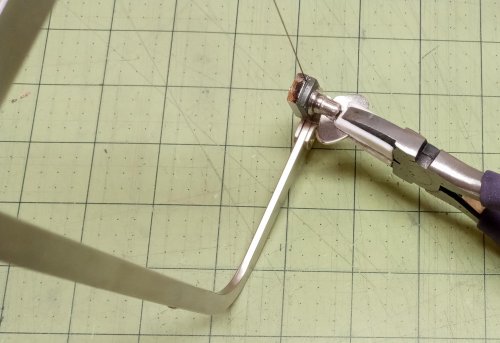 A Better Way to Change a Saw Blade
 Making Consistent Hanging Loops
 Targeted Patina
 Coin Focal Inspiration
 Bracelet and Paperclip Trick
 What Wire is Best for Earring Findings
 Storing Your Metal Stamps
 Save Those Old Buttons
 Adjusting Purchased Ear Wires
 Twisted Wire Tips
 Stash Inspiration and Notes
 Short Quotes for Stamped Jewelry
 My Favorite Tweezers
 No Rolling Mill- No Problem
 Coiling Wire for Jump Rings
 Cutting Coils Into Jump Rings
 Closed Jump Rings Soldering vs Fusing
 Recycling Scrap Into Sheet Metal

