Hammer Basics
Hammers. We all have them in our studios. Each hammer type may be used in different ways for different things by each of us, but one thing we all agree on - they are essential to our work.
My father was a weekend woodworker and passed on many of his skills to me. When I was a little girl, I loved "helping" him build things in the garage. The skills learned from him have been used my entire life. What is surprising is how much of what he taught me transfers into jewelry making. Here are a couple of his tips on hammer use.
My father was a weekend woodworker and passed on many of his skills to me. When I was a little girl, I loved "helping" him build things in the garage. The skills learned from him have been used my entire life. What is surprising is how much of what he taught me transfers into jewelry making. Here are a couple of his tips on hammer use.
Instructions
Surface height is important
Yes, that's such an important point for both comfort and control! Hammering from the wrist can lead to strain or injury over time, plus it reduces power and accuracy.
Keeping your workpiece just below elbow height so you can use your whole arm especially the elbow as the fulcrum really helps create a smooth, controlled motion. The straight line from elbow through wrist to hammer head not only protects your wrist but also maximizes the force you can apply with less fatigue.
Do you use any specific type of hammer for jewelry work? Some people prefer lighter hammers for delicate pieces and heavier ones for shaping metal.
Arm position is important
Absolutely! That "no chicken dance" rule is key keeping your elbow tucked in and the upper arm parallel to your torso really stabilizes the movement and prevents those tiny but damaging repetitive strains to the shoulder.
Positioning the workpiece slightly in front of your arm (instead of right in the middle) is a subtle but smart adjustment. It helps maintain that alignment and keeps your arm from reaching or drifting outward, which can lead to shoulder fatigue or injury over time.
It's all about making your body work with the tools, not against them. Your tips remind me how important ergonomics are even in small craft work!
Have you found any particular workspace setup that helps maintain this posture naturally?
Handle grip is important
So true a relaxed grip is where it's at! That white-knuckle death grip not only tires out your muscles but also makes your strikes less precise because your hand is tense and less responsive.
Holding the hammer closer to the end of the handle acts like a longer lever, giving you more power and better control, so you can work efficiently without wearing yourself out. It's like using your body mechanics to your advantage instead of brute force.
I love how even little adjustments like grip position can make a huge difference in comfort and craftsmanship. Do you have a favorite type or brand of hammer that feels just right for this?

Exactly! Pointing the index finger along the handle might feel like you have precision, but it actually transfers vibrations straight up the arm, leading to fatigue and discomfort faster.
Placing the thumb beside the handle instead creates a better grip that absorbs those shock waves, giving you both more control and power in your strikes without wearing you out. It's all about letting the body work smarter, not harder.
Have you tried this thumb placement? How did it feel compared to the usual way?

That's a great point! Those thumb rests or indents are meant to help guide finger placement, but if you rest your thumb on top instead of wrapping your hand fully around the handle, you lose grip security.
Especially when striking with force, not gripping firmly can let the hammer slip, which is both dangerous and frustrating. A full grip not only protects your hand but also gives you way more control and precision plus, it helps absorb those shock vibrations.
Do you have a favorite hammer or type that feels just right for your stamping and striking work?

Exactly finding that sweet spot with your thumb position can really change how the hammer feels in your hand! Wrapping your fingers around the end of the handle gives you more leverage and control, and shifting the thumb slightly can reduce fatigue and improve precision.
I like how you suggest trying all three thumb placements that's such a smart way to personalize your grip and avoid tension during long sessions.
Which position do you usually end up preferring? Or does it depend on the hammer or project?
I like how you suggest trying all three thumb placements that's such a smart way to personalize your grip and avoid tension during long sessions.
Which position do you usually end up preferring? Or does it depend on the hammer or project?


Materials
No materials listed
Tools

7 Piece Mini TruStrike Hammer Set with Stand
HAM-520.70
- HAM-520.70
- Lesson Quantity: 1.00 pieces
- Purchase Quantity: 1.00 each
- Price: $140.54
- Gold Club Price: $105.40

4oz Ball Peen Hammer with Wooden Handle
G3-36
- G3-36
- Lesson Quantity: 1.00 pieces
- Purchase Quantity: 1.00 each
- Price: $5.95
- Gold Club Price: $4.46

BALLPEIN HAMMER SUPREME- 8OZ
HAM-430.18
- HAM-430.18
- Lesson Quantity: 1.00 pieces
- Purchase Quantity: 1.00 each
- Price: $12.95
- Gold Club Price: $9.71

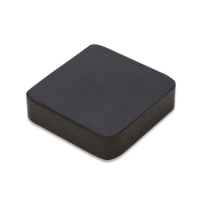
Bench Blocks - 130 X 130 X 20
DUR-1187
- DUR-1187
- Lesson Quantity: 1.00 pieces
- Purchase Quantity: 1.00 each
- Price: $66.67
- Gold Club Price: $50.00

Chasing Hammer with Wooden Handle, 1 1/8 Inch Face
G3-27
- G3-27
- Lesson Quantity: 1.00 pieces
- Purchase Quantity: 1.00 each
- Price: $13.95
- Gold Club Price: $10.46

Hammers - Wide variety of styles, weights and sizes
- Category: Tools
- Technique(s): Tools






 Cleaning Your Jewelry
 Build A Tool Rack
 Clamps for Jewelry Making
 Finishing Wire Ends
 Handmade Closures
 Removing Tarnish From Your Jewelry
 Homemade Pickle
 Wire Wrapped Loops
 How to Make Balled Head Pins
 Lessen the Noise - Save Your Eardrums
 Make a Rivet and Eyelet Tile
 Two Tips for Making Pendant Bails with Craft Wire
 Petal Forming on a Wood Block
 Save Your Fingers while Texturing
 Soldering on Copper
 Sticker Templates
 Using 6 Step Barrel Pliers
 Using a Center Finder
 Using a Tile to Cut Rivets
 Using Household Super Glue on Minor Cuts, Nicks and Scrapes
 Using Tiles on Tube Rivets and Eyelets
 Clothespin Tools
 Making Decorative Granulation Beads
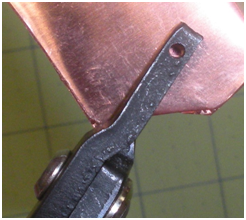 Using Your Hole Punch Pliers
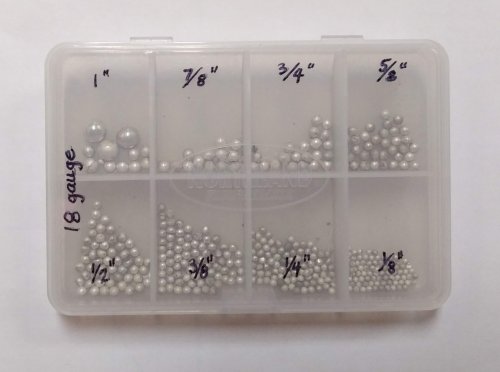 Decorative Granulation and Beads
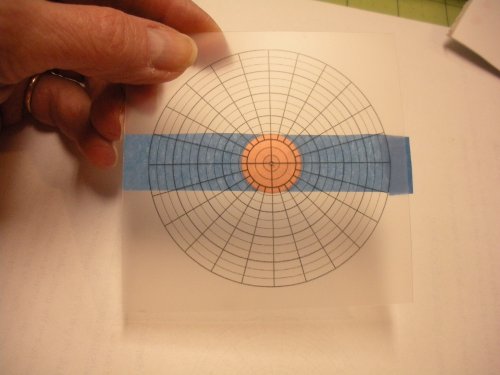 How to Find and Mark the Center of a Disc.
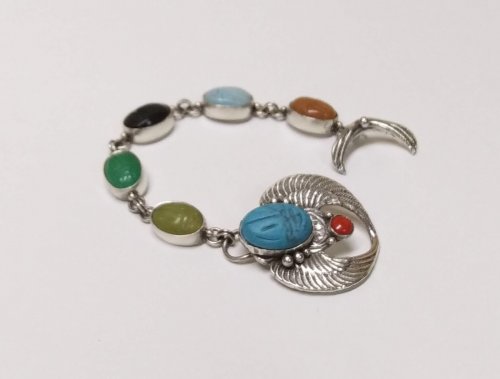 Choosing the Right Clasp
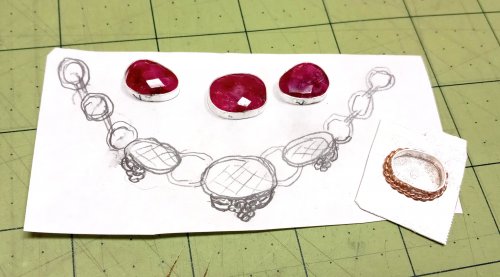 Chunky Chain Inspiration
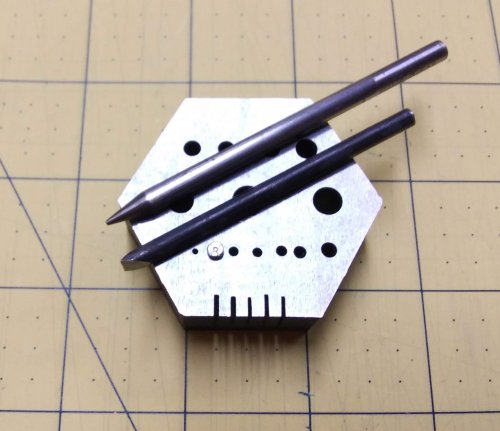 Tool Tip - Steampunk or Industrial Rivets
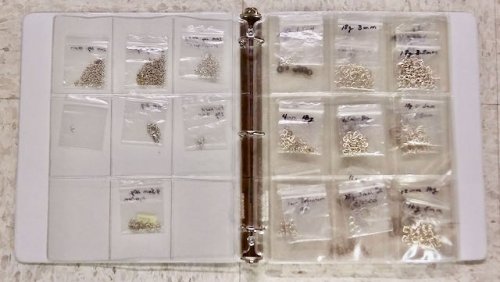 Storing Jump Rings
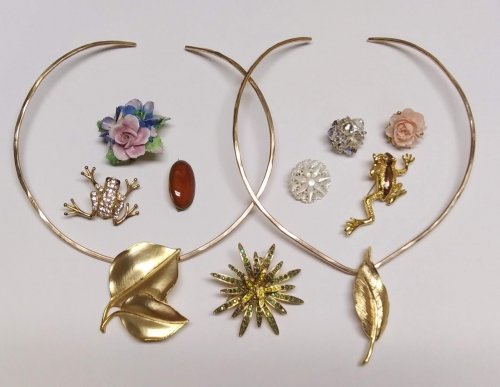 Wear Your Brooches on a Neckwire
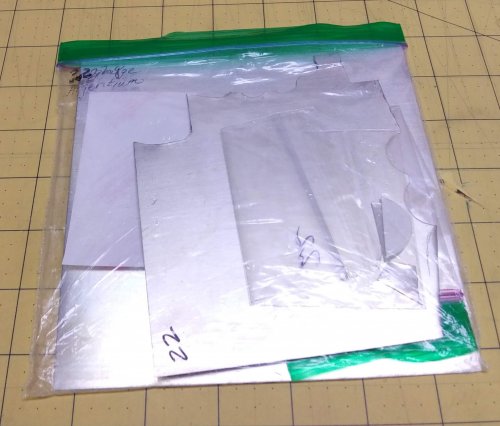 Storing Your Metal
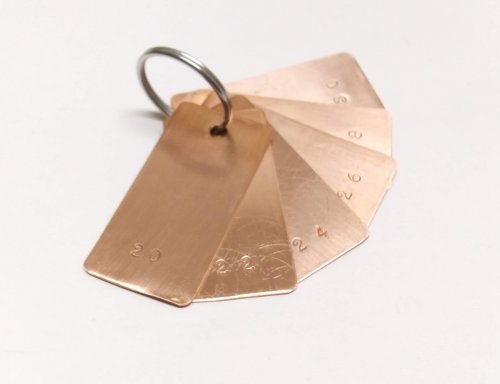 Using Disc Cutter Shims
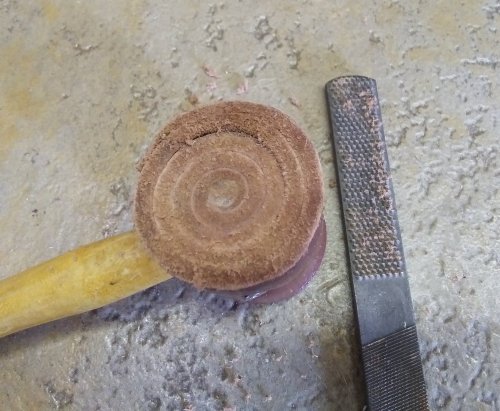 Conditioning a Rawhide Mallet
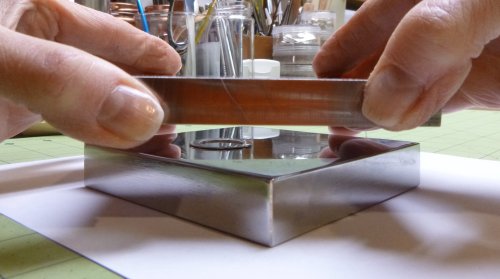 Flattening Metal Pieces
 Quenching
 Saving a Broken Solder Brick
 Why I Use Solder Paste
 Designing a Toggle Clasp That Works
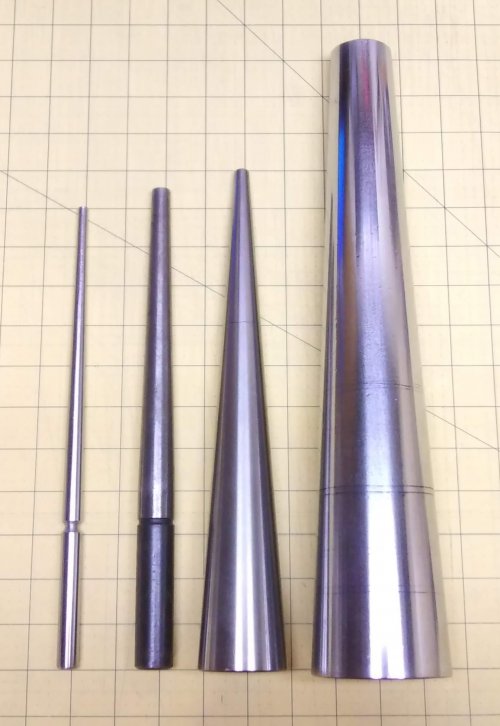 Round Mandrels
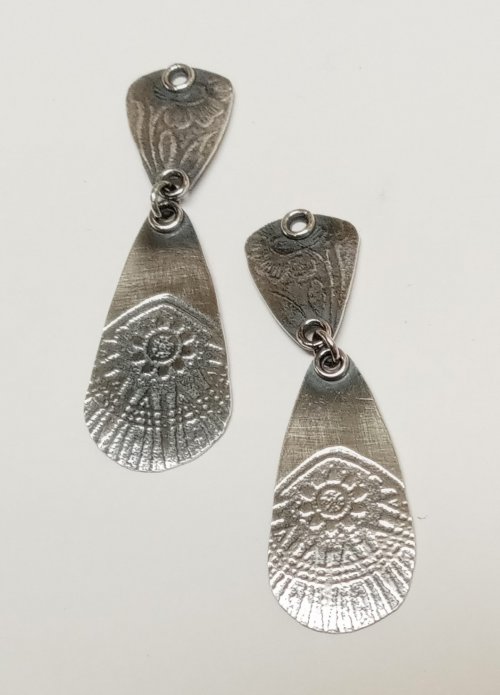 Get the Look of Eyelets
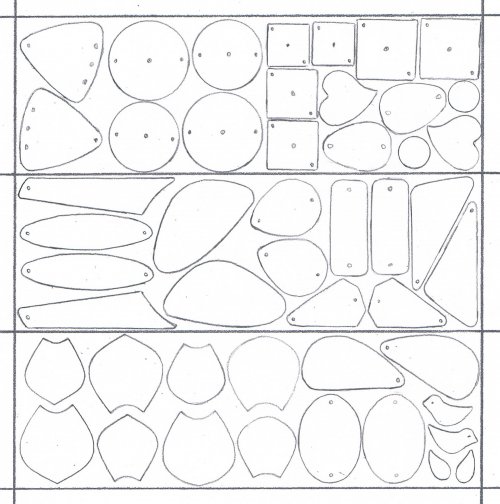 Earring Pairs Template
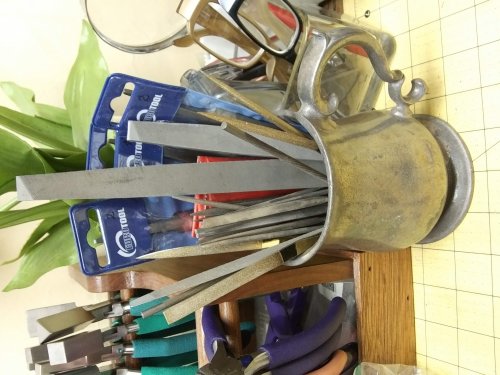 Storing and Caring for Files
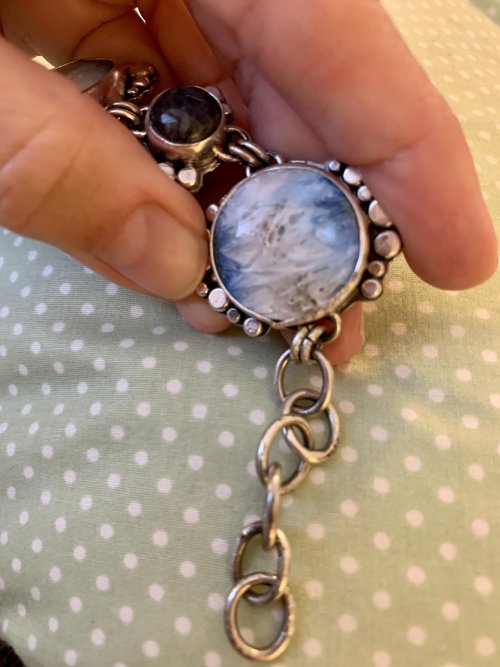 Open or Closed Jump RIngs on Bracelets and Necklaces
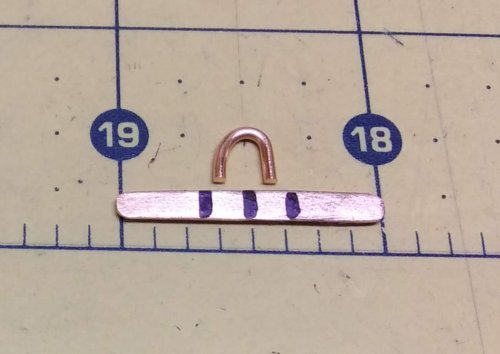 Versatile Permanent Markers
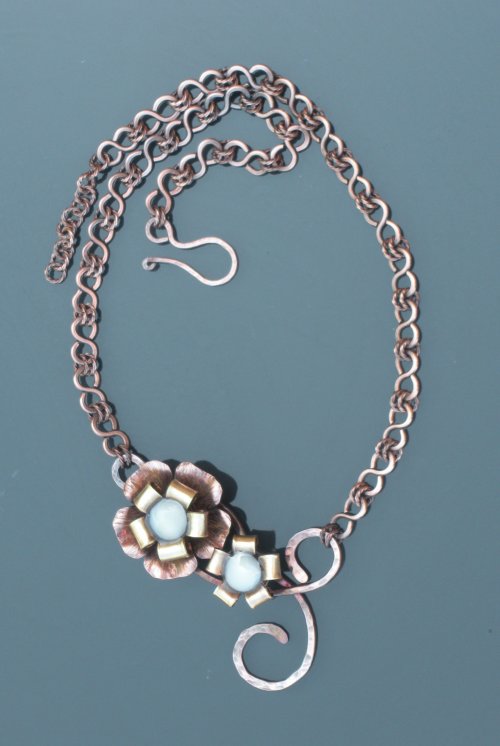 You Used What
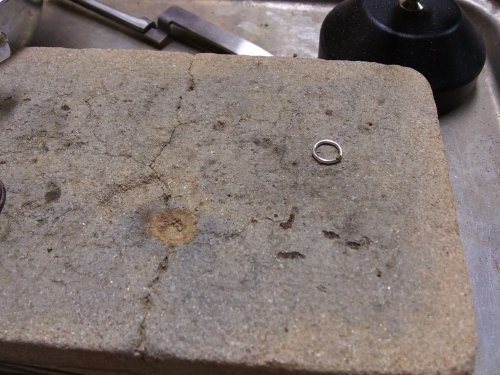 Rescuing a Very Used Magnesia Soldering Block
 Using Hole Punch Pliers
 Metal Shears Care
 Paperclip Earrings
 Think Outside the Box - Alternative Metal Texturing
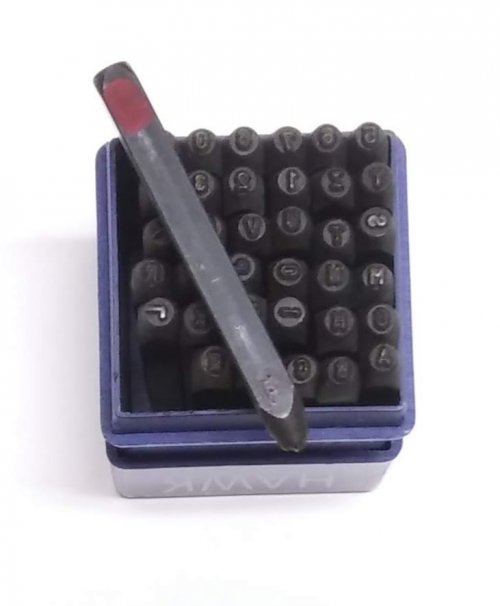 Make Stamping Metal a Bit Easier
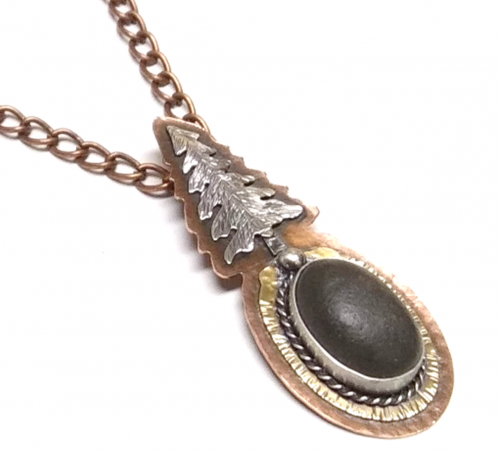 Stone Bezel Setting Tips
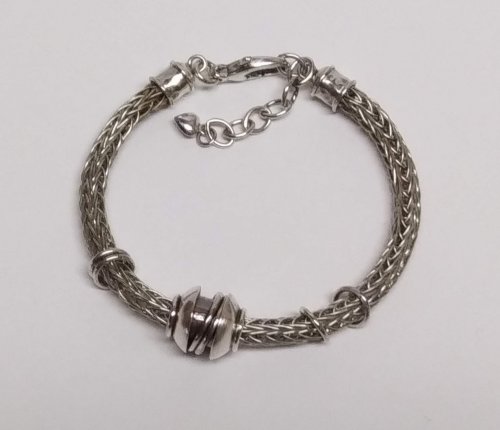 Viking Knit Tips
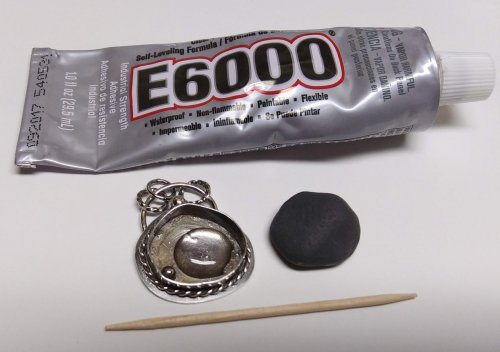 Using Glue Under Cabochons
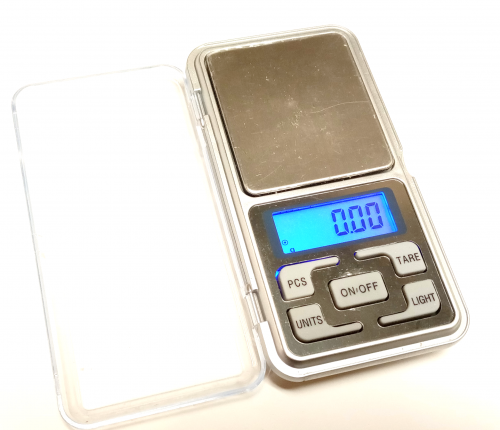 Tool Tip - Digital Pocket Scale
 Repeat Performance
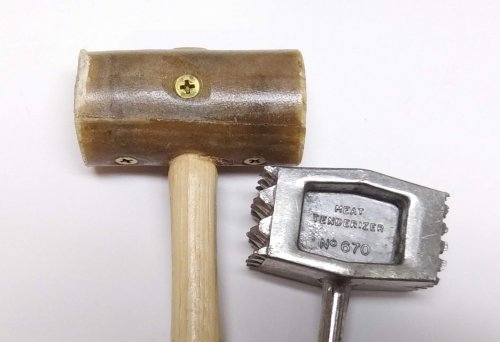 Another Way to Condition a Rawhide Mallet
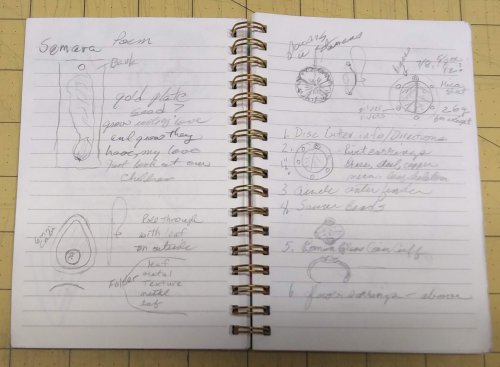 Carry a Sketch Pad
 Why You Should Take a Class
 Jewelry Making Templates
 Carry a Sketch Pad
 Keeping Your Bracelet Focals in Place
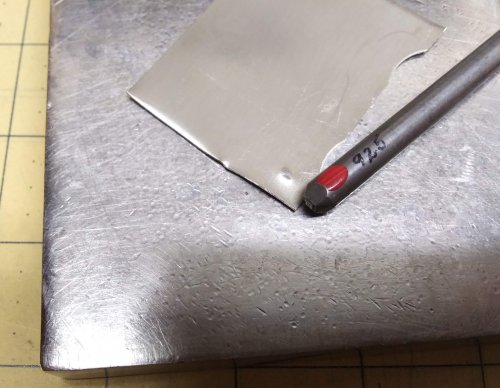 Metal Content Stamping
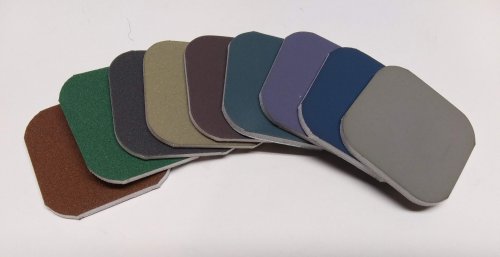 Using Sanding Sponges and Papers
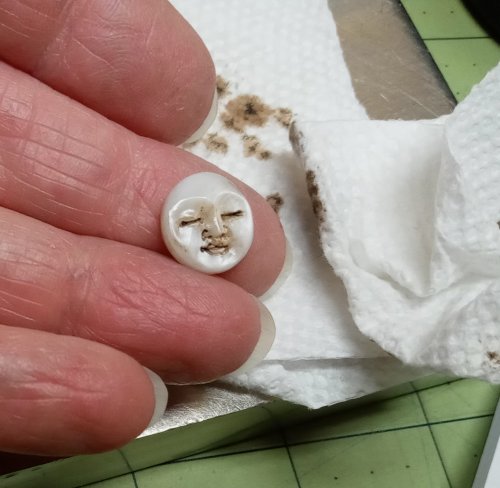 Adding Depth to Carved Beads and Cabochons
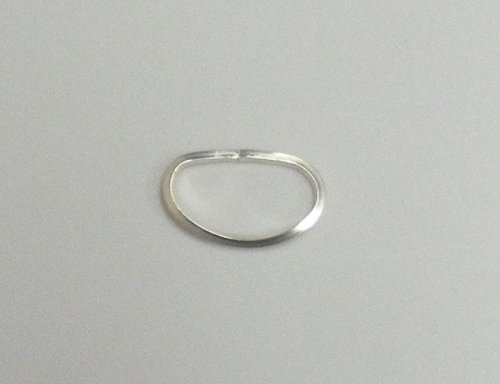 Closing Rings Tightly for Soldering
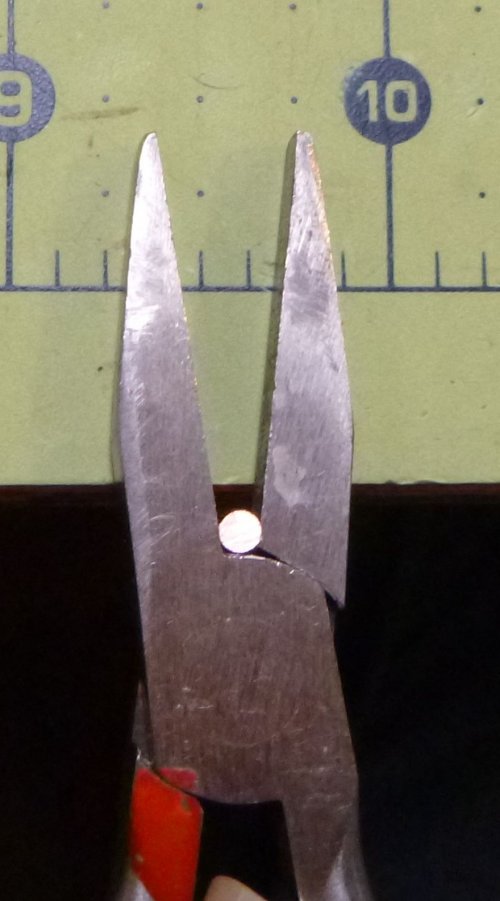 Squaring Wire Ends
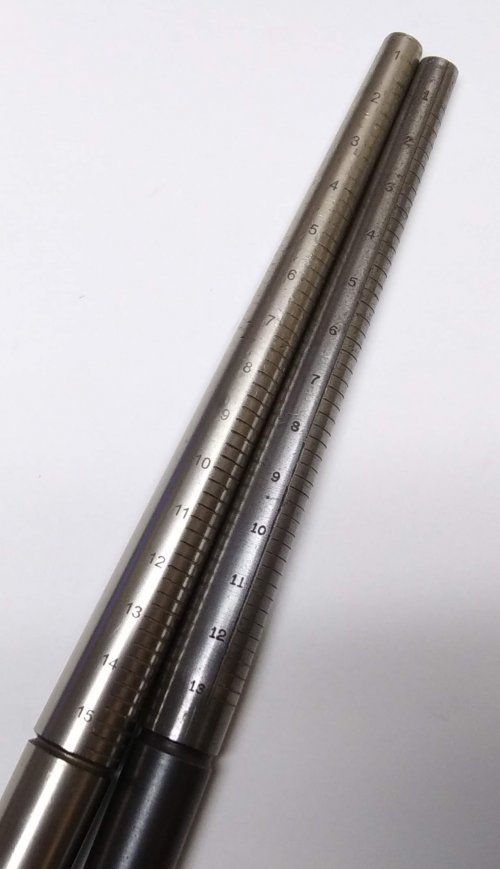 Ring Mandrels
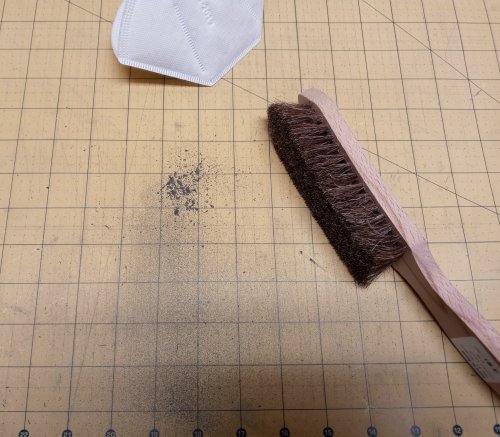 Tool Tip - Bench Brushes
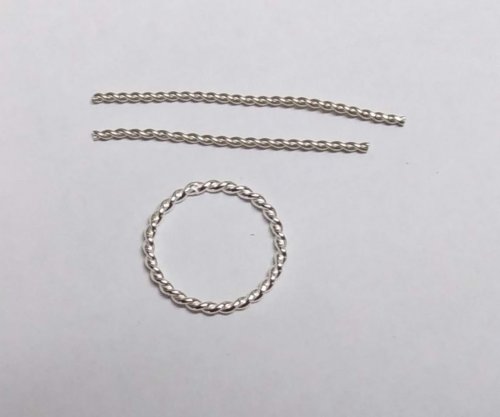 Scrap Wire Twisted Rings
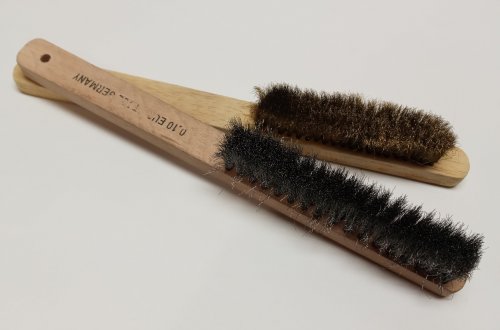 Tool Tip - Soft Bristle Metal Brushes
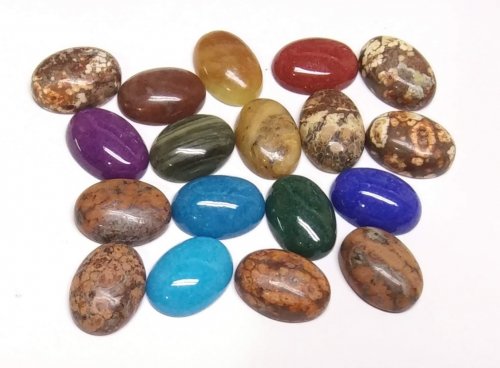 Project Multiples - Calibrated Cabochons
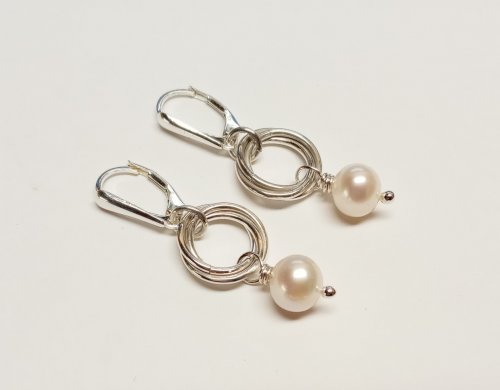 Mobius Pearl Drop Earrings
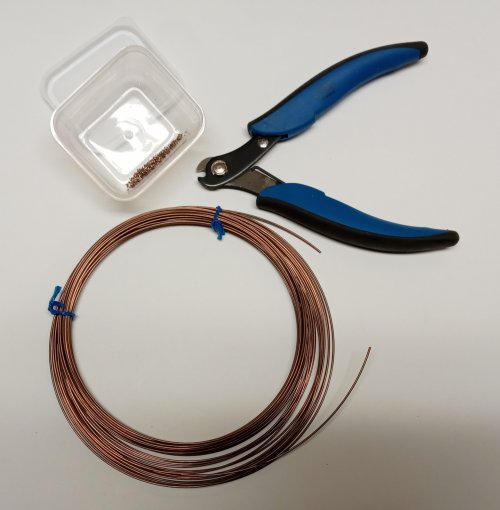 Copper Wire Solder
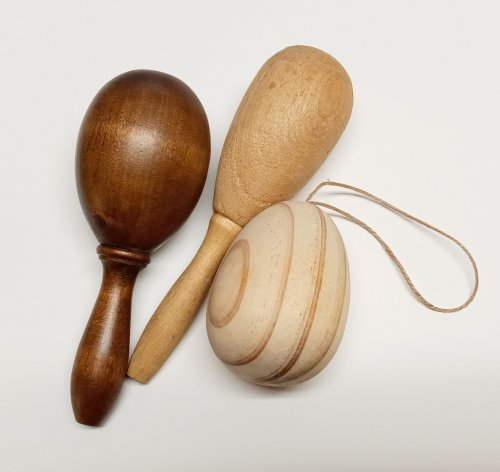 Large Dapping Punches and Alternatives
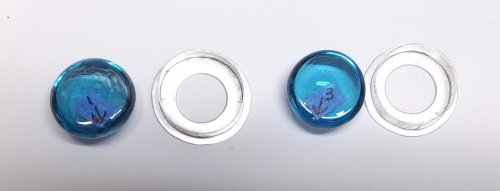 Project Multiples - Glass Pebble Cabs
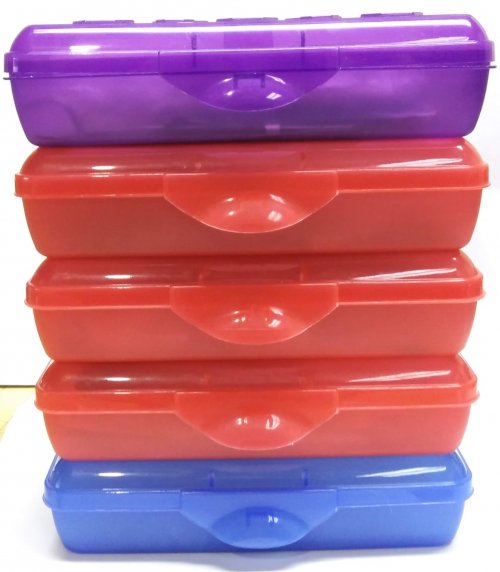 Project Storage
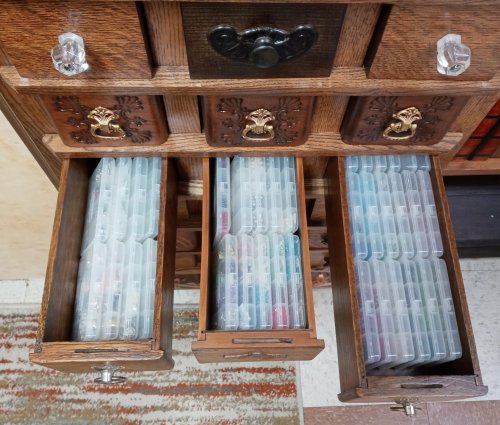 Tiny Bead and Findings Storage
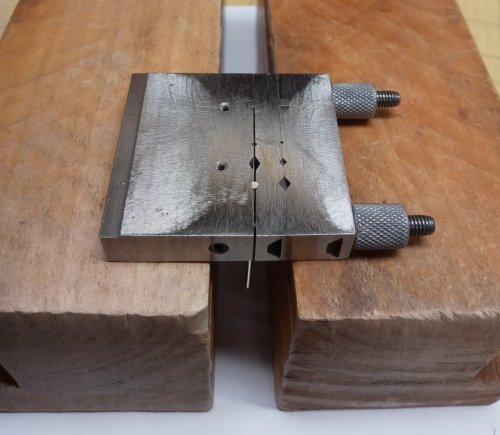 Working Smart
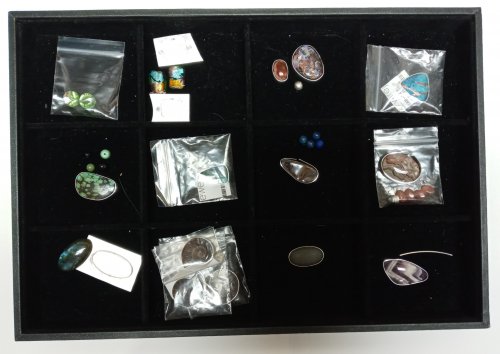 Display Trays as Storage
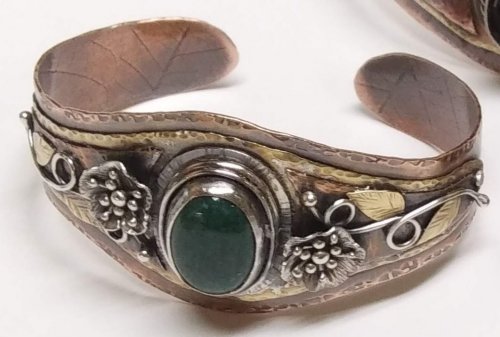 Making TIny Leaves
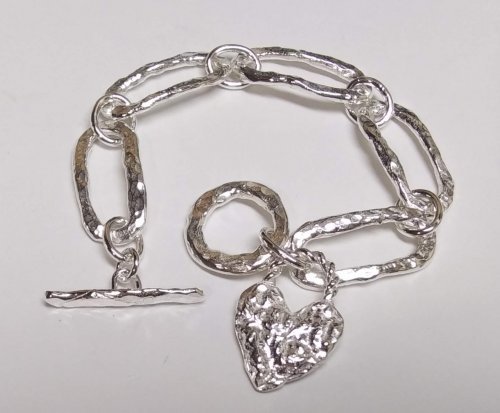 Adapting a Tutorial
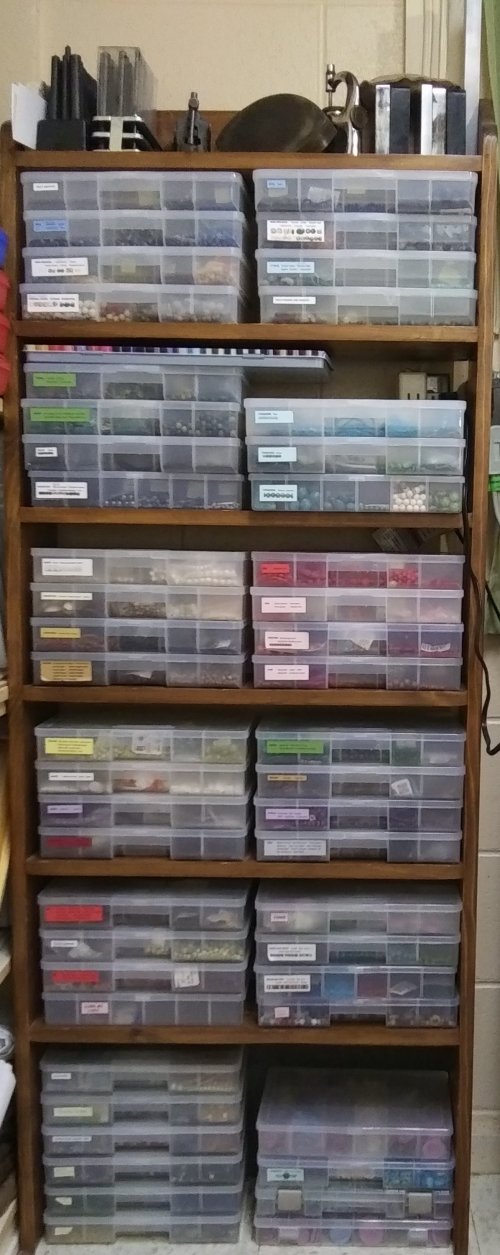 Build Better Bead Storage
 Using Magical Crimping Pliers
 Add a Touch of Gold
 Make a Lacy Argentium Scrap Metal Sheet
 Birch Bark Texture
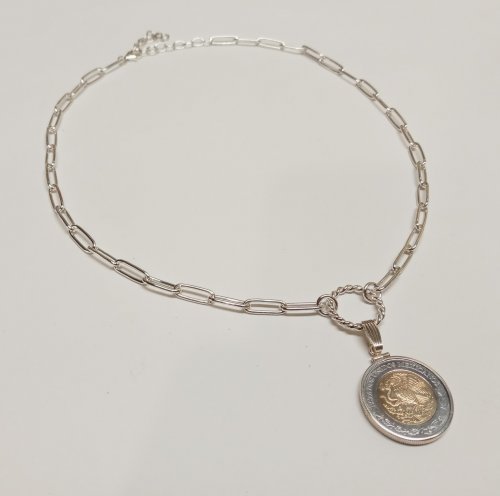 Versatile Snap-on Bails
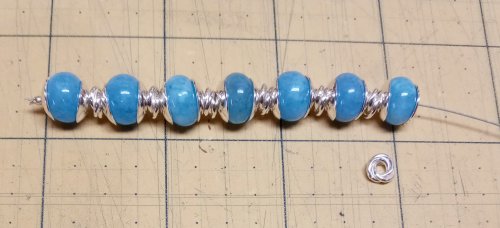 Bead Cap Primer
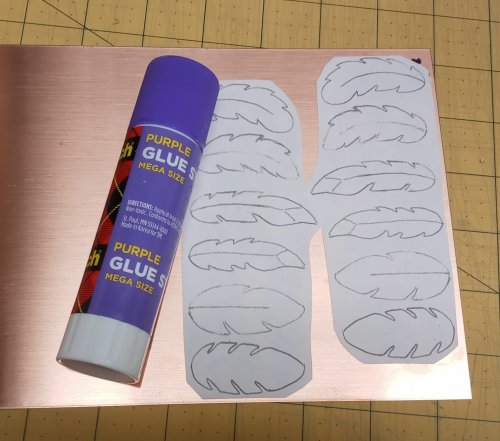 Using Glue Sticks with Printed Templates
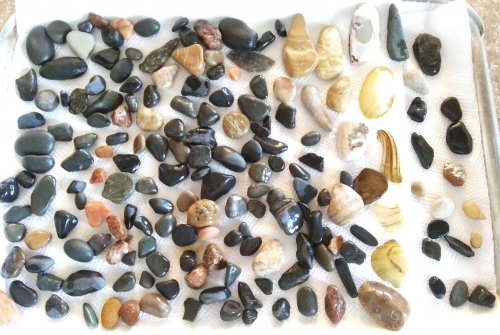 Choosing a Lake or Riverstone
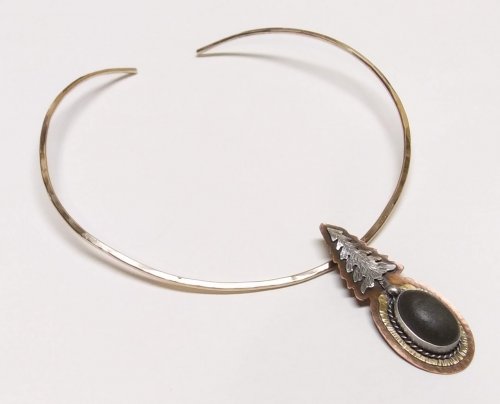 Do a Facebook Collaboration
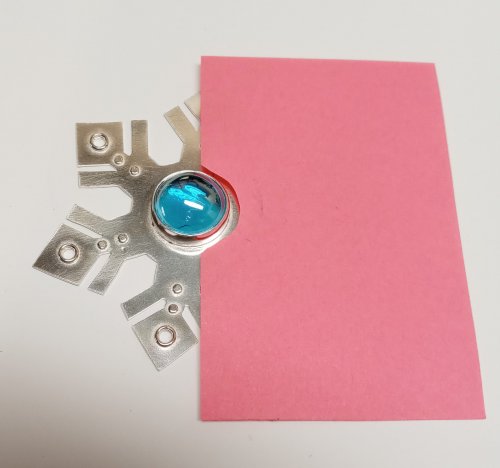 Shielding a Jewelry Piece When Stone Setting
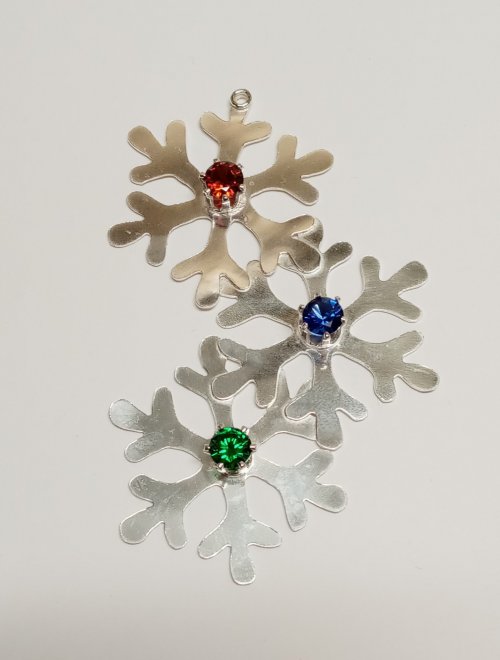 Some Ideas Are Right in Front of You
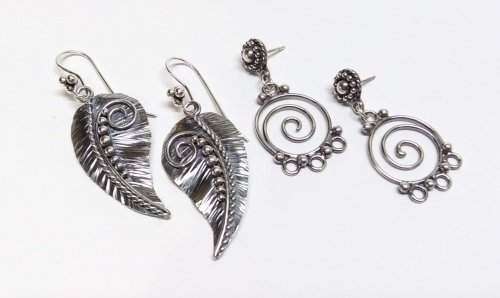 Curving and Scrolling Wire
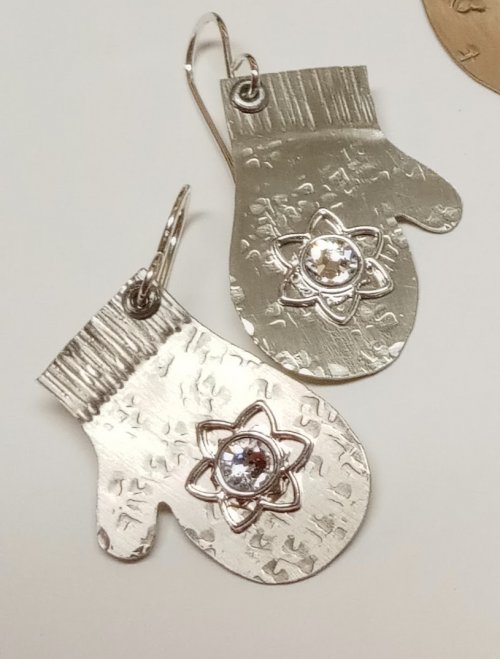 Using Snapsets to Add Sparkle to Your Work
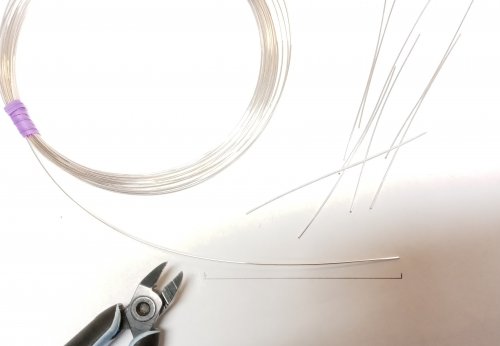 Cutting Wire Multiples of the Same Length
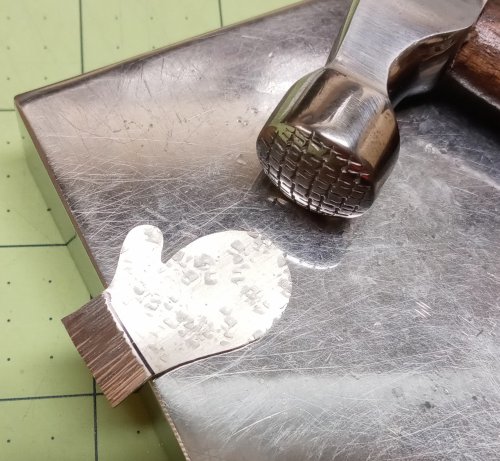 Separating Distinct Textures on a Single Piece of Metal
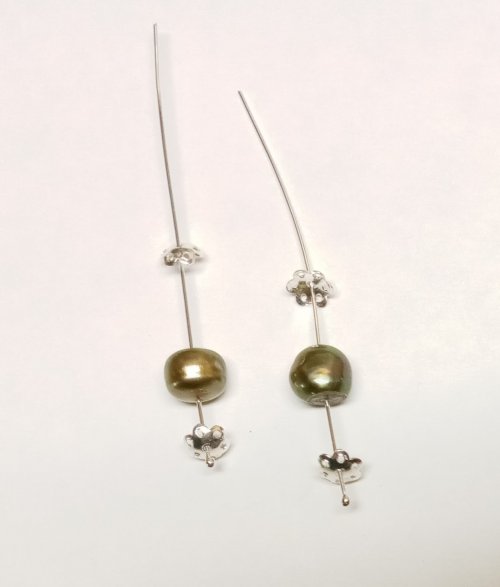 Changing the Size of a Pearl
 Easy Ring Cleaning
 Add a Bit of Dimension
 Keeping Projects Separate
 Tumbling and Polishing Metal Beads
 Unexpected Jewels
 Saws and Turning Radius
 Flattening Metal Pieces
 Mobius Ring Spacers
 Filing Angled Wires in a Jig
 Storing Handmade Elements
 Simple Way to Straighten Wire
 Two Ways to Make Simple Loops
 Making Simple Eyepins
 Using Fun Tak as a Resist
 Why Use a Binder to Store Embellishments
 Storing Dapping Blocks and Punches
 Wire Basics - Opening and Closing Jump Rings
 Enlarging a Bezel
 Leaf Inspirations
 Earring Findings for Different Ages
 Accidentally Learning Something New
 Fusing Jump Rings
 Tool Tip - Divided Caliper Scribe
 Out of the Mouths of Babes or Fixing a Spinning Bracelet
 Rethinking a Design
 When Bead Holes are Too Large
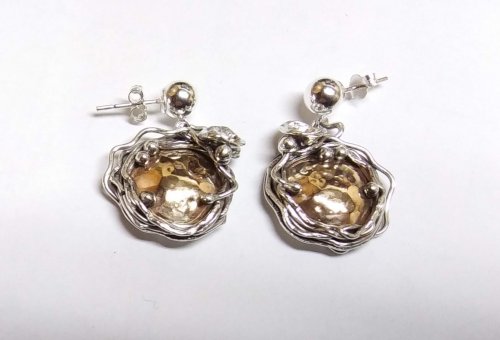 Soldering a Dome to a Backplate
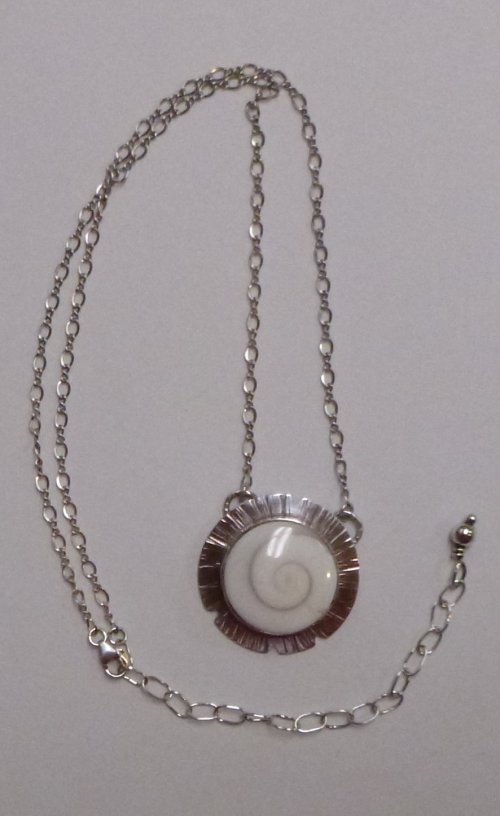 Eye of Shiva AKA Pacific Cat's Eye
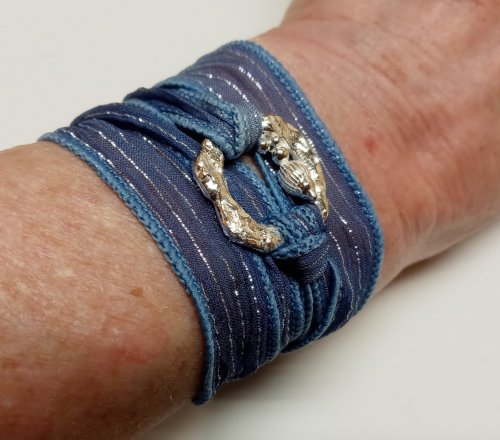 Ribbon Wrapped Bracelet tips
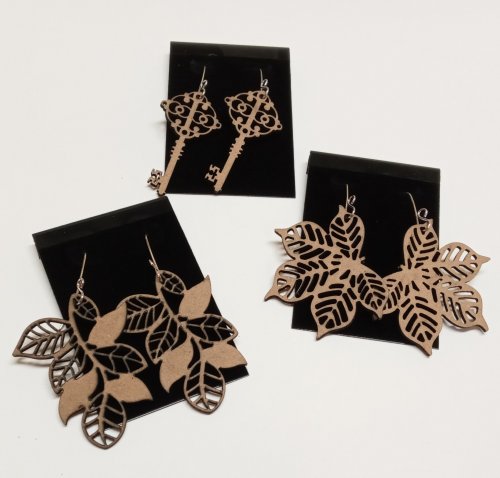 Making Lightweight Earrings with Unexpected Finds
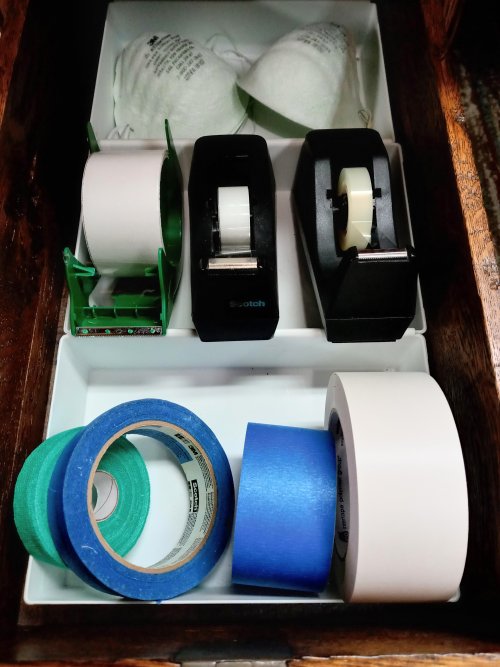 Tool Tip - Indispensable Tapes
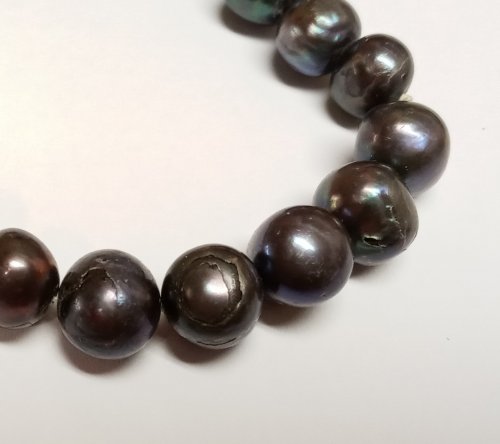 What Happens To Pearls Not Worn, Cleaned, and Stored Properly
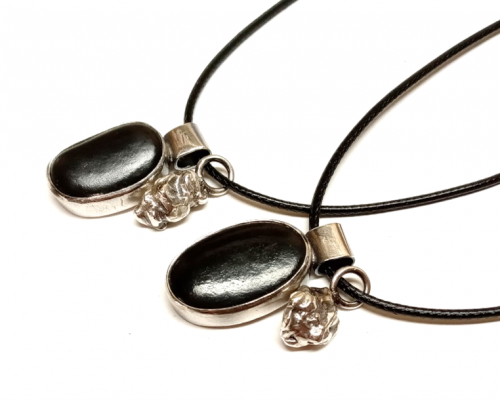 Aha Lightbulb Moment
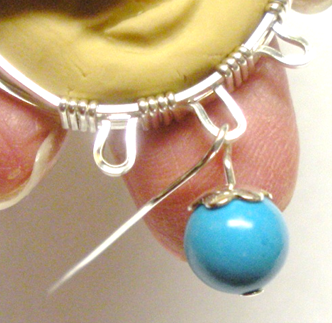 Adding Loops for Dangles on a Classic Wire Bezel Wrap
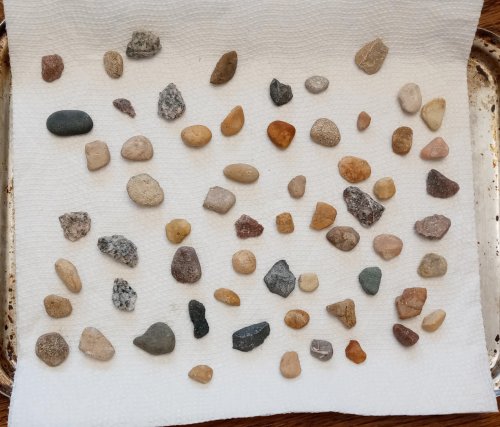 After the Rain - Found Treasures
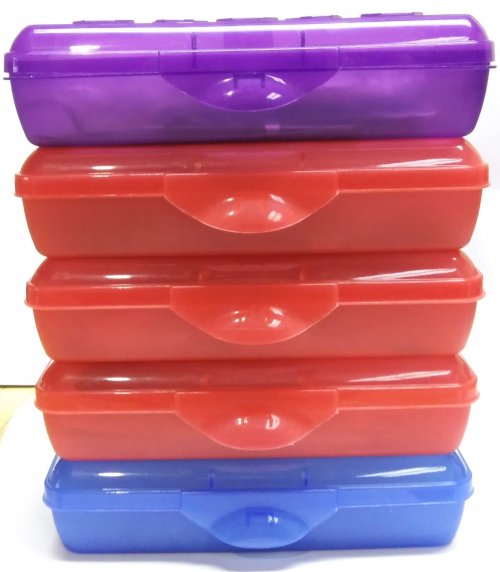 Back to School
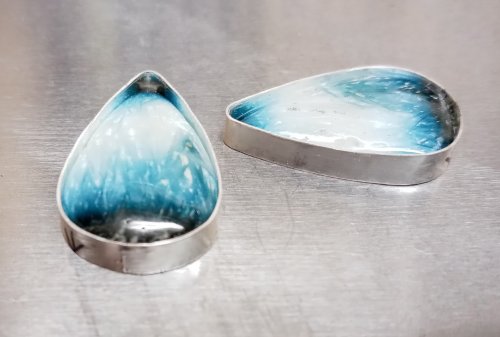 Bezel Solution for Corners and Points
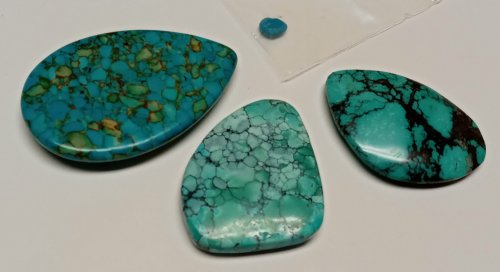 Filling Holes in Stones
 Dots to the Rescue
 Raising Stones in Bezel Settings
 Leveling the Bottom of a Large Bezel
 Using Leftovers
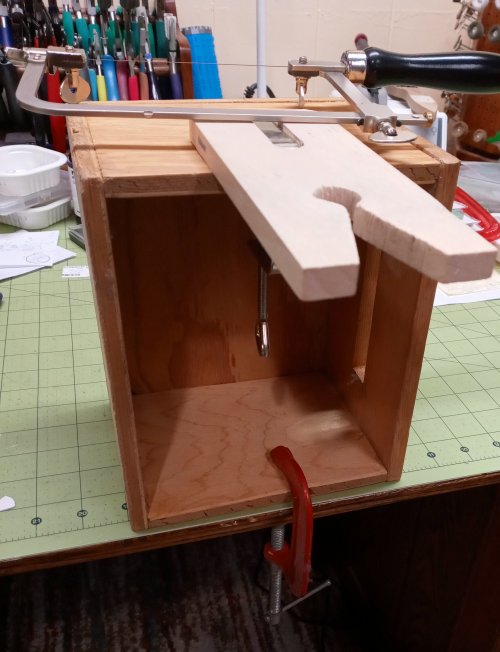 Make-do Sawing Solutions
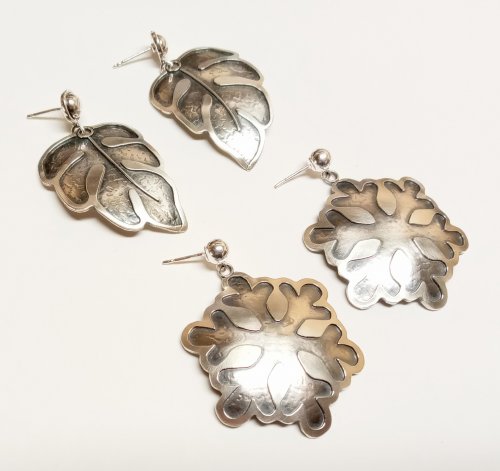 Combining Tutorials
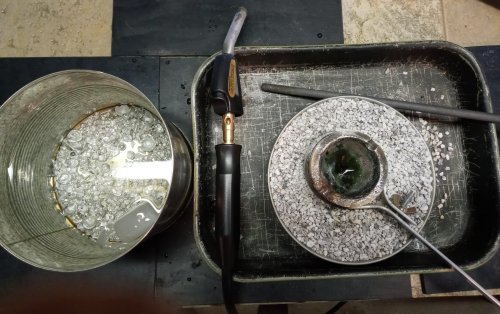 Scrap Melt
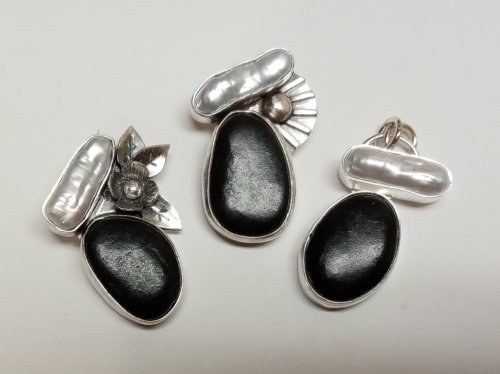 What's Your Jewelry Style
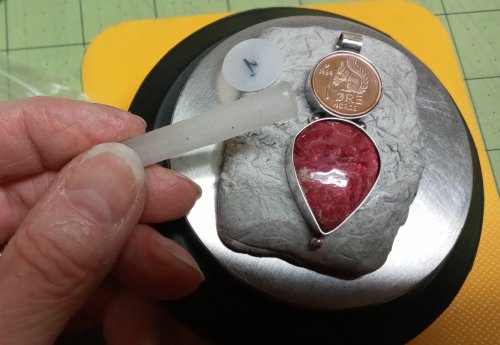 Using Wax from Braces
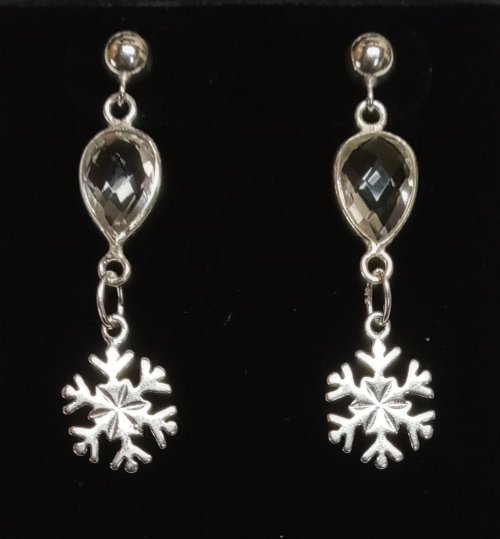 Sometimes Simple Really is Better
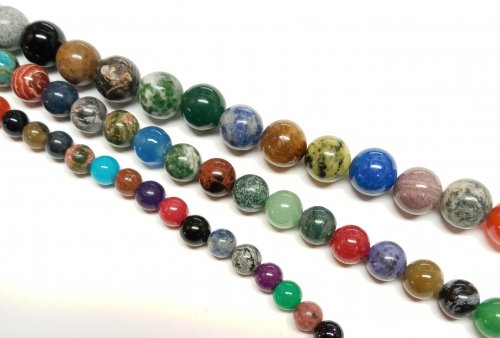 Bead Soup and Small Changes
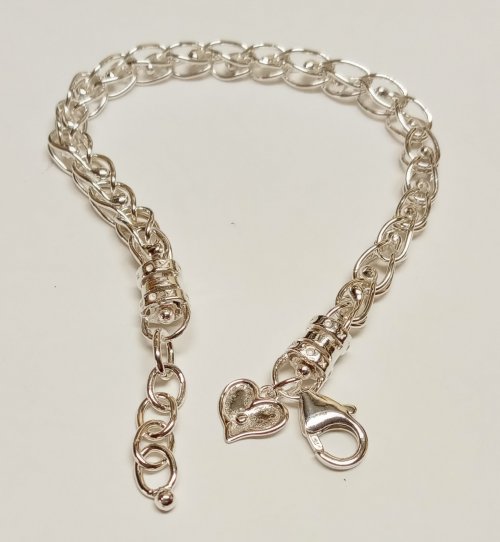 Repurposing Sterling Cord End Findings
 Wire Wrapped Bail Finishing Options
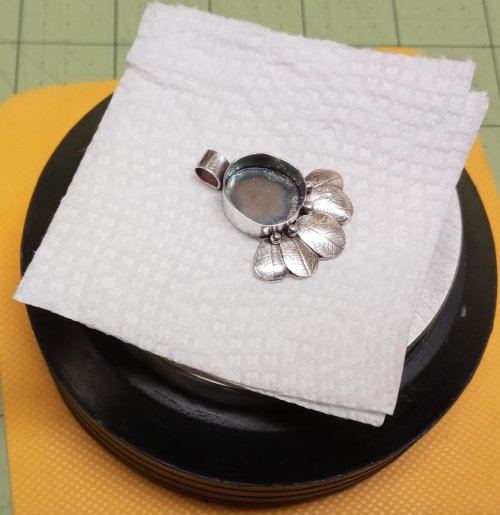 Protecting The Back of a Piece When Setting Stones
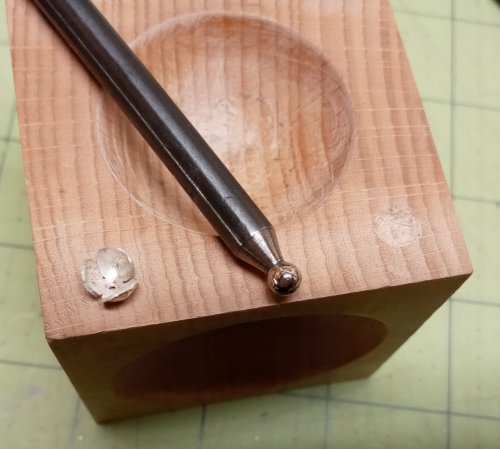 Altering Your Dapping Block
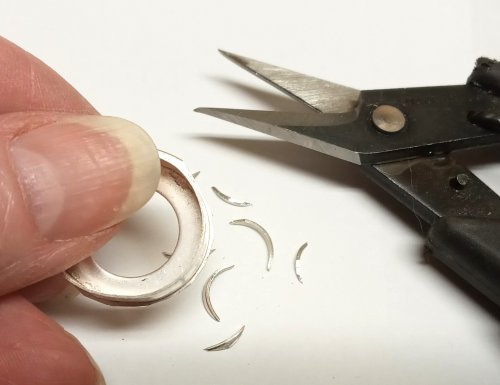 Trimming Around a Bezel
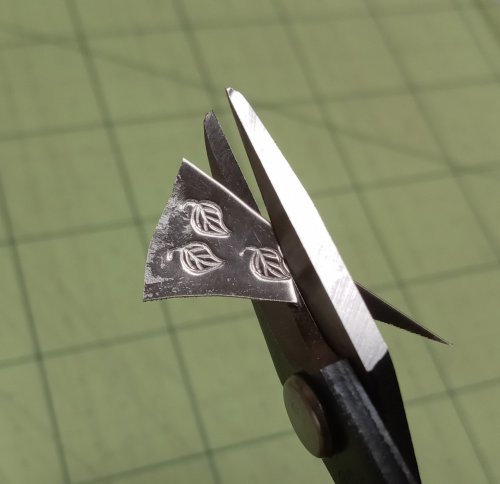 Making Tiny Dapped Metal Leaves
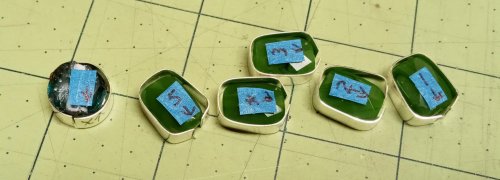 Labeling Cabs When Working with Them
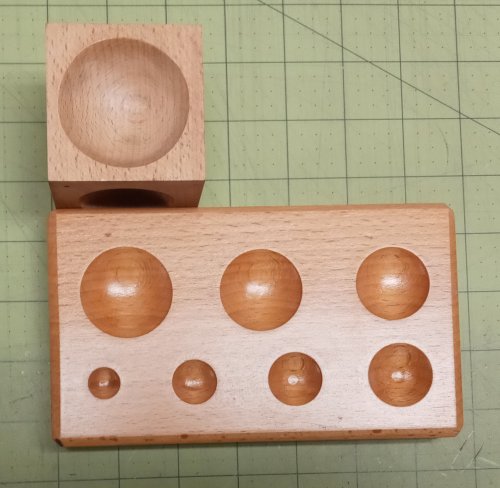 Basic Round Well Wood Dapping Blocks
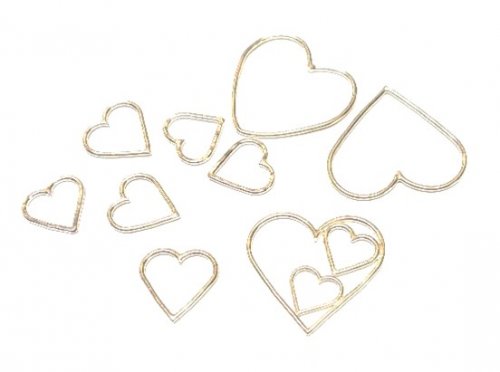 Get Inspired by What's on Your Bench
 When Things Go Awry
 Putting On and Taking Off a Cuff Bracelet
 Adding Hearts to Your Designs
 Taking Care of Your Rolling Mill
 Power Up
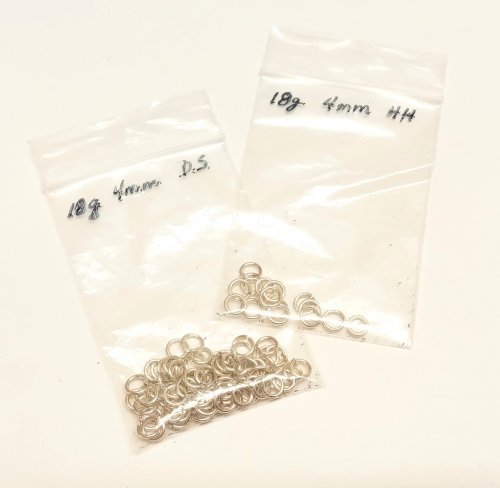 Wire Temper and Jump Rings
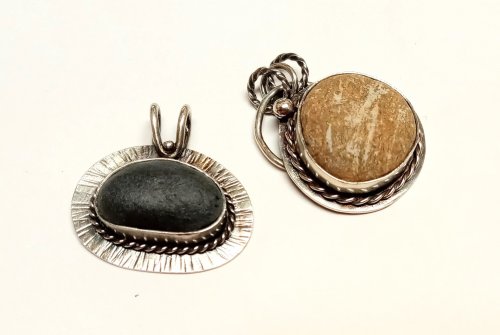 Embellish Bezels with Twisted Wire
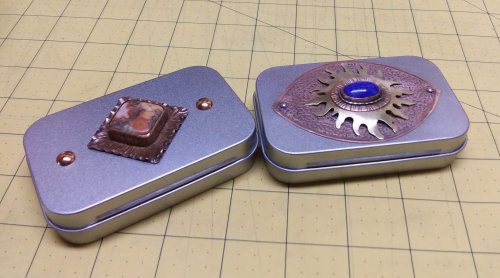 Embellish a Treasure Box
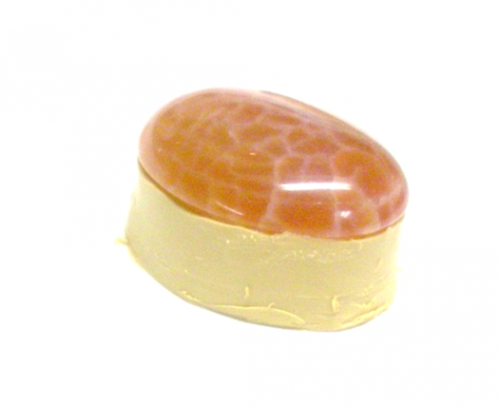 Make a Polymer Clay Cabochon Mandrel
 Jewelry Packaging for Small Items - Pillow Boxes
 Make-do Sawing Solutions
 Ball Chain Embellishments
 Pickling and Super Pickle
 A Better T-bar
 A Better Way to Change a Saw Blade
 Making Consistent Hanging Loops
 Targeted Patina
 Coin Focal Inspiration
 Bracelet and Paperclip Trick
 What Wire is Best for Earring Findings
 Storing Your Metal Stamps
 Save Those Old Buttons
 Adjusting Purchased Ear Wires
 Twisted Wire Tips
 Stash Inspiration and Notes
 Short Quotes for Stamped Jewelry
 My Favorite Tweezers
 No Rolling Mill- No Problem
 Coiling Wire for Jump Rings
 Cutting Coils Into Jump Rings
 Closed Jump Rings Soldering vs Fusing
 Recycling Scrap Into Sheet Metal

