
Triangle Shield Earrings, Pendant and Bail
- Category: Metalwork
- Technique(s): Filing / Finishing, Hole Punching, Oxidizing / Antiquing, Sawing, Texturing
- Skill Level: Beginner
Today we feature another great sheet metal pattern from Judy Larson. This easy to make sheet metal project is a great addition to your sheet metal jewelry collection.
Soldering and riveting experience is necessary to make this project.
Soldering and riveting experience is necessary to make this project.
Materials

24 Gauge 0.020 Dead Soft Copper Sheet Metal - 6x6 Inch
MET-705.24
- Lesson Quantity: 1.00 pieces
- Purchase Quantity: 1.00 each
- Price: $9.42
- Gold Club Price: $7.07

20 Gauge Round Dead Soft Copper Wire
H11-20D
- Lesson Quantity: 3.00 inches
- Purchase Quantity: 1.00 1FT
- Price: $0.49
- Gold Club Price: $0.37

Ear Wires Copper
- Lesson Quantity: 1.00 pieces
- Purchase Quantity: 1.00 each
Tools

Pro Shear
SHR-544.00
- SHR-544.00
- Lesson Quantity: 1.00 pieces
- Purchase Quantity: 1.00 each
- Price: $12.95
- Gold Club Price: $9.71

Round Nose Wire Pliers
G2-507
- G2-507
- Lesson Quantity: 1.00 pieces
- Purchase Quantity: 1.00 each
- Price: $32.95
- Gold Club Price: $24.71

Flat Nose Wire Pliers
G2-506
- G2-506
- Lesson Quantity: 1.00 pieces
- Purchase Quantity: 1.00 each
- Price: $32.95
- Gold Club Price: $24.71

Chain Nose Wire Pliers
G2-508
- G2-508
- Lesson Quantity: 1.00 pieces
- Purchase Quantity: 1.00 each
- Price: $32.95
- Gold Club Price: $24.71

Euro Punch Plier 1.50mm
PLR-133.70
- PLR-133.70
- Lesson Quantity: 1.00 pieces
- Purchase Quantity: 1.00 each
- Price: $14.97
- Gold Club Price: $11.23

5/8 Inch Double Rubber/Nylon Head Hammer - Pack of 1
G3-26
- G3-26
- Lesson Quantity: 1.00 pieces
- Purchase Quantity: 1.00 each
- Price: $4.97
- Gold Club Price: $3.73

Dimple Pliers - 3mm (Green Handle)
PLR-726.30
- PLR-726.30
- Lesson Quantity: 1.00 pieces
- Purchase Quantity: 1.00 each
- Price: $15.97
- Gold Club Price: $11.98

7 Piece Mini TruStrike Hammer Set with Stand
HAM-520.70
- HAM-520.70
- Lesson Quantity: 1.00 pieces
- Purchase Quantity: 1.00 each
- Price: $140.54
- Gold Club Price: $105.40

Bench Block Helper with Steel and Nylon Blocks
DAP-500.30
- DAP-500.30
- Lesson Quantity: 1.00 pieces
- Purchase Quantity: 1.00 each
- Price: $29.95
- Gold Club Price: $22.46

Nylon Bracelet Bending Plier
PLR-840.00
- PLR-840.00
- Lesson Quantity: 1.00 pieces
- Purchase Quantity: 1.00 each
- Price: $19.97
- Gold Club Price: $14.98

Basic Soldering Kit
G15-4
- G15-4
- Lesson Quantity: 1.00 pieces
- Purchase Quantity: 1.00 each
- Price: $58.95
- Gold Club Price: $44.21

SANDING SPONGES ASST- 5PC- 1EA GRIT 100-400
ABR-600.90
- ABR-600.90
- Lesson Quantity: 1.00 pieces
- Purchase Quantity: 1.00 each

Marker -extra fine
- Lesson Quantity: 1.00 pieces
- Purchase Quantity: 1.00 each

Pickle Pot, 16 Ounces
CLN-584.00
- CLN-584.00
- Lesson Quantity: 1.00 pieces
- Purchase Quantity: 1.00 each
- Price: $31.95
- Gold Club Price: $23.96

Sparex Number 2 Pickling Compound
SOL-802.10
- SOL-802.10
- Lesson Quantity: 1.00 pieces
- Purchase Quantity: 1.00 each
- Price: $6.95
- Gold Club Price: $5.21

WireJewelry Single Barrel Rotary Tumbler, Jewelry and Metal Polishing Kit, Includes 1 Pound of Jewelers Mix Shot and 8 Ounces of Shinebrite Burnishing Compound (2021 Version)
G24-1V2-KITSS
- G24-1V2-KITSS
- Lesson Quantity: 1.00 pieces
- Purchase Quantity: 1.00 each
- Price: $159.93
- Gold Club Price: $119.95

Steel wool
- Lesson Quantity: 1.00 pieces
- Purchase Quantity: 1.00 each

6 Piece Assorted File Set with Wooden Handle
G14-7
- G14-7
- Lesson Quantity: 1.00 pieces
- Purchase Quantity: 1.00 each
- Price: $5.57
- Gold Club Price: $4.18
Instructions
Step 1
Copy the three triangle and one bail templates. You can find Judy's Jewelry Component Templates:
Judy's Jewelry Component Templates
Judy's Jewelry Component Templates
Step 2
Transfer the designs to your sheet metal.
Step 3
Cut the triangles out using your preferred method for cutting sheet metal.
Step 4
File any sharp edges.
Step 5
Use a 1.5mm hole punch to make holes in the center top of each piece.
Step 6
Decide on the position of the design elements you want for your pieces. Use an ultra fine point permanent marker to draw these lines on the front of each piece. Mark the center line on the front and back of each piece.

Step 7
Place each triangle shape on a bench block. Use the narrower side of the Mini TruStrike Sharp Designer Hammer to texture the lower edge of each triangle piece.

Step 8
Use the larger side of the Mini TruStrike Embossing Hammer to texture the center area of each triangle piece.

Step 9
The metal pieces will no longer be flat after texturing. Place each piece on a bench block and use a rubber or plastic mallet to flatten them.
Step 10
The first decorative dimple should be formed right on the center line. Place the indented cup side of the dimpling pliers on the FRONT side of the metal piece. The edge of the metal piece should be on the edge of the indented cup. When you close the jaws of the pliers, the hook portion should be just inside the edge of the metal piece right on the line on the BACK side of the piece.

Step 11
To make each succeeding dimple along each side of the bail, place the edge of the indented side of the dimpling pliers jaw against the previous dimple. As in Step 10, the edge of the metal piece should be on the edge of the indented cup. When you close the jaws of the pliers, the hook portion should be just inside the edge of the metal piece.

Step 12
Remove the marker lines from the pieces with an alcohol soaked pad.
Step 13
Cut nine 1/8″ pieces of 20 gauge wire. Lay them side by side on a fire brick. Use your torch to melt them into balls. Note: If you want all large metal balls used as decoration, use three 1/8″ pieces. If you would like slightly smaller metal balls, use two 1/8″ pieces.


Step 14
After the balls have cooled, hold them with your chain nose pliers and un the back of the ball over the sandpaper. This will remove the fire scale and any bits of brick they may have picked up.

Step 15
Solder the balls in place using your preferred method.
Step 16
Pickle the pieces to remove fire scale.
Step 17
Tumble the pieces in steel shot to shine them up or use 0000 steel wool to polish them.
Your pieces will look like these.
Your pieces will look like these.

Step 18
Optional: Use a nylon bracelet bending pliers to shape each triangle, being careful to not flatten the dimples.

Step 19
Attach ear wires to the earrings and the bail to the pendant.
Step 20
You can leave your pieces bright and shiny or use liver of sulfur to patina them. Buff with 0000 steel wool to bring out the dimension of your texturing.
Congratulations! You've made your first Triangle Shield Earrings, Pendant and Bail.
.jpg)






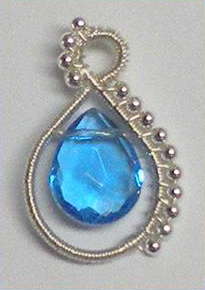 Beaded Briolette Pendant
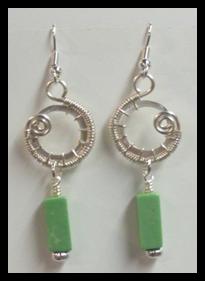 Snail Trail Spiral Earrings
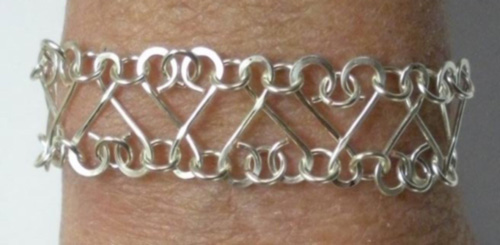 Heart Link Bracelet and Earrings
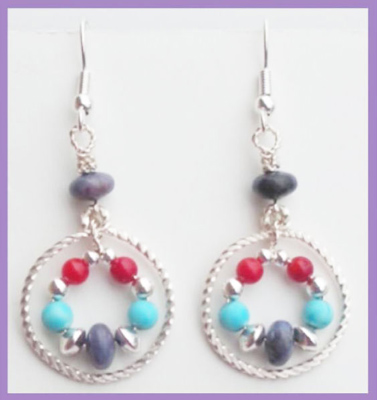 Crazy Hoop Earrings
 Double Delight Jade Bracelet
 Swagged Pearl Pendant
 Heart Earrings with Drops
 Scarab Bracelet
 Birthstone Heart Pendant
 Pearl of the Sea Woven Pendant
 Bead Charm
 Coiled Rosette Link
 Wire Jewelry Component and Swan Hook
 Leaf Bail
 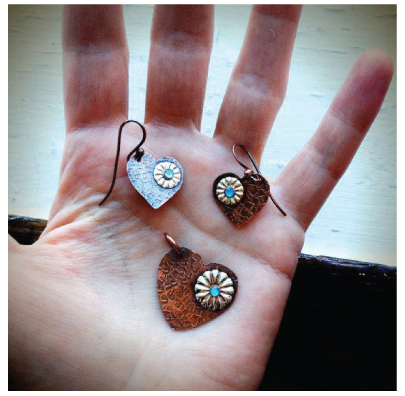 Component Templates with Heart Earrings and Pendant
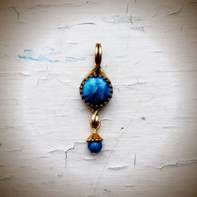 Ring Pendant
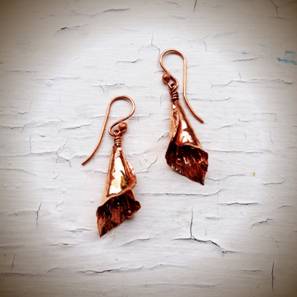 Calla Lily Earrings
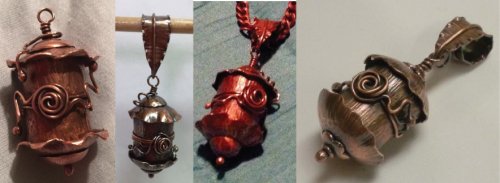 Birdhouse Pendant
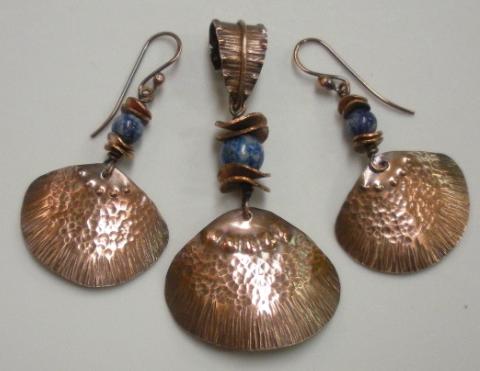 Clamshell Earrings and Pendant
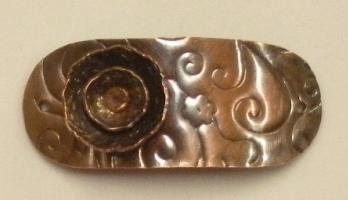 Bracelet Component
 Teardrop Earrings and Pendant
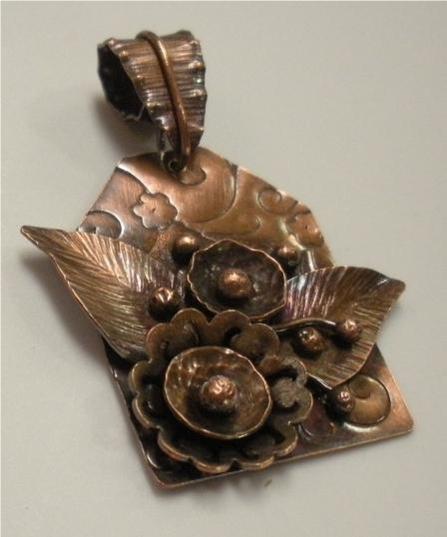 Tab Style Pendant
 Coiled End Caps
 Freeform Pendant
 French Hook Ear Wires
 Necklace Component
 How to Make a Wire Coil and Bead
 Egyptian Coil Bracelet
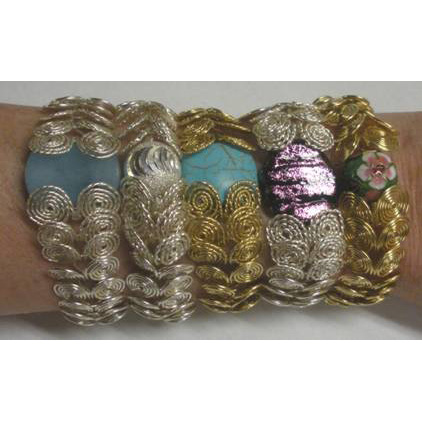 Focal Bead Egyptian Coiled Bracelet
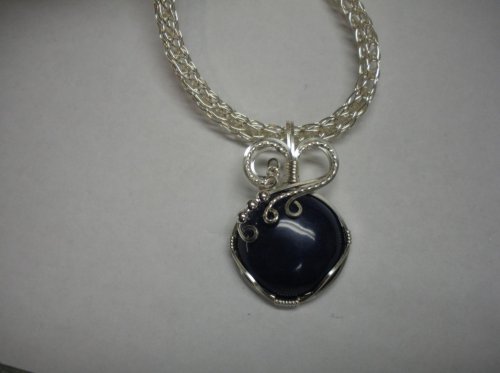 Sweetheart Round Cabochon Pendant
 Making Cobblestone Cabochons
 Cupcake Wrapper Earrings
 How to Make Metal Washers
 Baseball Skin Keychain
 Pat's Silver Domed Earrings
 Blaze Your Own Path Pendant
 Semi Snap-on Bail
 Interlocking Faux Twist Wire Bracelet
 Fold Formed Cuff With Faux Roman Glass or Coin Cabochon
 Steampunk Style Leaf Earrings
 Stamped Saucer Beads
 Kat's Wire Hoop Earrings
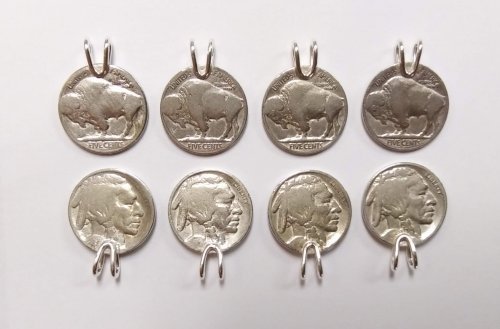 Simple Bail on a Coin Pendant
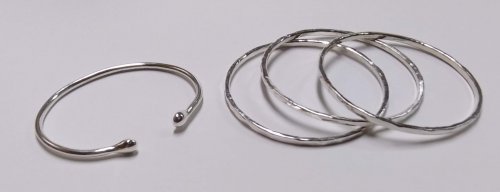 Wire Bangles
 Rolling Mill - or not - Cuff Bracelet
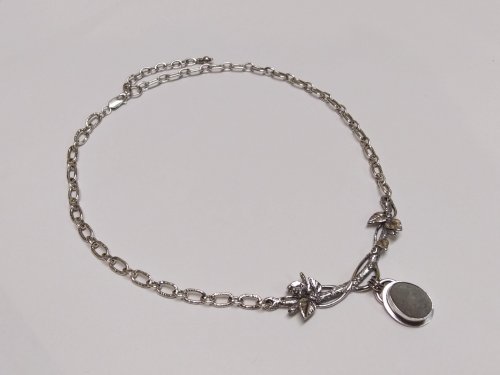 Jen's Chain
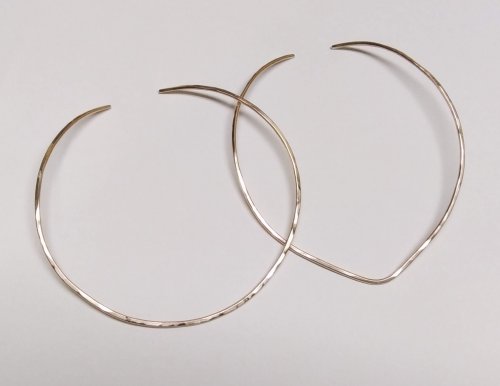 Making Neckwires
 Silver Scrap Wire Focals to Embellish
 Splash Ring
 Cobblestone Cab Earrings
 Multi Gemstone Necklace
 Southwest Style Pendant
 Bezels Using Square Wire
 Mixed Metal Sampler Bracelet 1
 Mixed Metal Sampler Bracelet 2
 Mixed Metal Sampler Bracelet 3
 Mixed Metal Sampler Bracelet 4 - Words Matter
 Mixed Metal Sampler Bracelet 5 - River Walk
  Mixed Metal Sampler Bracelet 6 - A Little Bling
 Mixed Metal Sampler Bracelets Series PUTTING IT ALL TOGETHER
  Mixed Metal Sampler Bracelet 7 - Steampunk Space Oddity
 Mixed Metal Sampler Bracelet 8 - Fun Shapes
 Jump Ring Fringe Bracelet
 Easy Artisan Earrings
 Making Chain with Wubbers and Wire
 Heirloom Buttons and Beads Bracelet
  Tiny Silver Charms part 1
 Argentium Silver Scrap Chain
 Sterling Lake Stone Pendant with Twisted Wire
 Smashing Drop Earrings
 Argentium Silver Scrap Nugget Cuff
 Finish Them Your Way Earrings
 Paddle Fringe Earrings
 Seed Bead Earrings
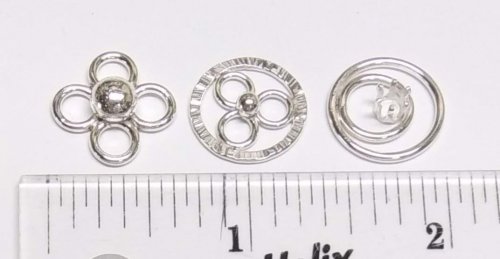 Bracelet Links 1, 2,3
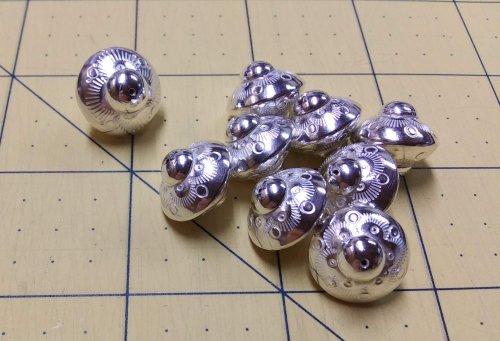 Stamped Saucer Beads
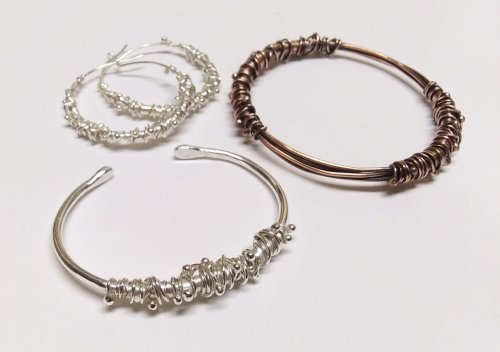 Chaos Scrap Wrap Jewelry
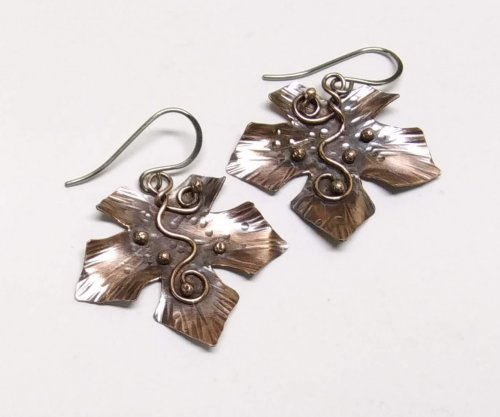 Maple Leaf Earrings
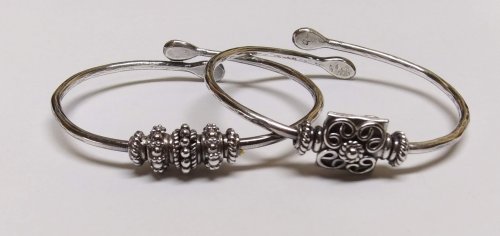 Child's Bracelet That Grows with Them
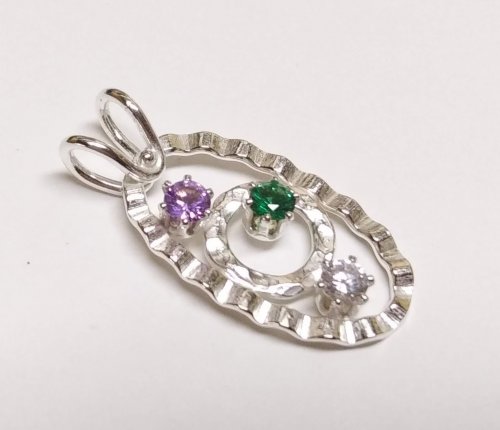 Mike's Surpirise Claire's Ripple Pendant
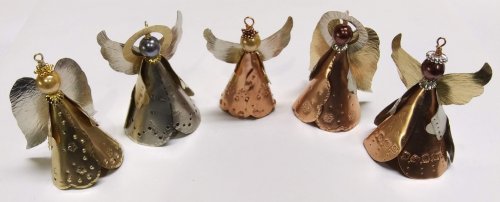 Angel Ornament
 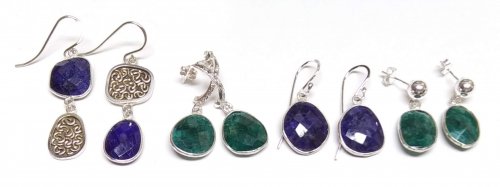 Diamonds, Emeralds, and Sapphires, Oh My.
 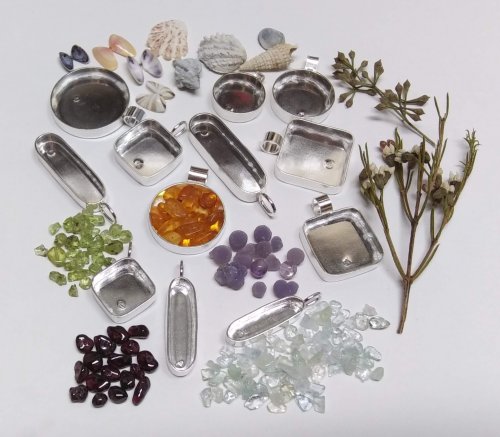 Treasure Bezel Cups
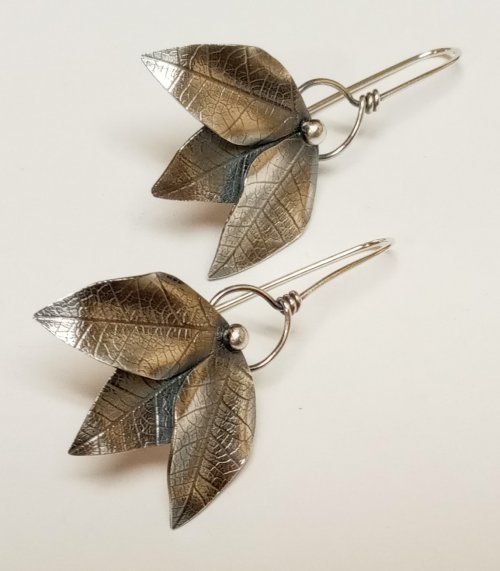 Three Leaves Earrings
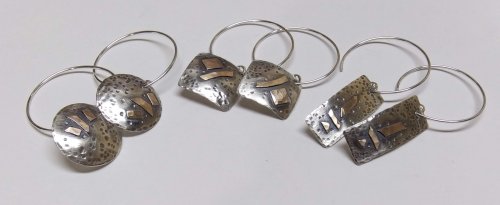 Silver and Gold Earrings
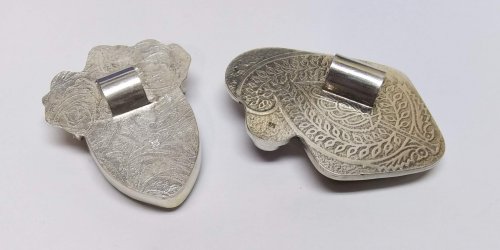 Make a Hidden Bail
 Wire Links 4, 5, 6
 Wire Links 7, 8, 9, and 10
 Double Loop Ear Wires
 Balled and Paddled Head Pins
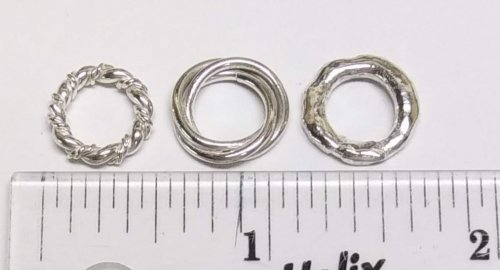
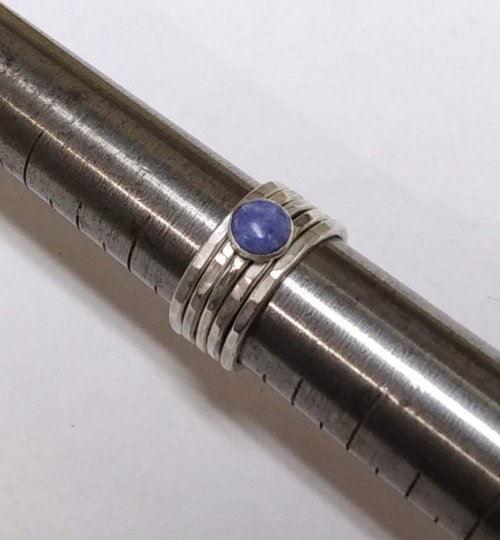 Textured Stacked Rings
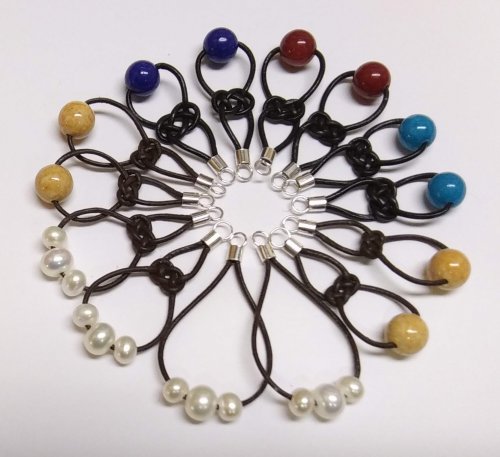 Cord and Bead Earrings
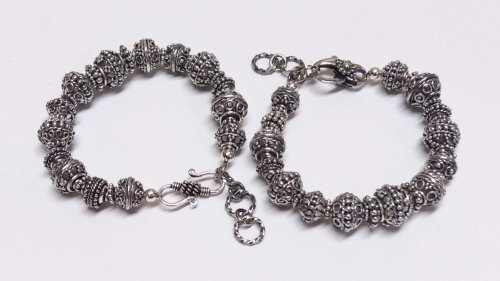 Bali Style Adjustable Closures
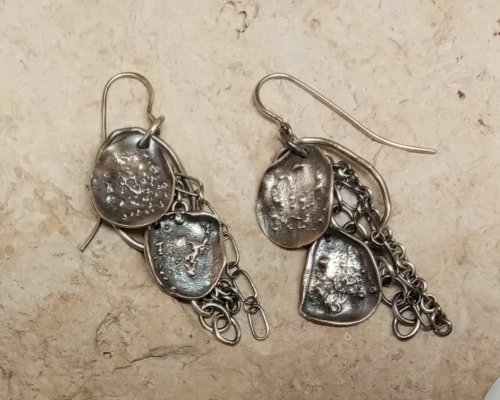 Organic Fused Silver Dust Earrings
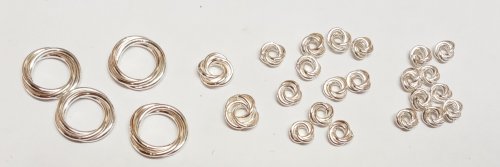 Mobius Rings
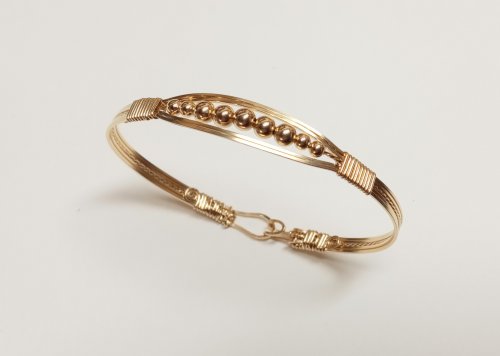 Dainty Bead and Wire Bangle with Hook Closure
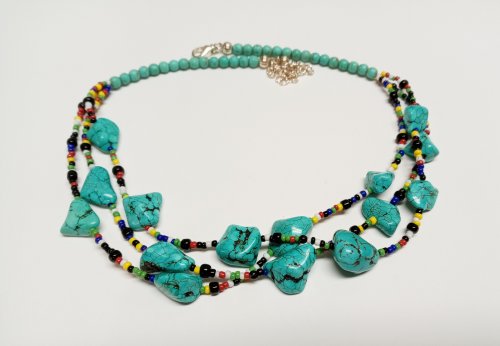 Seed Bead and Nugget Necklace
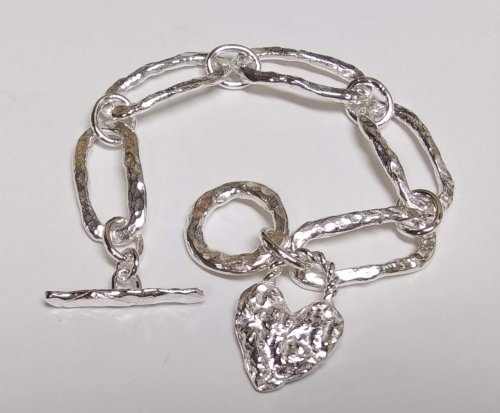 Love Locks Heart Charm
 Traditional Southwest Style Hook Closures
 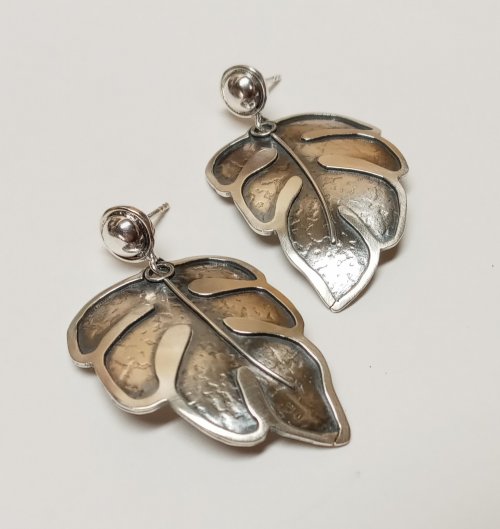 Negative Space Earrings
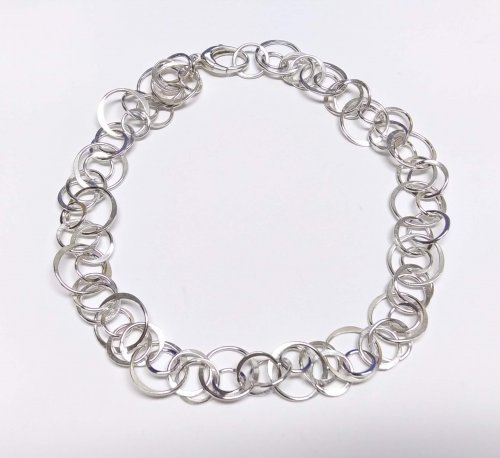 Jumbled Lacy Chain
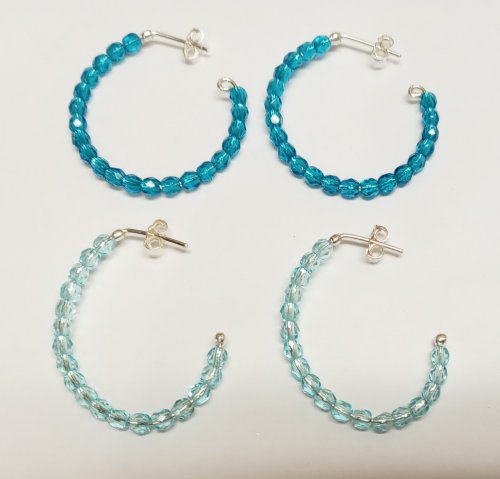 Easy Beaded Post Hoop Earrings
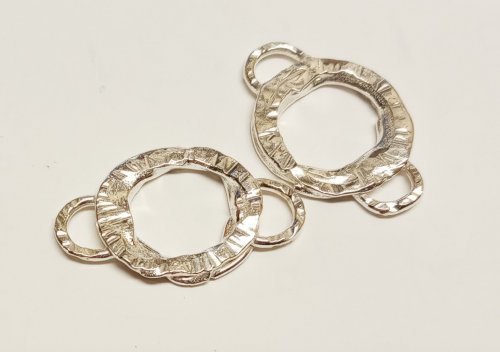 Rustic Silver Links
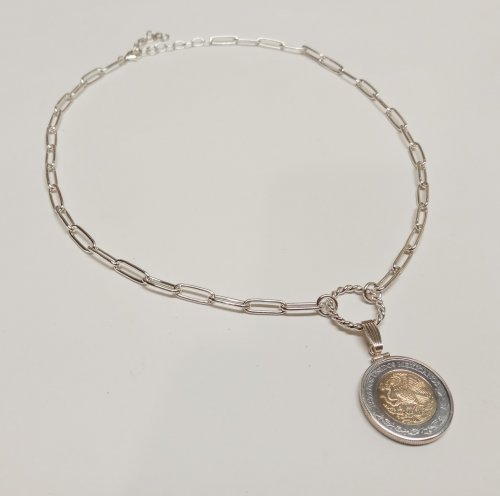 Make a Soldered Paperclip Chain
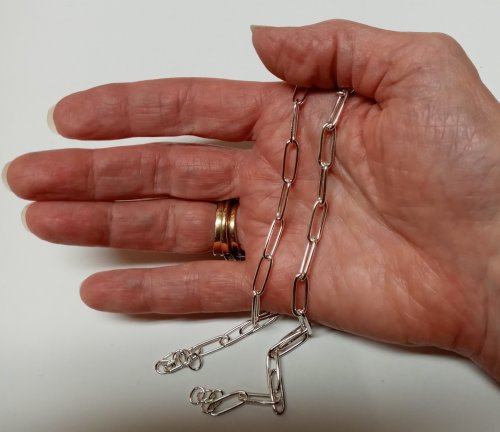 Make a Fused Paperclip Chain
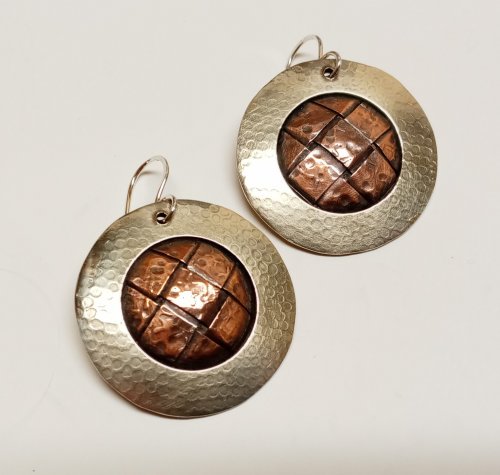 Make Woven Metal Strips to Use in Your Designs
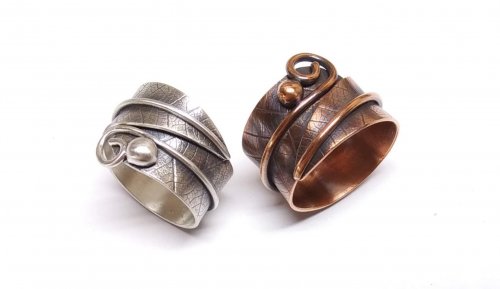 Leaf Wrap Metal Rings version 1
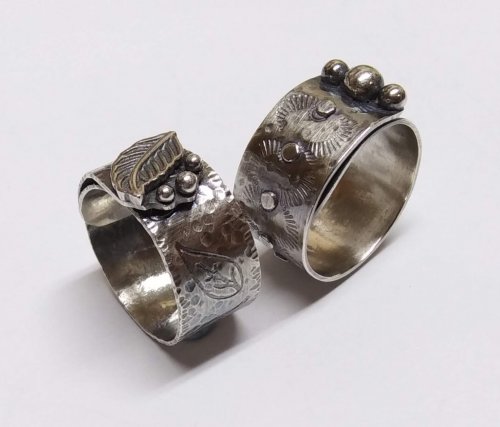 Leaf Wrap Metal Rings version 2
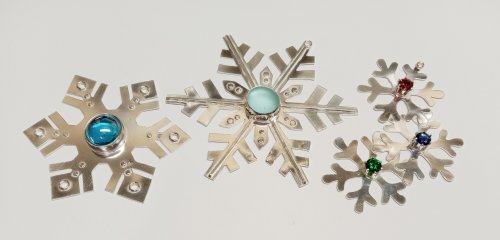 Snowflake Ornaments
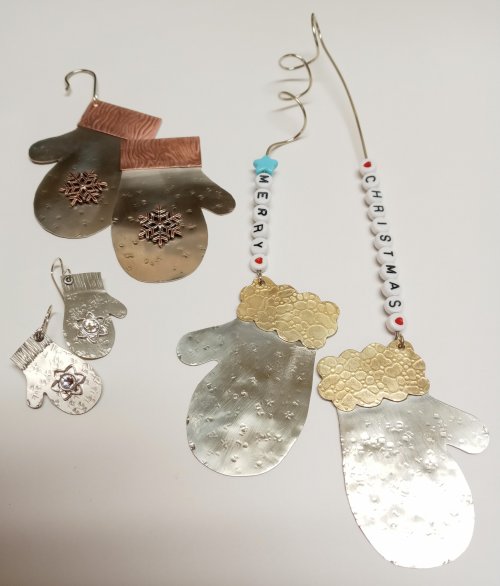 Mitten Ornament
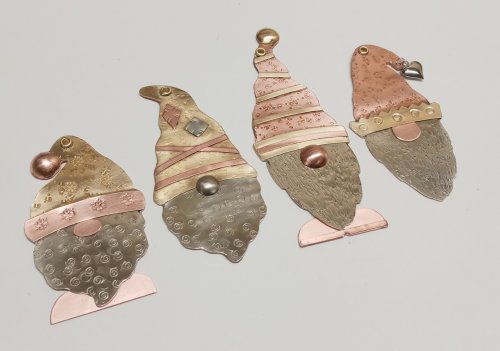 Gnome Ornaments
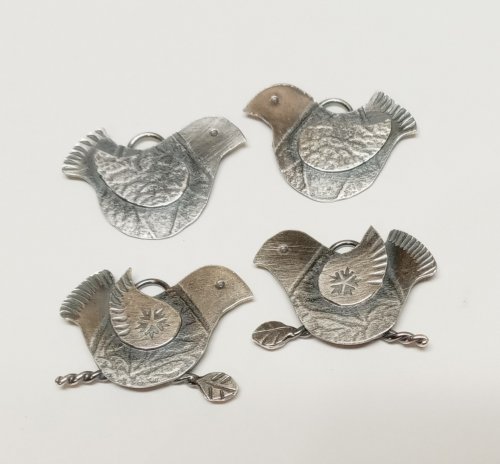 A Partridge in a Pear Tree Earrings
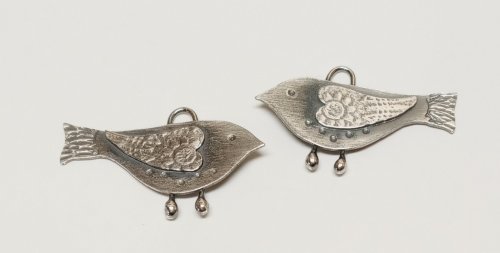 Two Turtle Doves Earrings
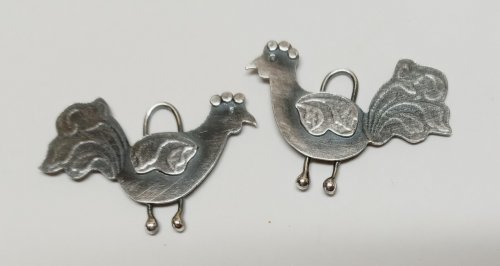 Three French Hens Earrings
 Four Calling Birds Earrings
 Five Golden Rings Earrings
 Six Geese a Layin' Earrings
 Seven Swans a Swimming Earrings
 Eight Maids a Milking earrings
 Nine Ladies Dancing Earrings
 Ten Lords a Leaping Earrings
 Eleven Pipers Piping Earrings
 Twelve Drummers Drumming Earrings
 Make Your Own Bracelet Button Clasps
 Little Saucer Bells
 Doodads - Fun Findings
 No Measure Hearts, Any Size, Any Gauge
  Cascading Drops Earrings
 WIre Basics - Spiral Charms
 Wire Basics - Wrapped Loops and Links
 Wire Basics - Simple Swan Hook
 Wire Crocheted Necklace
 Wire Basics - Wire Garage Door Spring Link
 Easy Post Hoop Earrings
 Double Wrap Wire Bangle Bracelet
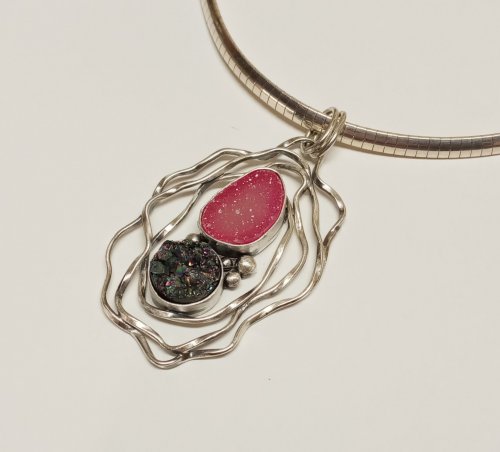 Organic Wire Pendant
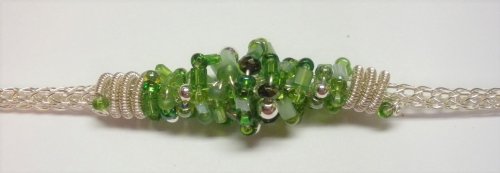 Coiled, Beaded Slide
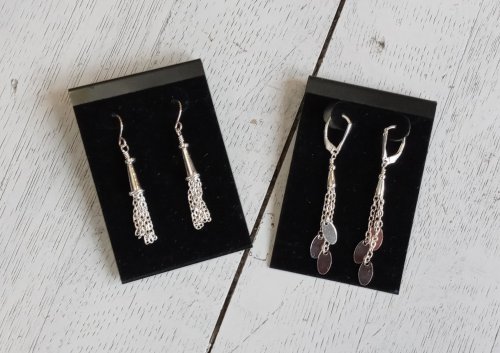 Cone and Chain Earrings
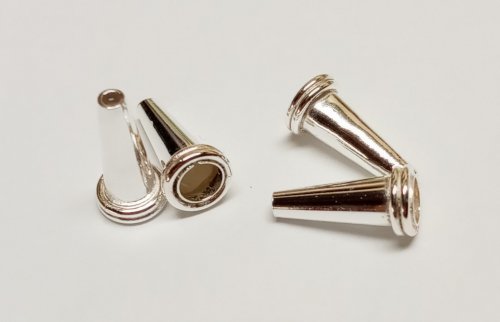 Embellished Sterling Cones
 Classic Wire Wrap Bezelled Pendant
 Wire Wrap a Coin
 Viking Knit
 Viking Knit Bracelet
 Coiled Wire End Caps
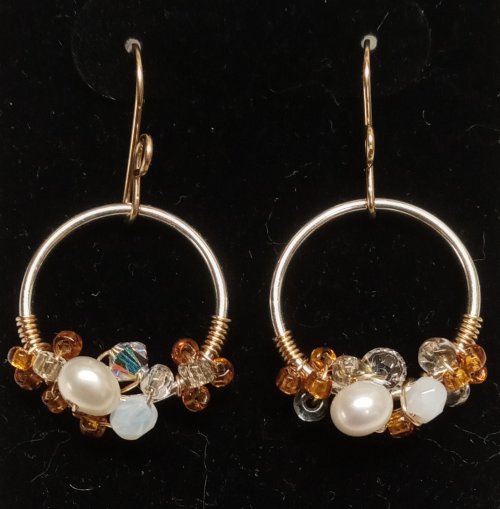 Bead-Wrapped Hoop Earrings
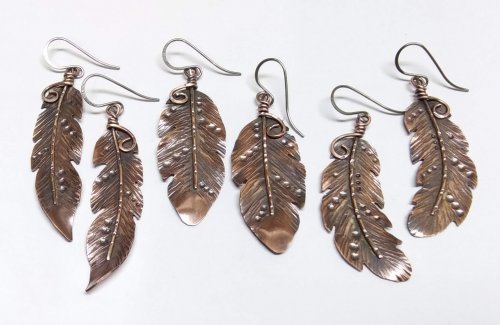 Copper Feather Earrings
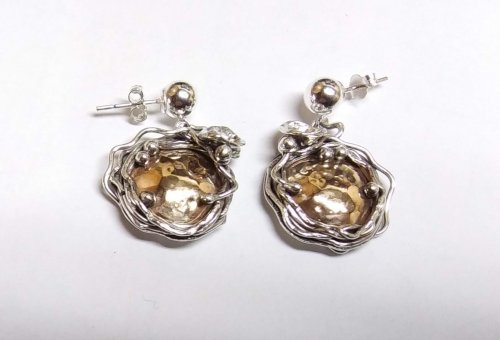 Soldering a Dome to a Backplate
 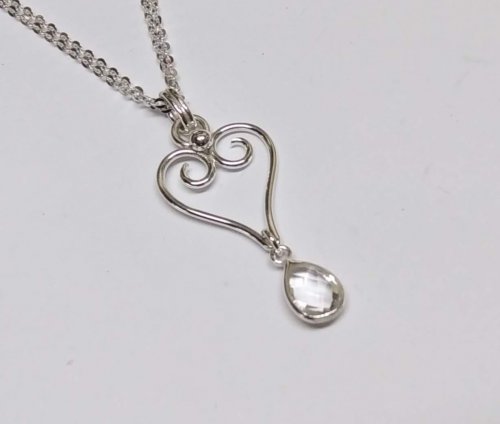 Wire Heart Pendant with Gemstone Drop
 Make Basic Wire Shapes for Jewelry
 Make Simple Wire Slide Bails
 Coiled Bead and Twisted Wire Bracelet
 Wire Triangle Link
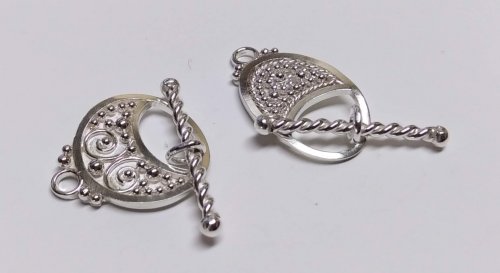 Bali Style Focal Toggle
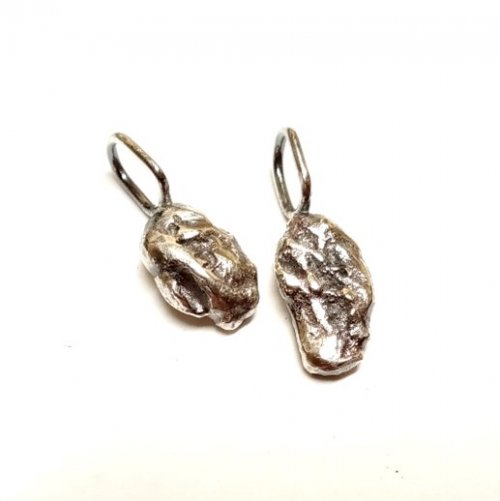 Silver Nuggets
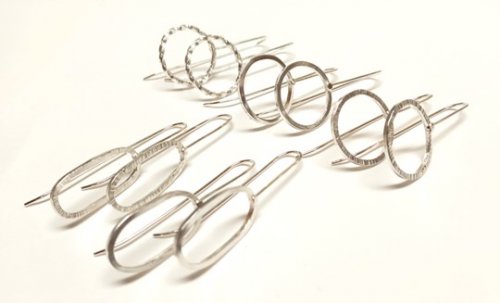 Fun Shapes Fish Hook Earrings
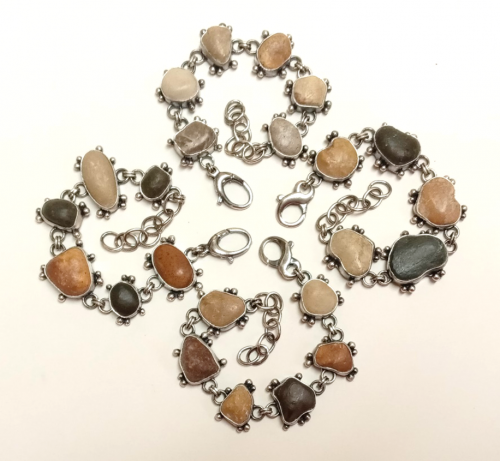 After the Rain Bracelets
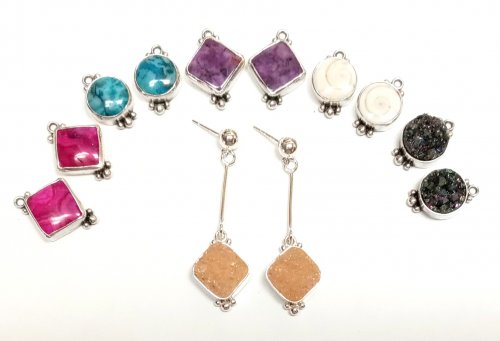 Dangling Drop Earrings
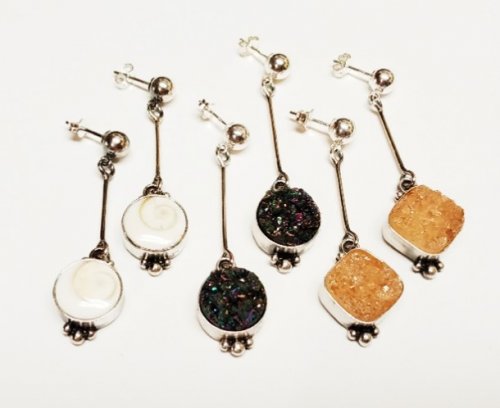 Dangling Chain Sticks
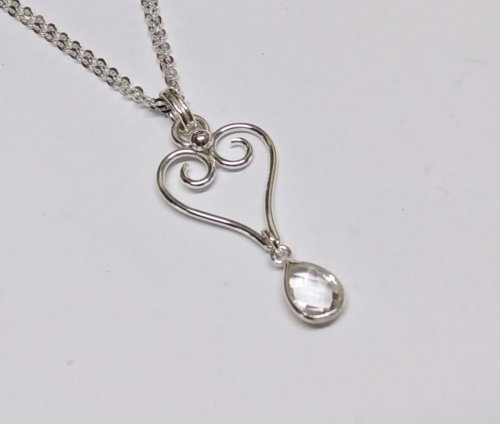 Wire Heart Pendant with Gemstone Drop
 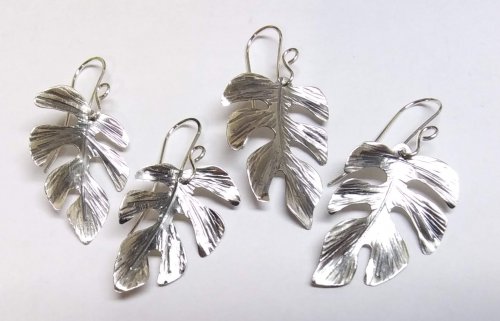 Tropical Leaf Earrings
 Basic Bezel Wire Tutorial
 Dog Tag Style Necklace
 Lacy Washers
 8-Strand Kumihimo
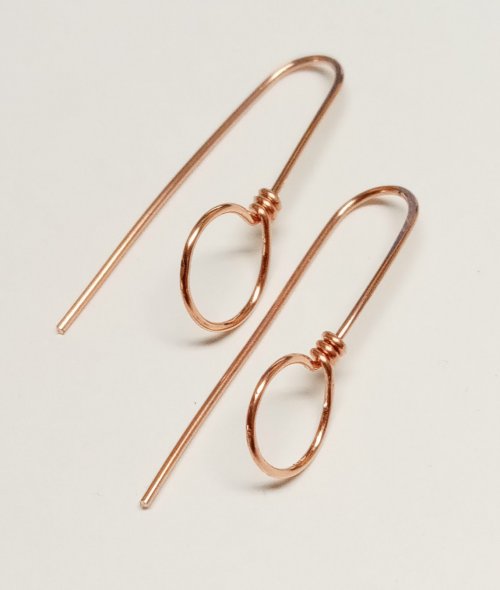 Closed Loop Ear Wires
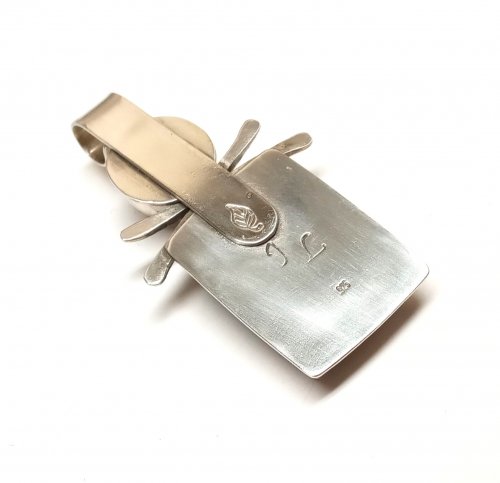 Simple Strip Bails from Scratch
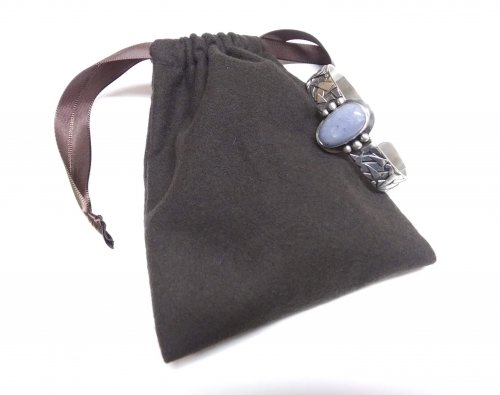 Anti-tarnish Silver Cloth Bags
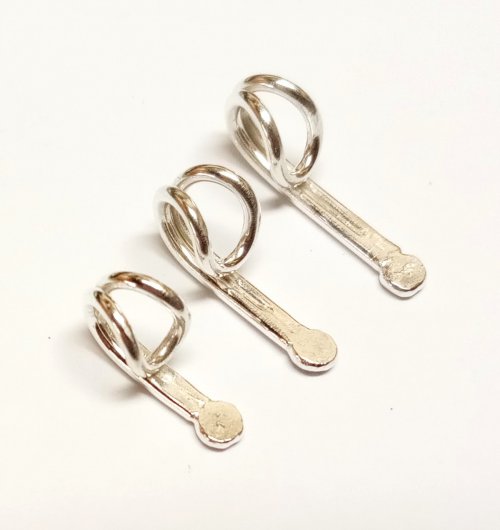 Cotter Pin Style Bail
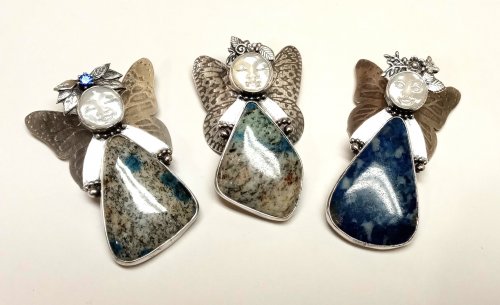 Holiday Woodland Fairy Ornament
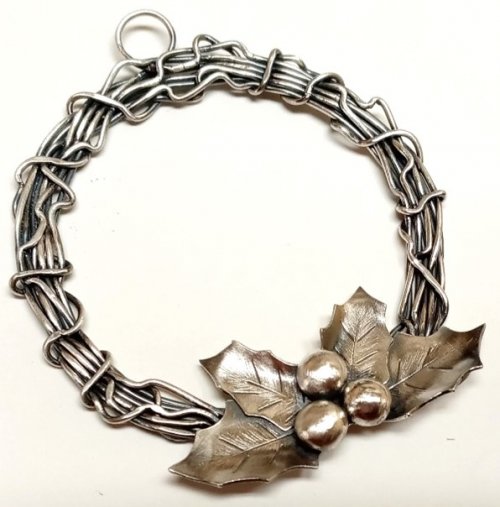 Happy Holly Days Wreath Ornament
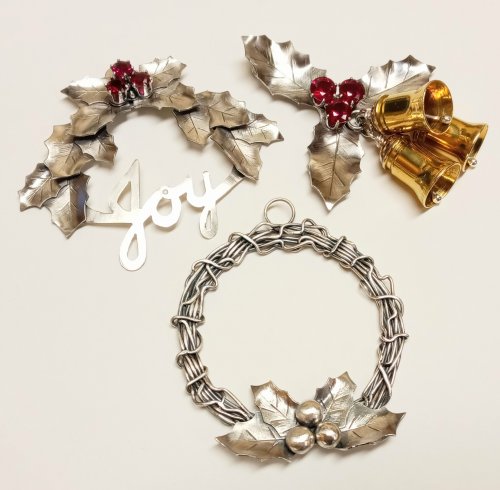 Happy Holly Days Leaves and Berries
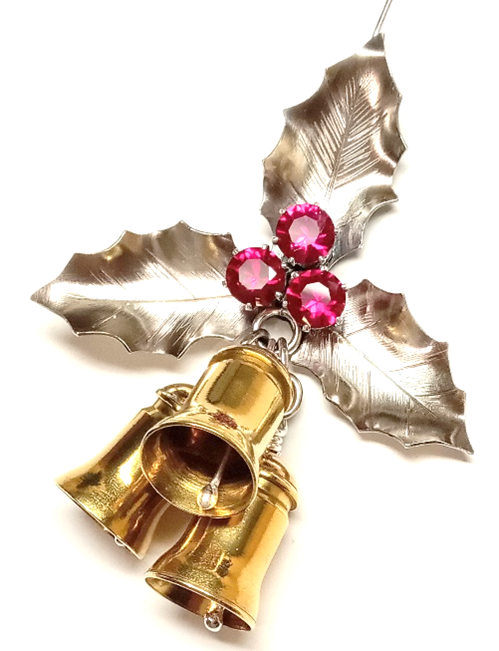 Happy Holly Days Bells Ornament
  Art Deco Wire Wrapped Pendant
 Twisted Wire Jump Rings
 Two-tone Beaded Bangle
 Sweetheart Pendant
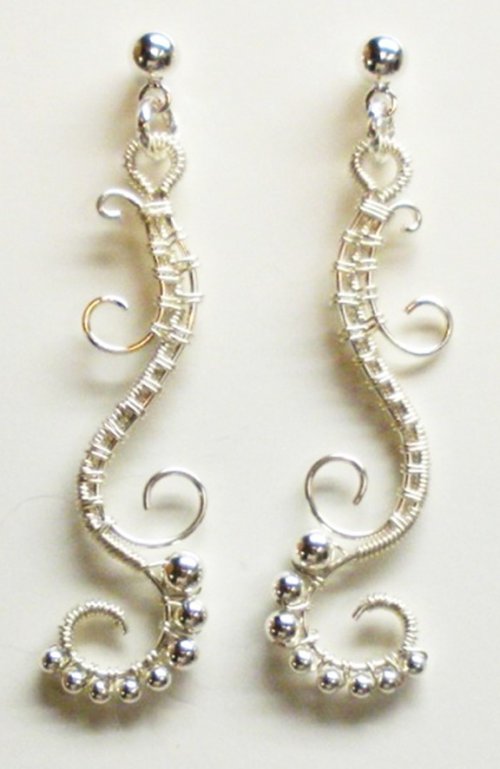 Waves on the Beach Earrings
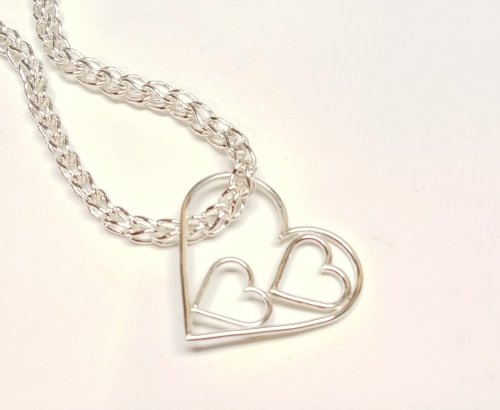 Any Size Wire Hearts - Any Size, Any Gauge
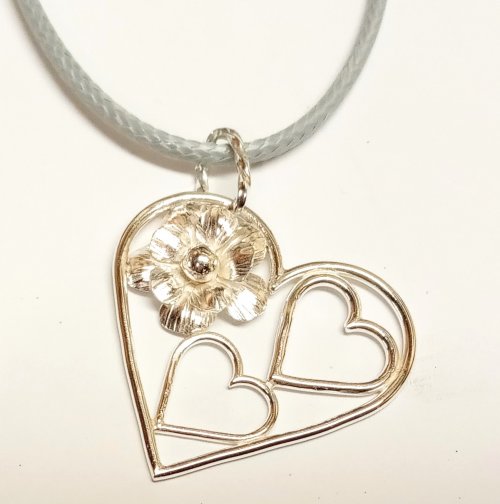 Just in Case Heart Pendant
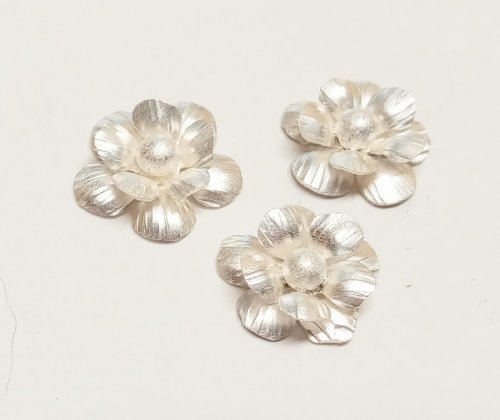 Small Flower Embellishment
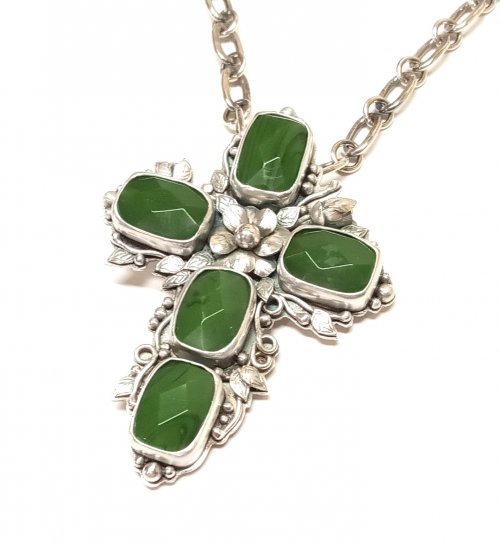 Making Tiny Dapped Metal Leaves
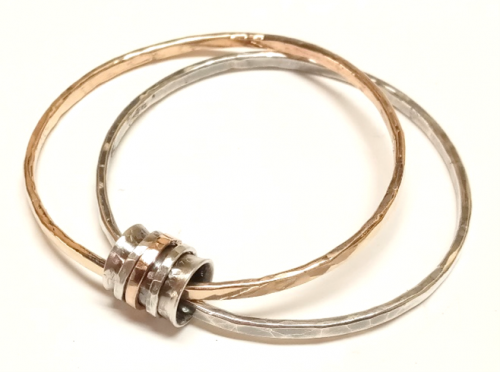 Spinner Fidget Bangles
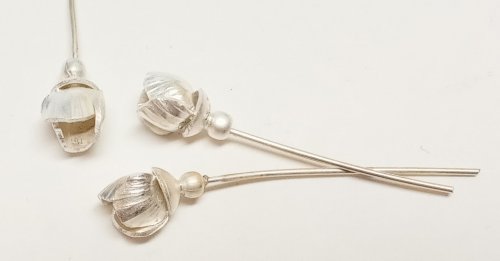 Small Flower Bud Embellishment
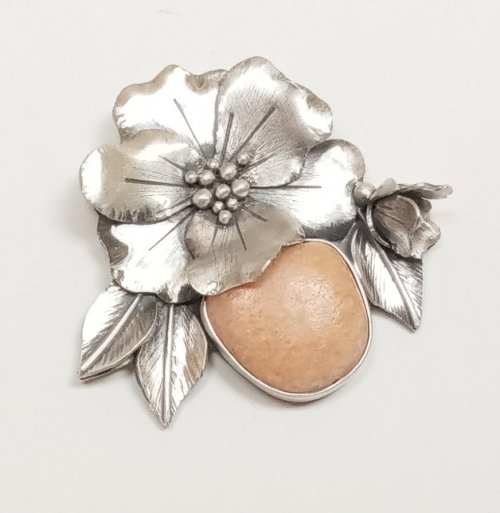 Three Petal Bud and Layered Embellishment
 Creating a Flower Stem
 Stamped Tube Beads
 Water Cast Scrap Cross
 Sugared Grapes Pendant
 Tourist Rock Cuff Bracelet
 Gemstone Chains Reimagined
 Checkerboard Faceted Earrings
 Foxtail Chain aka Loop-in-Loop
 Handmade Chunky Chain
 Capture a Summer Memory
 Stone Key Fob
 Sprinkles Link
 Ball Chain Embellishments
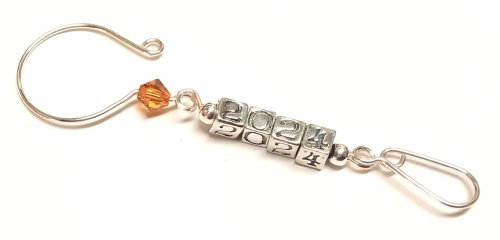 Handmade Ornament Hooks
