
Rolling Mill - or not - Cuff Bracelet
- Category: Metalwork
- Technique(s): Riveting, Texturing
- Skill Level: Intermediate
This is a very simple to make multi-sized cuff. Riveting and/or soldering were used to secure the parts of the cuff together.
After cupcakes are baked in fluted paper cups and cooled, laser-cut cupcake wrappers, which are about the thickness of cardstock and available in a multitude of designs, are wrapped around them to up the presentation factor. Multiples of the same design come in one package, but some packages contain a variety of designs
Generally, most laser-cut wrappers can be used only once. Experiment with the different designs to see how many times they could be used.
It is important to read through all the directions before making this cuff. Even though some of the pieces were soldered, it is not necessary. Everything can be riveted in place.
Materials

22 Gauge Dead Soft Argentium Silver Sheet - 6 Inches
H19-22SM6
- Lesson Quantity: 1.00 pieces
- Purchase Quantity: 1.00 1 Inch
- Price: $65.27
- Gold Club Price: $48.95

18 Gauge 0.040 Dead Soft Copper Sheet Metal - 6x12 Inch
MET-705.18M
- Lesson Quantity: 1.00 pieces
- Purchase Quantity: 1.00 each
- Price: $20.78
- Gold Club Price: $15.59

24 Gauge 0.020 Dead Soft Red Brass Sheet Metal - 6x12 Inch
MET-704.24M
- Lesson Quantity: 1.00 pieces
- Purchase Quantity: 1.00 each
- Price: $9.94
- Gold Club Price: $7.46

12mm Copper Rivet - Pack of 25
A5-512
- Lesson Quantity: 1.00 pieces
- Purchase Quantity: 1.00 each
- Price: $1.99
- Gold Club Price: $1.49
Tools

7 Piece Mini TruStrike Hammer Set with Stand
HAM-520.70
- HAM-520.70
- Lesson Quantity: 1.00 pieces
- Purchase Quantity: 1.00 each
- Price: $140.54
- Gold Club Price: $105.40

Xuron Sheer - Non Serrated
SHR-691.81
- SHR-691.81
- Lesson Quantity: 1.00 pieces
- Purchase Quantity: 1.00 each
- Price: $31.95
- Gold Club Price: $23.96

Steel Oval Smooth Bracelet Mandrel
G7-20
- G7-20
- Lesson Quantity: 1.00 pieces
- Purchase Quantity: 1.00 each
- Price: $39.95
- Gold Club Price: $29.96

Nylon Bracelet Bending Plier
PLR-840.00
- PLR-840.00
- Lesson Quantity: 1.00 pieces
- Purchase Quantity: 1.00 each
- Price: $19.97
- Gold Club Price: $14.98

Deluxe 3-Hole Punch
PUN-420.03
- PUN-420.03
- Lesson Quantity: 1.00 pieces
- Purchase Quantity: 1.00 each
- Price: $58.97
- Gold Club Price: $44.23

Large Rawhide Hammer 1 1/2 inch - Pack of 1
G3-50
- G3-50
- Lesson Quantity: 1.00 pieces
- Purchase Quantity: 1.00 each
- Price: $37.76
- Gold Club Price: $28.32

1/8 Letter Punch Set
PUN-105.80
- PUN-105.80
- Lesson Quantity: 1.00 pieces
- Purchase Quantity: 1.00 each
- Price: $13.97
- Gold Club Price: $10.48

Texturing Hammer with 9 Faces
HAM-470.00
- HAM-470.00
- Lesson Quantity: 1.00 pieces
- Purchase Quantity: 1.00 each
- Price: $47.00
- Gold Club Price: $35.25
Instructions
Step 1
The cuff base is ¾" wide 18 gauge dead soft copper sheet. Texturing the metal with the rolling mill will "stretch" the 6" piece up to about 6 ½" in length. However, if texturing by hand, the following lengths will be needed.
Small: 5.5"Medium: 5.75"Large: 6"X-Large: 6.25"XX-Large: 6.5""
Copper is available in 6"x6" or 6"x12" pieces. If using a rolling mill to texture the metal, cut ¾" sections across the 6" width.
Small: 5.5"Medium: 5.75"Large: 6"X-Large: 6.25"XX-Large: 6.5""
Copper is available in 6"x6" or 6"x12" pieces. If using a rolling mill to texture the metal, cut ¾" sections across the 6" width.

Step 2
It is a good idea to do a test piece whenever using a new material. Use a scrap piece of metal and a small bit of the laser-cut cupcake wrapper to decide on the rolling mill settings to use. Open the rollers. Place the metal between the rollers and tighten until the metal will not pull out. Note the setting. Open the rollers and remove the metal. Tighten the rollers 1/8 to ¼ turn of the T-crank or wheel that turns the gears on top of the rolling mill. Place the texture piece on top of the metal and run through the mill. Check the texture impression and make setting adjustments as necessary.
Step 3
Place the cuff base on a cupcake wrapper. Trim excess wrapper, leaving ¼" or so on the sides and leaving the full length.

Step 4
Place the cuff base as close to the top edge of the wrapper as possible, leaving room at the bottom of the wrapper for when the metal lengthens while rolling. Roll through the mill.
If desired, both sides of the cuff can be imprinted with cupcake wrapper designs. Do a test piece first to determine the settings.
If desired, both sides of the cuff can be imprinted with cupcake wrapper designs. Do a test piece first to determine the settings.

Step 5
Cut the cuff to the desired size length, using a circle template to round the ends.
File, sand and refine the metal edges. Hint: Filing the cuff base will be easier if it is raised off the work surface.
Optional: If the texture is to be on the inside of the cuff, the outside edge can be textured slightly, if desired.


Step 6
Optional: Use an ultra fine point Sharpie to mark the center of what will be the back or inside of the cuff. Use hard solder to attach a Maker's Mark stamped silver disk on the center line. Pickle and dry the piece.

Step 7
What if you do not have access to a rolling mill?
There are many different texture hammers that would make nice designs on the metal. On the off chance that it might work, I tried the following with laser-cut cupcake wrappers and it worked quite well! Hint: Try a smaller practice piece before going on to the long cuff base.
Cut a cuff base a bit longer than the finished length desired. Anneal, pickle, rinse and dry.
Cut a laser-cut cupcake wrapper slightly wider and longer than the size of the cuff base.
Lightly coat one side of the cuff base with stick craft glue. Immediately adhere the cupcake wrapper to the cuff base.
Place the square on a bench block, cupcake wrapper design facing up.
Use a hammer with a large, flat smooth face to hammer the cupcake wrapper design into the metal surface. Use firm flat strokes.
The paper design should easily pull back from the metal when finished. If not, it will come off in the next step.


Step 8
Leaves: Harvest leaves with heavy or thick veining. After pressing and drying them, they are ready to be used.
Choose leaves that are as narrow or narrower than the area they will be soldered or riveted to.
Choose leaves that are as narrow or narrower than the area they will be soldered or riveted to.
Cut a piece of typing paper to fit the leaves being impressed. Keep in mind the width of the rolling mill rollers. Also, rolling the metal centered on the rollers will make the best impression.
Using a glue stick, lightly adhere the leaves, underside facing up, to a piece of typing paper.

Step 9
Cut, anneal, pickle and dry a piece of 22 or 24 gauge sheet metal (argentium silver was used here) slightly larger than the paper the leaves are glued on.
Cut a piece of thin hobby store craft foam larger than the sheet metal.
Cut a piece of card stock or manila folder large enough to make a folder to fit the metal, leaves on paper and craft foam.
Step 10
It is a good idea to do a test piece whenever using a new material. Use a different leaf and metal, such as copper as it is less expensive, to decide on the rolling mill settings to use. Open the rollers. Place the metal inside the folder and slide this "sandwich" into the center of the rollers. Tighten the rollers so the folder with the sandwich will not pull out. Note the setting. Open the rollers and remove the sandwich. Tighten the rollers 1/8 to ¼ turn of the T-crank or wheel that turns the gears on top of the rolling mill.
Place the metal on top of the craft foam and the leaves down onto the metal. Place the stack in the folder. Run the sandwich through the rolling mill. Check the texture impression and make setting adjustments as necessary. Note: Placing a piece of thin craft foam on either side below and above the metal sandwich will help push the metal into the texture, creating a slightly deeper texture. However, it also adds thickness, which could possibly make it very difficult to turn the crank. If this is the case, lighten the pressure.
After all the adjustments are made, run the prepared leaf sandwich folder through the rolling mill.

Step 11
Cut the leaves out using shears or a saw with a 3/0 blade. File, sand and refine the leaf edges.
If the leaf vein texture is too faint because the veins were not thick enough on the leave, use the narrower side of a Mini TruStrike Sharp Designer Hammer to make a few deeper "veins" and a little edging, as seen on the leaves in these cuffs made by Deb Carlson, Carol Erickson and Kathi Nelson.

Step 12
What if you do not have access to a rolling mill?
Cut a leaf shape out of sheet metal. Place a piece of 22 gauge wire down the center of the leaf shape and hammer it into the metal to make the central vein. Texture leaf veining and the leaf edges with a Mini TruStrike Sharp Designer Hammer.
Cut a leaf shape out of sheet metal. Place a piece of 22 gauge wire down the center of the leaf shape and hammer it into the metal to make the central vein. Texture leaf veining and the leaf edges with a Mini TruStrike Sharp Designer Hammer.
Step 13
Texture 26 gauge brass sheet: Cut, anneal, pickle and dry a piece of 26 gauge brass or copper sheet metal slightly larger than the design that will be used. Note: I texture enough metal to make more than one cuff because I like to make several cuffs at a time.
Pro Tip: It is a good idea to do a test piece whenever using a new material. Use scrap pieces of metal and a small bit of the same texture to decide on the rolling mill settings to use.
Step 14
The brass pieces used in this tutorial were textured with purchased leaf skeletons. Decide on the finished size piece needed. To give you an idea of how much cuff width is covered, the brass pieces seen in the cuffs below were cut 3/8" or ½" wide by 6" long to span the cuff base length and were riveted in place. Shorter center embellishment pieces, whether soldered or riveted to the center of the cuff base, should be no longer than 2".
Draw lines on the sheet metal so the best leaf skeleton vein placement for each finished piece can be determined.


Step 15
Decide where to place the leaf skeleton on the sheet metal. Lightly dab craft glue on the sheet metal where the leaf will be placed. Press the leaf skeleton into place on the sheet metal.


Step 16
Decide on the best position for another leaf, overlapping the leaf glued in place. Draw a line on the second leaf with an ultra fine point Sharpie following the edge of the first leaf. Trim the second leaf off on that line. Lightly dab craft glue on the sheet metal where the leaf will be placed. Press the leaf skeleton into place on the sheet metal making sure the leaf edges are pushed closely together. If a longer strip is being used, add leaves as needed to fit the length of the piece being textured. Trim excess leaf skeleton around the metal, leaving just a bit of skeleton hanging over the edge.
Place the leaf skeleton/sheet metal into a folder made from cardstock or an old manilla folder. Since a lighter impression was desired, a piece of craft foam was not used under the metal-personal preference. Run through the rolling mill.


Step 17
Rinse the metal to clean off the residual glue and/or leaf still stuck to it. Dry. Cut out the desired shape with metal shears. Use an ultra fine point Sharpie to draw curves on the end of only the 2" long pieces. The strips spanning the cuff length will be cut later. Trim the ends with shears.
File, sand and refine the edges of the 2" long piece or the long sides of the 6" long piece.


Step 18
Texture 24 gauge copper sheet: A heavy weave ribbon was used in a folder in the rolling mill to texture a piece of 24 gauge annealed copper. Cut the shape after texturing. Remember that a better, deeper texture can be achieved if the metal is backed with a piece of thin hobby store craft foam. In the "HOPE" cuff, the foam was not used, but in the "PEACE" cuff, it was. Notice the difference in the depth of the impression.


Step 19
Alternatives:
Texture hammers are a great option. A variety of pre-textured metals are available as well. Those shown are 24 gauge brass sheets that can also be used in the rolling mill to imprint a reverse image on softer metals.
Texture hammers are a great option. A variety of pre-textured metals are available as well. Those shown are 24 gauge brass sheets that can also be used in the rolling mill to imprint a reverse image on softer metals.
Patinated metals are available in a variety of beautiful colors. These can be riveted, not soldered, in place. Soldering will destroy the beautiful display of color. After the cuff is completed, these should also be sealed with an acrylic sealer or Renaissance Wax to preserve the patina.
Stamping:
Two of the cuffs have words stamped on a separate piece of metal which was then soldered to a textured piece. 3mm or 1/8" upper case metal stamps were used on scrap metal pieces. After stamping, the scrap was cut to the desired size and the edges filed, sanded and refined.
Two of the cuffs have words stamped on a separate piece of metal which was then soldered to a textured piece. 3mm or 1/8" upper case metal stamps were used on scrap metal pieces. After stamping, the scrap was cut to the desired size and the edges filed, sanded and refined.
Metal Clay Embellishments:
Solid embellishments such as copper, brass and silver can be soldered to a backing to be attached to the cuff. Make sure that the piece being used is not plated as some of the materials under the plating can easily melt before the temperature needed for soldering is even reached.
Solid embellishments such as copper, brass and silver can be soldered to a backing to be attached to the cuff. Make sure that the piece being used is not plated as some of the materials under the plating can easily melt before the temperature needed for soldering is even reached.
Circle Embellishments:
Use hole punches and circle punches in scrap metal to create these embellishments. Each will need to be hammered flat before use as the metal is slightly cupped (shown in the photo on the right) by the cutting action of the punches. Argentium scrap was used here.
Use hole punches and circle punches in scrap metal to create these embellishments. Each will need to be hammered flat before use as the metal is slightly cupped (shown in the photo on the right) by the cutting action of the punches. Argentium scrap was used here.


Step 20
All the pieces are now cut and ready to assemble.
Riveting: Soldering is not necessary. Every piece can be riveted together. Even the leaves can be riveted to the brass strip. Take a look at where the dots were placed on the leaf on the left cuff. Consider using rivets in the same manner and curling the leaf edges up, mimicking nature. See Riveted under Complete Assembly for rivet instructions.
Riveting: Soldering is not necessary. Every piece can be riveted together. Even the leaves can be riveted to the brass strip. Take a look at where the dots were placed on the leaf on the left cuff. Consider using rivets in the same manner and curling the leaf edges up, mimicking nature. See Riveted under Complete Assembly for rivet instructions.

Step 21
Soldering:
Lay out the pieces in a pleasing manner.
Lay out the pieces in a pleasing manner.
Use medium paste solder dotted around the edge of the back side of each piece to be attached to the 2" piece. Easy paste solder can be used to attach the embellishments to the center of the 6" long brass piece.
Pickle, rinse and dry the pieces.


Step 22
Complete Assembly:
Use an ultra fine point Sharpie to mark the center on the top of each cuff.
Use an ultra fine point Sharpie to mark the center on the top of each cuff.
Soldered:
Step 1: Place small amounts of easy paste solder around the edge on the back side of the short piece. Center the 2" long embellishment piece over the drawn line on the cuff base. Solder in place. Pickle, rinse and dry.
Step 1: Place small amounts of easy paste solder around the edge on the back side of the short piece. Center the 2" long embellishment piece over the drawn line on the cuff base. Solder in place. Pickle, rinse and dry.


Step 23
Riveted:
Use an ultra fine point Sharpie to mark where the rivets will be placed on the embellishment only and cut the hole with a 1.8mm hole punch. Center the embellishment on the line on the cuff base. Use the Sharpie to mark one hole on the base cuff. Punch the hole on the marked spot on the cuff base using a 1.8mm hole punch.
Use an ultra fine point Sharpie to mark where the rivets will be placed on the embellishment only and cut the hole with a 1.8mm hole punch. Center the embellishment on the line on the cuff base. Use the Sharpie to mark one hole on the base cuff. Punch the hole on the marked spot on the cuff base using a 1.8mm hole punch.
1/16" round head aluminum rivets are a breeze to use. Place the rivet in the embellishment hole and then through the cuff. Holding the rivet in place, turn the cuff over and place the assembly on a piece of leather on a bench block. To obtain the perfect length rivet shank, use the #14 tile from Gwen Youngblood's Riveting Essential. Use flush cutters to trim the excess shank away close to the tile.
The rounded side of the Mini TruStrike Planishing Hammer is perfect for spreading the aluminum rivet shank. Make sure to hammer down the edges of the rivet as well as possible.
Use a sanding pad to clean up any rough edges left on the rivet edges.


Step 24
Forming the Cuff Note: The embellishment piece spanning the length of the cuff is attached AFTER the cuff base is shaped and before finishing the shaping with bracelet bending pliers.
By hand, form the cuff around a stepped oval bracelet mandrel. Use a rawhide mallet to refine the shape and flatten the cuff ends to the mandrel. Be careful hammering around raised embellishments.
By hand, form the cuff around a stepped oval bracelet mandrel. Use a rawhide mallet to refine the shape and flatten the cuff ends to the mandrel. Be careful hammering around raised embellishments.
The cuff will be more round in shape than oval. Finish shaping the cuff with bracelet bending pliers.


Step 25
Attaching the long piece in place:
Center the embellishment design on the center line on the cuff base on the mandrel.
Center the embellishment design on the center line on the cuff base on the mandrel.
Trim the ends off to at least 1/8" shorter than the cuff base length.
Mark, cut, file, sand and refine the ends of the 6" piece in the same manner as the 2" long pieces.
Mark where the rivets will be placed on the brass piece only and cut the hole with a 1.8mm hole punch.


Step 26
Center and form the brass piece around the cuff base and the bracelet mandrel again, keeping it as snug against the cuff base as possible. Make sure the brass ends are equidistant from the cuff base ends. Use an ultra fine point Sharpie to mark where the rivet hole will be placed on one end of the cuff base. Punch the hole on the marked spot on the cuff base using a 1.8mm hole punch.

Step 27
Place the rivet through the brass strip and then the cuff base. Holding the rivet in place, turn the cuff over and place the assembly on a piece of leather on a bench block. Open the bracelet up enough that a hammer can be used on the rivet. To obtain the perfect length rivet shank, use the #14 tile from Gwen Youngblood's Riveting Essential. Use flush cutters to trim the excess shank away close to the tile.

Step 28
The rounded side of the Mini TruStrike Planishing Hammer is perfect for spreading the aluminum rivet shank. Make sure to hammer down the edges of the rivet as well as possible.
Step 29
Form the cuff back on the mandrel. Pull the brass strip as tight as possible against the cuff base. Mark the hole on the other end of the cuff base and cut with a 1.8mm hole punch.

Step 30
Repeat Step 31. While the cuff is bent open, notice how much longer the brass strip is than the cuff base. When the cuff is reformed, the strip will be pulled tightly against the cuff base.

Step 31
Use a sanding pad to clean up any rough edges left on the rivet edges.
Reform the cuff on the oval bracelet mandrel.
Finish shaping with bracelet bending pliers.
Pro Tip: Oops! When riveting goes wrong-lol: When I had some friends over to make these cuffs, I got too busy talking and did not pay attention when I was riveting the long pieces to the cuff base with sterling rivets, which are much harder than aluminum ones. One rivet on each cuff went a bit wonky. I could have left them, but they bothered me, so I removed the long strips and cut them down to 2" pieces. Metal stamps were used to lightly texture the cuff outside. The shorter piece was then soldered in place. What to do with those pesky holes? I drilled them out large enough to fit 3mm shank copper plated brass rivets with a solid rounded top. After they were attached, dimpling of the rivet head was done using a small doming punch. Sanding brought up the brass color of the rivets before patina and polishing.


Step 32
Finishing: If desired, patina the cuff and tumble to polish and work harden.








 Beaded Briolette Pendant
 Snail Trail Spiral Earrings
 Heart Link Bracelet and Earrings
 Crazy Hoop Earrings
 Double Delight Jade Bracelet
 Swagged Pearl Pendant
 Heart Earrings with Drops
 Scarab Bracelet
 Birthstone Heart Pendant
 Pearl of the Sea Woven Pendant
 Bead Charm
 Coiled Rosette Link
 Wire Jewelry Component and Swan Hook
 Leaf Bail
  Component Templates with Heart Earrings and Pendant
 Ring Pendant
 Calla Lily Earrings
 Birdhouse Pendant
 Clamshell Earrings and Pendant
 Bracelet Component
 Teardrop Earrings and Pendant
 Tab Style Pendant
 Coiled End Caps
 Freeform Pendant
 French Hook Ear Wires
 Necklace Component
 Triangle Shield Earrings, Pendant and Bail
 How to Make a Wire Coil and Bead
 Egyptian Coil Bracelet
 Focal Bead Egyptian Coiled Bracelet
 Sweetheart Round Cabochon Pendant
 Making Cobblestone Cabochons
 Cupcake Wrapper Earrings
 How to Make Metal Washers
 Baseball Skin Keychain
 Pat's Silver Domed Earrings
 Blaze Your Own Path Pendant
 Semi Snap-on Bail
 Interlocking Faux Twist Wire Bracelet
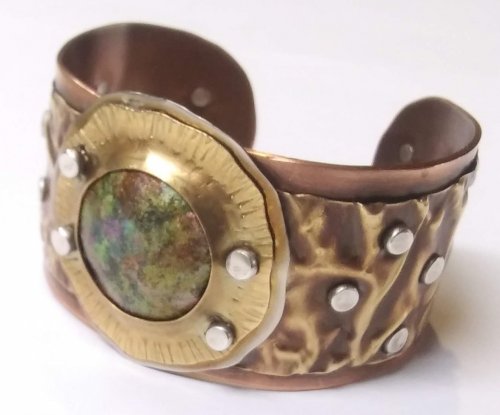 Fold Formed Cuff With Faux Roman Glass or Coin Cabochon
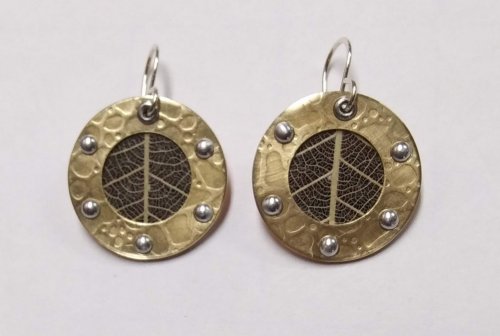 Steampunk Style Leaf Earrings
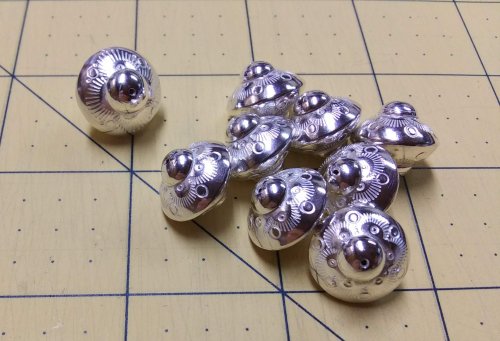 Stamped Saucer Beads
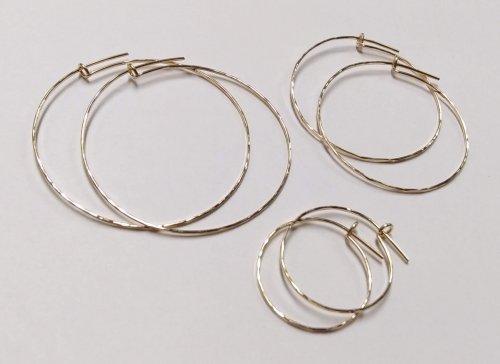 Kat's Wire Hoop Earrings
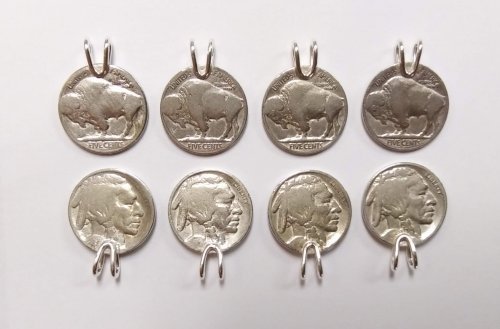 Simple Bail on a Coin Pendant
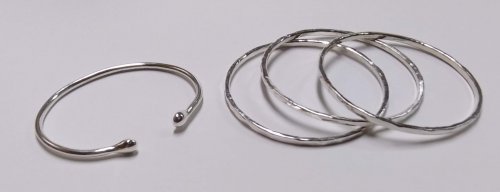 Wire Bangles
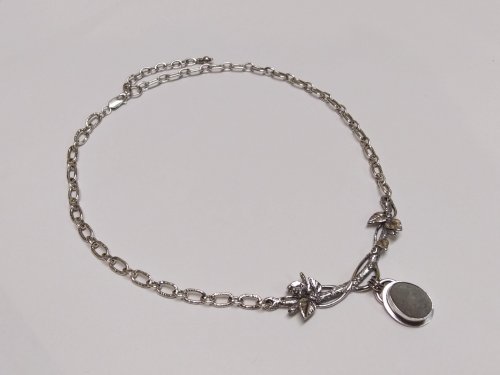 Jen's Chain
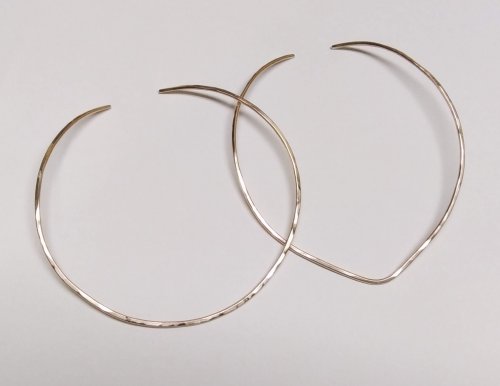 Making Neckwires
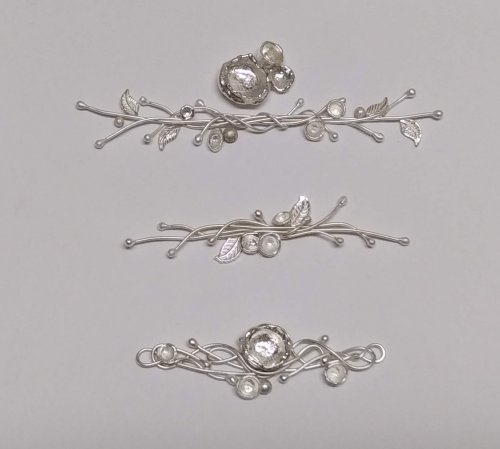 Silver Scrap Wire Focals to Embellish
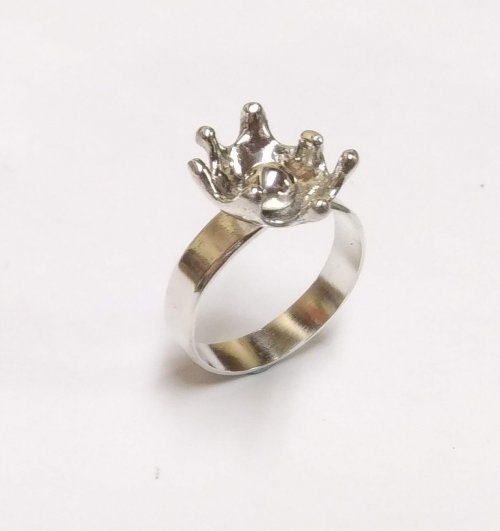 Splash Ring
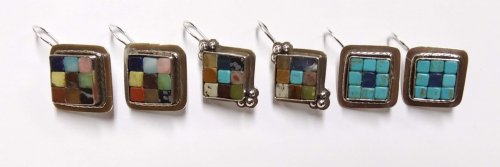 Cobblestone Cab Earrings
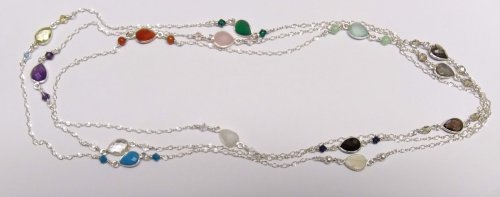 Multi Gemstone Necklace
 Southwest Style Pendant
 Bezels Using Square Wire
 Mixed Metal Sampler Bracelet 1
 Mixed Metal Sampler Bracelet 2
 Mixed Metal Sampler Bracelet 3
 Mixed Metal Sampler Bracelet 4 - Words Matter
 Mixed Metal Sampler Bracelet 5 - River Walk
  Mixed Metal Sampler Bracelet 6 - A Little Bling
 Mixed Metal Sampler Bracelets Series PUTTING IT ALL TOGETHER
  Mixed Metal Sampler Bracelet 7 - Steampunk Space Oddity
 Mixed Metal Sampler Bracelet 8 - Fun Shapes
 Jump Ring Fringe Bracelet
 Easy Artisan Earrings
 Making Chain with Wubbers and Wire
 Heirloom Buttons and Beads Bracelet
  Tiny Silver Charms part 1
 Argentium Silver Scrap Chain
 Sterling Lake Stone Pendant with Twisted Wire
 Smashing Drop Earrings
 Argentium Silver Scrap Nugget Cuff
 Finish Them Your Way Earrings
 Paddle Fringe Earrings
 Seed Bead Earrings
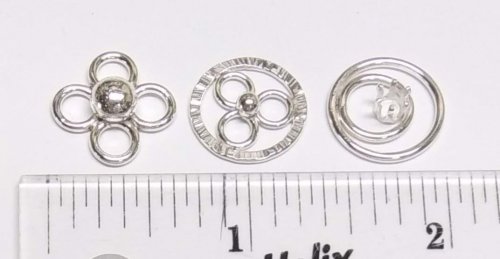 Bracelet Links 1, 2,3
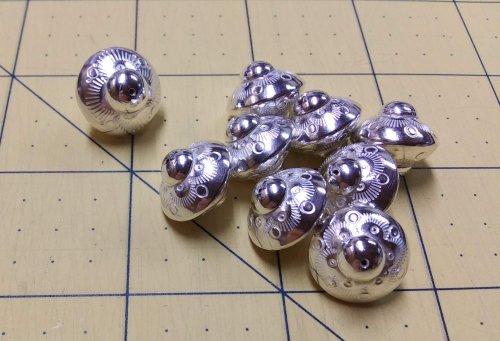 Stamped Saucer Beads
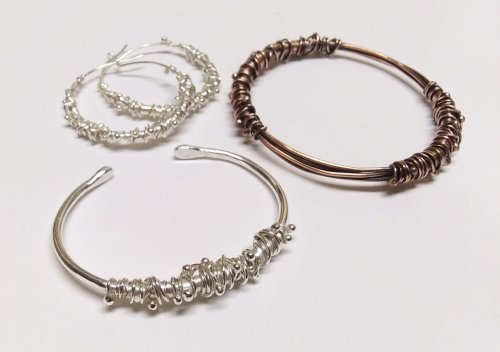 Chaos Scrap Wrap Jewelry
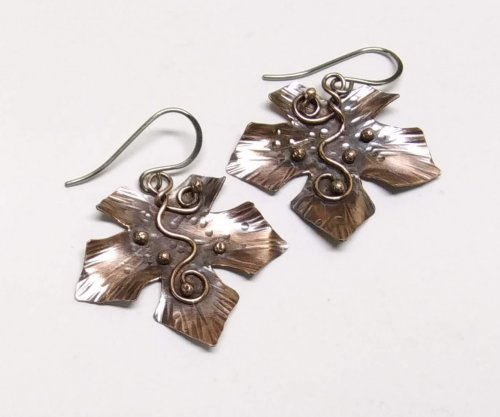 Maple Leaf Earrings
 Child's Bracelet That Grows with Them
 Mike's Surpirise Claire's Ripple Pendant
 Angel Ornament
  Diamonds, Emeralds, and Sapphires, Oh My.
  Treasure Bezel Cups
 Three Leaves Earrings
 Silver and Gold Earrings
 Make a Hidden Bail
 Wire Links 4, 5, 6
 Wire Links 7, 8, 9, and 10
 Double Loop Ear Wires
 Balled and Paddled Head Pins
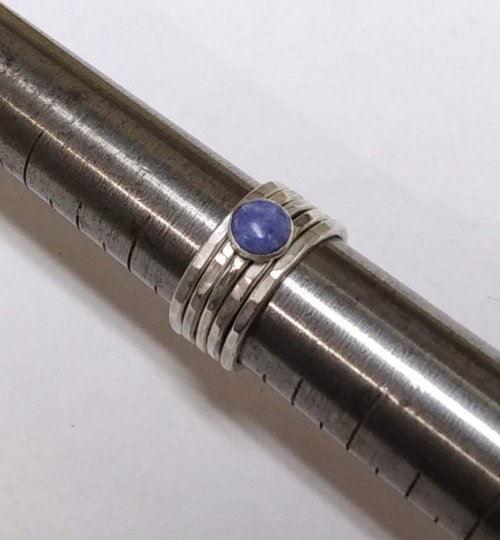 Textured Stacked Rings
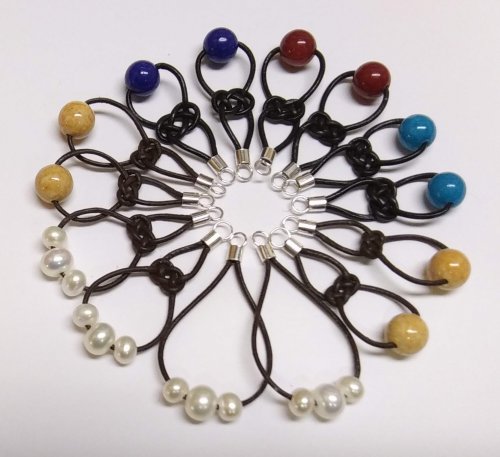 Cord and Bead Earrings
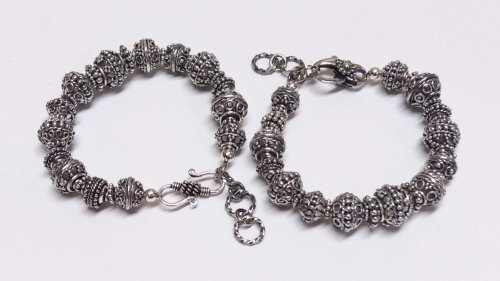 Bali Style Adjustable Closures
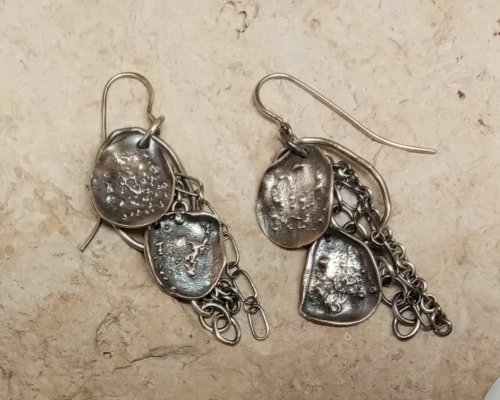 Organic Fused Silver Dust Earrings
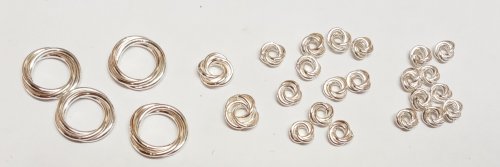 Mobius Rings
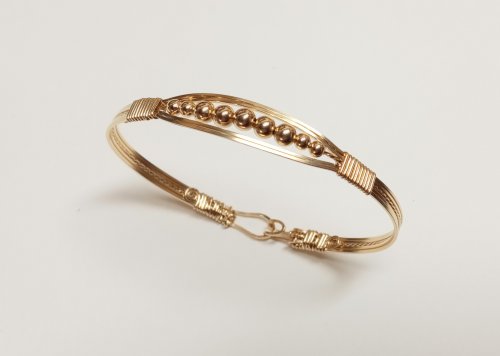 Dainty Bead and Wire Bangle with Hook Closure
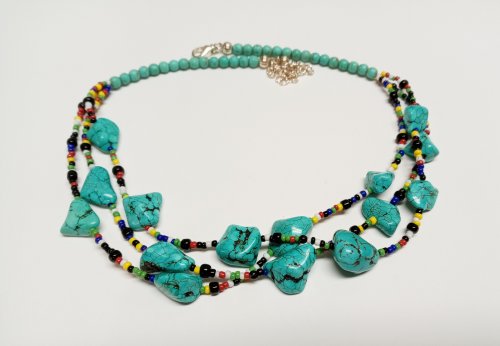 Seed Bead and Nugget Necklace
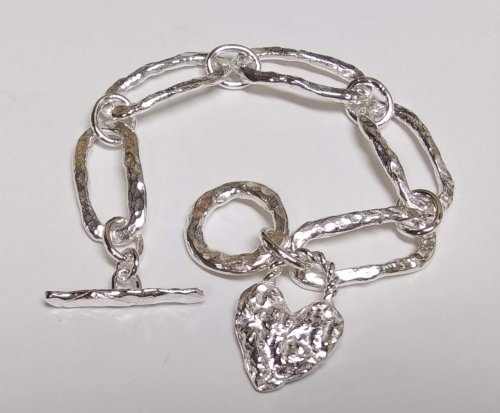 Love Locks Heart Charm
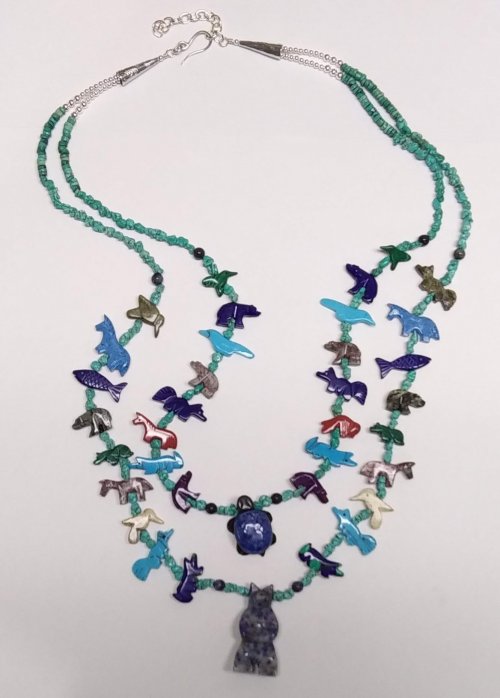 Traditional Southwest Style Hook Closures
 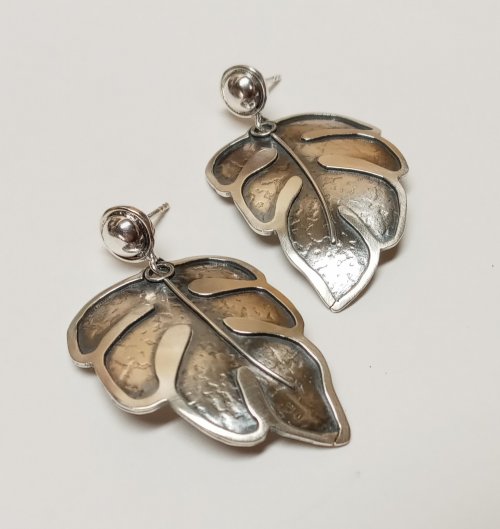 Negative Space Earrings
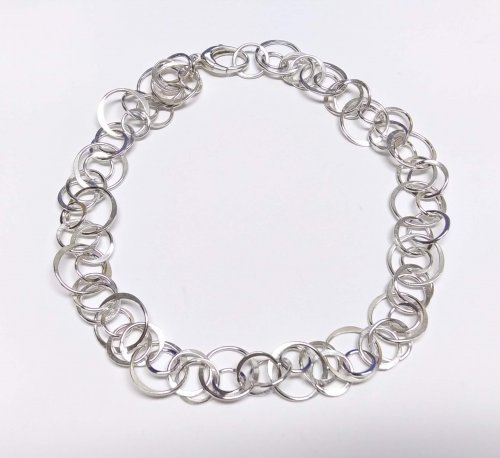 Jumbled Lacy Chain
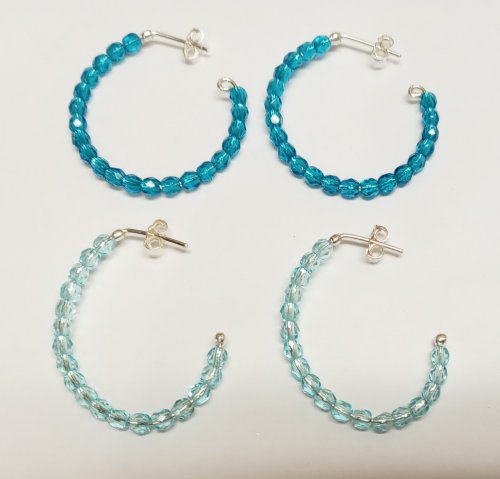 Easy Beaded Post Hoop Earrings
 Rustic Silver Links
 Make a Soldered Paperclip Chain
 Make a Fused Paperclip Chain
 Make Woven Metal Strips to Use in Your Designs
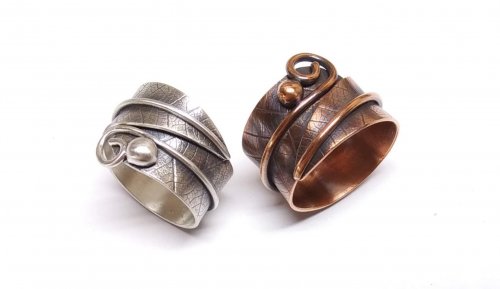 Leaf Wrap Metal Rings version 1
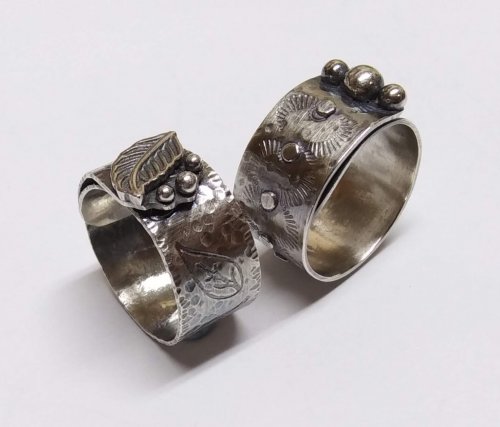 Leaf Wrap Metal Rings version 2
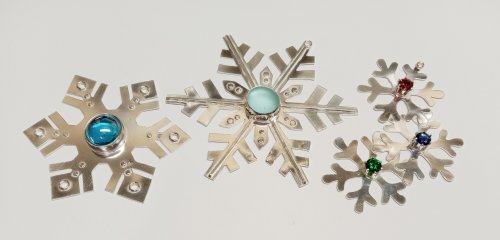 Snowflake Ornaments
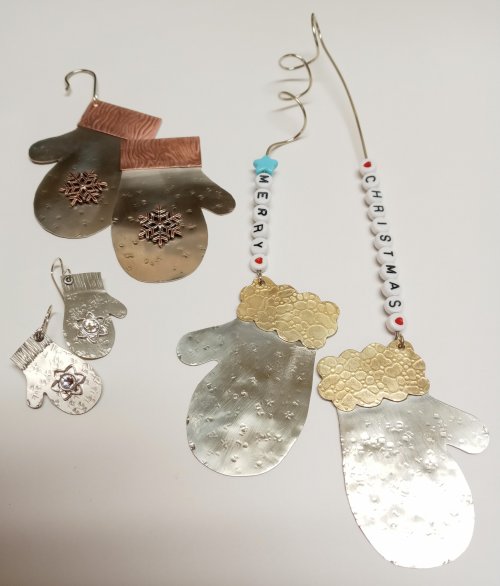 Mitten Ornament
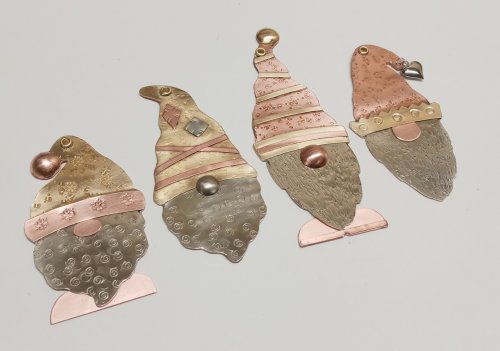 Gnome Ornaments
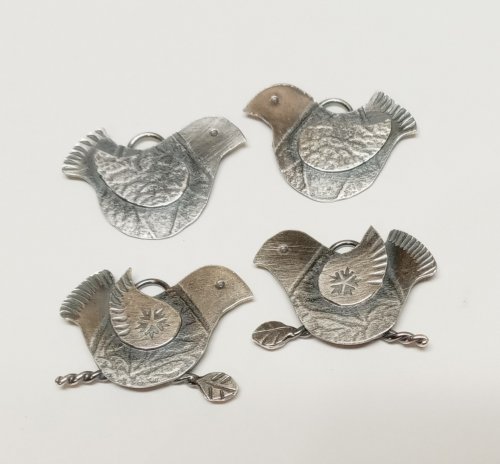 A Partridge in a Pear Tree Earrings
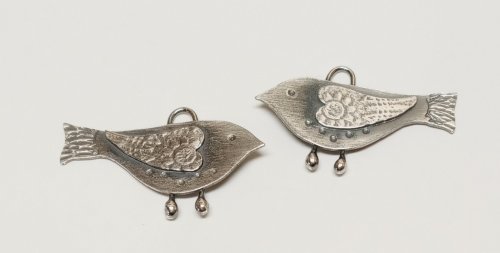 Two Turtle Doves Earrings
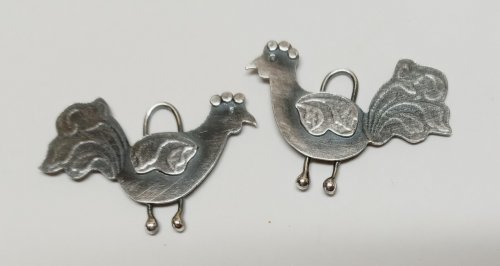 Three French Hens Earrings
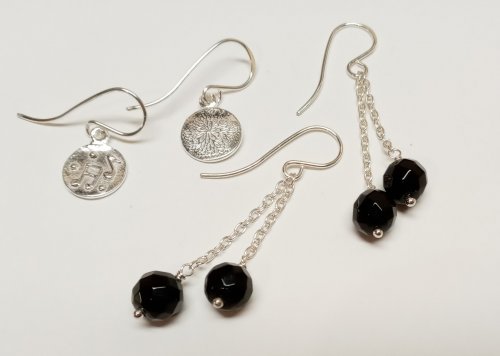 Four Calling Birds Earrings
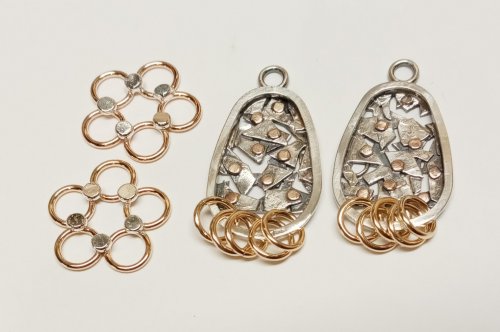 Five Golden Rings Earrings
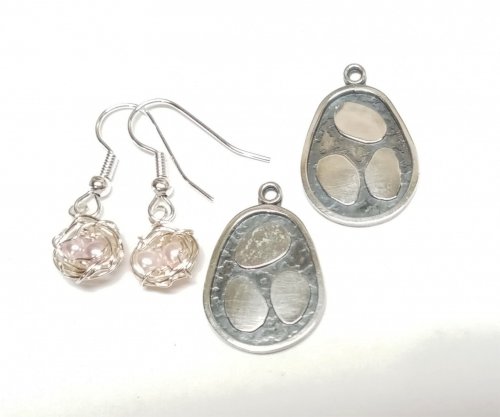 Six Geese a Layin' Earrings
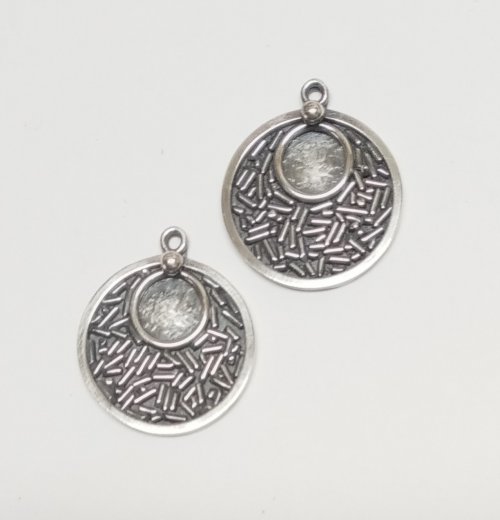 Seven Swans a Swimming Earrings
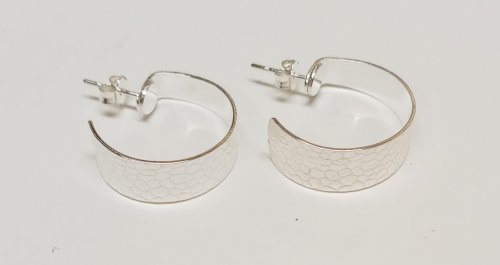 Eight Maids a Milking earrings
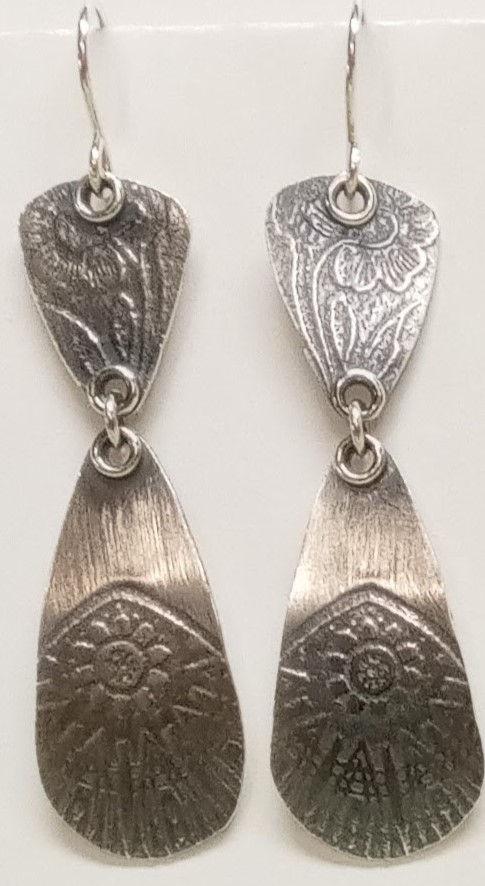 Nine Ladies Dancing Earrings
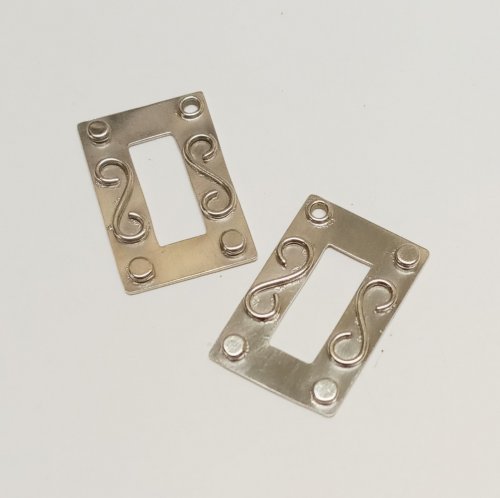 Ten Lords a Leaping Earrings
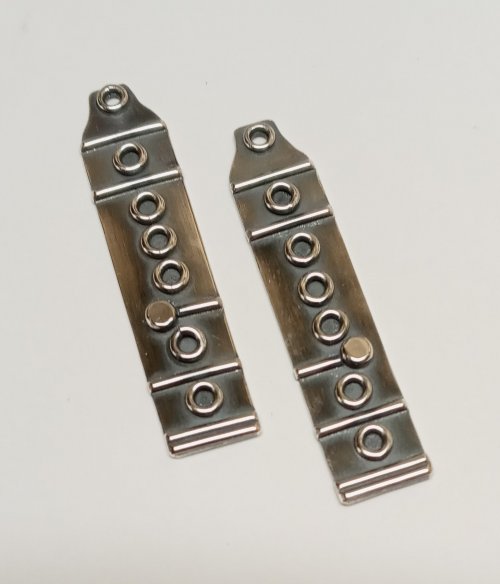 Eleven Pipers Piping Earrings
 Twelve Drummers Drumming Earrings
 Make Your Own Bracelet Button Clasps
 Little Saucer Bells
 Doodads - Fun Findings
 No Measure Hearts, Any Size, Any Gauge
 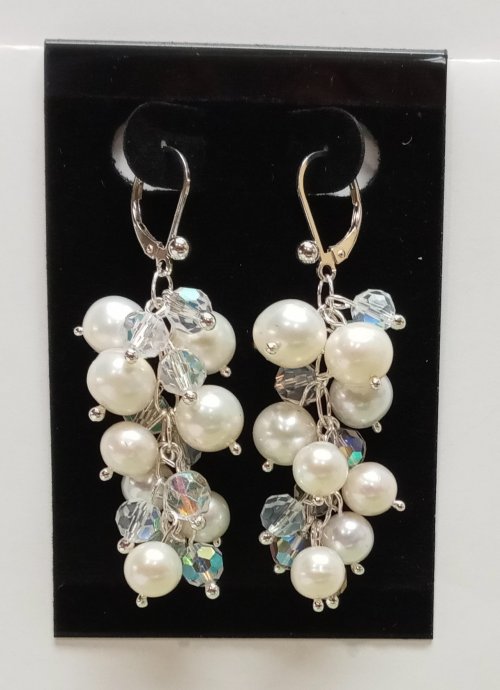 Cascading Drops Earrings
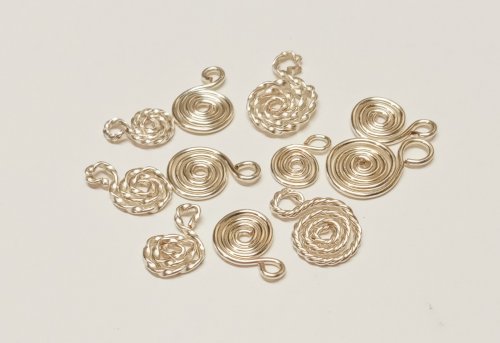 WIre Basics - Spiral Charms
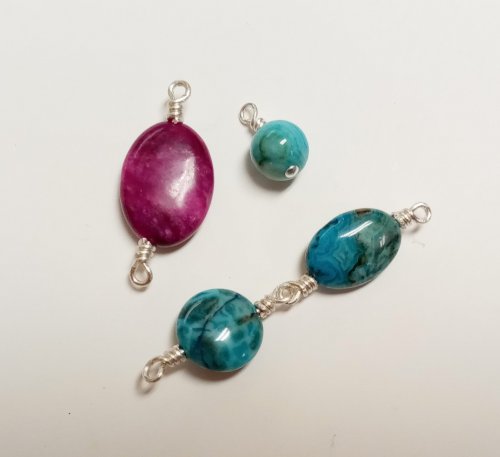 Wire Basics - Wrapped Loops and Links
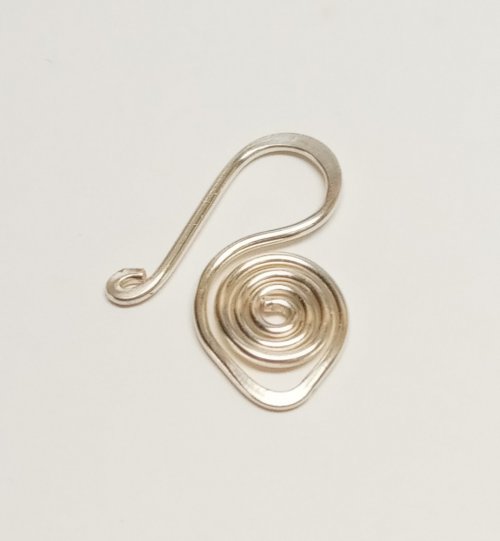 Wire Basics - Simple Swan Hook
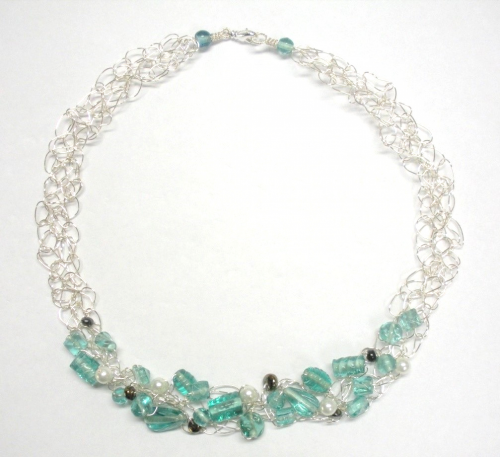 Wire Crocheted Necklace
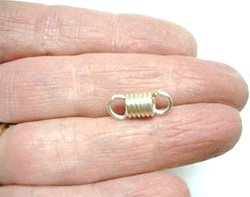 Wire Basics - Wire Garage Door Spring Link
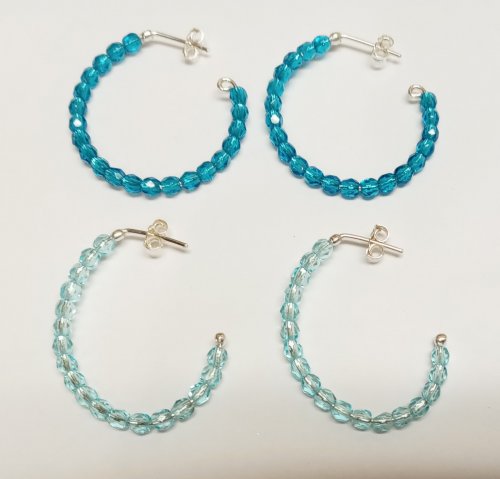 Easy Post Hoop Earrings
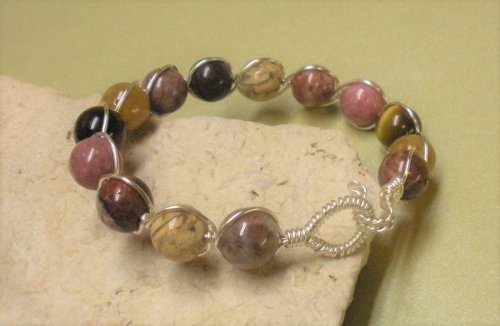 Double Wrap Wire Bangle Bracelet
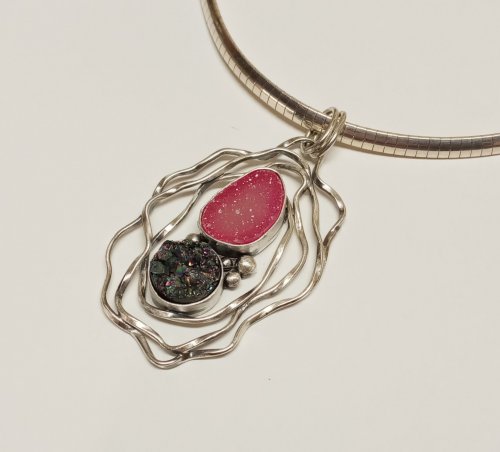 Organic Wire Pendant
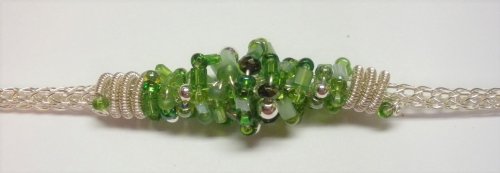 Coiled, Beaded Slide
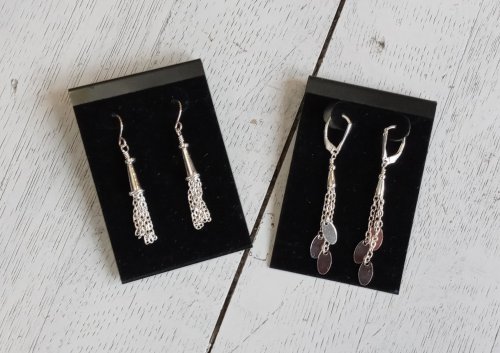 Cone and Chain Earrings
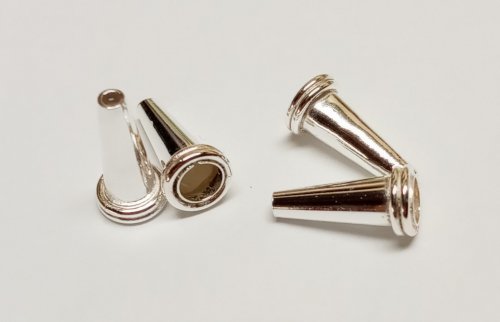 Embellished Sterling Cones
 Classic Wire Wrap Bezelled Pendant
 Wire Wrap a Coin
 Viking Knit
 Viking Knit Bracelet
 Coiled Wire End Caps
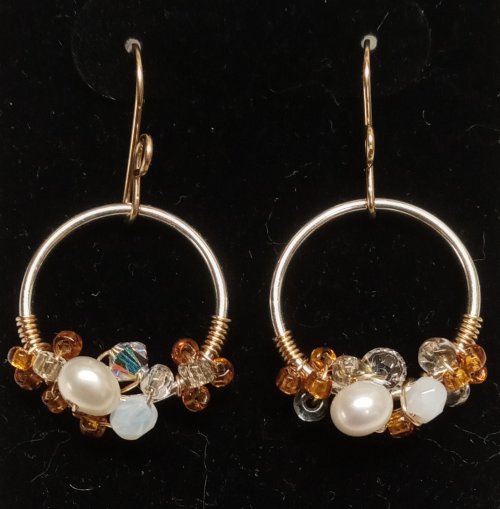 Bead-Wrapped Hoop Earrings
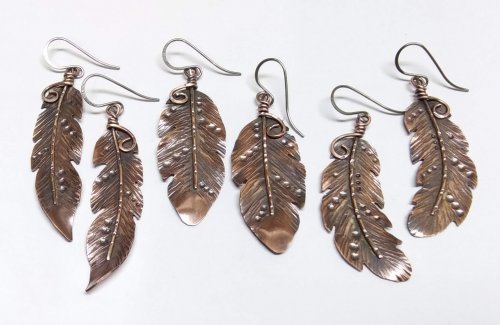 Copper Feather Earrings
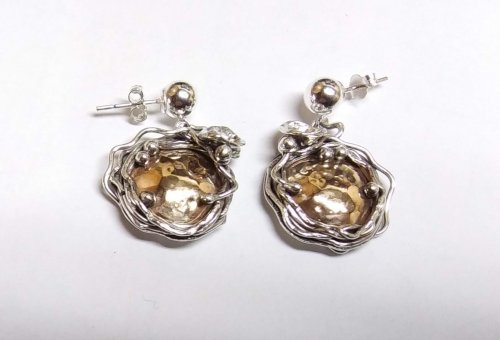 Soldering a Dome to a Backplate
 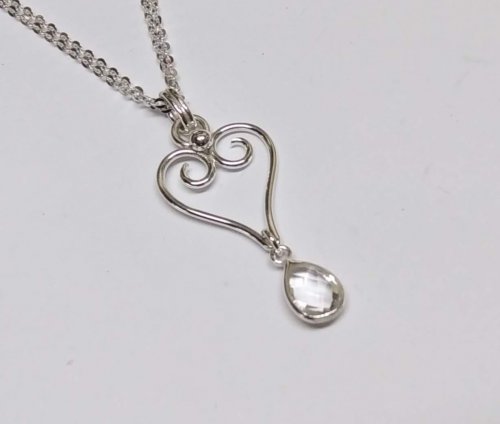 Wire Heart Pendant with Gemstone Drop
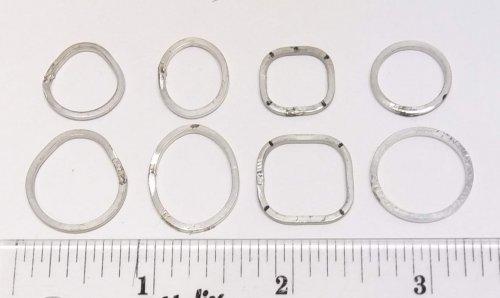 Make Basic Wire Shapes for Jewelry
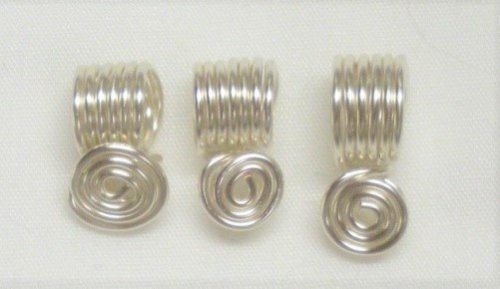 Make Simple Wire Slide Bails
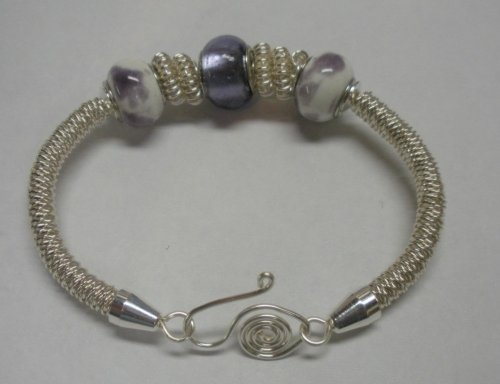 Coiled Bead and Twisted Wire Bracelet
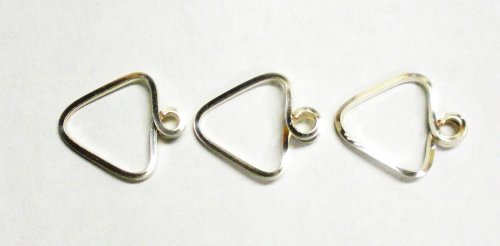 Wire Triangle Link
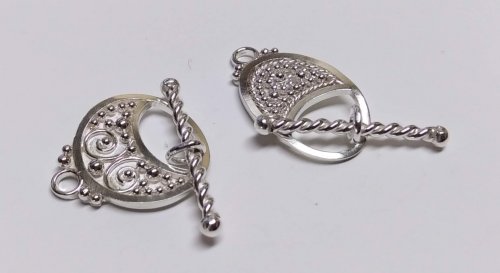 Bali Style Focal Toggle
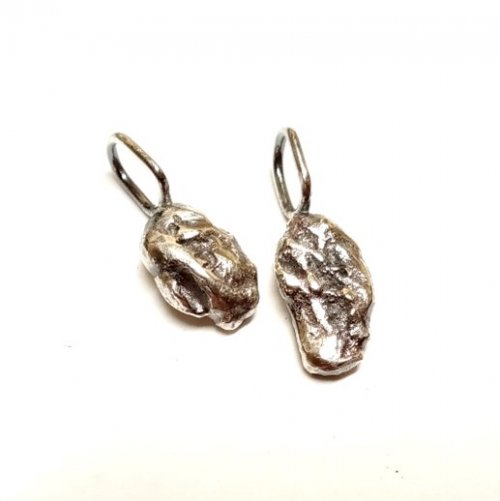 Silver Nuggets
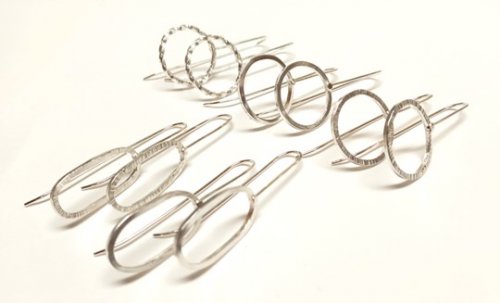 Fun Shapes Fish Hook Earrings
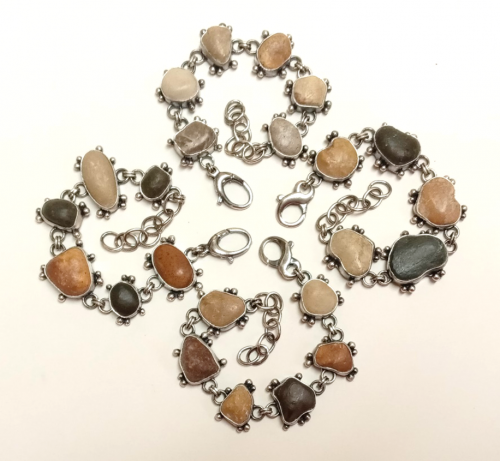 After the Rain Bracelets
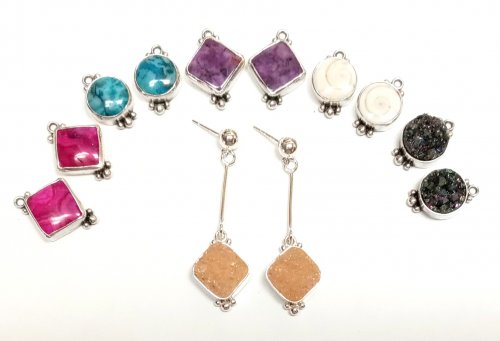 Dangling Drop Earrings
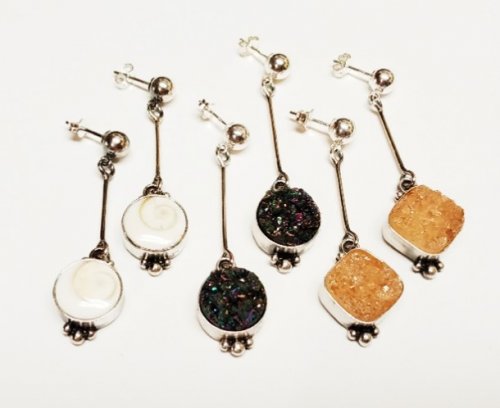 Dangling Chain Sticks
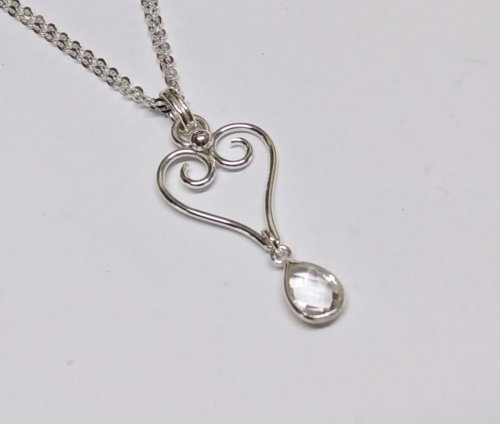 Wire Heart Pendant with Gemstone Drop
 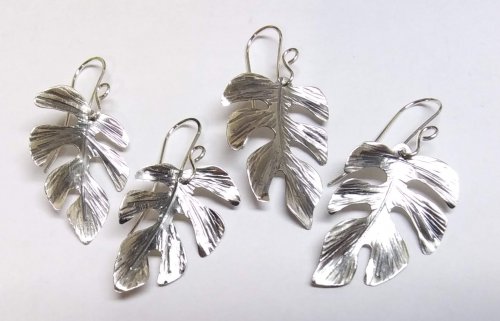 Tropical Leaf Earrings
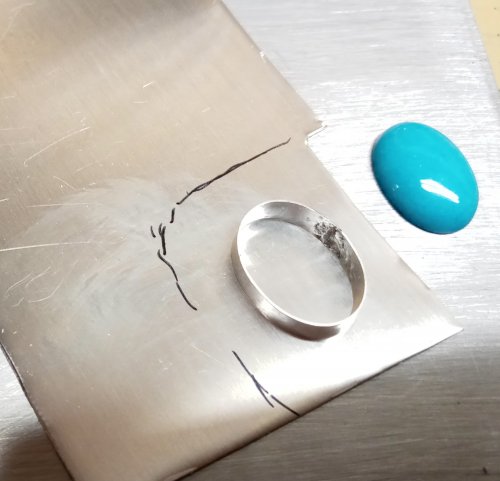 Basic Bezel Wire Tutorial
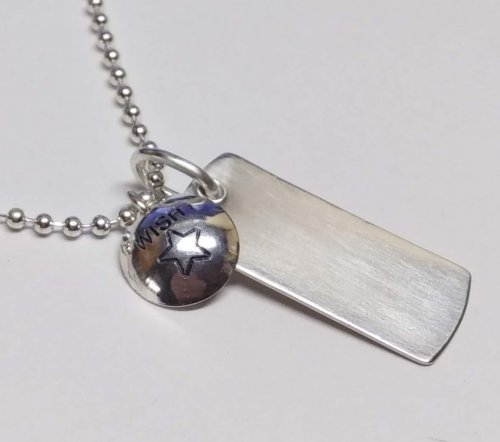 Dog Tag Style Necklace
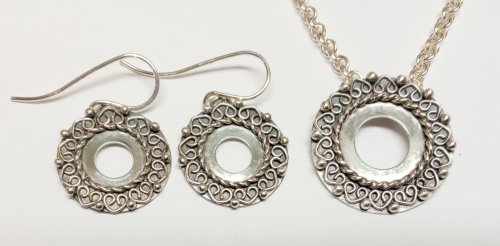 Lacy Washers
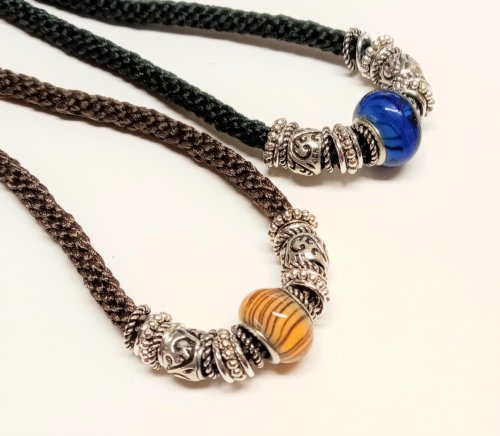 8-Strand Kumihimo
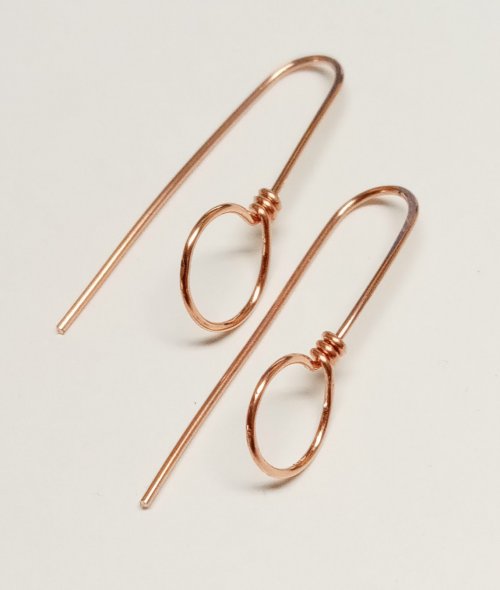 Closed Loop Ear Wires
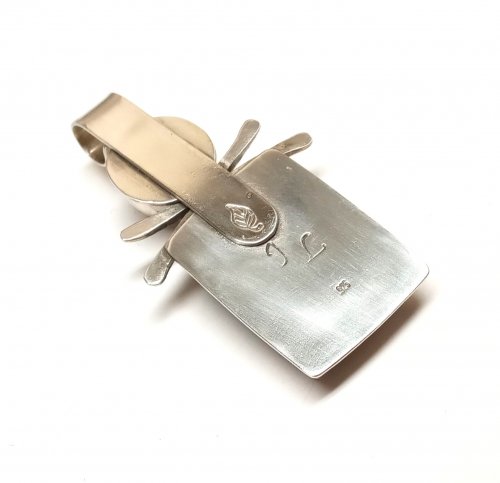 Simple Strip Bails from Scratch
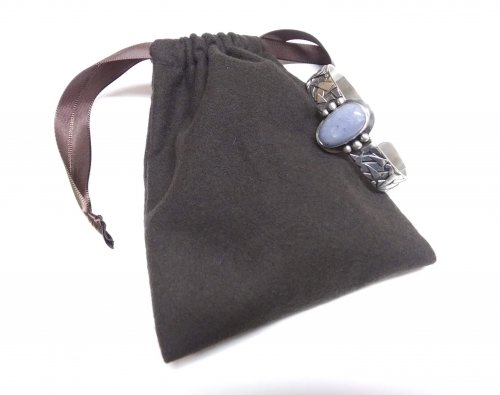 Anti-tarnish Silver Cloth Bags
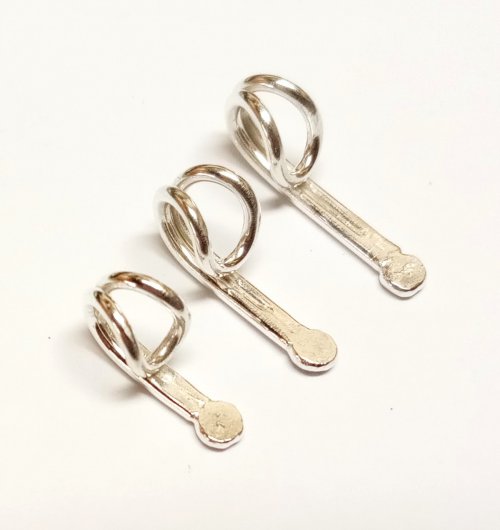 Cotter Pin Style Bail
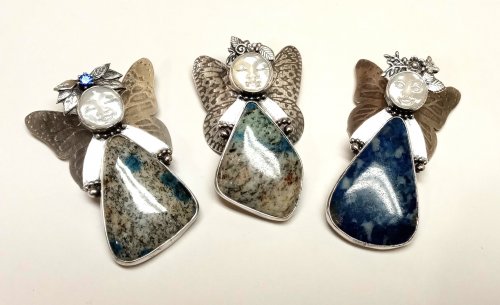 Holiday Woodland Fairy Ornament
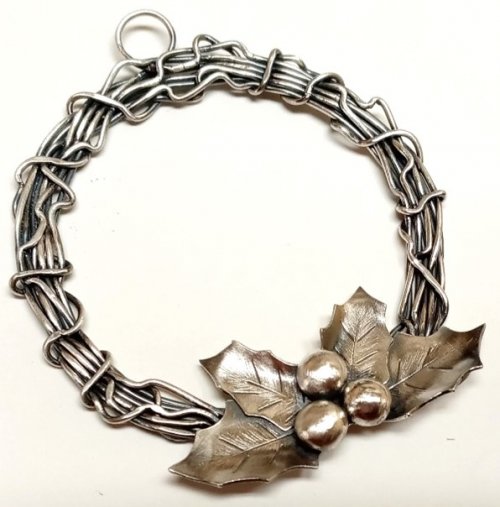 Happy Holly Days Wreath Ornament
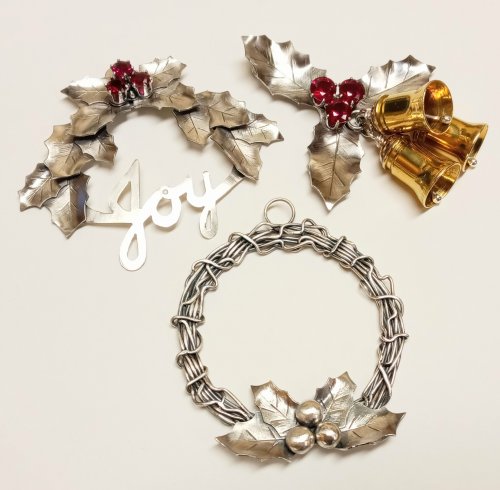 Happy Holly Days Leaves and Berries
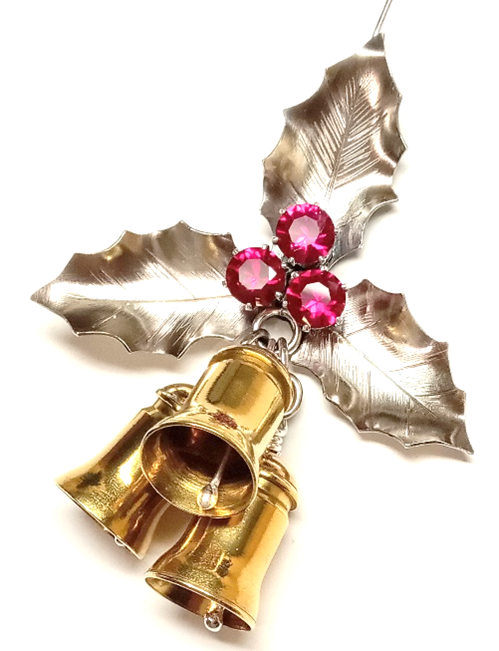 Happy Holly Days Bells Ornament
 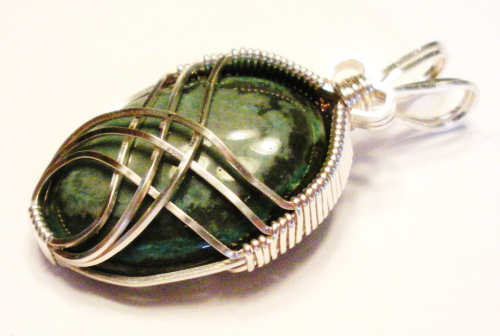 Art Deco Wire Wrapped Pendant
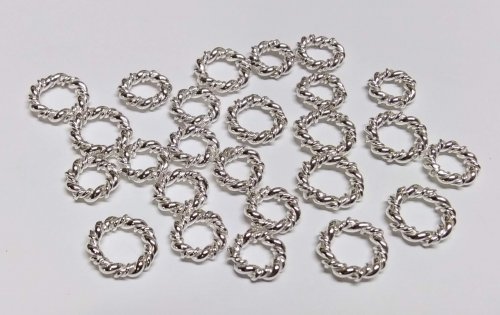 Twisted Wire Jump Rings
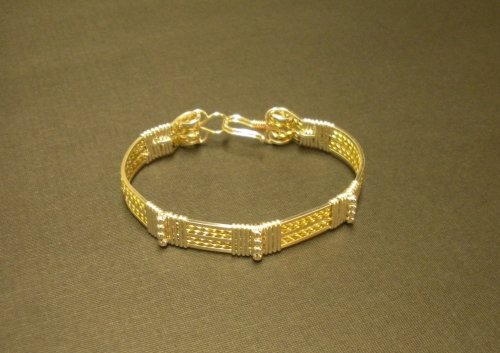 Two-tone Beaded Bangle
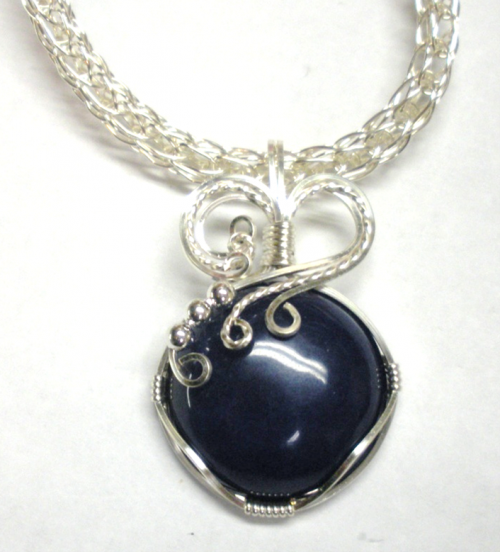 Sweetheart Pendant
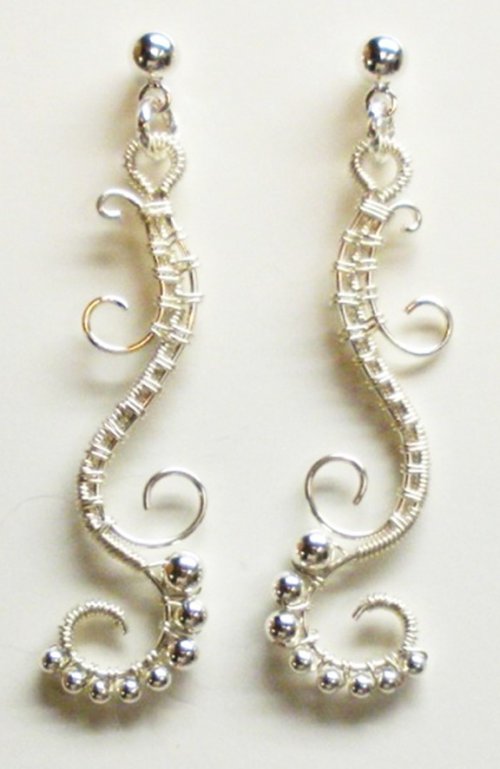 Waves on the Beach Earrings
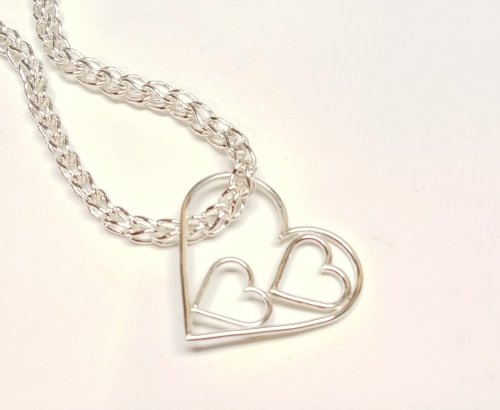 Any Size Wire Hearts - Any Size, Any Gauge
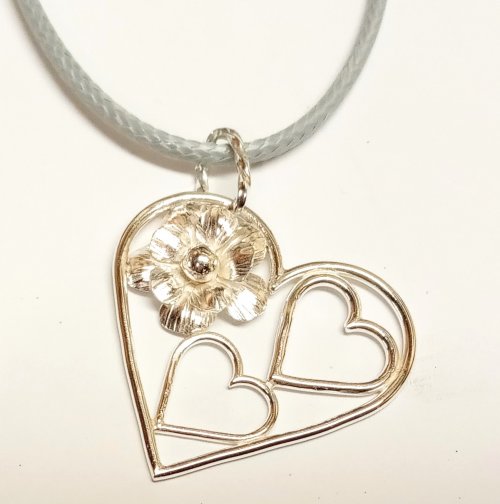 Just in Case Heart Pendant
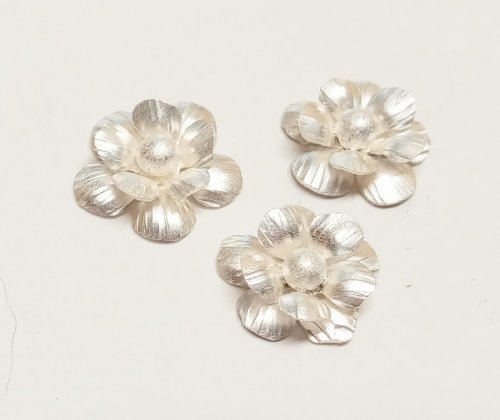 Small Flower Embellishment
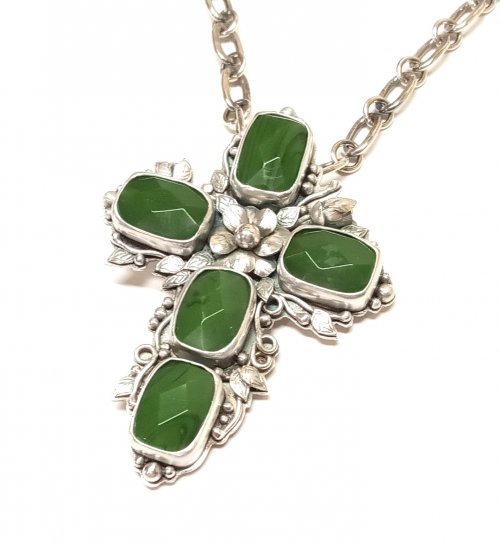 Making Tiny Dapped Metal Leaves
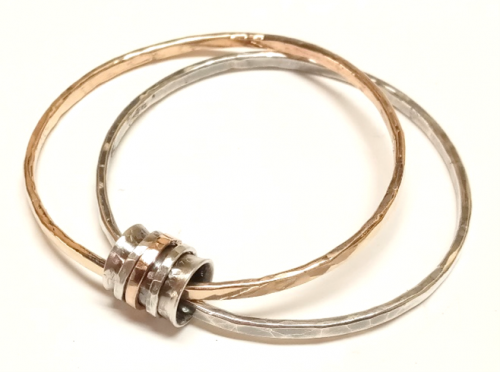 Spinner Fidget Bangles
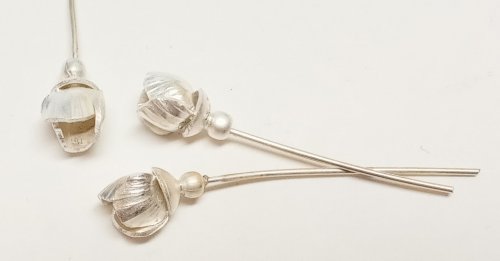 Small Flower Bud Embellishment
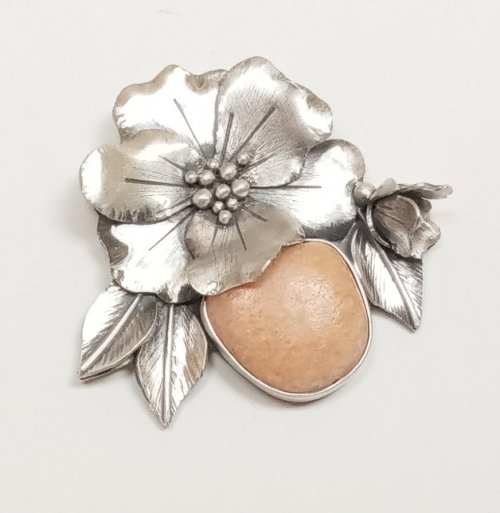 Three Petal Bud and Layered Embellishment
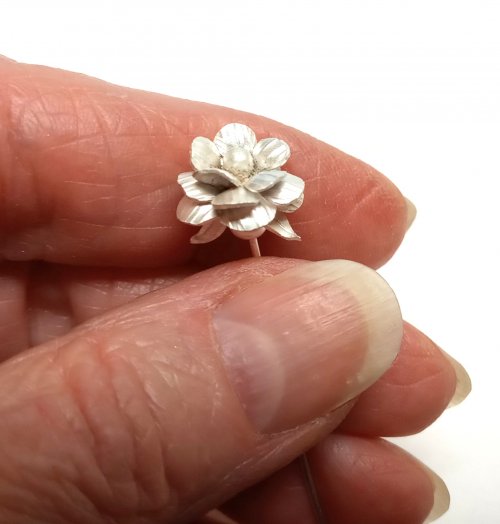 Creating a Flower Stem
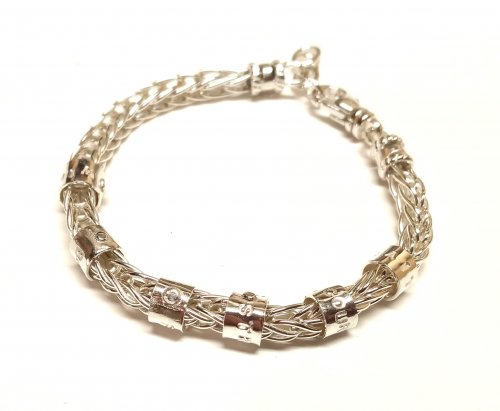 Stamped Tube Beads
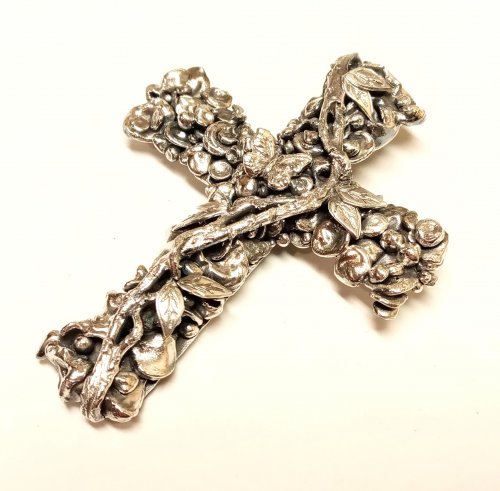 Water Cast Scrap Cross
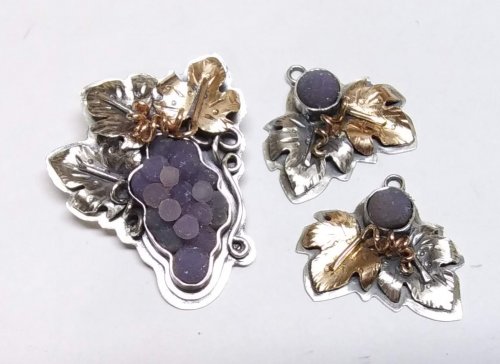 Sugared Grapes Pendant
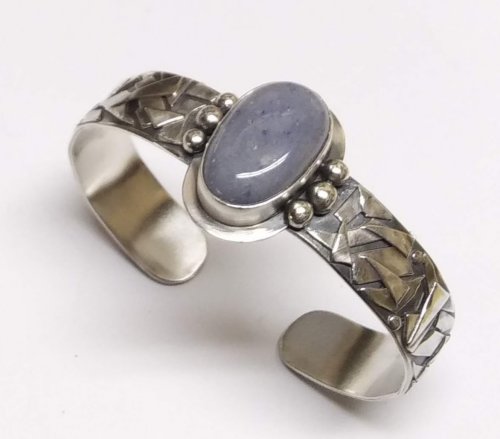 Tourist Rock Cuff Bracelet
 Gemstone Chains Reimagined
 Checkerboard Faceted Earrings
 Foxtail Chain aka Loop-in-Loop
 Handmade Chunky Chain
 Capture a Summer Memory
 Stone Key Fob
 Sprinkles Link
 Handmade Ornament Hooks
