
Figure 8 Chain
- Category: Contemporary
- Technique(s): Chain Making
- Skill Level: Beginner
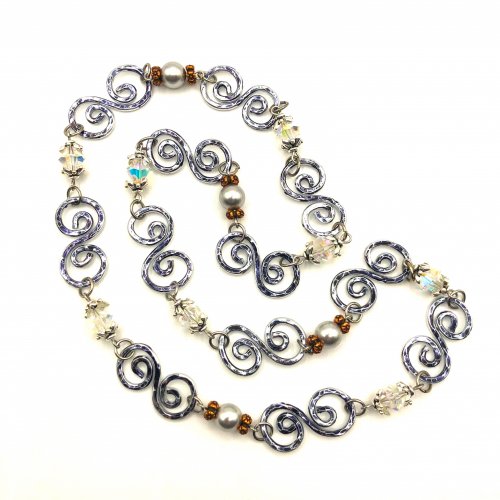
This tutorial shows you how to make a simple figure 8 chain that is ideal for using up all those little scraps of 18 and 20 gauge wire. You can use round, half round or square wire, or a mixture to create a pattern in your chain.
The links can be used on their own, as an alternative to jump rings as they are very strong, or connected together to form a chain
The links can be used on their own, as an alternative to jump rings as they are very strong, or connected together to form a chain
Materials

20 Gauge Round Half Hard 1/10 Sterling Silver Filled Wire
H10-20H
- Lesson Quantity: 5.00 feet
- Purchase Quantity: 1.00 5FT
- Price: $6.06
- Gold Club Price: $4.54

18 Gauge Round Half Hard 1/10 Sterling Silver Filled Wire
H10-18H
- Lesson Quantity: 5.00 feet
- Purchase Quantity: 1.00 5FT
- Price: $8.48
- Gold Club Price: $6.36
Tools

Chain Nose Wire Pliers
G2-508
- G2-508
- Lesson Quantity: 1.00 pieces
- Purchase Quantity: 1.00 each
- Price: $32.95
- Gold Club Price: $24.71

Round Nose Wire Pliers
G2-507
- G2-507
- Lesson Quantity: 1.00 pieces
- Purchase Quantity: 1.00 each
- Price: $32.95
- Gold Club Price: $24.71

5 inch Plato Slim Flush Cutters for Wire Working or Beading - Pack of 1
G35-3
- G35-3
- Lesson Quantity: 1.00 pieces
- Purchase Quantity: 1.00 each
- Price: $11.95
- Gold Club Price: $8.96

Premium Nylon Jaw Pliers
G2-35
- G2-35
- Lesson Quantity: 1.00 pieces
- Purchase Quantity: 1.00 each
- Price: $14.95
- Gold Club Price: $11.21
Instructions
Step 1:
Wire choices
Pro Tip: Please note 3" of wire makes approximately 1" of chain, so 5ft of wire will make approximately a 20" chain. Any 18g or 20g wire can be used for this pattern, however, craft wires may be a bit too soft to hold securely. And 18g wire will always be stronger. The wires suggested in the pattern, above, are half hard silver filled. Sterling wire is another good choice for this chain.
Step 2:
Sort your wire.
If you are using scrap wire to make the connectors or chain, the first thing you need to do is sort and size your wire pieces. For 20 gauge wire you need pieces that are 2/3” long and for 18 gauge they need to be ¾” long. For the purposes of this tutorial I am working with 20 gauge wire.
Make sure your wire pieces are straight. If they need to be straightened, hold one end with the chain nose pliers and pull through the jaws of the nylon jaw pliers – voila – one straight piece of wire.
Step 3:
Mark the middle of the wire.
It is important that each link is identical so that the chain is an even size. The easiest way to ensure this is to mark your round nose pliers so that each loop is formed at the same point. We first need to find this point. Find the middle of your wire and mark it with your marker pen. This is the point where the two ends of the wire should meet. You only need to do this on the first piece of wire.
Step 4:
Make a loop.
Grasp the piece of wire at the very end with your round nose pliers – close to their tip and make a loop so that the end meets with your pen mark on the central point.
Do this by holding the other end of the wire between your fingers and turning the pliers to form a loop.
Step 5:
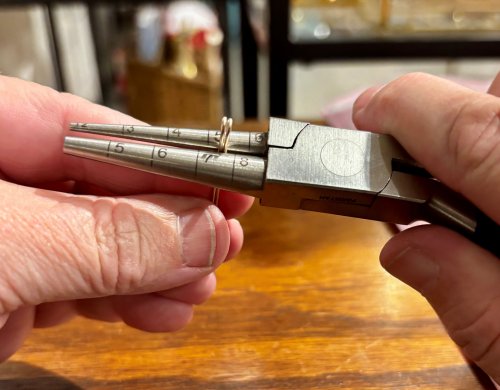
Mark your pliers.
You may need to try step 3 a couple of times to find the perfect point on your pliers, so that the end of the wire lines up perfectly with your pen mark. Once you have found this point, mark the pliers with your pen and ensure that each future loop is made round this point. The marks shown are the best spots on my pliers – these points may vary slightly on different brands of pliers.
Step 6:
Make a second loop.
Grasp the first loop with your chain nose pliers, so that the straight piece of wire is pointing downwards towards your hand.
Grasp the straight end of the wire with your round nose pliers at the point where you made your pen mark on the jaw and form a second loop in the opposite direction to the first.
Ensure that the end of the wire lines up with the pen mark.
Step 7:
Close the loops.
Carefully grasp the wire shape with the chain nose pliers, so that one jaw is against the end of the wire and the other is against the opposite side of the same loop and gently squeeze.
Repeat on the other side. Notice how each end now sits against the central wire and forms a straight line, completing the figure of 8 shape.
Step 8:
Flatten.
Squeeze tightly between the jaws of the chain nose pliers on both sides to ensure the shape is completely flat and the ends do not stick out at all so that they do not catch on anything. This also helps to harden the wire.
Step 9:
Prepare to connect it to the chain.
Once you have made a few links, you can begin to connect them together to form a chain. Open one loop by twisting one end upwards with the chain nose pliers.
Do not pull open as this will weaken the wire.
Step 10:
Secure in place.
Thread the closed loop from another figure of 8 onto the loop you have just opened.
Twist the loop closed using your chain nose pliers and squeeze between the jaws again to ensure there are no snaggy ends.
To speed up production, I find it best to work in batches. Form the first loop on a number of lengths of wire, then go through and form the second loop, then close all the loops and so on. You will find that you are able to complete the chain much faster this way.
To speed up production, I find it best to work in batches. Form the first loop on a number of lengths of wire, then go through and form the second loop, then close all the loops and so on. You will find that you are able to complete the chain much faster this way.
Step 11:
Add more links.
Keep adding figure of 8 connectors until your chain is of the required length. Attach a clasp in the same way you add connectors and thread on your favourite pendant. You have finished!!!









 Wire Wrapped Bail for Top-drilled Stones
 Wire Wrapped Bail for Stone Donuts
 Seed of Change Pendant
 testdenise
 Wire-wrapped Bead Link Bracelet
 Heart Frame Bracelet
 Embellished Hook Clasp
 Embellished Heart Earrings
 Embellished Artisan Ear Wires
 Coiled T-bar and Toggle Clasp
 Simply Elegant Pendant
 Lavender Lariat Necklace
 Brooch Pin
 Woven Wire Lotus Flower Pendant
 Coiled Ear Wires
 Wire Wrapped Briolette Pendant
 Simple T-bar and Toggle Clasp
 Cirrus Pendant
 Spiral Wire End Caps
 Mermaid's Teardrop Necklace
 Spiral Bead Cage
 Spiral Bead Charm
 Quick and Easy Loop Earrings
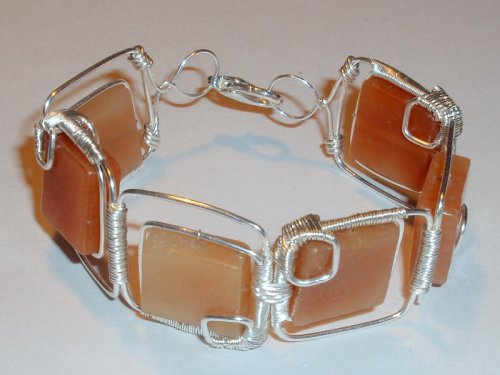 Squares Bracelet
 Fuchsia Bud Earrings
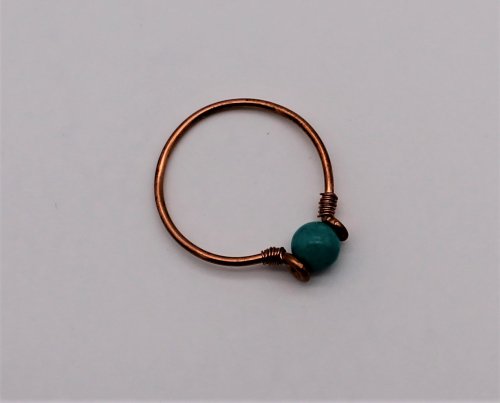 Dainty Boho Ring
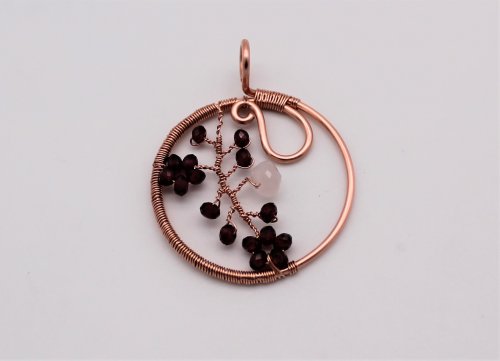 Jasmine Pendant
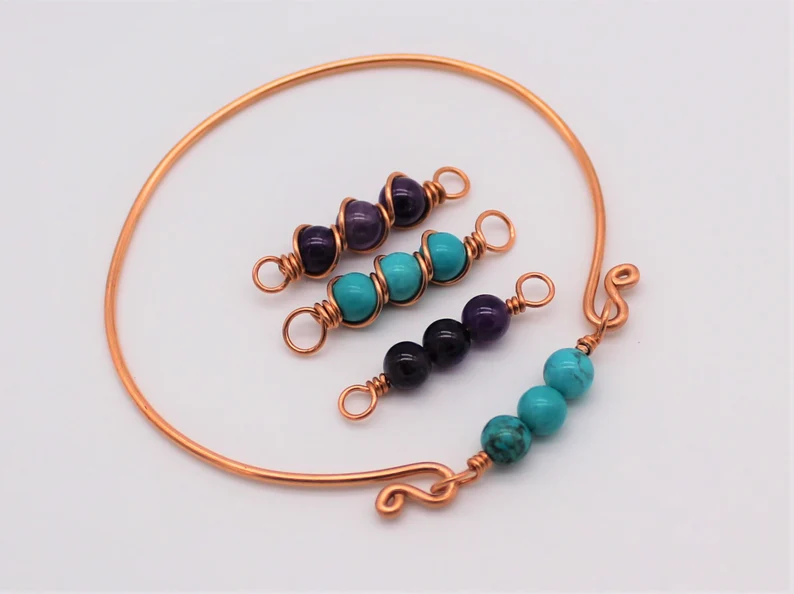 Dainty Interchangeable Boho Bracelet Tutorial
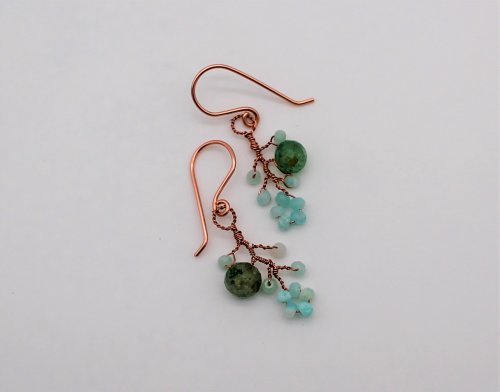 Delicate Jasmine Earrings
