
Bali Style Focal Toggle
- Category: Findings
- Technique(s): Butane Torch Techniques
- Skill Level: Intermediate
When I was a young girl, my uncle, who was in the foreign service, aunt, and cousin lived in Indonesia. Ever since then, I have had an affinity for Bali jewelry and have amassed a large collection of Bali beads.
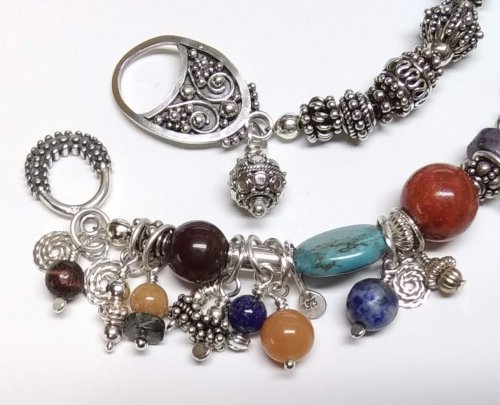
I started stringing up my beads and made lots of bracelets to give away. I found that even though I liked purchased Bali style toggles, the look was not quite right in my mind. Besides which, even with the addition of a large dangle bead on the toggle connection, the bracelets still rolled around the wrist. That is when I decided I needed a pretty focal toggle and started sketching. The toggles I made do not have the physical weight of the center beads on the bracelet, but when the toggle becomes visible, the bracelet still has a distinctive Bali look. Changing out a few of the center beads and adding the new toggle changed the look of my original bracelet from Bali to Bali Wow.
I started stringing up my beads and made lots of bracelets to give away. I found that even though I liked purchased Bali style toggles, the look was not quite right in my mind. Besides which, even with the addition of a large dangle bead on the toggle connection, the bracelets still rolled around the wrist. That is when I decided I needed a pretty focal toggle and started sketching. The toggles I made do not have the physical weight of the center beads on the bracelet, but when the toggle becomes visible, the bracelet still has a distinctive Bali look. Changing out a few of the center beads and adding the new toggle changed the look of my original bracelet from Bali to Bali Wow.
Materials

16 Gauge Square Dead Soft Argentium .940 Silver Wire
H19-16SQD
- Lesson Quantity: 1.00 pieces
- Purchase Quantity: 1.00 1FT
- Price: $13.86
- Gold Club Price: $10.40

16 Gauge Round Dead Soft Argentium .940 Silver Wire
H19-16D
- Lesson Quantity: 1.00 pieces
- Purchase Quantity: 1.00 1FT
- Price: $10.96
- Gold Club Price: $8.22

20 Gauge Round Dead Soft Argentium .940 Silver Wire
H19-20D
- Lesson Quantity: 1.00 pieces
- Purchase Quantity: 1.00 1FT
- Price: $4.47
- Gold Club Price: $3.35

22 Gauge Round Dead Soft Argentium .940 Silver Wire
H19-22D
- Lesson Quantity: 1.00 pieces
- Purchase Quantity: 1.00 1FT
- Price: $2.84
- Gold Club Price: $2.13

24 Gauge Dead Soft Argentium Silver Sheet - 6 Inches
H19-24SM6
- Lesson Quantity: 1.00 pieces
- Purchase Quantity: 1.00 1 Inch
- Price: $51.80
- Gold Club Price: $38.85

Silver Filled Jump Rings Open (.040) 18ga (OD) 4mm (ID) 2.24mm - Pack of 25
S11-13
- Lesson Quantity: 1.00 pieces
- Purchase Quantity: 1.00 each
- Price: $2.60
- Gold Club Price: $1.95

Sterling Silver Ball Chain 1.5mm - 10 Feet
C8-111U
- Lesson Quantity: 1.00 pieces
- Purchase Quantity: 1.00 each
- Price: $65.40
- Gold Club Price: $49.05
Tools

Xuron Flush Cutter - Pack of 1
G2-504
- G2-504
- Lesson Quantity: 1.00 pieces
- Purchase Quantity: 1.00 each
- Price: $29.95
- Gold Club Price: $22.46

Multi Angle Cutting Jig
VIS-512.00
- VIS-512.00
- Lesson Quantity: 1.00 pieces
- Purchase Quantity: 1.00 each
- Price: $84.95
- Gold Club Price: $63.71

PROFESSIONAL QUALITY RING MANDREL 1-16
MAN-295.00
- MAN-295.00
- Lesson Quantity: 1.00 pieces
- Purchase Quantity: 1.00 each
- Price: $24.95
- Gold Club Price: $18.71

Dual Head Hammer
G3-9
- G3-9
- Lesson Quantity: 1.00 pieces
- Purchase Quantity: 1.00 each
- Price: $6.97
- Gold Club Price: $5.23

Dead Blow Brass Hammer - 2 lb. Brass Hammer
HAM-456.20
- HAM-456.20
- Lesson Quantity: 1.00 pieces
- Purchase Quantity: 1.00 each
- Price: $32.97
- Gold Club Price: $24.73

Premium Steel Bench Block 2 1/2 X 2 1/2
G17-9
- G17-9
- Lesson Quantity: 2.00 pieces
- Purchase Quantity: 2.00 each
- Price: $15.97
- Gold Club Price: $11.98

Small Disc Cutter, 7 Pieces
DAP-400.10
- DAP-400.10
- Lesson Quantity: 1.00 pieces
- Purchase Quantity: 1.00 each
- Price: $46.95
- Gold Club Price: $35.21

Nylon Ring Bending Pliers
PLR-841.00
- PLR-841.00
- Lesson Quantity: 1.00 pieces
- Purchase Quantity: 1.00 each
- Price: $20.97
- Gold Club Price: $15.73

Nylon Bracelet Bending Plier
PLR-840.00
- PLR-840.00
- Lesson Quantity: 1.00 pieces
- Purchase Quantity: 1.00 each
- Price: $19.97
- Gold Club Price: $14.98

Basic Soldering Kit
G15-4
- G15-4
- Lesson Quantity: 1.00 pieces
- Purchase Quantity: 1.00 each
- Price: $58.95
- Gold Club Price: $44.21

Silver Solder Paste Medium SS70 - 1/4 T.O.
SOL-822.15
- SOL-822.15
- Lesson Quantity: 1.00 pieces
- Purchase Quantity: 1.00 each
- Price: $18.95
- Gold Club Price: $14.21

Silver Solder Paste Soft SS65- 1/4 T.O.
SOL-822.10
- SOL-822.10
- Lesson Quantity: 1.00 pieces
- Purchase Quantity: 1.00 each
- Price: $16.95
- Gold Club Price: $12.71

Xuron Sheer - Non Serrated
SHR-691.81
- SHR-691.81
- Lesson Quantity: 1.00 pieces
- Purchase Quantity: 1.00 each
- Price: $31.95
- Gold Club Price: $23.96
Instructions
Step 1:
The O-ring
Read through the tutorial before starting the project. Follow all safety precautions pertaining to the tools and supplies being used and the space you are working in.
It might be helpful to sketch out some designs before starting the project.
For each toggle being made, straighten and cut one 2½" (appx. 63 mm) piece of 16 gauge square wire for the outer wall.
It might be helpful to sketch out some designs before starting the project.
For each toggle being made, straighten and cut one 2½" (appx. 63 mm) piece of 16 gauge square wire for the outer wall.


Step 2
File one end of the outer wall square wire-multiples are being made here. A miter jig vise is particularly helpful to use to do this because the square wire can be pushed up to the square fence in the jig to obtain a perfect 90 degree angle when filing. Measure and mark 2-3/8" (approx. 59 mm) from the filed end of the square wire.


Step 3
Using the miter jig for this step as well will make another perfect flat end. Trim excess wire, leaving just enough to file a flat end on the marked line.


Step 4
Bend the wire into an oval "D-ring" shape, matching the ends up as perfectly as possible. No light should be seen between the ends from any angle. Forming the wire into a "smile" and then pulling the wires back so the ends touch can help to create a flush connection between the wire ends. Also, do not worry if the square wire is not quite flat, so long as the wire corners of each end match up.

Step 5
Place a small amount of medium paste solder under the join or on the join on the inner circumference of the oval. Heating around and over the ring will draw the solder through the seam. Heat until the solder flows and immediately remove the flame. Wait for the piece to cool for 30 seconds or so before picking it up as it is fragile and can break into pieces when it is very hot. here is no need to quench. Place the piece a steel bench block to draw the heat out of it very quickly.

Step 6
Push the ring down onto a ring mandrel as far as it will go. Finish rounding it into a circular shape using a small rubber/nylon mallet.
Step 7
Place a ring in the center of a bench block. Place another bench block on top of the ring. Give the top bench block one or two good whacks in the center. Check to see if the ring is now flat with the edges squared up. If not, turn the ring over and repeat the process. One more whack should get the job done.

Step 8
Stretching a ring out into an oval is easy using the largest section on a small Wrap 'N' Tap pliers. Using a ring bending pliers will press the circle into a teardrop/egg shape. For either shape, make sure the seam is on the end where the jump ring will be added-see photo in Step 15. Repeat Step 7 because shaping could possibly distort the shape a bit.


Step 9
Place a piece of 320 or 400 grit sandpaper on a bench block or other flat surface with no give. Using two or three fingers to hold the ring down on the sandpaper, use a figure 8 motion to sand the back perfectly flat. Periodically turn the piece under your fingers to ensure an even sanding.
If there is a large amount of solder inside the ring, file it down. Since it will most likely be covered with embellishments, it is not necessary for the area to be perfectly smooth.
If there is a large amount of solder inside the ring, file it down. Since it will most likely be covered with embellishments, it is not necessary for the area to be perfectly smooth.
Pro Tip: Cover the side to be sanded flat with a Sharpie marker. When the marker is gone, the piece is flat.

Step 10
Because each toggle frame will be filled with more metal pieces, making it quite thick, 22 gauge down to 26 gauge sheet backing can be used-do not use thinner sheet. Because the finished "O" ring will be bent in Step 43, the thinner gauge sheet may be desired. The size and shape needed is determined by the shape of the outer wall frame and the added the jump ring-see the photo in Step 15. Notice that for the ovals, extra length was added for the jump ring to be added. The corner of the square for the circle will be all that is needed for the jump ring. Check to make sure the size will fit both the frame and the jump ring before cutting the sheet. Use an ultra fine point retractable Sharpie to draw the size needed on the sheet metal. Draw a line on the sheet metal where the "O" ring opening will be cut.
Pro Tip: I have a tendency to make several versions of something I know I am going to like and might have small pieces or wire or sheet left after spacing things out to take the best advantage of the piece of sheet metal I am working with. In this case, there was a small rectangle of silver left at the end of one strip that was just wide enough for a small pine tree-so I cut two pieces and set them aside to later make a simple pair of earrings. The takeaway-think beyond what is being made as opportunities for new creations might present themselves.

Step 11
Metal shears can be used to cut the sheet metal backing out. Flatten the piece on a bench block using a small rubber/nylon mallet.
Step 12
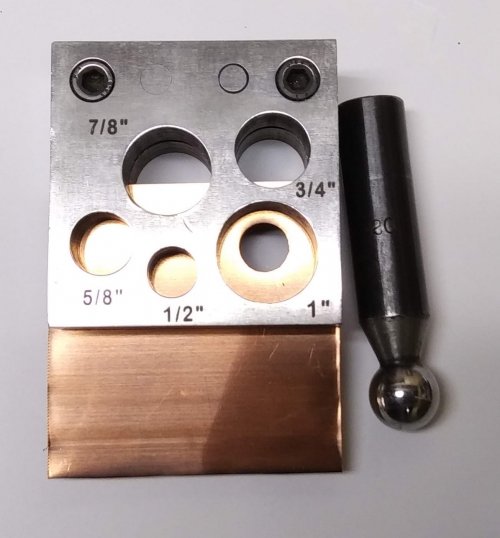
Slide the piece into a disc cutter with the drawn line barely showing in the hole. For the oval and teardrop shapes, a 5/8" cutter was used. For the circle shape, a ¾" cutter was used.


Step 13
Stamp the metal content centered just below the curve.

Step 14
This step is not necessary, but I wanted a tiny bit of extra contact between the jump ring and the frame. Close the jump ring. File a very tiny section flat on the seam end of the frame and the jump ring. I love my miter jig vise because the filed pieces will perfectly align every time.


Step 15
Drawing lines on the front of the sheet and on the back sanded side of the frame will help with solder placement. Place dots of medium paste solder on the back side of the frame. Position the frame on the backing, solder side down. Press into place. Place a small blob of solder on the backing, close to the seam in the frame, where the jump ring will be placed. Press the jump ring into place, pushing the flat side of the ring flush with the flattened area on the frame.
Place the piece on a Solderite board or magnesia soldering brick. Heat until the solder flows. Immediately remove the heat. Wait 30 seconds or more before moving the piece to a bench block to cool. The solder probably flowed everywhere, leaving a bit of a mess. Don't worry. The outside will be cut and filed away, and the inside will be covered.
Place the piece on a Solderite board or magnesia soldering brick. Heat until the solder flows. Immediately remove the heat. Wait 30 seconds or more before moving the piece to a bench block to cool. The solder probably flowed everywhere, leaving a bit of a mess. Don't worry. The outside will be cut and filed away, and the inside will be covered.


Step 16
Cut a piece of 16 gauge square wire longer than needed. Shape it to fit the curve cut in the backplate. An easy way to obtain a nice curve would be to wrap the wire around a disc cutter one step down in size than the one used to cut the opening. After the piece is shaped, cut one end at an angle and file to fit inside the frame. Repeat with the other end. It is better to have some of the backing showing when the piece is fit into place than to have the piece go beyond the backing, creating a metal "step" on the back of the toggle. The excess backing metal can be filed away later.
Place medium paste solder along the curved backing edge and on the frame where the ends of the curved piece will touch. Press the curved piece into place. Place the piece on a Solderite board or magnesia soldering brick. Heat until the solder flows. Immediately remove the heat. Wait 30 seconds or more before moving the piece to a bench block to cool.
Place medium paste solder along the curved backing edge and on the frame where the ends of the curved piece will touch. Press the curved piece into place. Place the piece on a Solderite board or magnesia soldering brick. Heat until the solder flows. Immediately remove the heat. Wait 30 seconds or more before moving the piece to a bench block to cool.

Step 17
Place a piece of 320 or 400 grit sandpaper on a bench block or other flat surface with no give. Using two or three fingers to hold the piece frame side down on the sandpaper, use a figure 8 motion to sand the frame perfectly flat. Periodically turn the piece under your fingers to ensure an even sanding.


Step 18
Pickle, rinse, and dry the piece.
Step 19:
Embellishments
Cut one inch (appx. 25mm) pieces of 20 gauge round wire, making sure that one end is flush cut. Scroll the flush cut end. How many and how to use them is up to you as the designer.

Step 20
Have a variety of silver balls on hand. For this project, 1/8", 3/16", ¼" and ¾" pieces of balled 18 gauge wire were used.

Step 21
I use a lot of twisted wire in my projects. For embellishments on the "O" ring, I pulled out my coil of 22 gauge twisted wire. For one toggle, one 6" (152mm) piece of 22 gauge wire, folded in half and tightly twisted, should be more than enough to fit inside the toggle frame.

Step 22
Make curves without kinks, which happens with twisted wire, using nylon bending pliers: left to right-Nylon Ring Bending Pliers, Nylon Jaw Deep Bending Pliers, Nylon Bracelet Bending Pliers. Shape a piece for the deeper curve first. Trim and file the ends to fit. Cut and shape a piece longer than needed for the piece across the opening end of the toggle. Trim and file the ends to fit.


Step 23
Since these designs are symmetrical, a dotted line was drawn on the backing to separate the halves. Decide where to place the scrolled wire pieces. Trim and file the wire ends to fit. Notice the scrap piece of twisted wire from Step 22 bent into an upside down "V" that is used as embellishment inside one of the frames.

Step 24
Place small bits of easy paste solder on the backs of the scrolls. Press the scrolls into place inside the frame. Place easy paste solder inside the frame and on the backing and press the twisted wire into the solder and down onto the backing.
Place the piece on a Solderite board or magnesia soldering brick. Heat until the solder flows. Immediately remove the heat. Wait 30 seconds or more before moving the piece to a bench block to cool.
Why not add all the embellishments and solder then? Because this way, the pieces will not move around while other embellishments are "auditioned."


Step 25
The balls on balled wire cannot be pushed together or pulled apart to fit a space. Balled chain is perfect to use as an embellishment on this project. Cut chain to fit the deeper curve first. Then cut chain to fit the curve next to the opening. Remove the chain. Place easy paste solder on the backing where the ball chain will be secured. Press the chain into place. Place the piece on a Solderite board or magnesia soldering brick. Heat until the solder flows. Immediately remove the heat. Wait 30 seconds or more before moving the piece to a bench block to cool.

Step 26
Add balled silver embellishments as desired using easy paste solder. Add balls or a series of balls on either side of the jump ring using easy solder, if desired.

Step 27
When satisfied with the design, place the piece on a Solderite board or magnesia soldering brick. Heat until the solder flows. Immediately remove the heat. Wait 30 seconds or more before moving the piece to a bench block to cool. Use a soft steel brush to burnish the toggle. If any pieces pop off, resolder them in place using a bit more easy paste solder.
Step 28
Pickle, rinse, and dry the piece.
Step 29
Trim excess metal from around the piece. File the edge and inside the opening. The metal points of the backing sheet need to be filed smooth so they do not scratch the skin when worn. Use sanding sponges to smooth the "O" ring back and edges.

Step 30
Using the steel brush on the piece again will bring up a satin shine.


Step 31:
The T-bar
Since I was making lots of T-bars, I folded a 30" (76.5cm) piece of 16 gauge round wire in half and soldered the cut ends together with easy paste solder. After making a tight twist, I ended up with about a foot of usable twisted wire.
If a twisted wire T-bar is not desired, follow the same steps, substituting 12 gauge round wire for the twisted wire.
If a twisted wire T-bar is not desired, follow the same steps, substituting 12 gauge round wire for the twisted wire.


Step 32
Because short lengths are used and the twisted wire might slide apart if not twisted tightly enough, heat the wire until the surface is very shiny-but not melting-to slightly fuse the twist together.

Step 33
Dig a hole deep enough in a magnesia soldering block that the jump ring hanging from the twisted wire will not touch the bottom of the hole. The hole should be narrow enough that the twisted wire ends will sit on either side and not be in danger of sliding into the hole.
Close the 18 gauge 3.5mm jump ring. For each toggle being made, cut a 1½" piece of twisted wire. Determine the center of the twisted wire and mark with a Sharpie. Place a blob of medium paste solder on the mark. Slide the 3.5mm jump ring on the twisted wire and over the solder, keeping the ring seam up so it will be placed in the solder.
Solder the ring to the twisted wire. Have a solder pick ready. The ring will want to settle into a twisted wire groove. The solder pick can keep the ring in line until the solder flows. The solder will flow up the jump ring seam and out between the twisted wires.


Step 34
Keeping in mind that the jump ring seam is on top of the T-bar, use a flat nose pliers to squish the ring into an oval around the twisted wire. Use sanding pads to clean up the jump ring seam.

Step 35
Use an ultra-fine point retractable Sharpie to mark ½" (scant 13mm) out on either side of the jump ring.

Step 36
Cut excess twisted wire close to the marks. Finish by filing the ends perfectly flat. The miter jig vise works well for this, too.

Step 37
Cut two ¾" pieces of 18 gauge wire. Cut each piece in half and lay the pieces side by side on a soldering surface. Heat until the wire balls up. When cool, file the back sides of the balls flat on a piece of 320 grit sandpaper placed on a bench block.


Step 38
Press the rounded end of a ball into the surface of a magnesia soldering block. Place a blob of easy paste solder on the flat surface of the ball.


Step 39
Grasp the twisted wire just below the jump ring with cross lock tweezers. Hold the twisted wire just above the ball with the paste solder. Heat the two pieces until the solder flows. When the solder flows, press the flat end of the twisted wire to the flat side of the ball. Heat just a tad more, watching to make sure the solder flows. Remove the heat, keeping the two pieces pressed together for a few seconds to make sure the solder solidifies enough to hold the pieces together.


Step 40
Repeat Step 39 with the other end. Place the T-bar on a bench block to cool.

Step 41
Check the end ball connections. Resolder any that come loose.
Step 42
Add an 18 gauge 4.5mm ID jump ring to the T-bar connector ring. Solder closed with easy paste solder.

Step 43
Pickle, rinse, and dry the T-bar
Step 44
If the ball ends are not as round as desired, file and sand them to your liking.
Step 45
Tumble for several hours. If anything comes loose, resolder.

Step 46
Use bracelet bending pliers to give the "O" ring portion of the toggle a gentle curve that will make it sit better on the wrist.

Step 47
Patina can be added now, or after construction of your project. Since most Bali beads have some shine to them, after removing patina from the high areas tumble again for 15 to 20 minutes to highlight the design.








 Beaded Briolette Pendant
 Snail Trail Spiral Earrings
 Heart Link Bracelet and Earrings
 Crazy Hoop Earrings
 Double Delight Jade Bracelet
 Swagged Pearl Pendant
 Heart Earrings with Drops
 Scarab Bracelet
 Birthstone Heart Pendant
 Pearl of the Sea Woven Pendant
 Bead Charm
 Coiled Rosette Link
 Wire Jewelry Component and Swan Hook
 Leaf Bail
  Component Templates with Heart Earrings and Pendant
 Ring Pendant
 Calla Lily Earrings
 Birdhouse Pendant
 Clamshell Earrings and Pendant
 Bracelet Component
 Teardrop Earrings and Pendant
 Tab Style Pendant
 Coiled End Caps
 Freeform Pendant
 French Hook Ear Wires
 Necklace Component
 Triangle Shield Earrings, Pendant and Bail
 How to Make a Wire Coil and Bead
 Egyptian Coil Bracelet
 Focal Bead Egyptian Coiled Bracelet
 Sweetheart Round Cabochon Pendant
 Making Cobblestone Cabochons
 Cupcake Wrapper Earrings
 How to Make Metal Washers
 Baseball Skin Keychain
 Pat's Silver Domed Earrings
 Blaze Your Own Path Pendant
 Semi Snap-on Bail
 Interlocking Faux Twist Wire Bracelet
 Fold Formed Cuff With Faux Roman Glass or Coin Cabochon
 Steampunk Style Leaf Earrings
 Stamped Saucer Beads
 Kat's Wire Hoop Earrings
 Simple Bail on a Coin Pendant
 Wire Bangles
 Rolling Mill - or not - Cuff Bracelet
 Jen's Chain
 Making Neckwires
 Silver Scrap Wire Focals to Embellish
 Splash Ring
 Cobblestone Cab Earrings
 Multi Gemstone Necklace
 Southwest Style Pendant
 Bezels Using Square Wire
 Mixed Metal Sampler Bracelet 1
 Mixed Metal Sampler Bracelet 2
 Mixed Metal Sampler Bracelet 3
 Mixed Metal Sampler Bracelet 4 - Words Matter
 Mixed Metal Sampler Bracelet 5 - River Walk
  Mixed Metal Sampler Bracelet 6 - A Little Bling
 Mixed Metal Sampler Bracelets Series PUTTING IT ALL TOGETHER
  Mixed Metal Sampler Bracelet 7 - Steampunk Space Oddity
 Mixed Metal Sampler Bracelet 8 - Fun Shapes
 Jump Ring Fringe Bracelet
 Easy Artisan Earrings
 Making Chain with Wubbers and Wire
 Heirloom Buttons and Beads Bracelet
  Tiny Silver Charms part 1
 Argentium Silver Scrap Chain
 Sterling Lake Stone Pendant with Twisted Wire
 Smashing Drop Earrings
 Argentium Silver Scrap Nugget Cuff
 Finish Them Your Way Earrings
 Paddle Fringe Earrings
 Seed Bead Earrings
 Bracelet Links 1, 2,3
 Stamped Saucer Beads
 Chaos Scrap Wrap Jewelry
 Maple Leaf Earrings
 Child's Bracelet That Grows with Them
 Mike's Surpirise Claire's Ripple Pendant
 Angel Ornament
 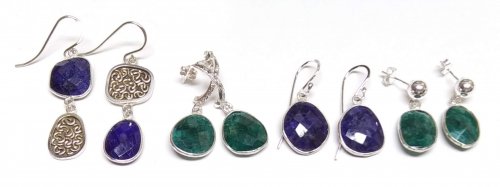 Diamonds, Emeralds, and Sapphires, Oh My.
 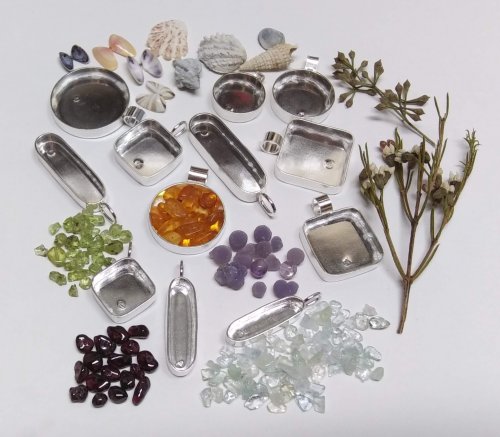 Treasure Bezel Cups
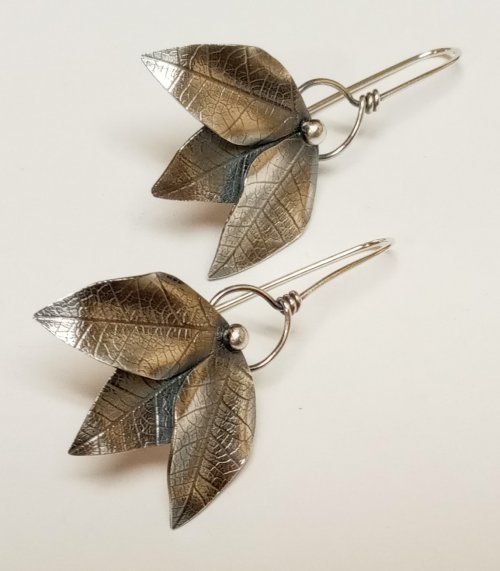 Three Leaves Earrings
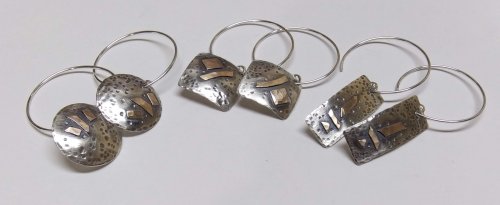 Silver and Gold Earrings
 Make a Hidden Bail
 Wire Links 4, 5, 6
 Wire Links 7, 8, 9, and 10
 Double Loop Ear Wires
 Balled and Paddled Head Pins
 Textured Stacked Rings
 Cord and Bead Earrings
 Bali Style Adjustable Closures
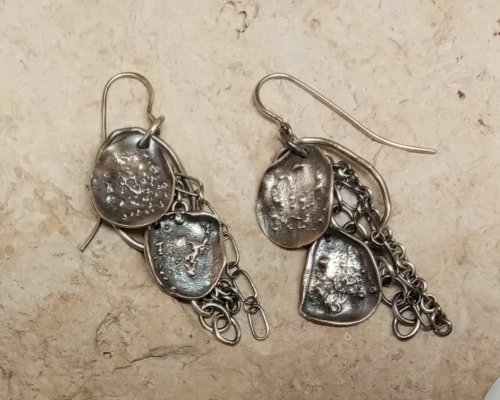 Organic Fused Silver Dust Earrings
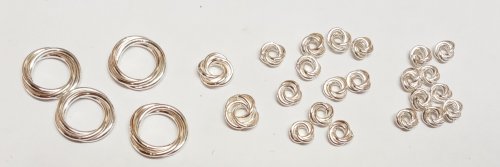 Mobius Rings
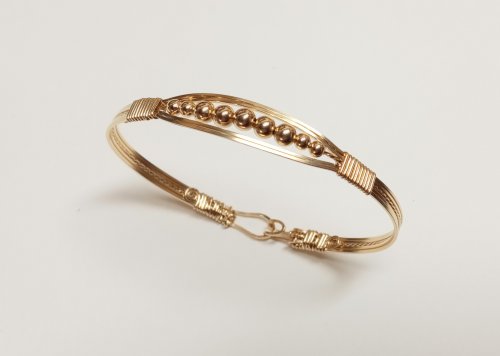 Dainty Bead and Wire Bangle with Hook Closure
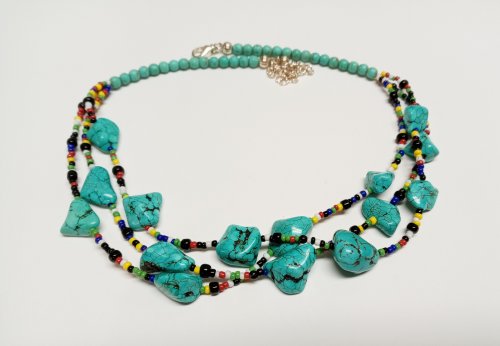 Seed Bead and Nugget Necklace
 Love Locks Heart Charm
 Traditional Southwest Style Hook Closures
  Negative Space Earrings
 Jumbled Lacy Chain
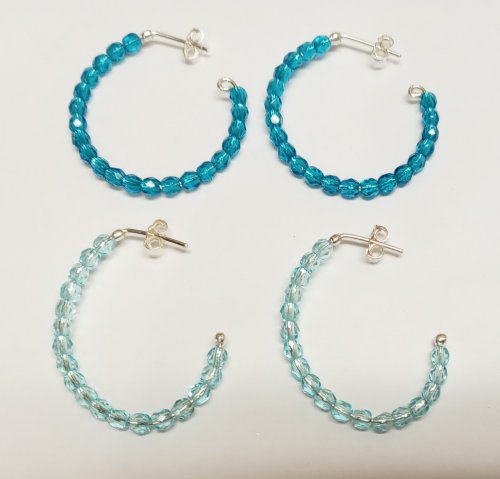 Easy Beaded Post Hoop Earrings
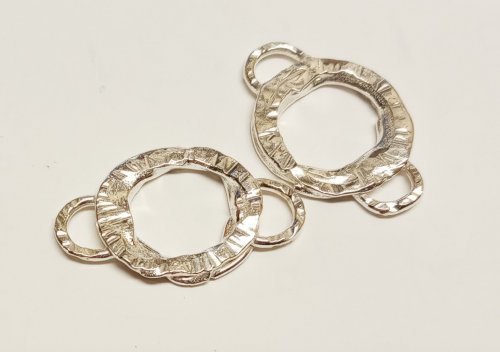 Rustic Silver Links
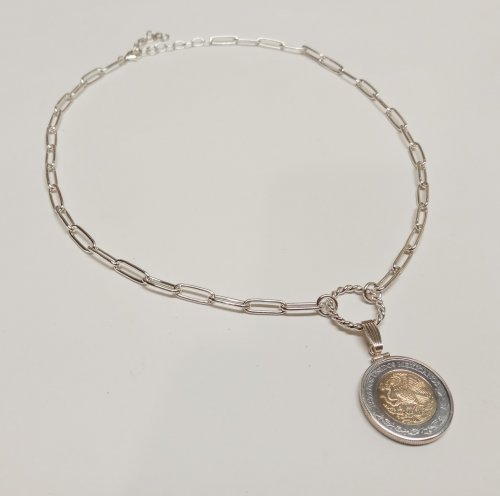 Make a Soldered Paperclip Chain
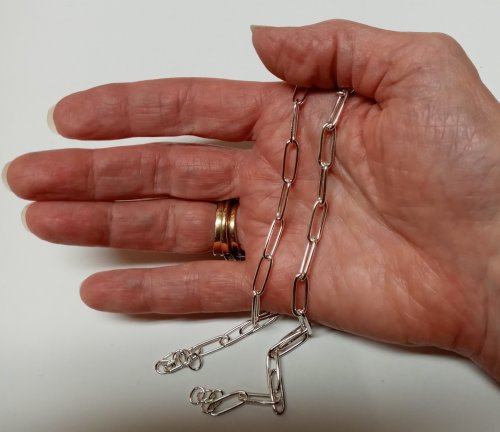 Make a Fused Paperclip Chain
 Make Woven Metal Strips to Use in Your Designs
 Leaf Wrap Metal Rings version 1
 Leaf Wrap Metal Rings version 2
 Snowflake Ornaments
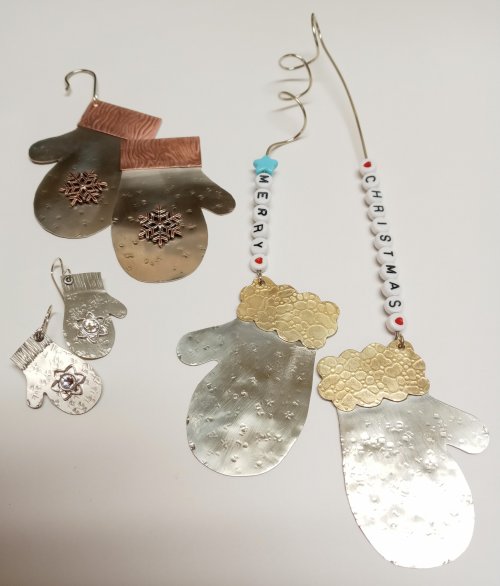 Mitten Ornament
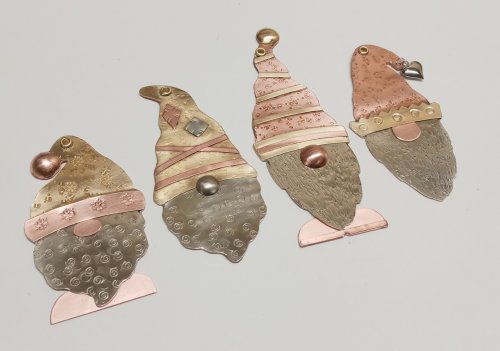 Gnome Ornaments
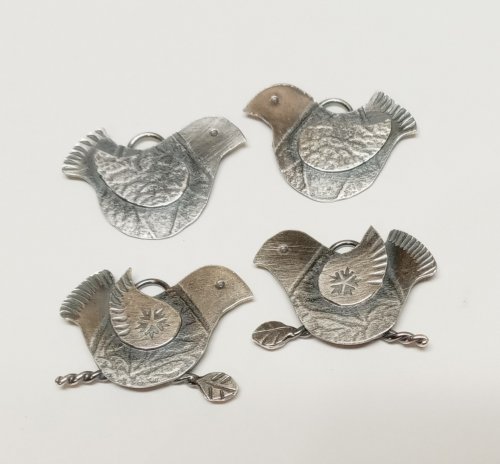 A Partridge in a Pear Tree Earrings
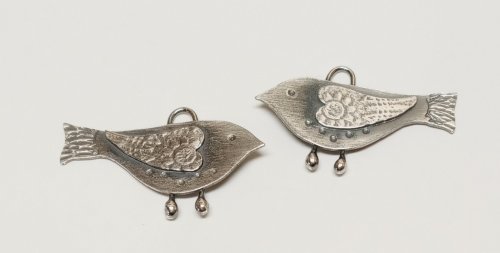 Two Turtle Doves Earrings
 Three French Hens Earrings
 Four Calling Birds Earrings
 Five Golden Rings Earrings
 Six Geese a Layin' Earrings
 Seven Swans a Swimming Earrings
 Eight Maids a Milking earrings
 Nine Ladies Dancing Earrings
 Ten Lords a Leaping Earrings
 Eleven Pipers Piping Earrings
 Twelve Drummers Drumming Earrings
 Make Your Own Bracelet Button Clasps
 Little Saucer Bells
 Doodads - Fun Findings
 No Measure Hearts, Any Size, Any Gauge
  Cascading Drops Earrings
 WIre Basics - Spiral Charms
 Wire Basics - Wrapped Loops and Links
 Wire Basics - Simple Swan Hook
 Wire Crocheted Necklace
 Wire Basics - Wire Garage Door Spring Link
 Easy Post Hoop Earrings
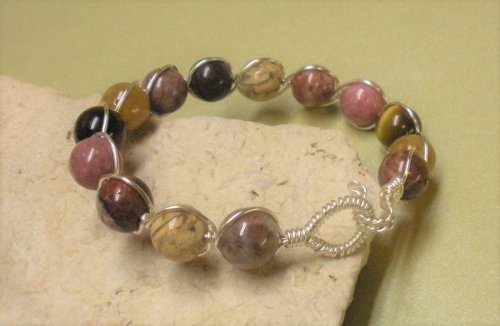 Double Wrap Wire Bangle Bracelet
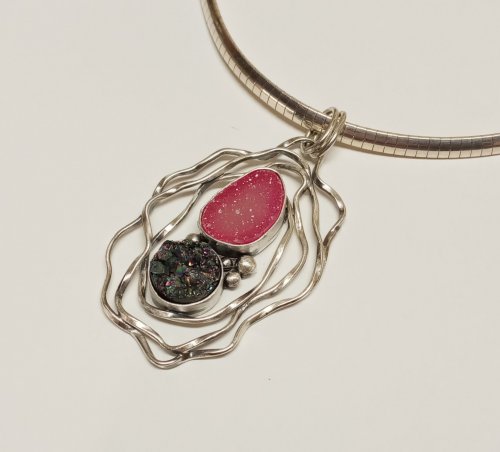 Organic Wire Pendant
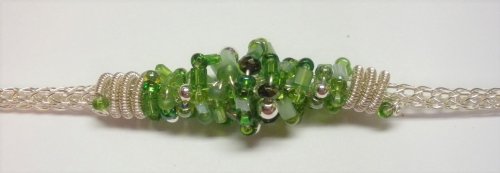 Coiled, Beaded Slide
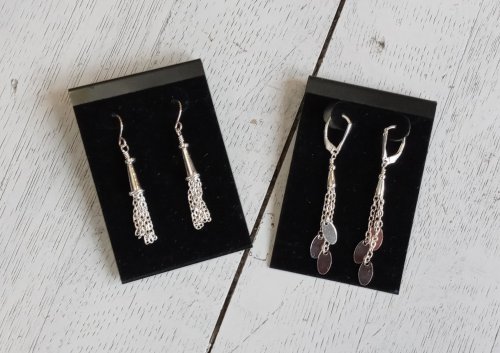 Cone and Chain Earrings
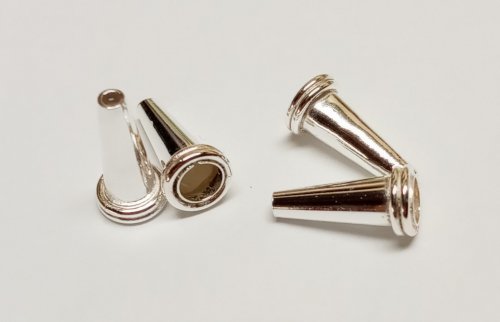 Embellished Sterling Cones
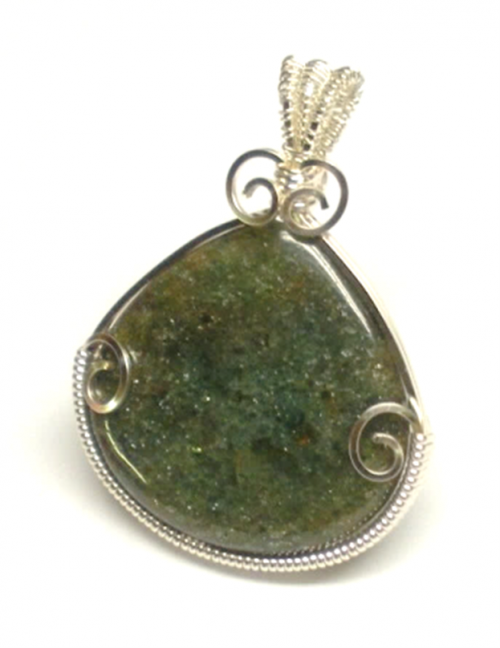 Classic Wire Wrap Bezelled Pendant
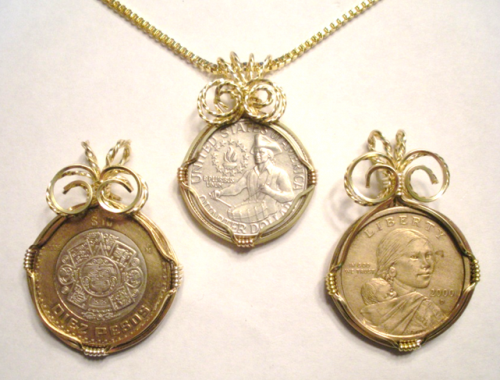 Wire Wrap a Coin
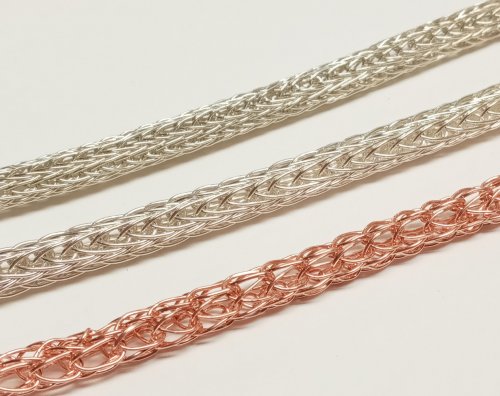 Viking Knit
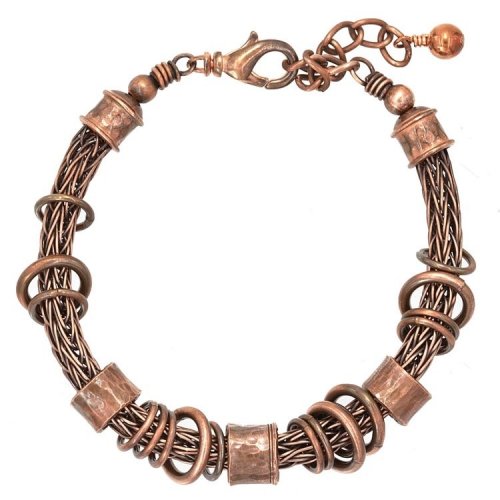 Viking Knit Bracelet
 Coiled Wire End Caps
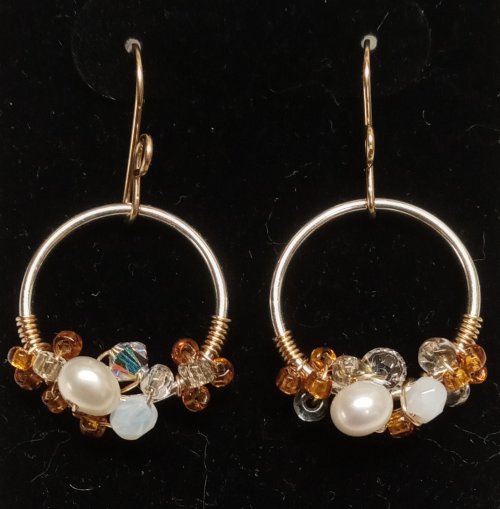 Bead-Wrapped Hoop Earrings
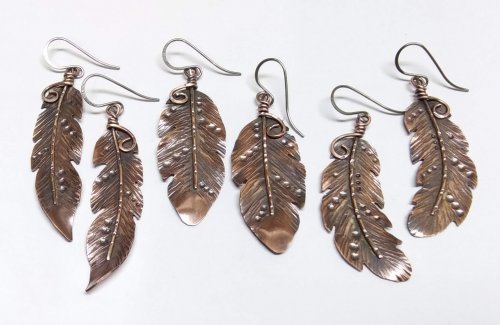 Copper Feather Earrings
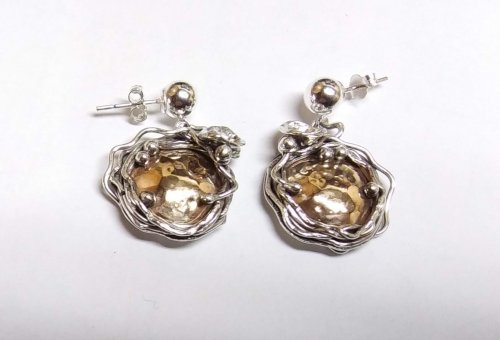 Soldering a Dome to a Backplate
  Wire Heart Pendant with Gemstone Drop
 Make Basic Wire Shapes for Jewelry
 Make Simple Wire Slide Bails
 Coiled Bead and Twisted Wire Bracelet
 Wire Triangle Link
 Silver Nuggets
 Fun Shapes Fish Hook Earrings
 After the Rain Bracelets
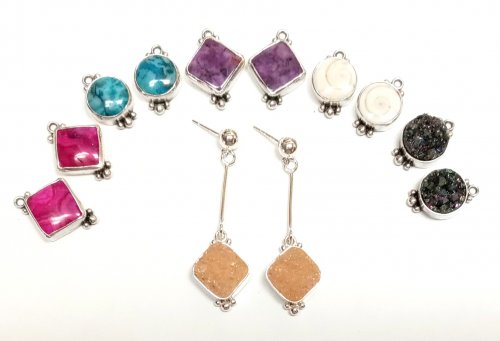 Dangling Drop Earrings
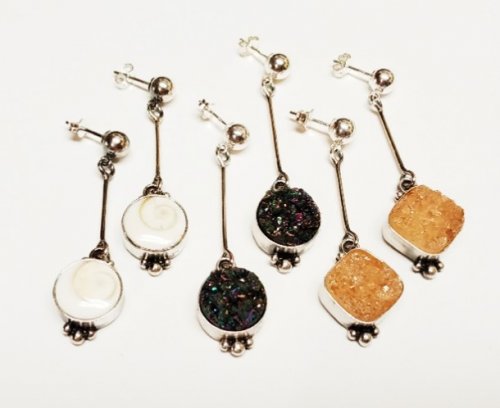 Dangling Chain Sticks
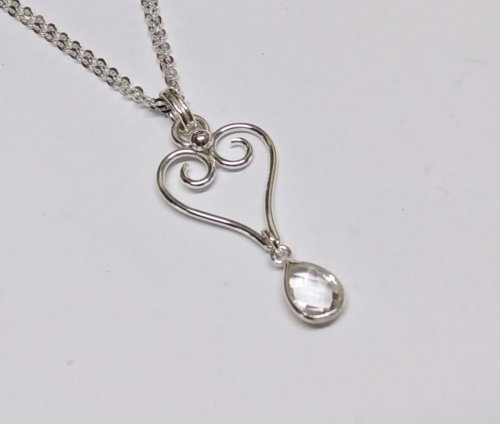 Wire Heart Pendant with Gemstone Drop
 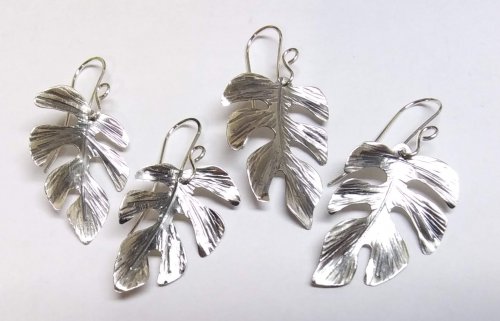 Tropical Leaf Earrings
 Basic Bezel Wire Tutorial
 Dog Tag Style Necklace
 Lacy Washers
 8-Strand Kumihimo
 Closed Loop Ear Wires
 Simple Strip Bails from Scratch
 Anti-tarnish Silver Cloth Bags
 Cotter Pin Style Bail
 Holiday Woodland Fairy Ornament
 Happy Holly Days Wreath Ornament
 Happy Holly Days Leaves and Berries
 Happy Holly Days Bells Ornament
  Art Deco Wire Wrapped Pendant
 Twisted Wire Jump Rings
 Two-tone Beaded Bangle
 Sweetheart Pendant
 Waves on the Beach Earrings
 Any Size Wire Hearts - Any Size, Any Gauge
 Just in Case Heart Pendant
 Small Flower Embellishment
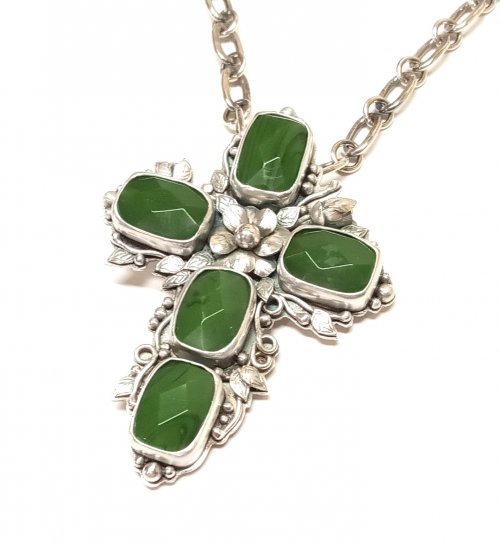 Making Tiny Dapped Metal Leaves
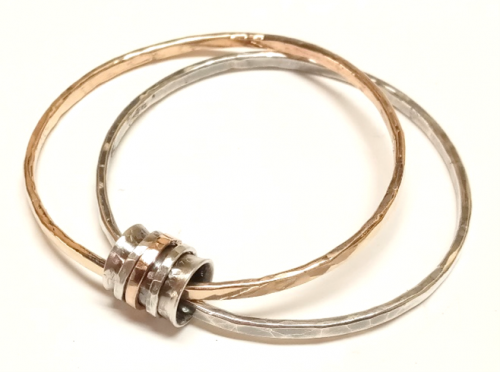 Spinner Fidget Bangles
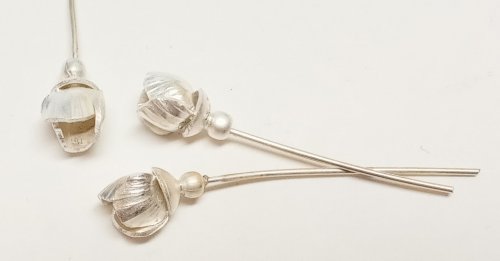 Small Flower Bud Embellishment
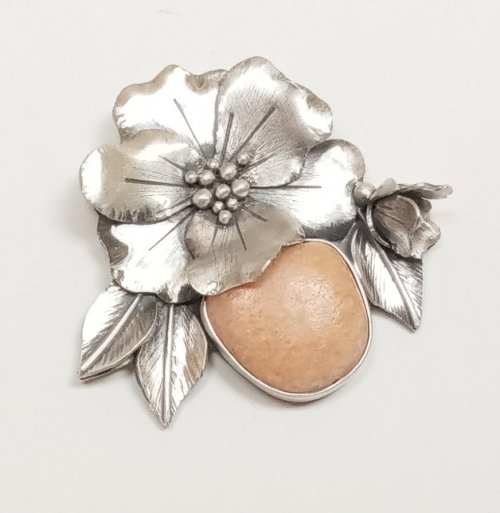 Three Petal Bud and Layered Embellishment
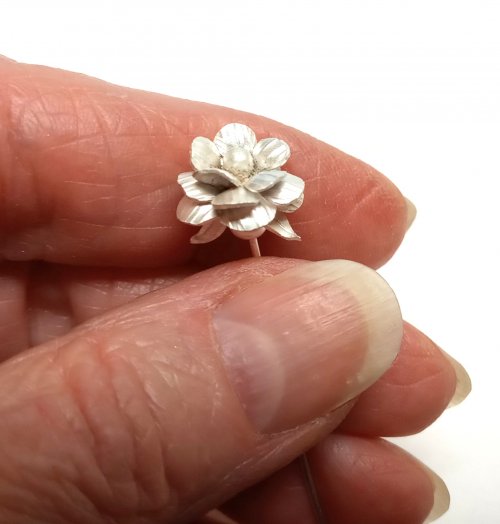 Creating a Flower Stem
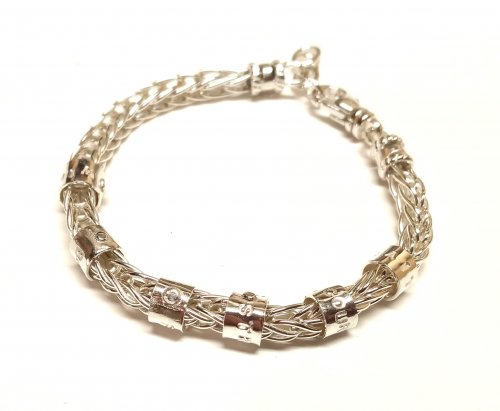 Stamped Tube Beads
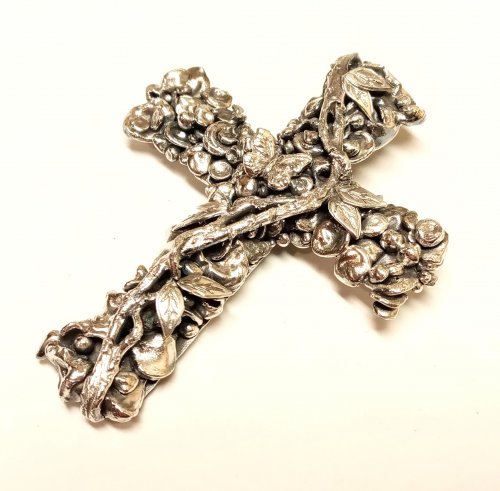 Water Cast Scrap Cross
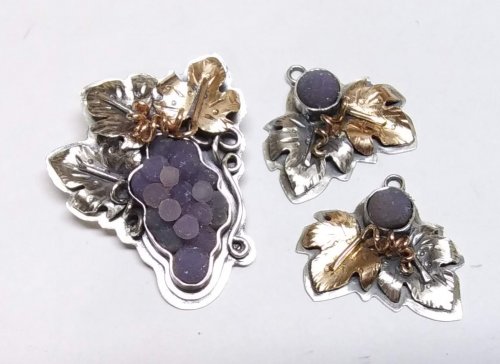 Sugared Grapes Pendant
 Tourist Rock Cuff Bracelet
 Gemstone Chains Reimagined
 Checkerboard Faceted Earrings
 Foxtail Chain aka Loop-in-Loop
 Handmade Chunky Chain
 Capture a Summer Memory
 Stone Key Fob
 Sprinkles Link
 Handmade Ornament Hooks
