
Anti-tarnish Silver Cloth Bags
- Category: Non-Jewelry Items
- Technique(s): General Education
- Skill Level: Beginner
My grandmother collected silver serving pieces and silverware in the 1920's. My mother remembered hating her chore of having to polish all the silver-often. When my mother inherited some of the pieces in the mid 1950's, she discovered silver cloth. She lined drawers for silverware and made bags for larger pieces so she would not have to polish the silver. When I inherited the some of the pieces, they came with the silver cloth. None of the silver needs polishing yet.
Anti-tarnish paper and plastic strips work, but only for a short time. Storing pieces sealed in plastic bags helps, but does not last for years. Anti-tarnish plastic bags are available, but again, have a shelf life.
Because of how well silver cloth works, I wanted to make bags to store the silver and gold Christmas Angel Ornaments I made for the Grandchildren. I did and internet search for "anti-tarnish silver cloth" and found a supplier. There was enough left to make myself many bags for jewelry, as well as lining and making a cover for a drawer in my dresser that I wanted to use for jewelry.
Available in a variety of colors, anti-tarnish silver cloth bags will help keep tarnish producing gases in the air from reaching your silver jewelry and will be effective for years. Washing will remove the anti-tarnish properties so I chose brown to make my bags. The only drawback is that the bags are not see-through.
Materials

ShineBrite Silver Dip - 8 Ounces
CLN-856.01
- Lesson Quantity: 1.00 pieces
- Purchase Quantity: 1.00 each
- Price: $6.95
- Gold Club Price: $5.21

Sunshine Satin Polishing Cloth, Single Pack
G9-3
- Lesson Quantity: 1.00 pieces
- Purchase Quantity: 1.00 each
- Price: $4.04
- Gold Club Price: $3.03
Tools
No tools listed
Instructions
Step 1
Read through the tutorial before starting the project. Follow all safety precautions pertaining to the tools and supplies being used and the space you are working in.
Fold the silver cloth in half lengthwise, with the selvages (woven edges) even-the top edge in the diagram
Fold the silver cloth in half lengthwise, with the selvages (woven edges) even-the top edge in the diagram

Step 2
Open the cut strip. Square up the selvage (woven) end by cutting off the selvage. Measure, mark, and cut 5½" (13.97cm) sections from the squared end.

Step 3
Zig-zag around the entire edge of each bag strip.
Step 4
On both short sides, measure down 1½" (3.81cm) from each corner. I marked with pins, but a chalk pencil would work, too.

Step 5
Fold the corners in as shown and press down.

Step 6
Stitch the triangle flaps down as shown.

Step 7
Fold the edge with the stitched corners down a bit over 5/8" (17mm). Press in place if desired.

Step 8
Stitch the folded down section across the full with of the fabric on or just above the zig-zag stitching.

Step 9
Fold the bag strip in half, matching up the folded and stitched ends. With the bag sides even, pin the bag sides. Stitch the sides just inside the zig-zag stitching, backstitching at the top and bottom of each side.

Step 10
Turn the bag right side out.
Step 11
Cut two 16" (40.64cm) pieces of ¼" ( 6.35mm) or 3/8" (9.525mm) wide ribbon.

Step 12
Fold one end of one end over and attach a safety pin. Thread the ribbon through the casing around the top of the bag.


Step 13
Remove the safety pin. Match the ribbon ends. Tie an overhand knot to secure the ends together.

Step 14
Starting on the opposite side of the casing, repeat Steps 12 and 13.


Step 15
To prevent fraying, melt the ends of the ribbon using a lighter or a match.






 Beaded Briolette Pendant
 Snail Trail Spiral Earrings
 Heart Link Bracelet and Earrings
 Crazy Hoop Earrings
 Double Delight Jade Bracelet
 Swagged Pearl Pendant
 Heart Earrings with Drops
 Scarab Bracelet
 Birthstone Heart Pendant
 Pearl of the Sea Woven Pendant
 Bead Charm
 Coiled Rosette Link
 Wire Jewelry Component and Swan Hook
 Leaf Bail
 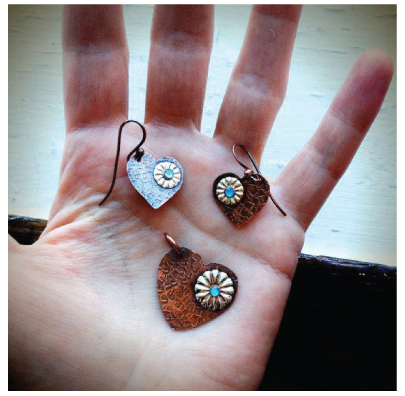 Component Templates with Heart Earrings and Pendant
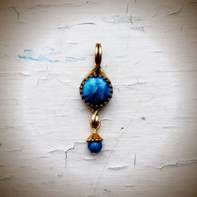 Ring Pendant
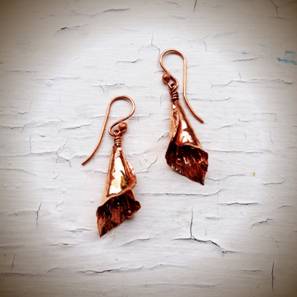 Calla Lily Earrings
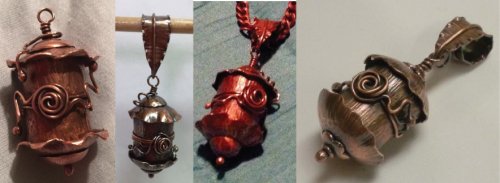 Birdhouse Pendant
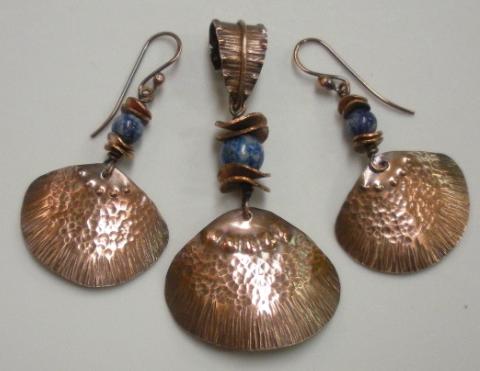 Clamshell Earrings and Pendant
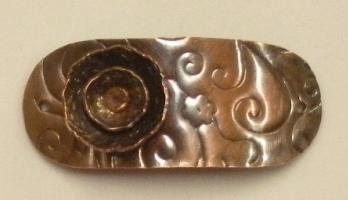 Bracelet Component
 Teardrop Earrings and Pendant
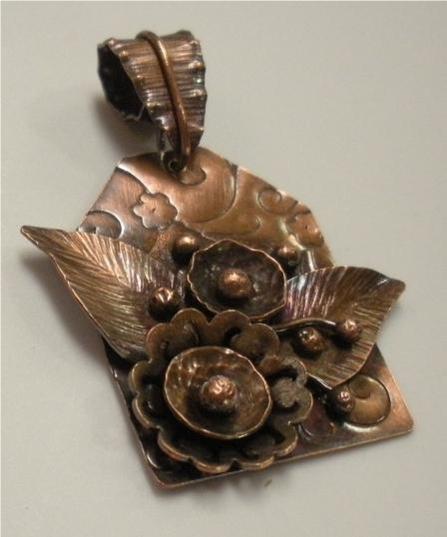 Tab Style Pendant
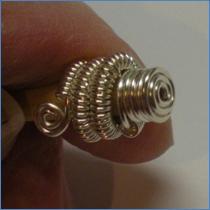 Coiled End Caps
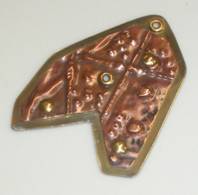 Freeform Pendant
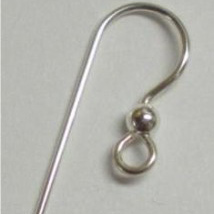 French Hook Ear Wires
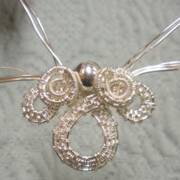 Necklace Component
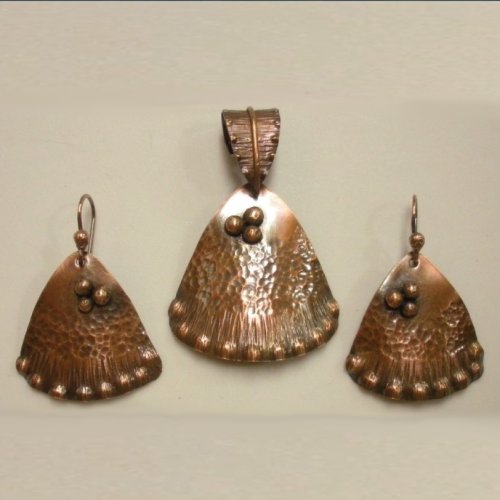 Triangle Shield Earrings, Pendant and Bail
 How to Make a Wire Coil and Bead
 Egyptian Coil Bracelet
 Focal Bead Egyptian Coiled Bracelet
 Sweetheart Round Cabochon Pendant
 Making Cobblestone Cabochons
 Cupcake Wrapper Earrings
 How to Make Metal Washers
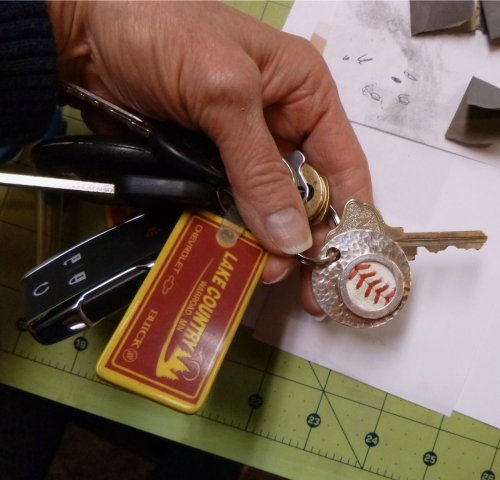 Baseball Skin Keychain
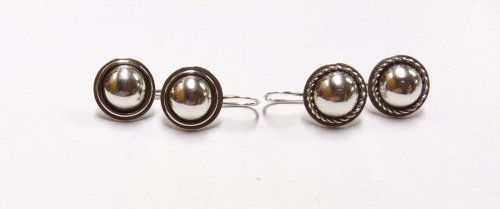 Pat's Silver Domed Earrings
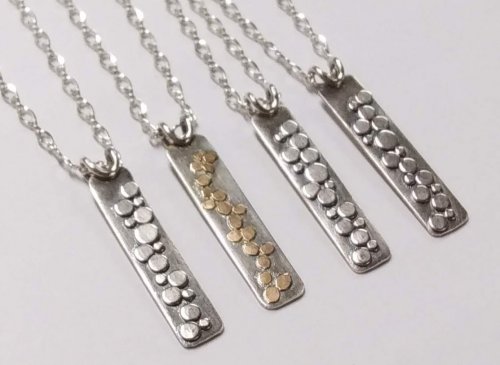 Blaze Your Own Path Pendant
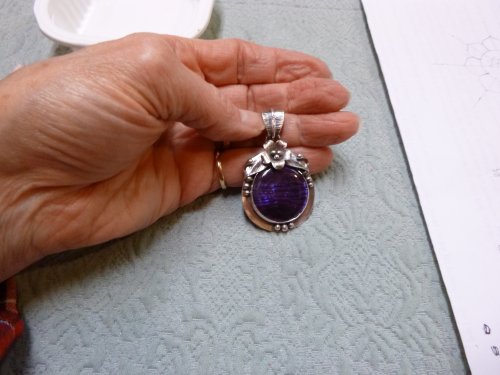 Semi Snap-on Bail
 Interlocking Faux Twist Wire Bracelet
 Fold Formed Cuff With Faux Roman Glass or Coin Cabochon
 Steampunk Style Leaf Earrings
 Stamped Saucer Beads
 Kat's Wire Hoop Earrings
 Simple Bail on a Coin Pendant
 Wire Bangles
 Rolling Mill - or not - Cuff Bracelet
 Jen's Chain
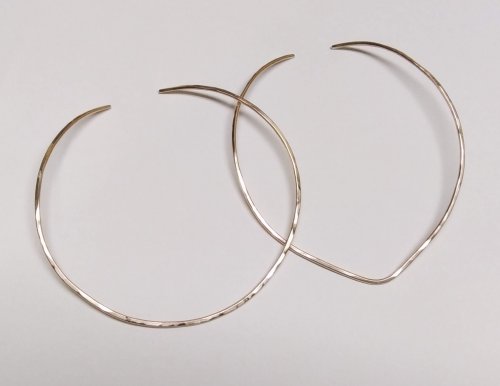 Making Neckwires
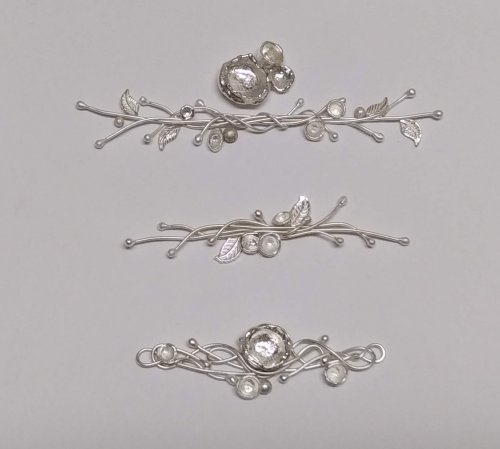 Silver Scrap Wire Focals to Embellish
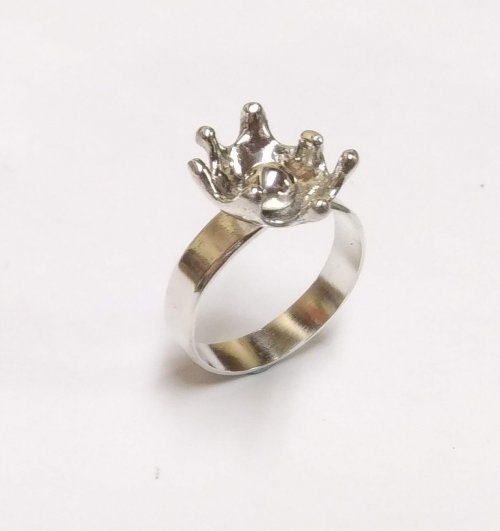 Splash Ring
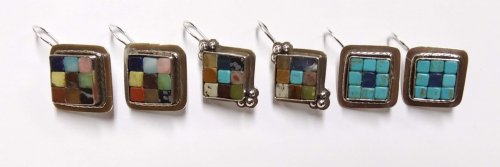 Cobblestone Cab Earrings
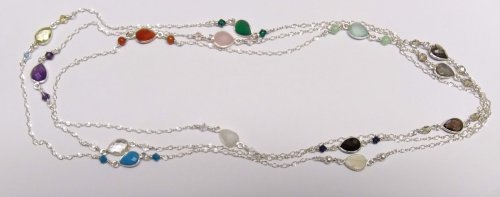 Multi Gemstone Necklace
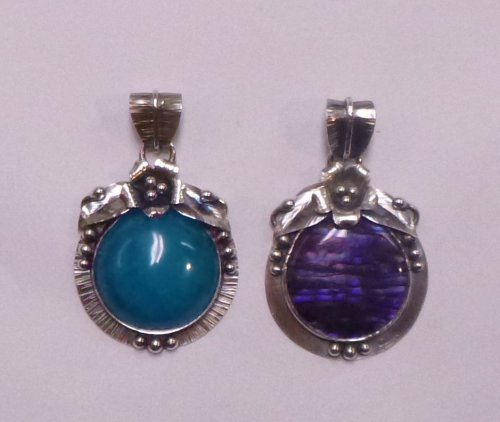 Southwest Style Pendant
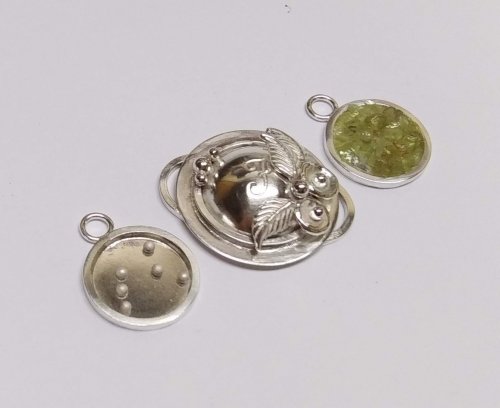 Bezels Using Square Wire
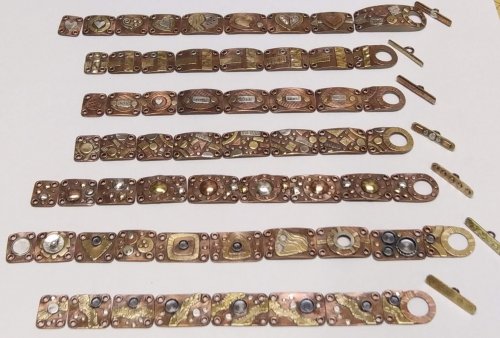 Mixed Metal Sampler Bracelet 1
 Mixed Metal Sampler Bracelet 2
 Mixed Metal Sampler Bracelet 3
 Mixed Metal Sampler Bracelet 4 - Words Matter
 Mixed Metal Sampler Bracelet 5 - River Walk
  Mixed Metal Sampler Bracelet 6 - A Little Bling
 Mixed Metal Sampler Bracelets Series PUTTING IT ALL TOGETHER
  Mixed Metal Sampler Bracelet 7 - Steampunk Space Oddity
 Mixed Metal Sampler Bracelet 8 - Fun Shapes
 Jump Ring Fringe Bracelet
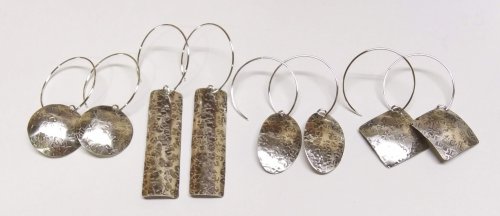 Easy Artisan Earrings
 Making Chain with Wubbers and Wire
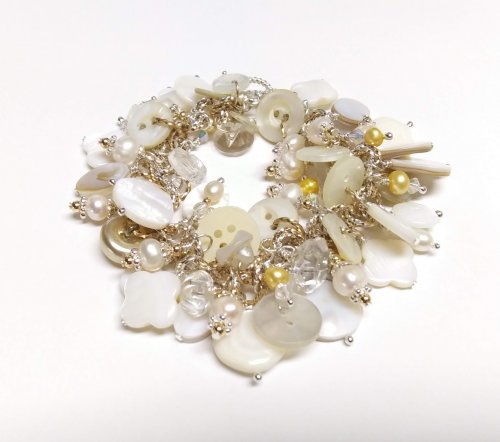 Heirloom Buttons and Beads Bracelet
  Tiny Silver Charms part 1
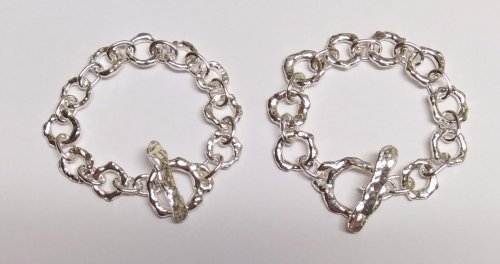 Argentium Silver Scrap Chain
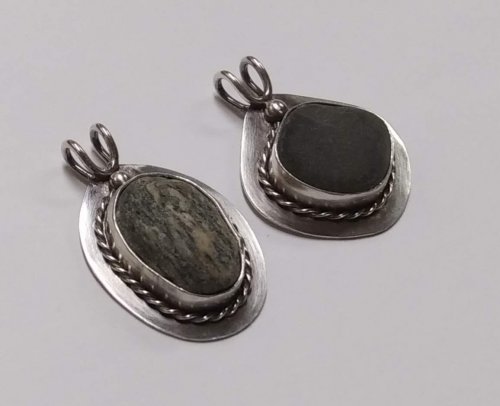 Sterling Lake Stone Pendant with Twisted Wire
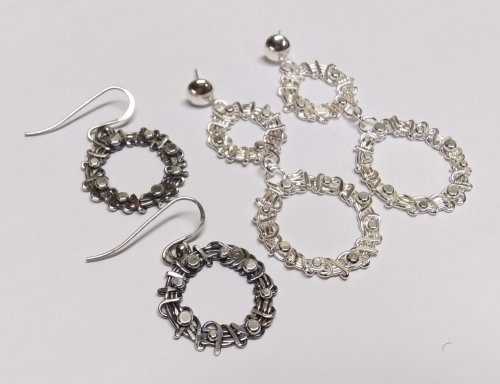 Smashing Drop Earrings
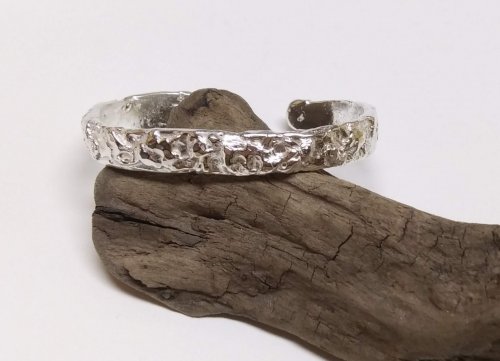 Argentium Silver Scrap Nugget Cuff
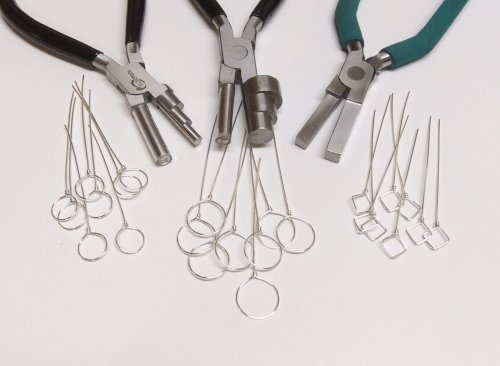 Finish Them Your Way Earrings
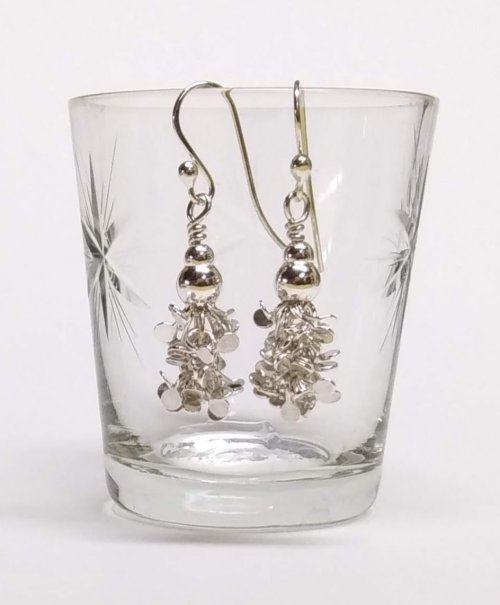 Paddle Fringe Earrings
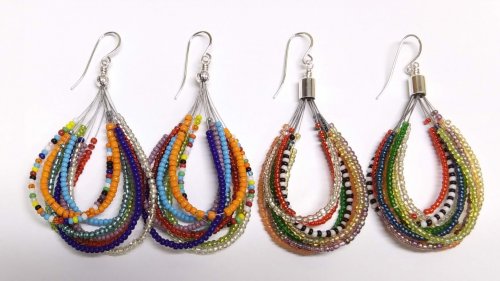 Seed Bead Earrings
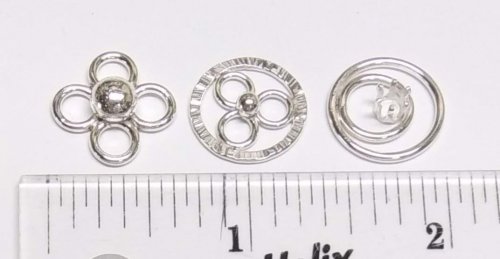 Bracelet Links 1, 2,3
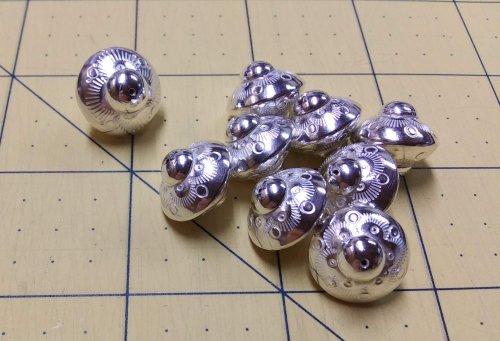 Stamped Saucer Beads
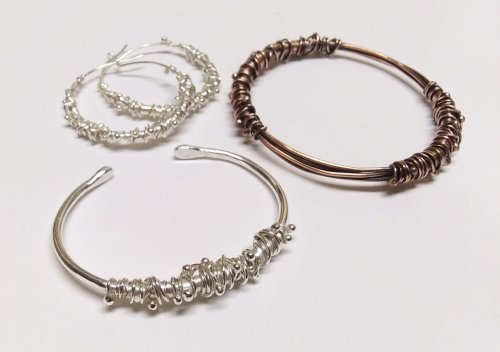 Chaos Scrap Wrap Jewelry
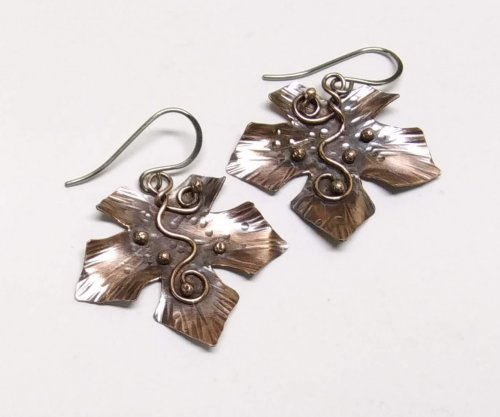 Maple Leaf Earrings
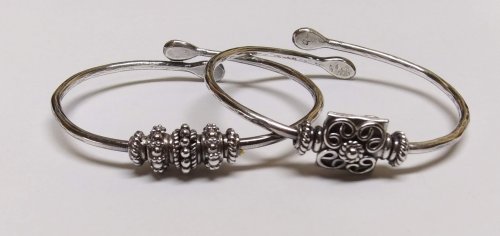 Child's Bracelet That Grows with Them
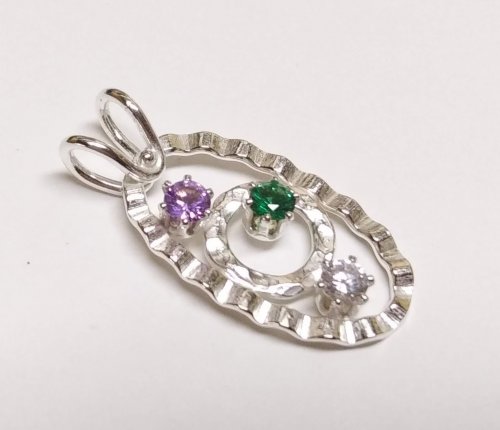 Mike's Surpirise Claire's Ripple Pendant
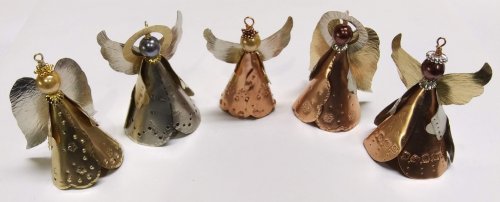 Angel Ornament
 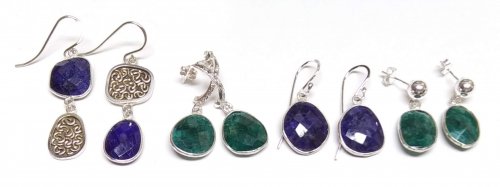 Diamonds, Emeralds, and Sapphires, Oh My.
 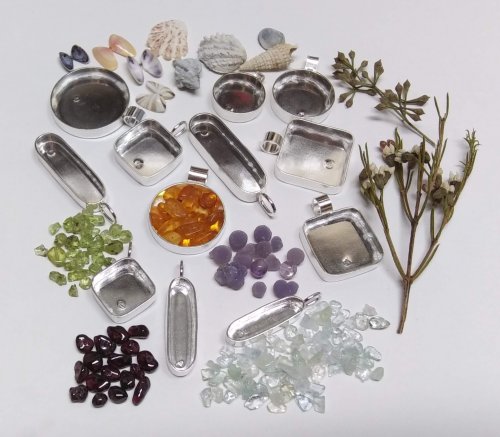 Treasure Bezel Cups
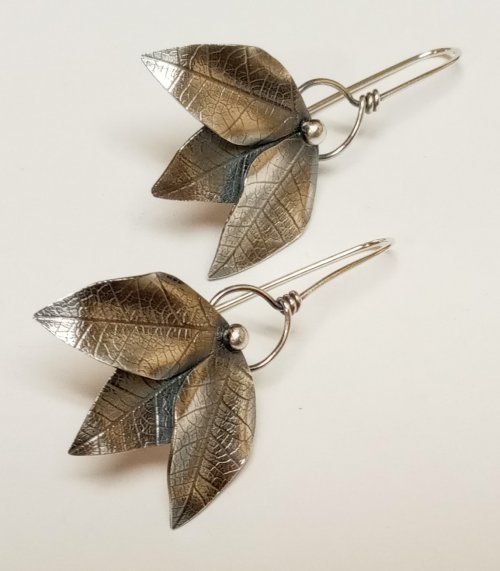 Three Leaves Earrings
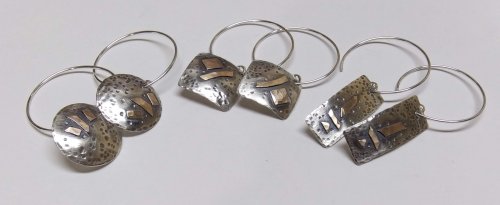 Silver and Gold Earrings
 Make a Hidden Bail
 Wire Links 4, 5, 6
 Wire Links 7, 8, 9, and 10
 Double Loop Ear Wires
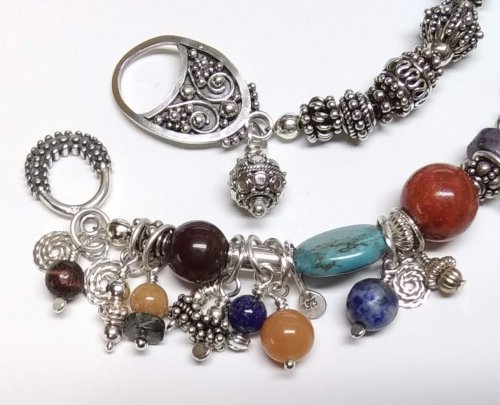 Balled and Paddled Head Pins
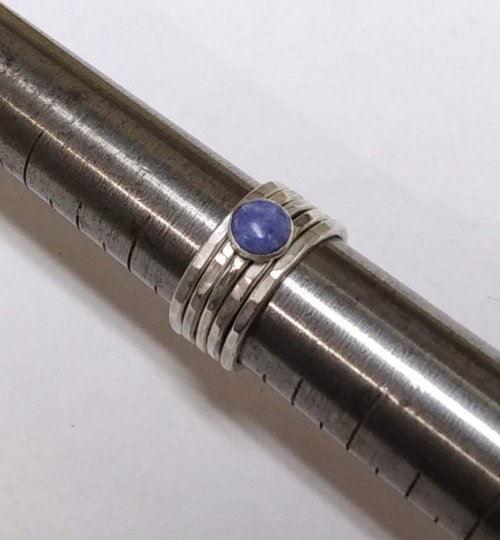 Textured Stacked Rings
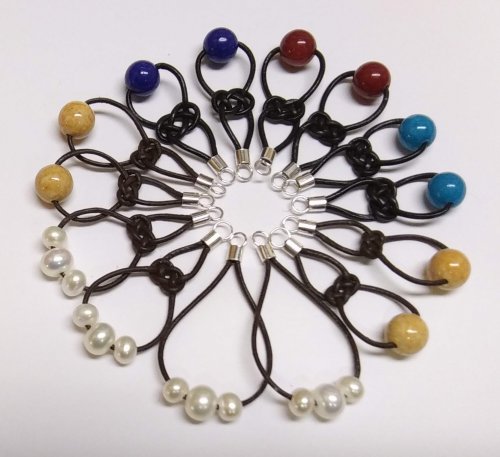 Cord and Bead Earrings
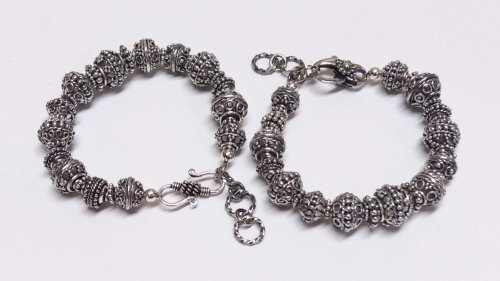 Bali Style Adjustable Closures
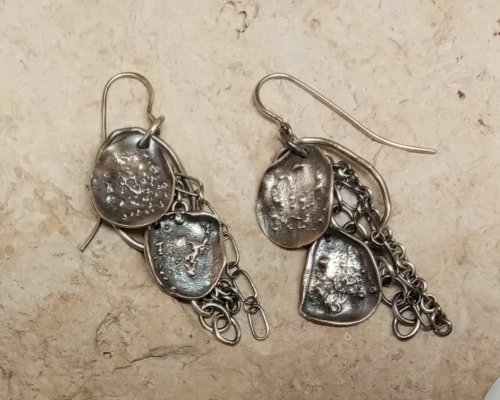 Organic Fused Silver Dust Earrings
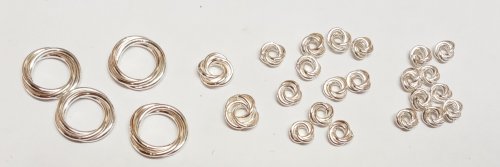 Mobius Rings
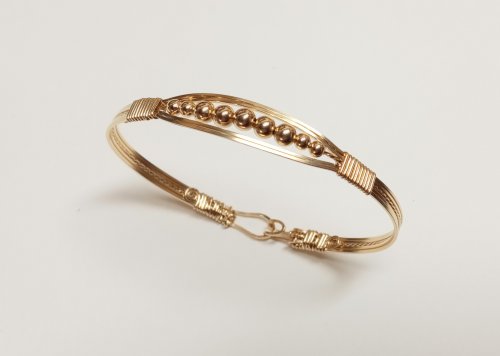 Dainty Bead and Wire Bangle with Hook Closure
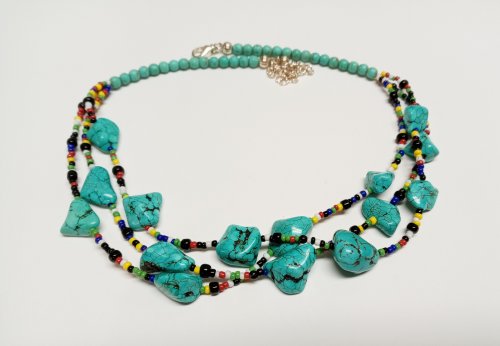 Seed Bead and Nugget Necklace
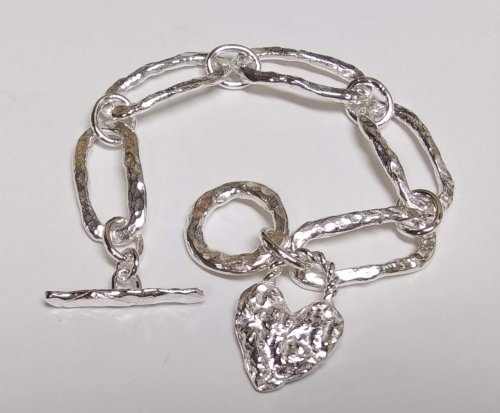 Love Locks Heart Charm
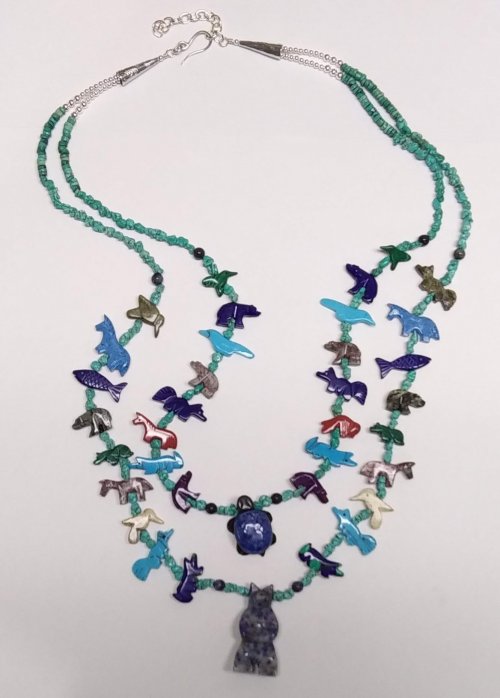 Traditional Southwest Style Hook Closures
 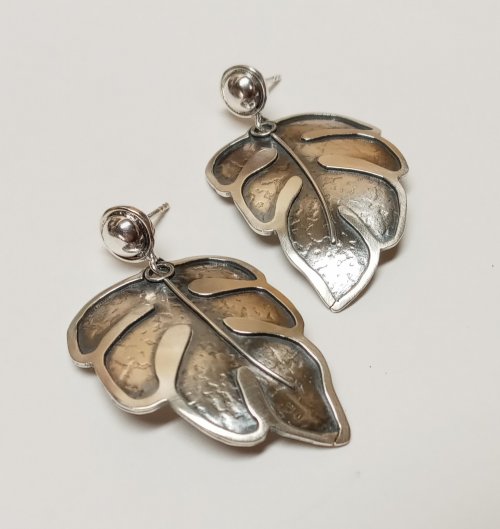 Negative Space Earrings
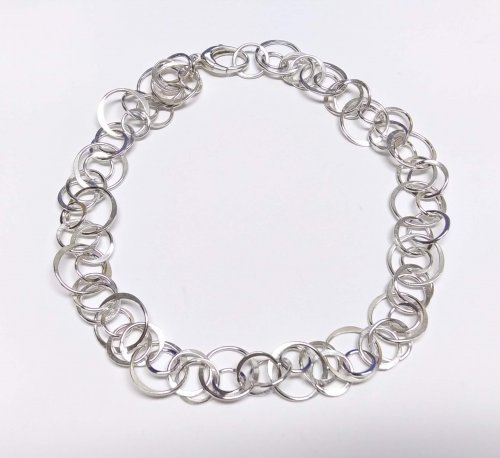 Jumbled Lacy Chain
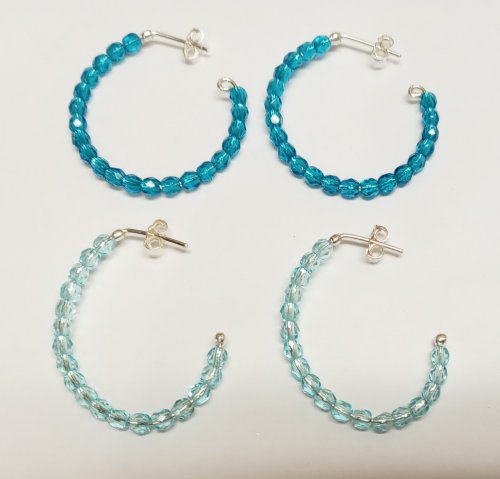 Easy Beaded Post Hoop Earrings
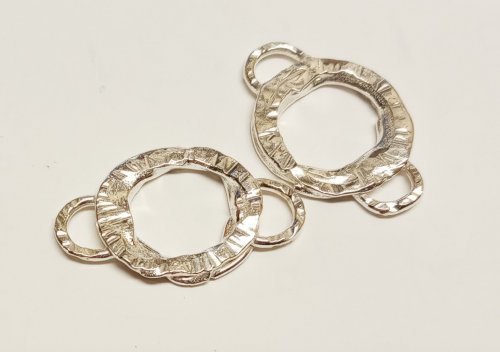 Rustic Silver Links
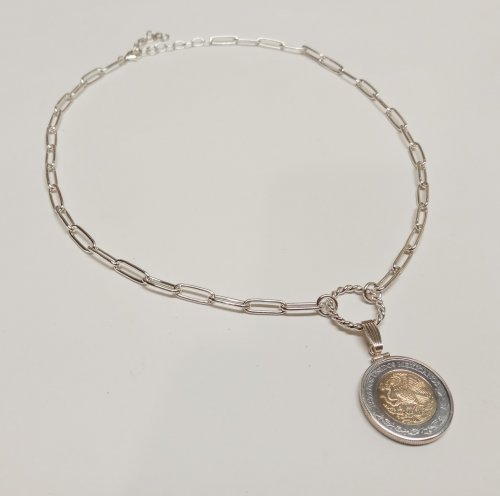 Make a Soldered Paperclip Chain
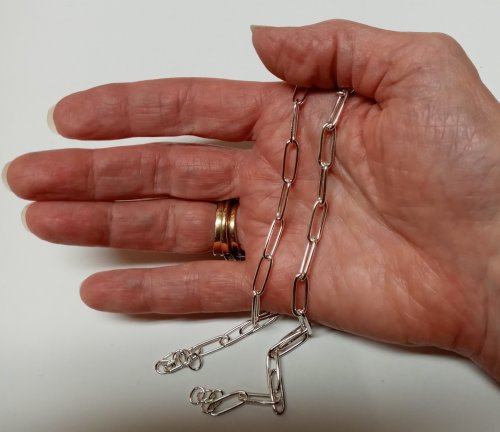 Make a Fused Paperclip Chain
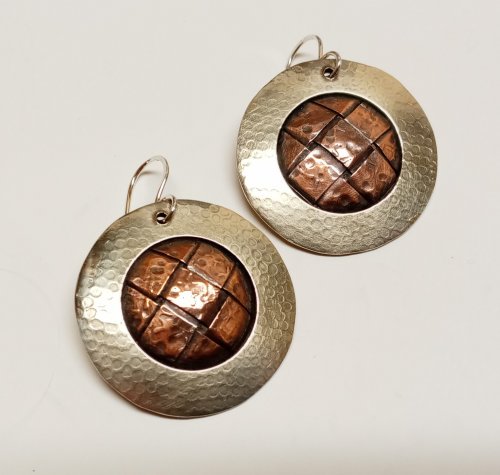 Make Woven Metal Strips to Use in Your Designs
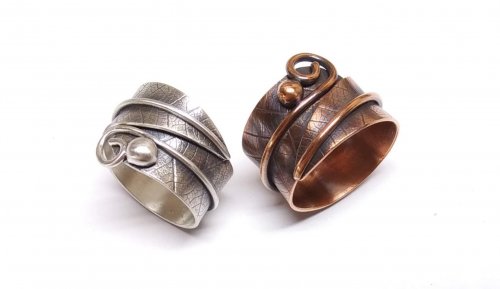 Leaf Wrap Metal Rings version 1
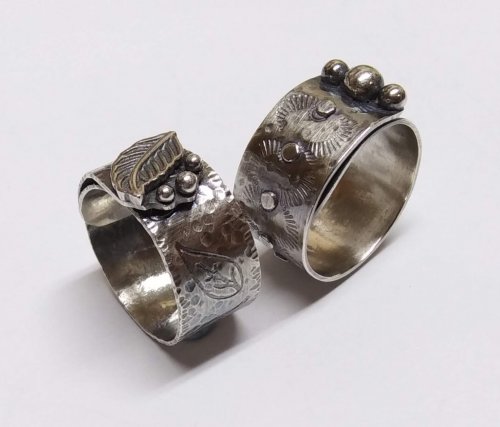 Leaf Wrap Metal Rings version 2
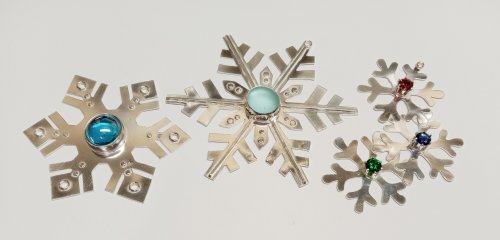 Snowflake Ornaments
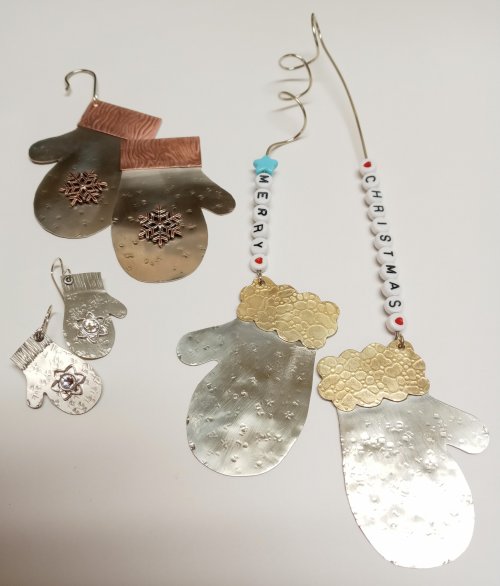 Mitten Ornament
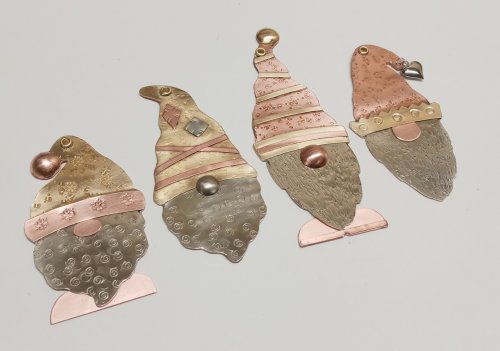 Gnome Ornaments
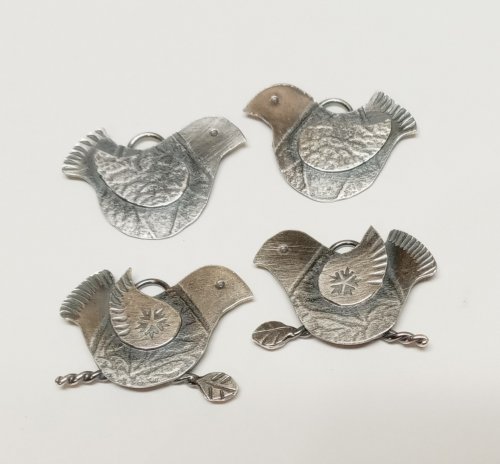 A Partridge in a Pear Tree Earrings
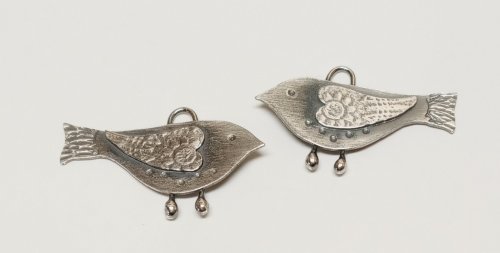 Two Turtle Doves Earrings
 Three French Hens Earrings
 Four Calling Birds Earrings
 Five Golden Rings Earrings
 Six Geese a Layin' Earrings
 Seven Swans a Swimming Earrings
 Eight Maids a Milking earrings
 Nine Ladies Dancing Earrings
 Ten Lords a Leaping Earrings
 Eleven Pipers Piping Earrings
 Twelve Drummers Drumming Earrings
 Make Your Own Bracelet Button Clasps
 Little Saucer Bells
 Doodads - Fun Findings
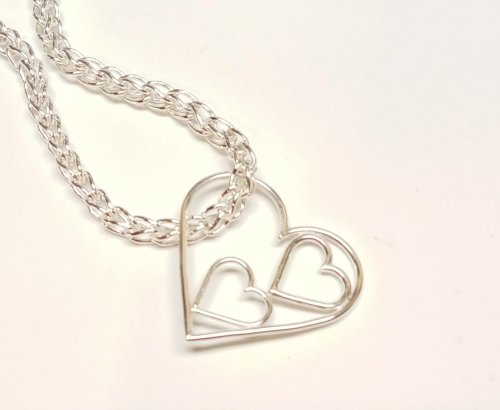 No Measure Hearts, Any Size, Any Gauge
 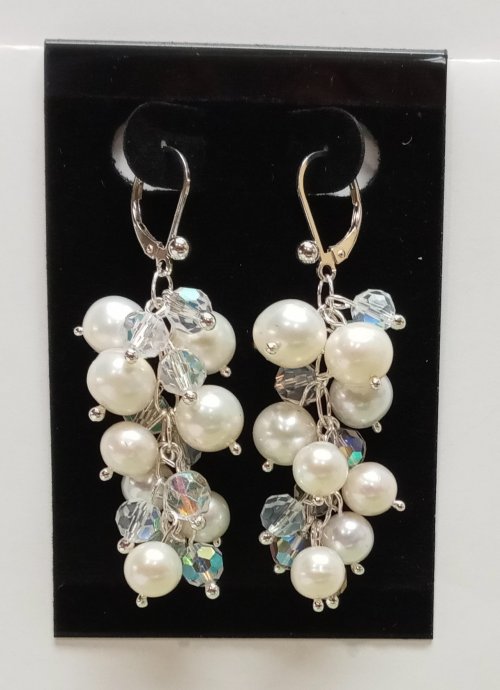 Cascading Drops Earrings
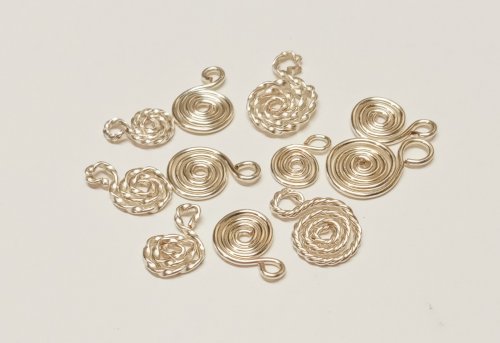 WIre Basics - Spiral Charms
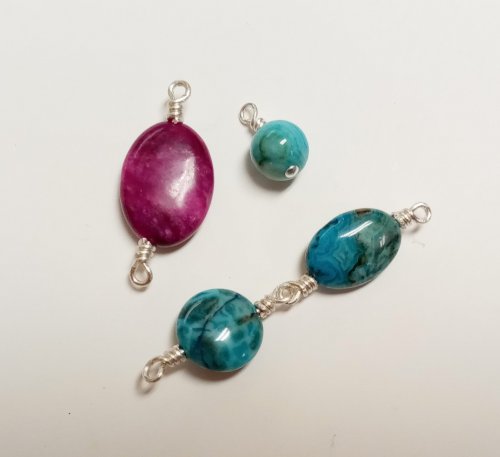 Wire Basics - Wrapped Loops and Links
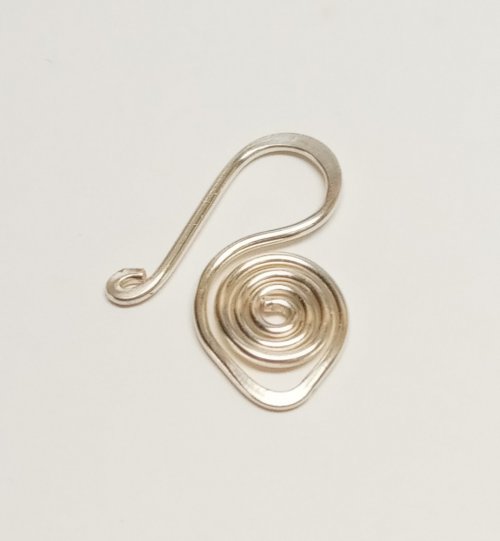 Wire Basics - Simple Swan Hook
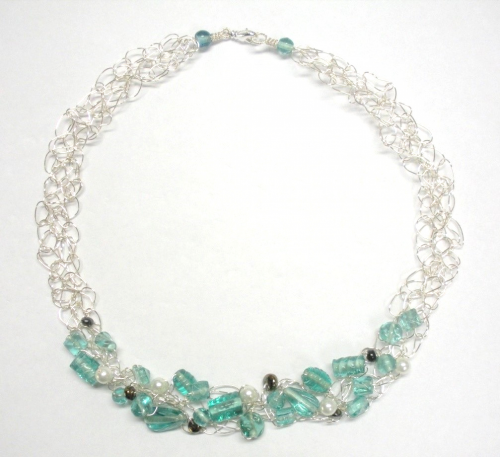 Wire Crocheted Necklace
 Wire Basics - Wire Garage Door Spring Link
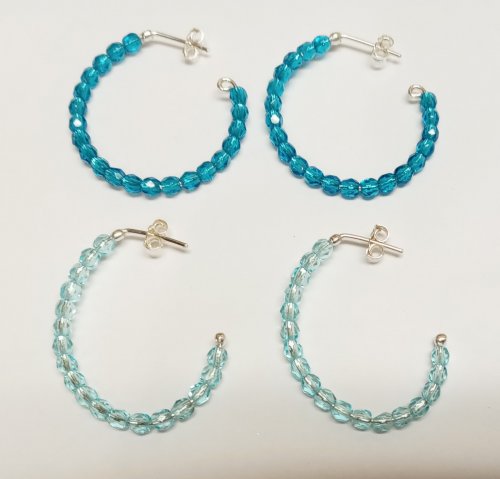 Easy Post Hoop Earrings
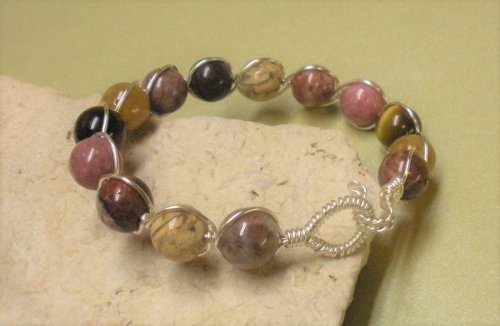 Double Wrap Wire Bangle Bracelet
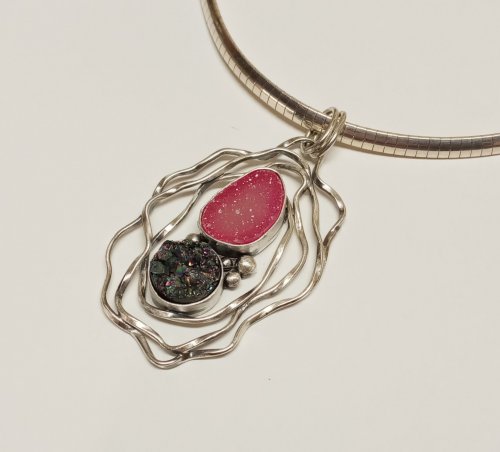 Organic Wire Pendant
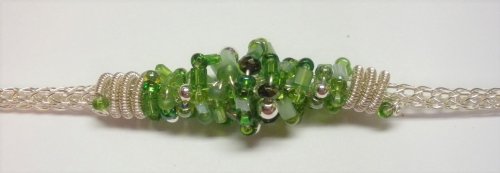 Coiled, Beaded Slide
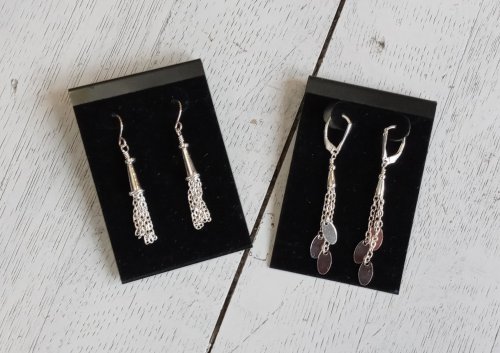 Cone and Chain Earrings
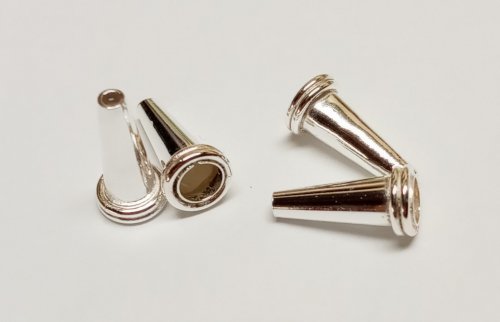 Embellished Sterling Cones
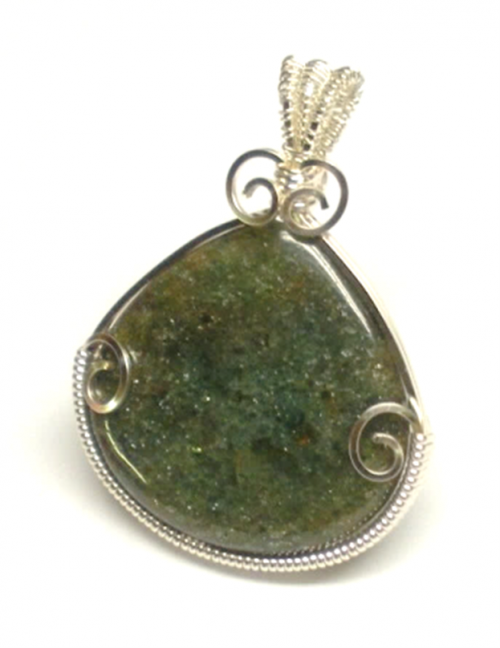 Classic Wire Wrap Bezelled Pendant
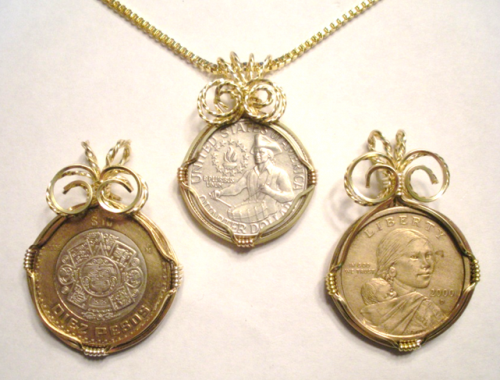 Wire Wrap a Coin
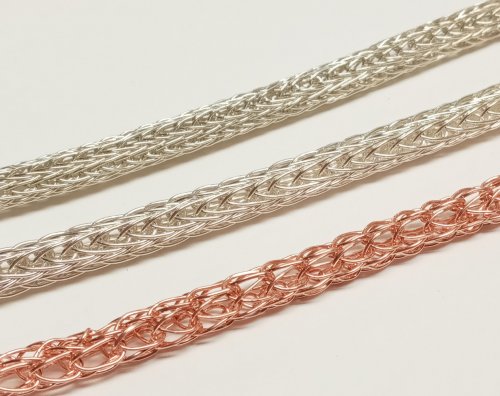 Viking Knit
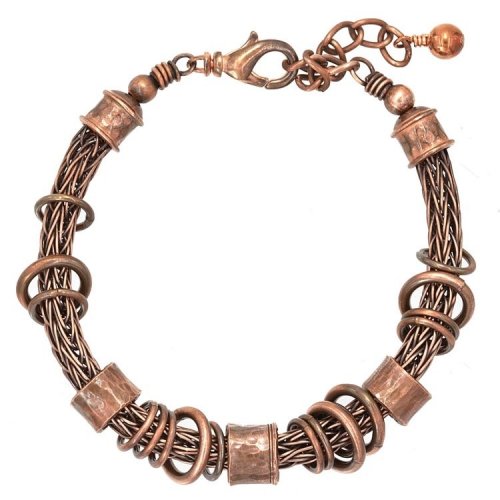 Viking Knit Bracelet
 Coiled Wire End Caps
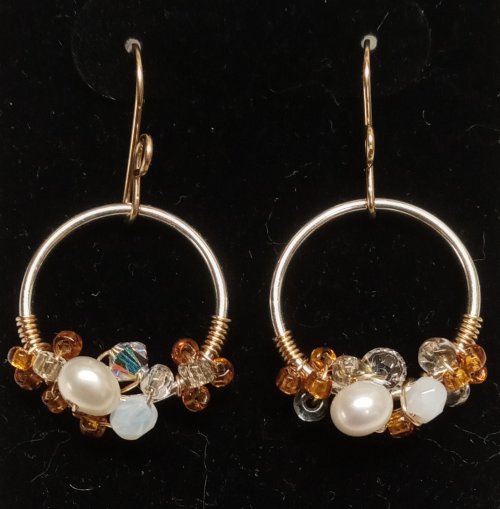 Bead-Wrapped Hoop Earrings
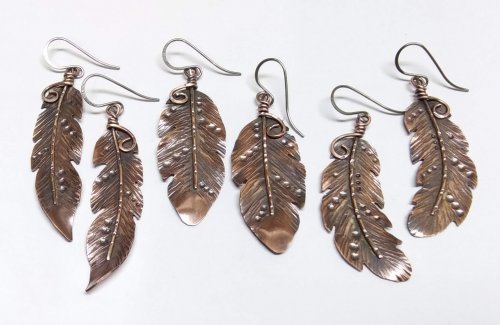 Copper Feather Earrings
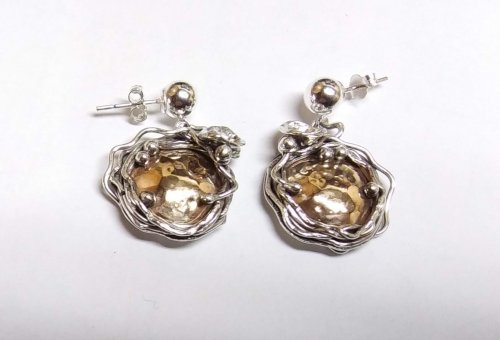 Soldering a Dome to a Backplate
 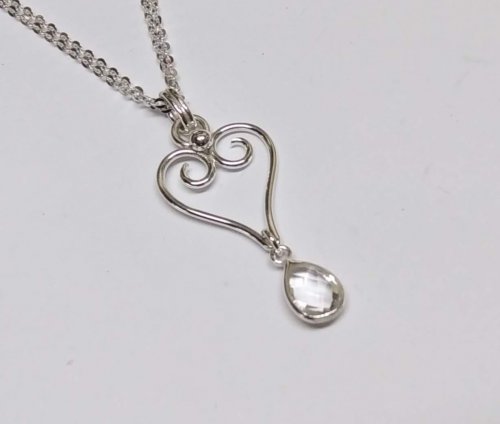 Wire Heart Pendant with Gemstone Drop
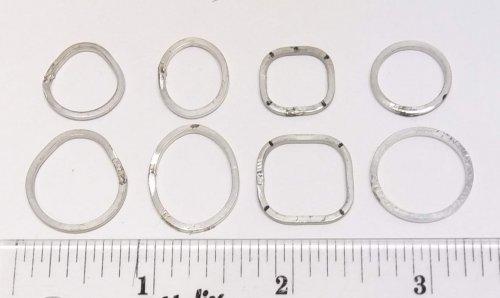 Make Basic Wire Shapes for Jewelry
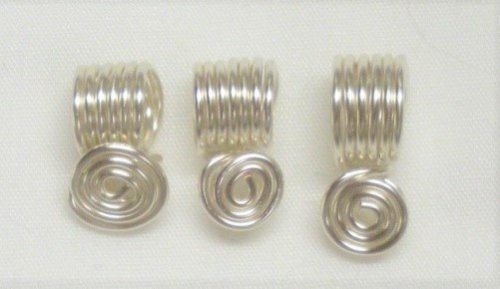 Make Simple Wire Slide Bails
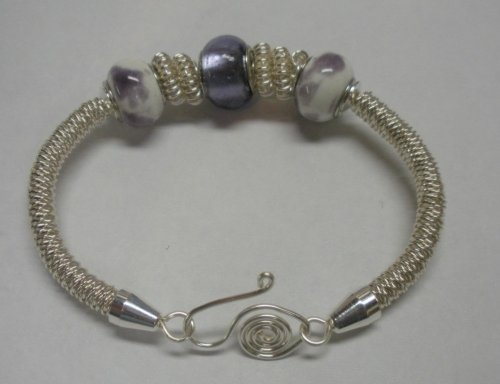 Coiled Bead and Twisted Wire Bracelet
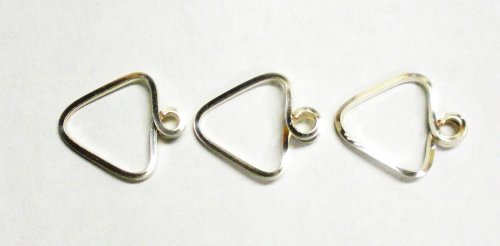 Wire Triangle Link
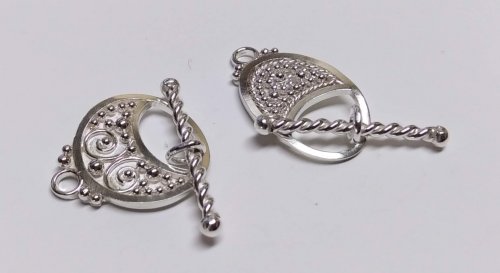 Bali Style Focal Toggle
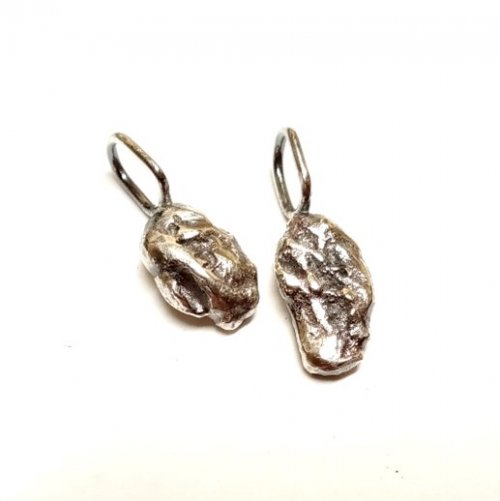 Silver Nuggets
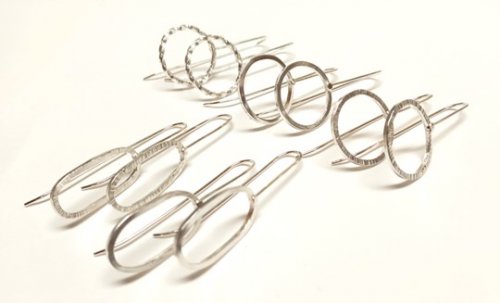 Fun Shapes Fish Hook Earrings
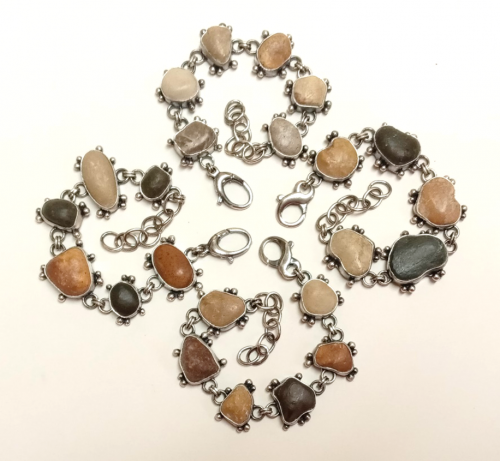 After the Rain Bracelets
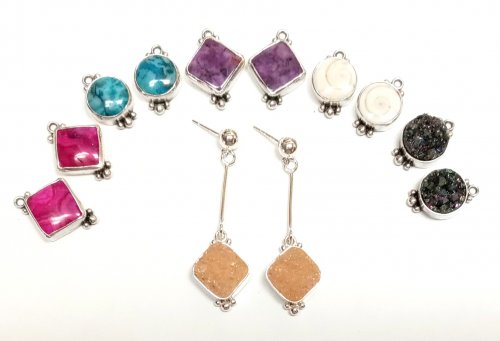 Dangling Drop Earrings
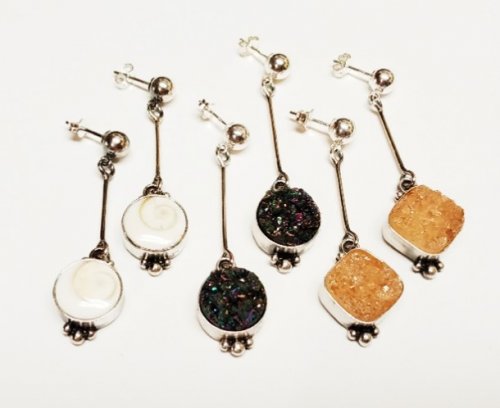 Dangling Chain Sticks
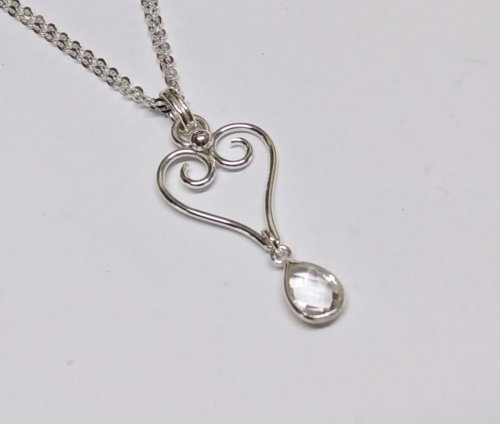 Wire Heart Pendant with Gemstone Drop
 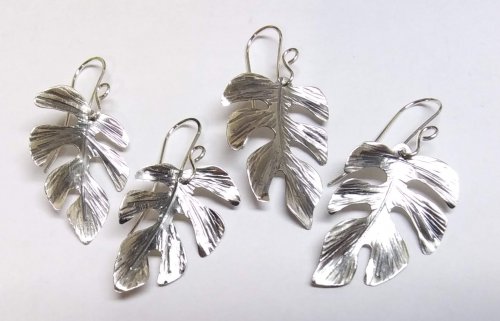 Tropical Leaf Earrings
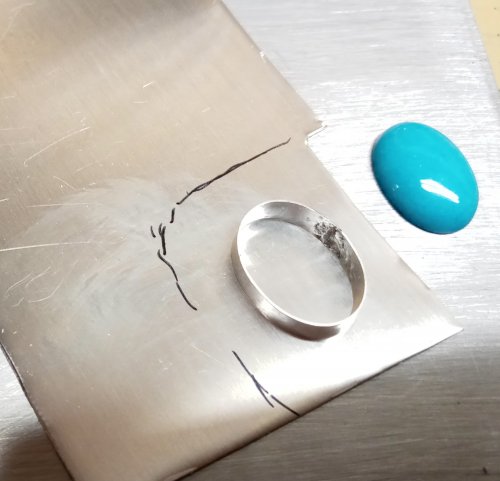 Basic Bezel Wire Tutorial
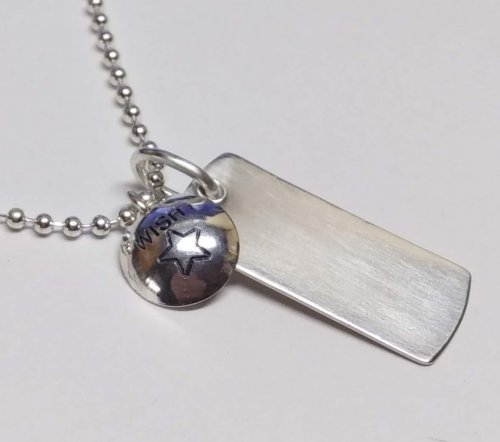 Dog Tag Style Necklace
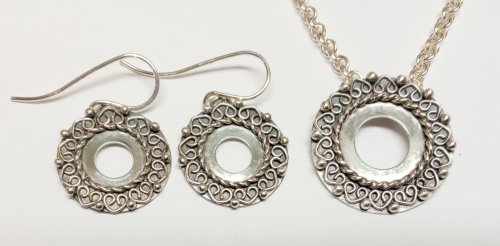 Lacy Washers
 8-Strand Kumihimo
 Closed Loop Ear Wires
 Simple Strip Bails from Scratch
 Cotter Pin Style Bail
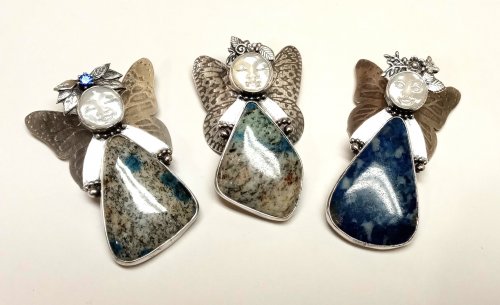 Holiday Woodland Fairy Ornament
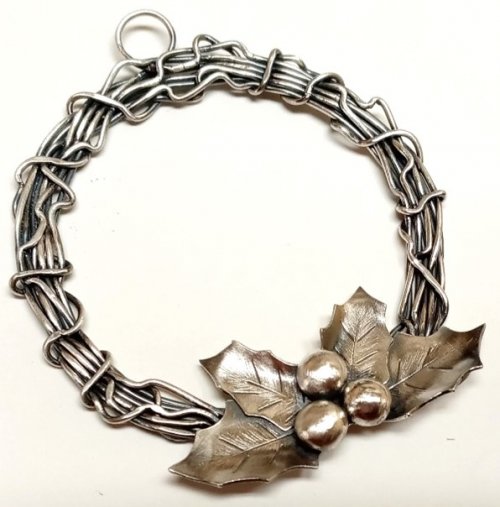 Happy Holly Days Wreath Ornament
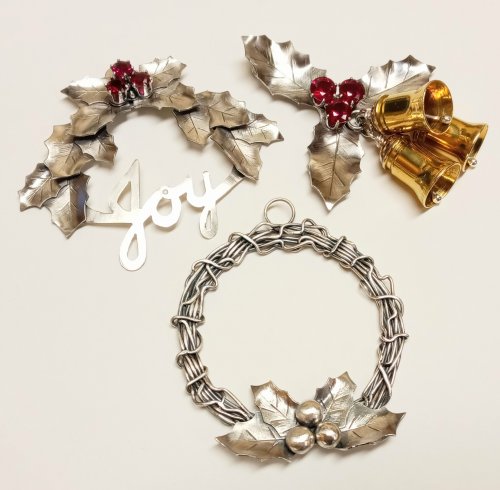 Happy Holly Days Leaves and Berries
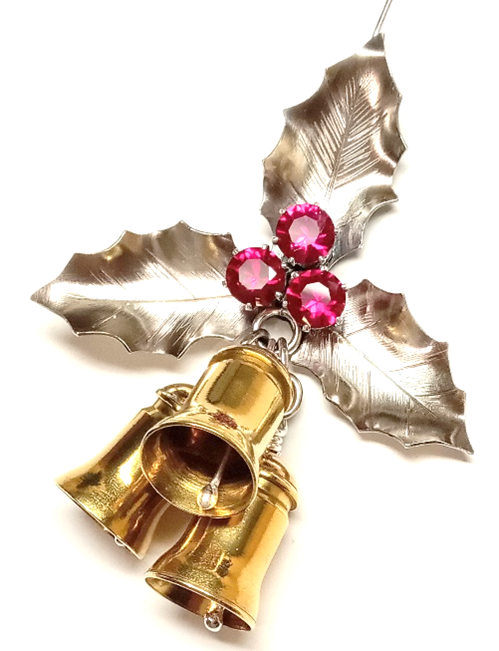 Happy Holly Days Bells Ornament
  Art Deco Wire Wrapped Pendant
 Twisted Wire Jump Rings
 Two-tone Beaded Bangle
 Sweetheart Pendant
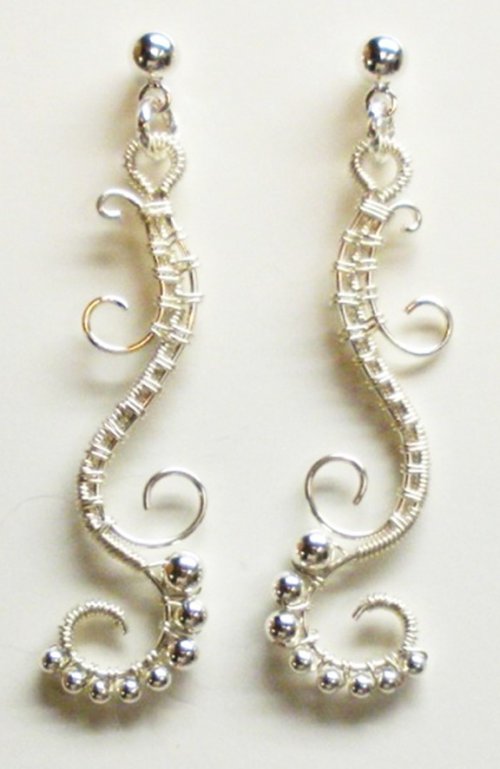 Waves on the Beach Earrings
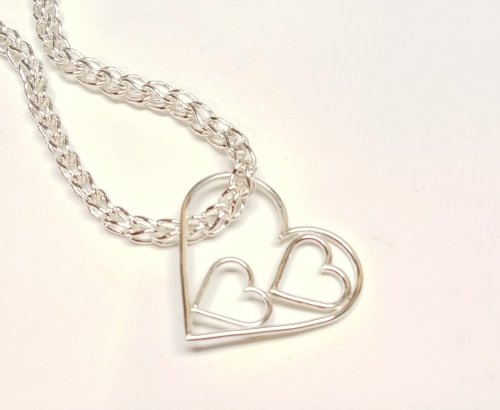 Any Size Wire Hearts - Any Size, Any Gauge
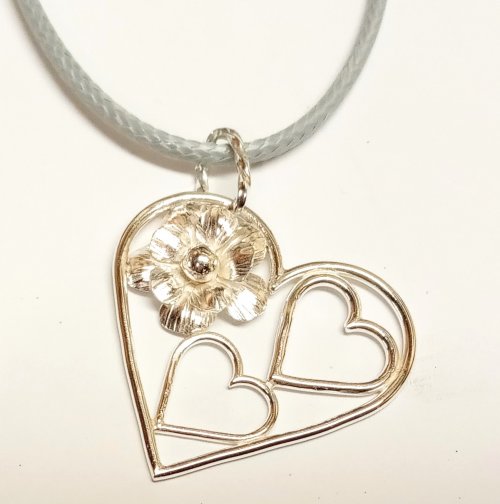 Just in Case Heart Pendant
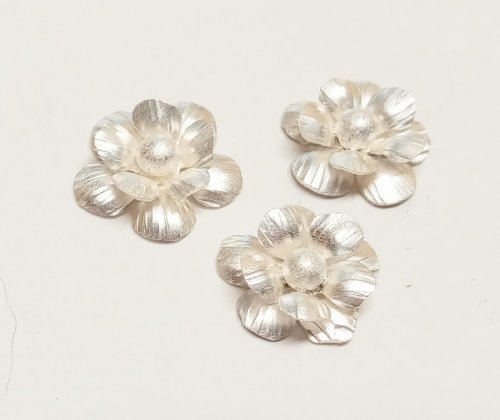 Small Flower Embellishment
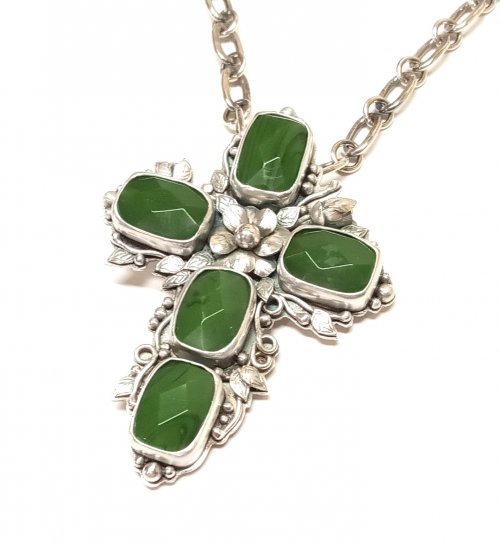 Making Tiny Dapped Metal Leaves
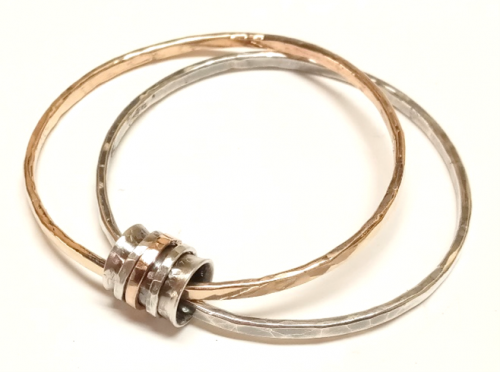 Spinner Fidget Bangles
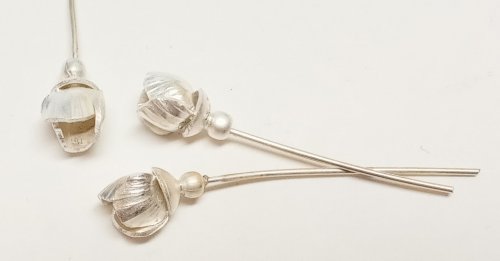 Small Flower Bud Embellishment
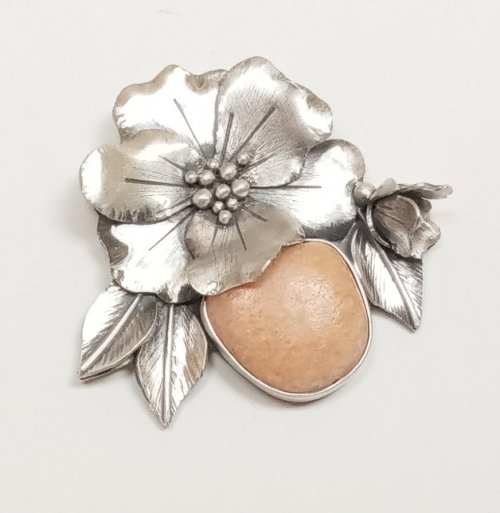 Three Petal Bud and Layered Embellishment
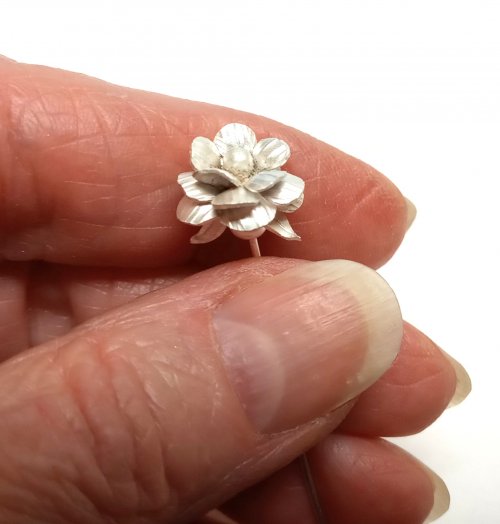 Creating a Flower Stem
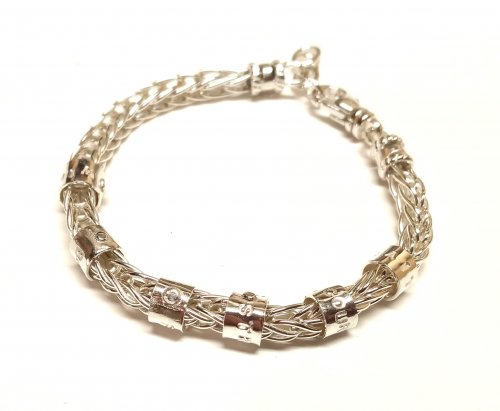 Stamped Tube Beads
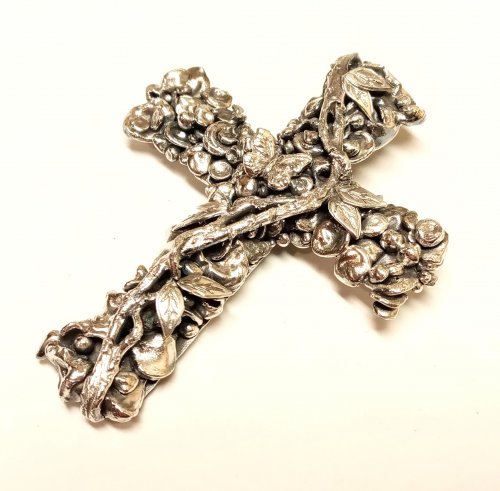 Water Cast Scrap Cross
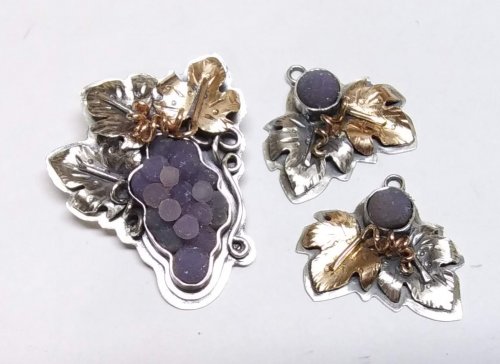 Sugared Grapes Pendant
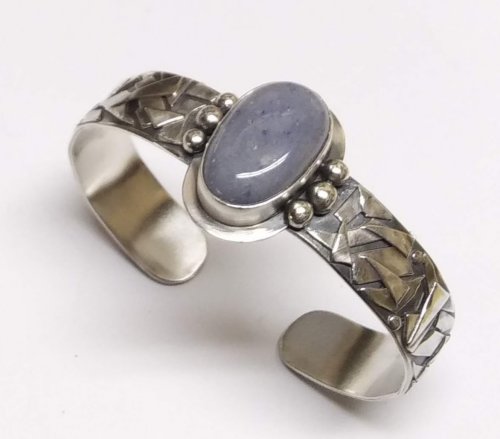 Tourist Rock Cuff Bracelet
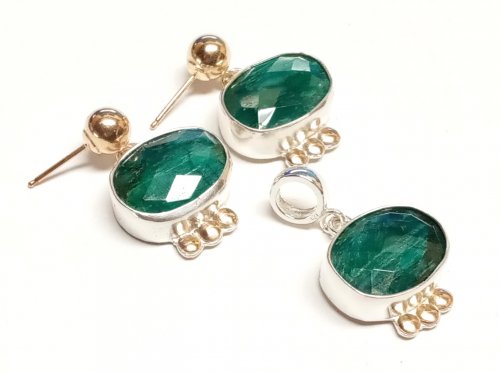 Gemstone Chains Reimagined
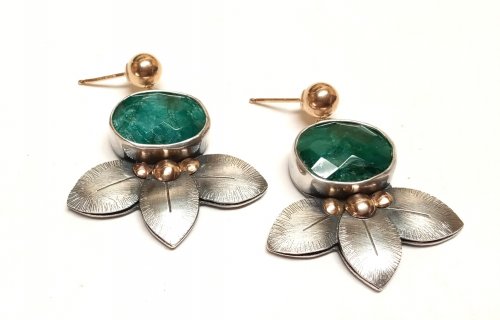 Checkerboard Faceted Earrings
 Foxtail Chain aka Loop-in-Loop
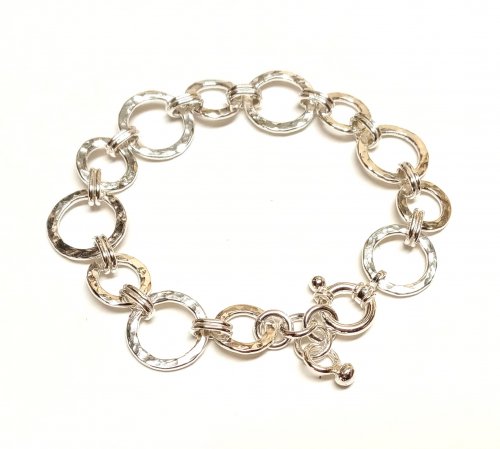 Handmade Chunky Chain
 Capture a Summer Memory
 Stone Key Fob
 Sprinkles Link
 Ball Chain Embellishments
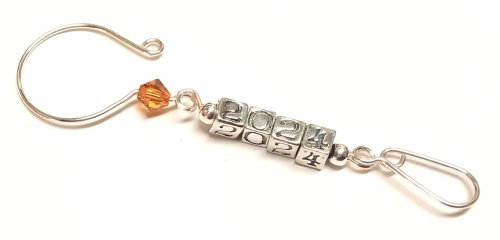 Handmade Ornament Hooks
