
8-Strand Kumihimo
- Category: Weaving
- Technique(s): Weaving
- Skill Level: Beginner
Kumihimo is a braiding technique, originating in ancient Japan, used by women who would braid silk cords used to hold the armor platelets together for a Samurai warrior and his horse. Kumi braids were also used as cording and belts for clothing. They are now used as ties on traditional haori jackets and for obijimes, which are used for tying on an obi. Artists worldwide today make Kumihimo cords out of an endless array of materials from ribbon, yarn and cord to wire and natural fibers found in nature.
Sometimes you make a beautiful pendant or have some fun beads that just do not look right on a chain. Maybe what they need is some color. Try using a complimentary Kumihimo cord!
Sometimes you make a beautiful pendant or have some fun beads that just do not look right on a chain. Maybe what they need is some color. Try using a complimentary Kumihimo cord!
Materials
No materials listed
Tools

kumihimo disk
- Lesson Quantity: 1.00 pieces
- Purchase Quantity: 1.00 each

Flat Nose Wire Pliers
G2-506
- G2-506
- Lesson Quantity: 1.00 pieces
- Purchase Quantity: 1.00 each
- Price: $32.95
- Gold Club Price: $24.71

Chain Nose Wire Pliers
G2-508
- G2-508
- Lesson Quantity: 1.00 pieces
- Purchase Quantity: 1.00 each
- Price: $32.95
- Gold Club Price: $24.71

4 1/4 Inch Bead Scissors - Pack of 1
G16-40
- G16-40
- Lesson Quantity: 1.00 pieces
- Purchase Quantity: 1.00 each
- Price: $3.57
- Gold Club Price: $2.68

ribbon or cord
- Lesson Quantity: 1.00 pieces
- Purchase Quantity: 1.00 each
Instructions
Step 1
For this tutorial, you will be using something that is inexpensive and readily available in a great variety of colors-Ten yard spools of 1/8" ribbon-first photo. To make the braiding technique easier to learn, use the same four colors used in this tutorial: Bright Pink, Peach, Turquoise, and Purple.
The two turquoise cords in the second photo are light and dark versions of the same color. However, when first starting out, they could be hard to keep track of once the braiding starts. Hold off on complicated designs until you are comfortable with the technique.
Once the technique is learned, experiment with the remaining ribbon. A quick internet search of "8 strand color placement Kumihimo patterns" will yield many designs that will be easy to follow. The design you wish to achieve will determine how many colors to use. The solid navy blue braided cord at the top of the photo was made with one color. It was made with one 10 yard spool of ribbon and was 21" long when finished. The 8 strand Kumihimo braided cords shown here measure between 4mm and 5mm in diameter, depending on the brand of ribbon used.


Step 2
Cut 8 pieces of ribbon. The length needed for each piece, and in turn how much total ribbon is needed, is determined by the length desired for the finished piece.
Cut each ribbon section twice the length of the finished piece plus 6". Therefore, if an 18" cord is desire, cut the ribbon pieces (2x18") + 6"= 42" each.
Cut each ribbon section twice the length of the finished piece plus 6". Therefore, if an 18" cord is desire, cut the ribbon pieces (2x18") + 6"= 42" each.
Pro Tip: When using just one spool of ribbon for a one color core to use in later projects, cut the ribbon in four equal pieces of 7½ feet each. The resulting 8 strand braided cord will be approximately 21" long. Hint: To avoid the inevitable fraying on the ribbon ends, either cut the ribbon at an angle, put a bit of nail polish on the ends, or slightly melt the ends in a flame.
Step 3
Lay all the ribbons out so the ends are even. Make an overhand knot securing one end of the ribbons together.
Step 4
Put the ribbon knot through the center hole of the Kumihimo disk, going from the front side of the disk to the back.

Step 5
Secure the ribbons in the slots of the disk, spaced equally around the disk on either side of N, S, E, and W directions-the black dots mark these places on the disk. For your first Kumihimo braided cord, it will be important to place the ribbons exactly as seen in the photo. Changing their placement will make it much more difficult to follow the tutorial. Make sure that the knot/center sections stays in the center of the hole throughout the construction the braid.

Step 6
Turn the disk over and attach the weight to the bottom of the knot. The weight helps keep the braiding more even. I did not want to use one of my husband's smelly fishing weights, so I purchased by own at a sporting goods store.


Step 7
With the number 1 on the disk facing up in the North position, lift the upper right ribbon out of the slot and pull it down to the right of the ribbons on the South, slipping it into the first slot to the right of those two ribbons. Note: I find the silky ribbon ends easily untangle after each round of braiding , but not everyone does. Winding the ribbon strands on Kumihimo bobbins-third photo- may be helpful. Unwind more ribbon as it is needed.


Step 8
Lift the lower left ribbon out of the slot and pull it up to the left of the ribbon on the North, slipping it into the slot.

Step 9
Turn the disk clockwise one quarter turn so that the original West position is now facing North. This turn is important. ALWAYS turn the disk in the same direction. I am comfortable turning the disk clockwise, but you may not be. No matter which way the disk is turned, it MUST ALWAYS be turned in that direction. To help you remember which way you turn the disc, use a fine point permanent marker to draw arrows on the disk at the four cardinal points-N, S, E, and W.

Step 10
Lift the upper right ribbon out of the slot and pull it down to the right of the ribbons on the bottom, slipping it into the slot. Lift the lower left ribbon out of the slot and pull it up to the left of the ribbon on the top, slipping it into the slot. Turn the disk clockwise one quarter turn so that the original South position is now facing North.


Step 11
You will continue in this manner until all the ribbon is used. Lift the upper right ribbon out of the slot and pull it down to the right of the ribbons on the bottom, slipping it into the slot. Lift the lower left ribbon out of the slot and pull it up to the left of the ribbon on the top, slipping it into the slot. Turn the disk clockwise one quarter turn.


Step 12
Just to see what happens, the photos here and in Step 13 show each successive step, which are exactly like those done previously. The only difference is that you are in a different place on the disk.


Step 13
Remember this mantra: Upper right to lower right; lower left to upper left; shift clockwise


Step 14
You will get into a rhythm and will not have to think anymore about what goes where.


Step 15
It is so exciting to see the braid emerge out of the back!

Step 16
VERY IMPORTANT! If for some reason you need to leave your braiding, make sure that you leave half-way through one braiding set, leaving 3 ribbons on the bottom. That way you will know where you are in the braiding process when you pick it up again. When you pick it up, you know the step is not finished and know what to do since this technique is just repetition of: Upper right to lower right; lower left to upper left; shift clockwise.

Step 17
When the braiding process is complete, some of you ribbons will be shorter than others. This is normal. Your tension in braiding is not perfectly even so this is bound to happen. You will still be happy with the end result.

Step 18
Remove the braid and ribbon ends from the disk. Tie the ribbon ends together in an overhand knot. This cord is pretty stretchy. Pulling braid from both ends will slightly even out the cord.

Step 19
Cut a 12" piece of thread to use for each end of the cord. Leaving a 3" thread tail, tightly wrap the braid close to the end until there is a 3" section of thread left. If the thread is not wrapped tightly enough, it will slide off. Tie the two thread ends in a tight square knot. Cut the threads off leaving very short thread tails. Cut the ribbons off close to the thread wrap, being careful not to cut the thread.


Step 20
After measuring the length of chosen closure, the length of Kumihimo braid needed can be calculated. Shown here are many different types of end caps for Kumihimo. The ones on the right have attached loops, but others are just cones. They need to have the loops attached to them.

Step 21
Slide a cone and a 3mm bead on a 2½" headpin. Make a wire wrapped loop above the bead. Before wrapping the neck of the loop, attach the closure. Wire wrap the neck of the loop. Trim off the excess wire. Repeat for the other side.
Pro Tip: If a headpin slips through the top of the cone, put a small bead on the headpin before inserting it into the cone.


Step 22
Check to make sure the cord will fit into the cone without the thread showing. Use a toothpick to cover the inside of the cone with quite a bit of e-6000 glue, but not so much that it will squeeze out the bottom of the cone when the cord is inserted. Coat the end of the cord if desired. Push the end of the cord into the cone. Repeat for the other end. Set aside for at least 48 hours to let the glue cure and dry before wearing.


Step 23
Now that you have made a basic 8 strand Kumihimo braided cord, try the spiral cord with two colors of your leftover ribbon. Start with this ribbon placement on the Kumihimo Disk. Following the same directions in the tutorial will result in a two-color spiral cord.






 Beaded Briolette Pendant
 Snail Trail Spiral Earrings
 Heart Link Bracelet and Earrings
 Crazy Hoop Earrings
 Double Delight Jade Bracelet
 Swagged Pearl Pendant
 Heart Earrings with Drops
 Scarab Bracelet
 Birthstone Heart Pendant
 Pearl of the Sea Woven Pendant
 Bead Charm
 Coiled Rosette Link
 Wire Jewelry Component and Swan Hook
 Leaf Bail
  Component Templates with Heart Earrings and Pendant
 Ring Pendant
 Calla Lily Earrings
 Birdhouse Pendant
 Clamshell Earrings and Pendant
 Bracelet Component
 Teardrop Earrings and Pendant
 Tab Style Pendant
 Coiled End Caps
 Freeform Pendant
 French Hook Ear Wires
 Necklace Component
 Triangle Shield Earrings, Pendant and Bail
 How to Make a Wire Coil and Bead
 Egyptian Coil Bracelet
 Focal Bead Egyptian Coiled Bracelet
 Sweetheart Round Cabochon Pendant
 Making Cobblestone Cabochons
 Cupcake Wrapper Earrings
 How to Make Metal Washers
 Baseball Skin Keychain
 Pat's Silver Domed Earrings
 Blaze Your Own Path Pendant
 Semi Snap-on Bail
 Interlocking Faux Twist Wire Bracelet
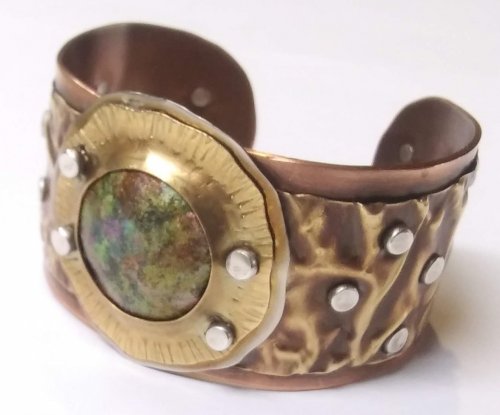 Fold Formed Cuff With Faux Roman Glass or Coin Cabochon
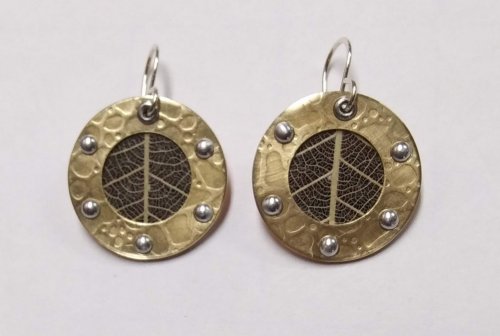 Steampunk Style Leaf Earrings
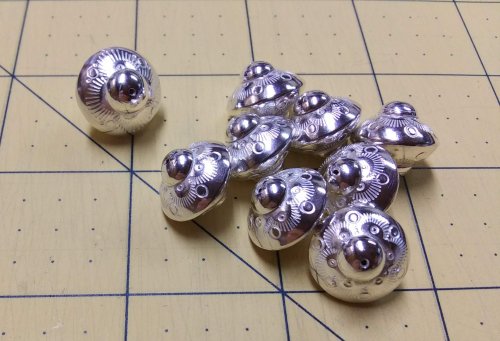 Stamped Saucer Beads
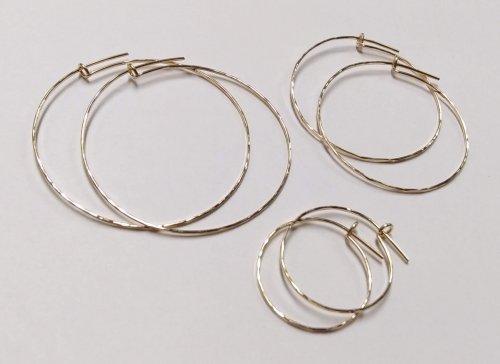 Kat's Wire Hoop Earrings
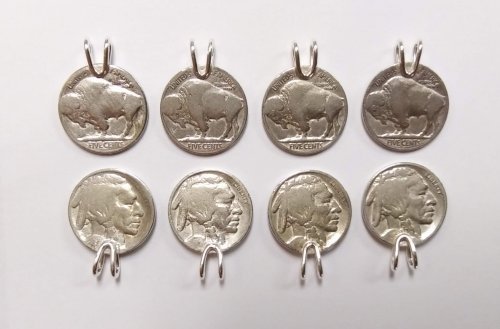 Simple Bail on a Coin Pendant
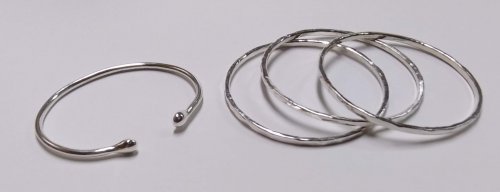 Wire Bangles
 Rolling Mill - or not - Cuff Bracelet
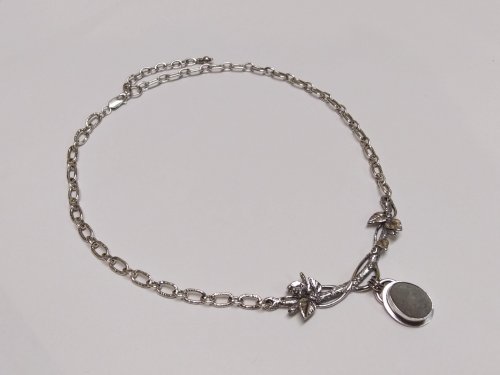 Jen's Chain
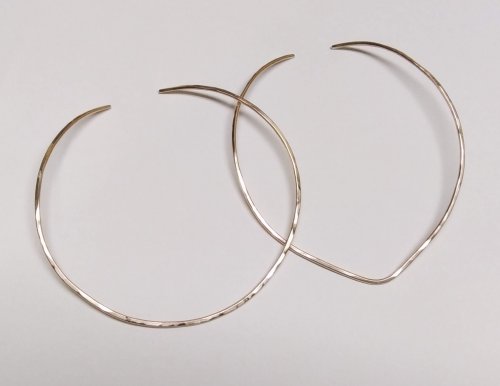 Making Neckwires
 Silver Scrap Wire Focals to Embellish
 Splash Ring
 Cobblestone Cab Earrings
 Multi Gemstone Necklace
 Southwest Style Pendant
 Bezels Using Square Wire
 Mixed Metal Sampler Bracelet 1
 Mixed Metal Sampler Bracelet 2
 Mixed Metal Sampler Bracelet 3
 Mixed Metal Sampler Bracelet 4 - Words Matter
 Mixed Metal Sampler Bracelet 5 - River Walk
  Mixed Metal Sampler Bracelet 6 - A Little Bling
 Mixed Metal Sampler Bracelets Series PUTTING IT ALL TOGETHER
  Mixed Metal Sampler Bracelet 7 - Steampunk Space Oddity
 Mixed Metal Sampler Bracelet 8 - Fun Shapes
 Jump Ring Fringe Bracelet
 Easy Artisan Earrings
 Making Chain with Wubbers and Wire
 Heirloom Buttons and Beads Bracelet
  Tiny Silver Charms part 1
 Argentium Silver Scrap Chain
 Sterling Lake Stone Pendant with Twisted Wire
 Smashing Drop Earrings
 Argentium Silver Scrap Nugget Cuff
 Finish Them Your Way Earrings
 Paddle Fringe Earrings
 Seed Bead Earrings
 Bracelet Links 1, 2,3
 Stamped Saucer Beads
 Chaos Scrap Wrap Jewelry
 Maple Leaf Earrings
 Child's Bracelet That Grows with Them
 Mike's Surpirise Claire's Ripple Pendant
 Angel Ornament
  Diamonds, Emeralds, and Sapphires, Oh My.
  Treasure Bezel Cups
 Three Leaves Earrings
 Silver and Gold Earrings
 Make a Hidden Bail
 Wire Links 4, 5, 6
 Wire Links 7, 8, 9, and 10
 Double Loop Ear Wires
 Balled and Paddled Head Pins
 Textured Stacked Rings
 Cord and Bead Earrings
 Bali Style Adjustable Closures
 Organic Fused Silver Dust Earrings
 Mobius Rings
 Dainty Bead and Wire Bangle with Hook Closure
 Seed Bead and Nugget Necklace
 Love Locks Heart Charm
 Traditional Southwest Style Hook Closures
  Negative Space Earrings
 Jumbled Lacy Chain
 Easy Beaded Post Hoop Earrings
 Rustic Silver Links
 Make a Soldered Paperclip Chain
 Make a Fused Paperclip Chain
 Make Woven Metal Strips to Use in Your Designs
 Leaf Wrap Metal Rings version 1
 Leaf Wrap Metal Rings version 2
 Snowflake Ornaments
 Mitten Ornament
 Gnome Ornaments
 A Partridge in a Pear Tree Earrings
 Two Turtle Doves Earrings
 Three French Hens Earrings
 Four Calling Birds Earrings
 Five Golden Rings Earrings
 Six Geese a Layin' Earrings
 Seven Swans a Swimming Earrings
 Eight Maids a Milking earrings
 Nine Ladies Dancing Earrings
 Ten Lords a Leaping Earrings
 Eleven Pipers Piping Earrings
 Twelve Drummers Drumming Earrings
 Make Your Own Bracelet Button Clasps
 Little Saucer Bells
 Doodads - Fun Findings
 No Measure Hearts, Any Size, Any Gauge
  Cascading Drops Earrings
 WIre Basics - Spiral Charms
 Wire Basics - Wrapped Loops and Links
 Wire Basics - Simple Swan Hook
 Wire Crocheted Necklace
 Wire Basics - Wire Garage Door Spring Link
 Easy Post Hoop Earrings
 Double Wrap Wire Bangle Bracelet
 Organic Wire Pendant
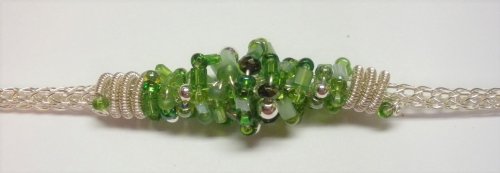 Coiled, Beaded Slide
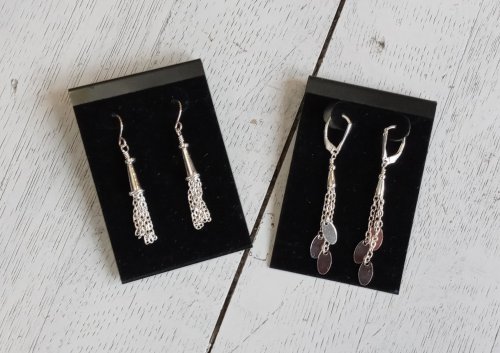 Cone and Chain Earrings
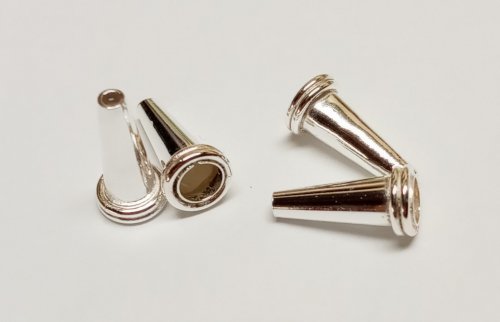 Embellished Sterling Cones
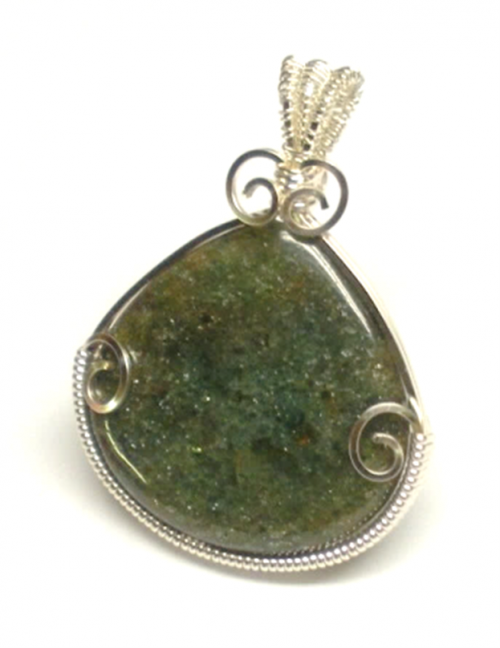 Classic Wire Wrap Bezelled Pendant
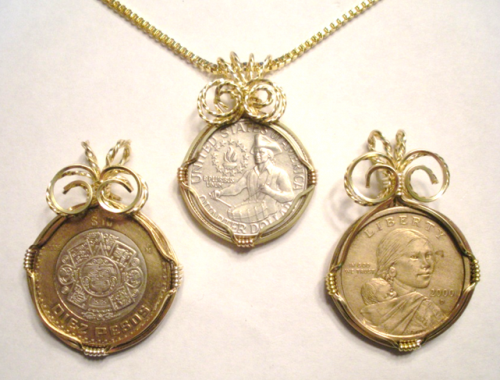 Wire Wrap a Coin
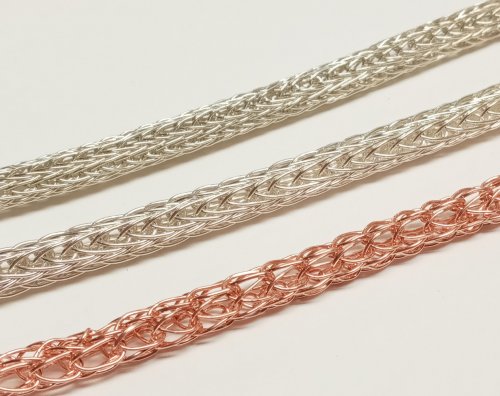 Viking Knit
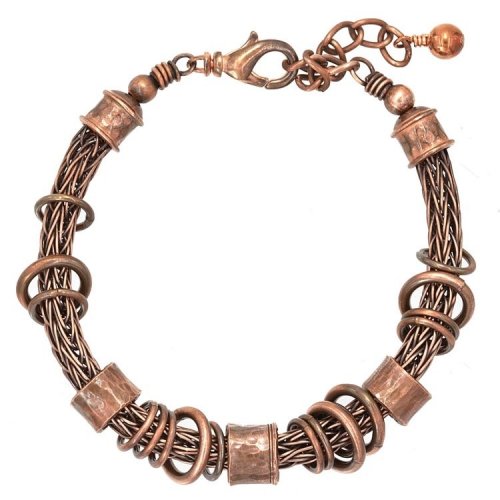 Viking Knit Bracelet
 Coiled Wire End Caps
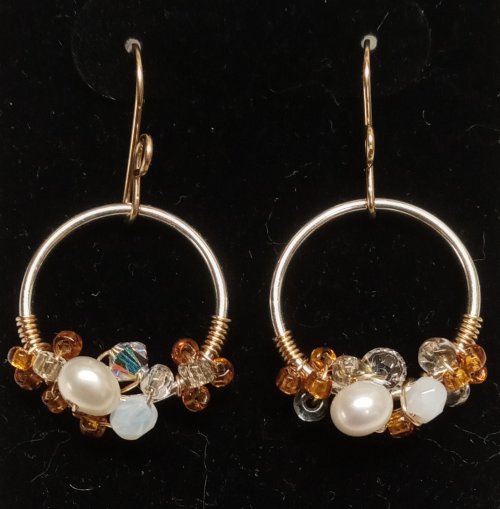 Bead-Wrapped Hoop Earrings
 Copper Feather Earrings
 Soldering a Dome to a Backplate
  Wire Heart Pendant with Gemstone Drop
 Make Basic Wire Shapes for Jewelry
 Make Simple Wire Slide Bails
 Coiled Bead and Twisted Wire Bracelet
 Wire Triangle Link
 Bali Style Focal Toggle
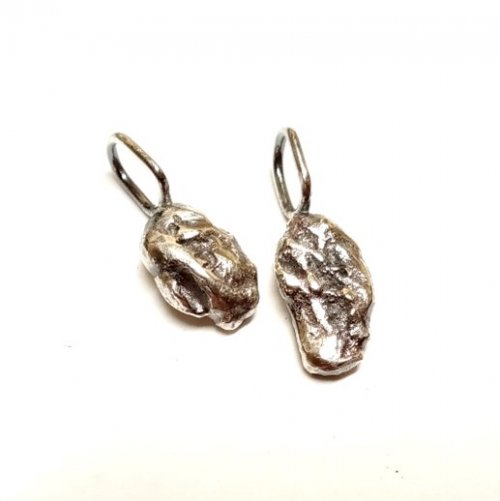 Silver Nuggets
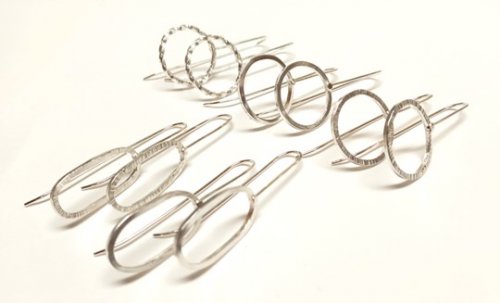 Fun Shapes Fish Hook Earrings
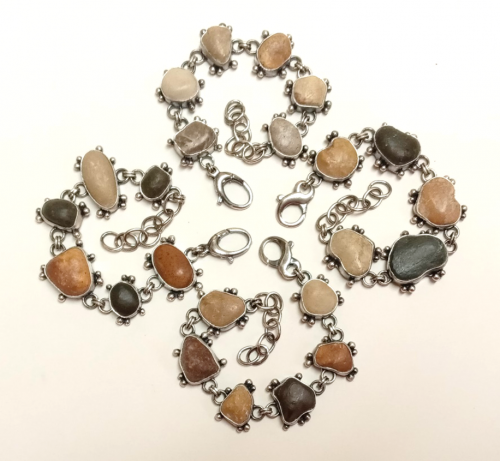 After the Rain Bracelets
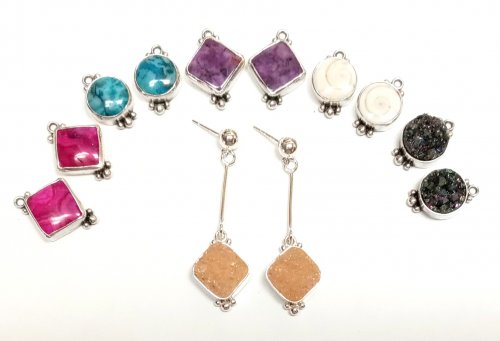 Dangling Drop Earrings
 Dangling Chain Sticks
 Wire Heart Pendant with Gemstone Drop
  Tropical Leaf Earrings
 Basic Bezel Wire Tutorial
 Dog Tag Style Necklace
 Lacy Washers
 Closed Loop Ear Wires
 Simple Strip Bails from Scratch
 Anti-tarnish Silver Cloth Bags
 Cotter Pin Style Bail
 Holiday Woodland Fairy Ornament
 Happy Holly Days Wreath Ornament
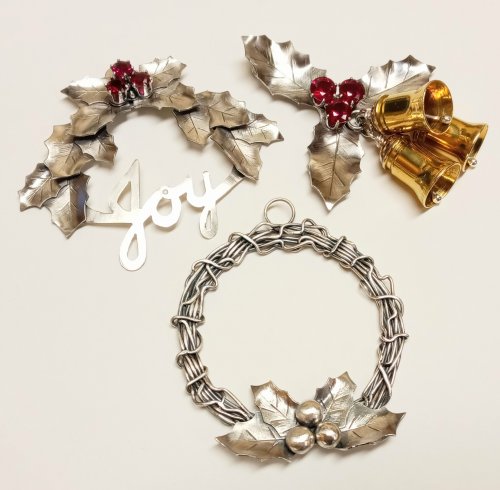 Happy Holly Days Leaves and Berries
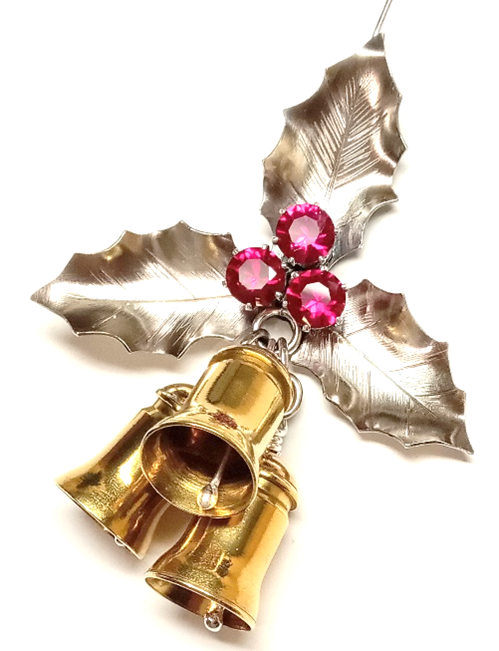 Happy Holly Days Bells Ornament
 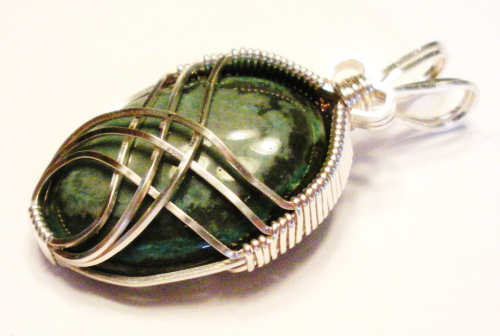 Art Deco Wire Wrapped Pendant
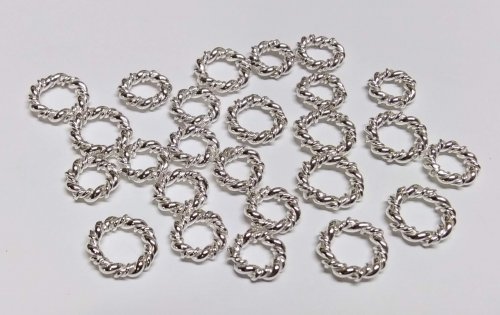 Twisted Wire Jump Rings
 Two-tone Beaded Bangle
 Sweetheart Pendant
 Waves on the Beach Earrings
 Any Size Wire Hearts - Any Size, Any Gauge
 Just in Case Heart Pendant
 Small Flower Embellishment
 Making Tiny Dapped Metal Leaves
 Spinner Fidget Bangles
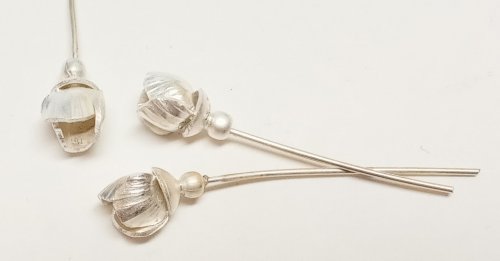 Small Flower Bud Embellishment
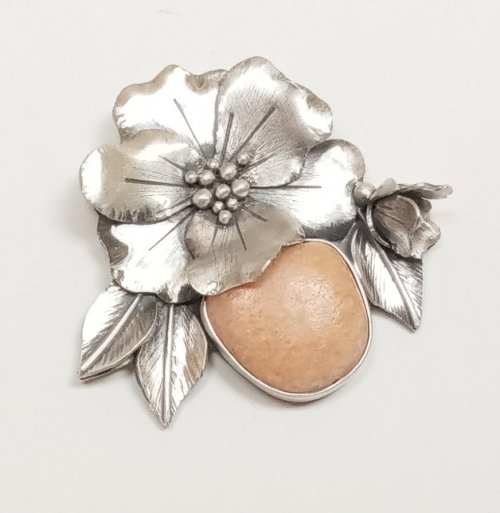 Three Petal Bud and Layered Embellishment
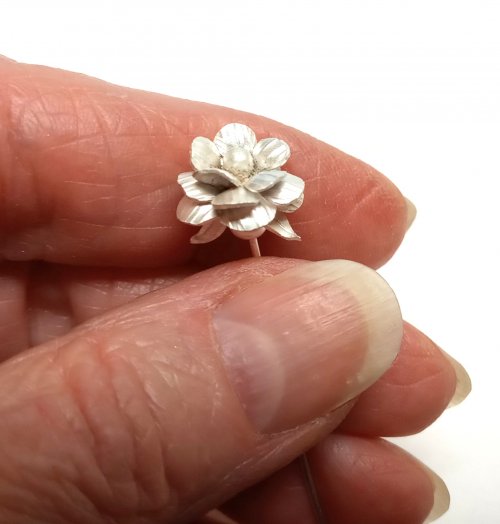 Creating a Flower Stem
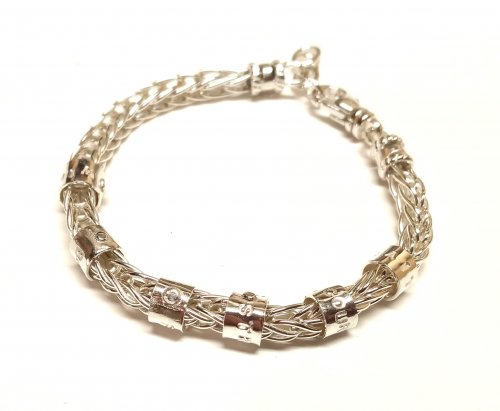 Stamped Tube Beads
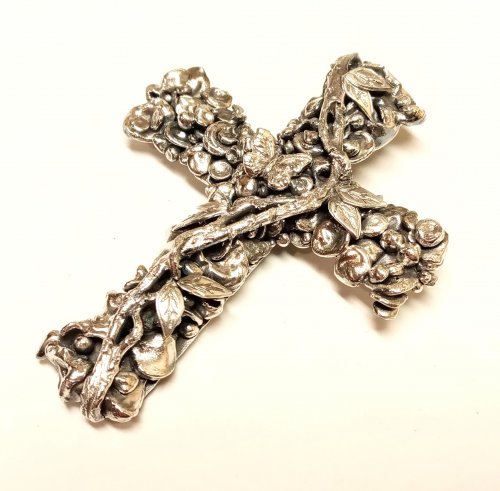 Water Cast Scrap Cross
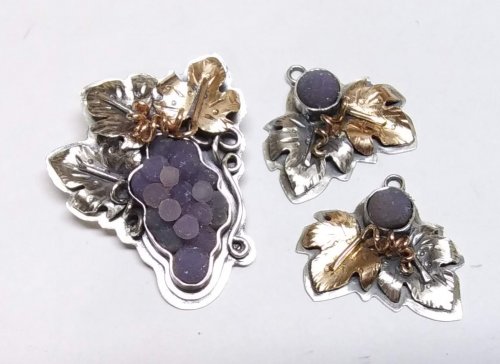 Sugared Grapes Pendant
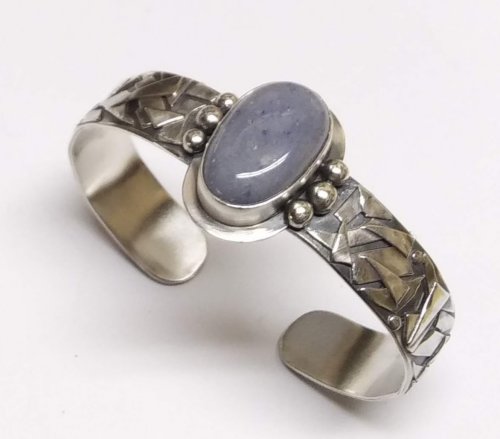 Tourist Rock Cuff Bracelet
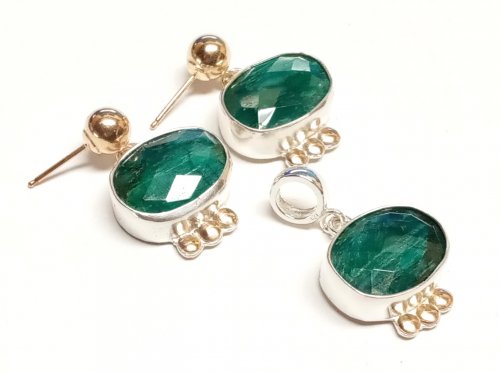 Gemstone Chains Reimagined
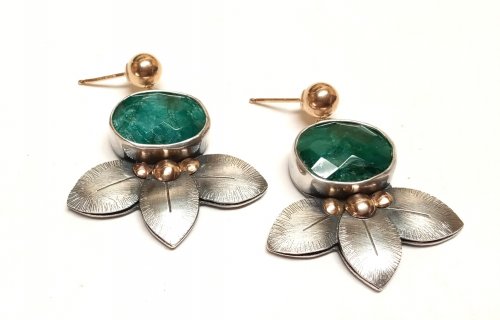 Checkerboard Faceted Earrings
 Foxtail Chain aka Loop-in-Loop
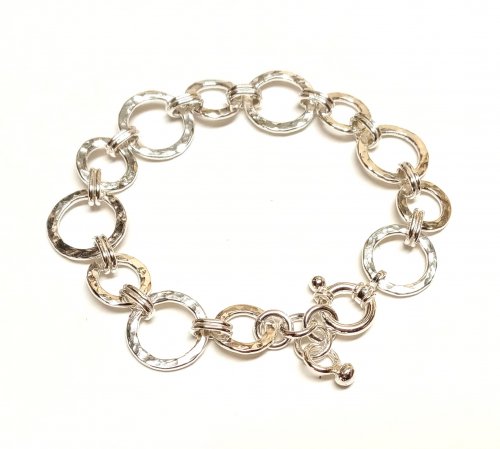 Handmade Chunky Chain
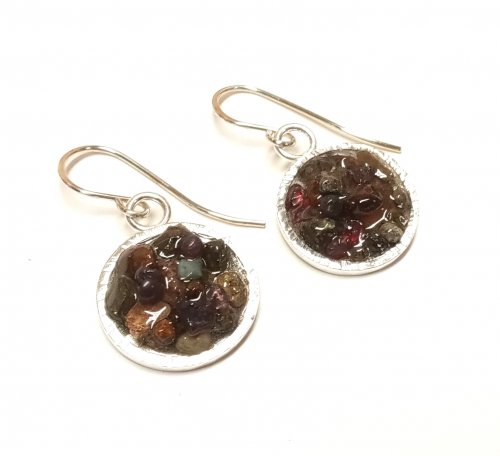 Capture a Summer Memory
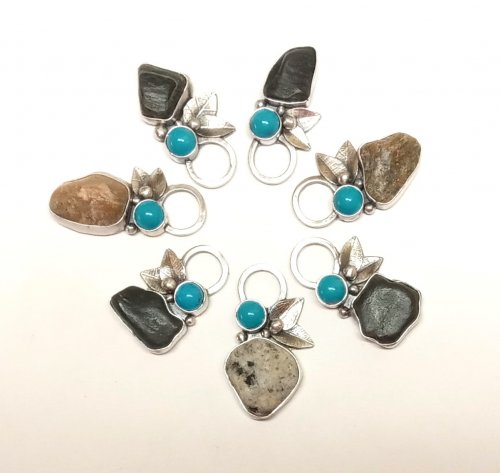 Stone Key Fob
 Sprinkles Link
