- NEW DVD Series – Stone Setting with Bezels
- Tube Set Charm by Kim St. Jean
- Prong Basket Pendant by Kim St. Jean
- NEW DVD Series – Stone Setting with Cold Connections
- New DVD Series – Stone Setting with Wire
- NEW DVD Series: Introduction to Stone Setting by Kim St. Jean
- Featured Tool: Bracelet Bending Plier
- NEW Dvd by Eva Sherman
- Fun, Fast Fold Forming DVD Series
- Double Band Ear Cuff from Alex Simkin
Unconventional Tools 101.1 By Judy Bennett
Wire Jewelry Article for August 16th, 2017
I am a metalsmith, wire, and metal clay artist. As a wire artist, I am largely self taught and best known for my wirework. Today I want to show you some tools I use which are not necessarily meant for jewelry work. They are low cost, easy to find, and make many of our tasks simpler and faster. I have wonderful equipment in my small studio which I will demonstrate over time but today, I offer you the most easily attainable tools and methods for the tightest of budgets with the biggest bang for your buck.
My very favorite tool is painters tape. Painters tape is not masking tape or quilting tape. It’s made to stick securely to a wall without leaving a residue or taking paint off the wall when it is removed. It’s also great for wrapping around wire bundles!
But wait! There’s more!
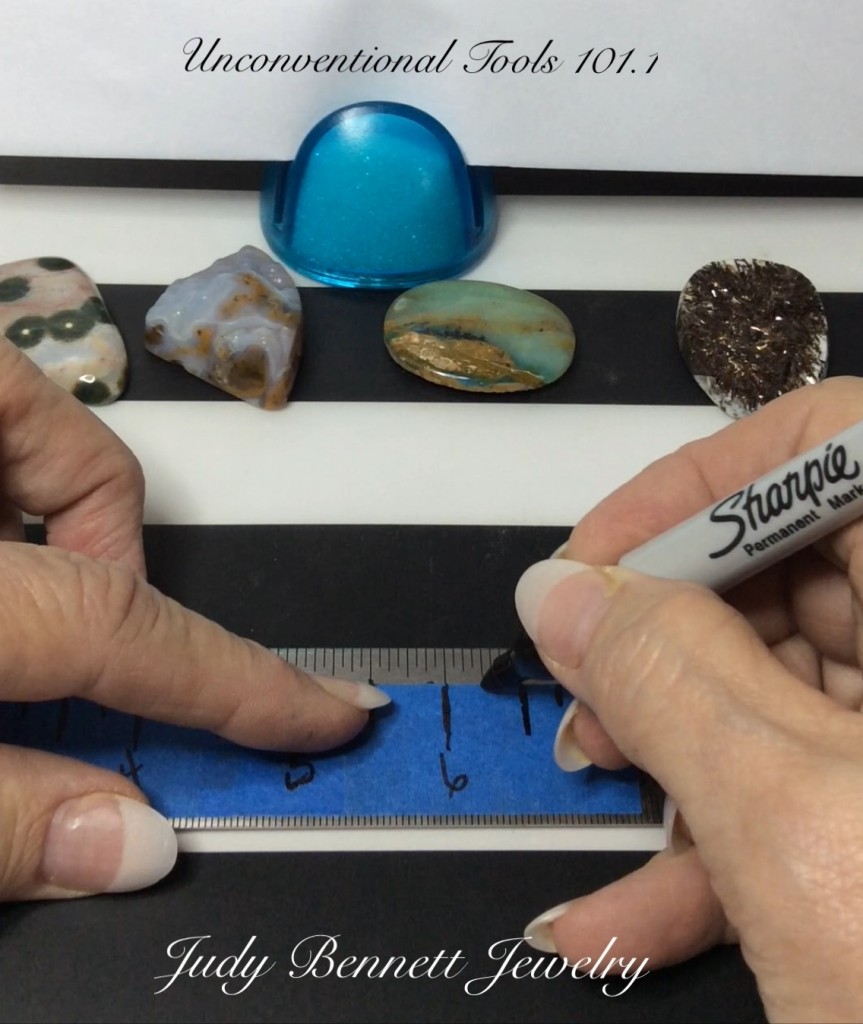
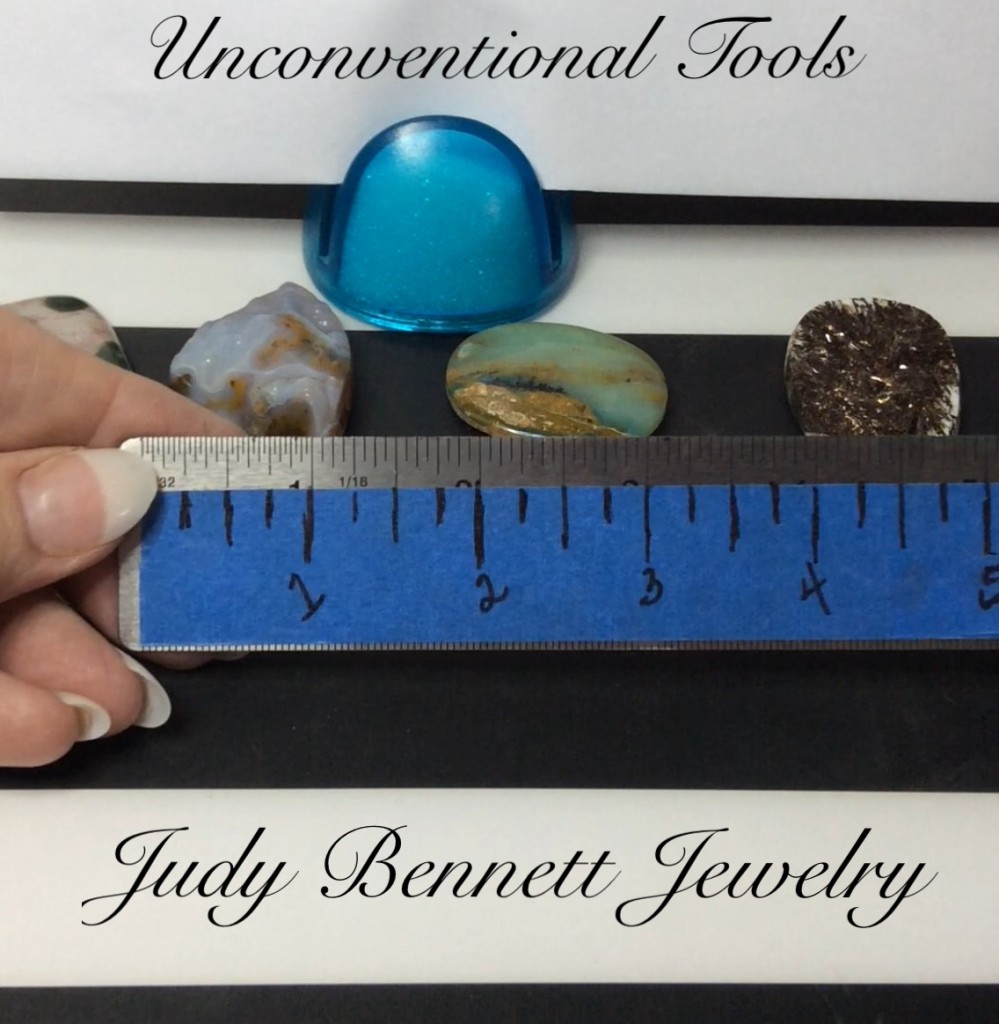
One of my efforts is saving wire and I save a lot of wire thanks to painters tape. First I make a ruler out the tape. Using 1 inch wide tape, I tear off approximately 8 inches, trim the ends to make them square, and apply the tape to the edge of a ruler lengthwise. Then, using an Ultra Fine Point Sharpie, I mark the inches, half inches, and quarter inches onto the tape. I usually make the finished length 7 inches. When my home made tape measure wears out in usually a week or so, I just make another one.
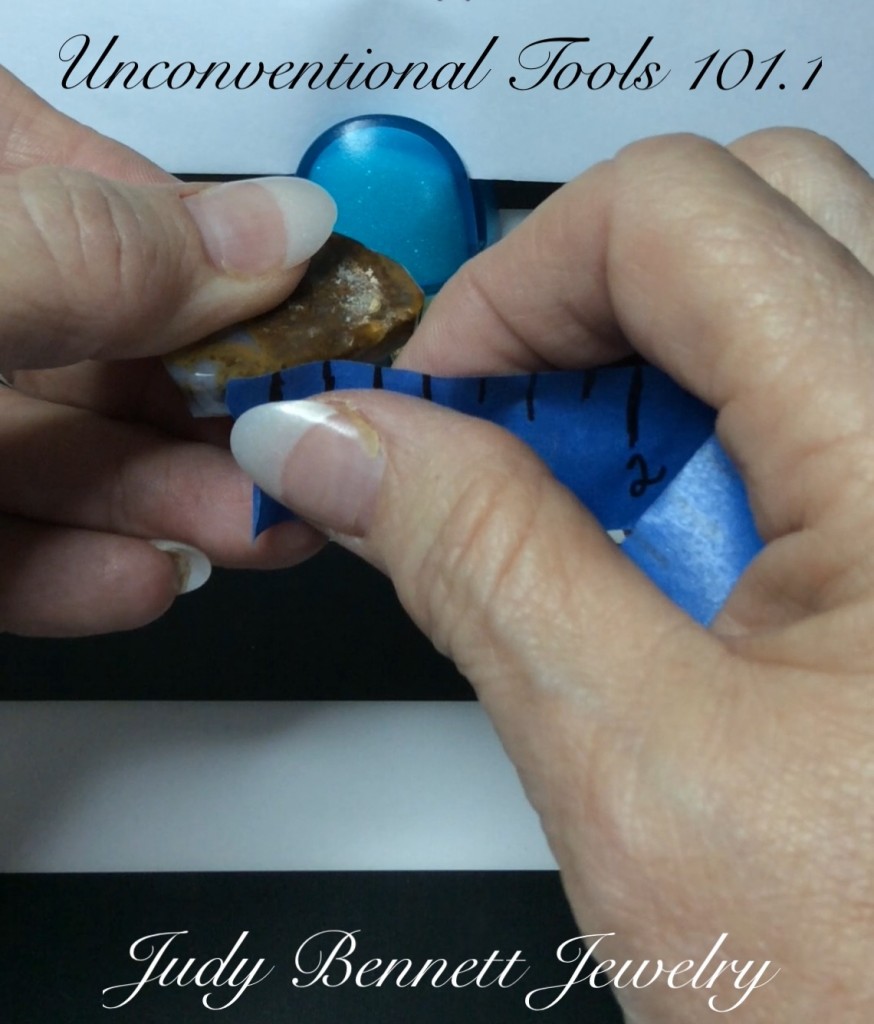
This wonderful and easy tape measure is super for measuring the circumference of a stone. Wrapping a stiff ruler around the stone is less accurate and more of a headache. The painters tape ruler works like a charm, giving you the best measure of your stone. Once you have the circumference, add the length of the wire needed for your embellishment and multiply that times two. Include an extra half inch to the total to account for the neck of your piece where your wire bezel is secured and wired in place. You have saved money on your wire because you started with an accurate measure. When you price your work, you have less waste and it will allow you to sell your work at a better price. I know that your customers will appreciate your efforts in that regard.
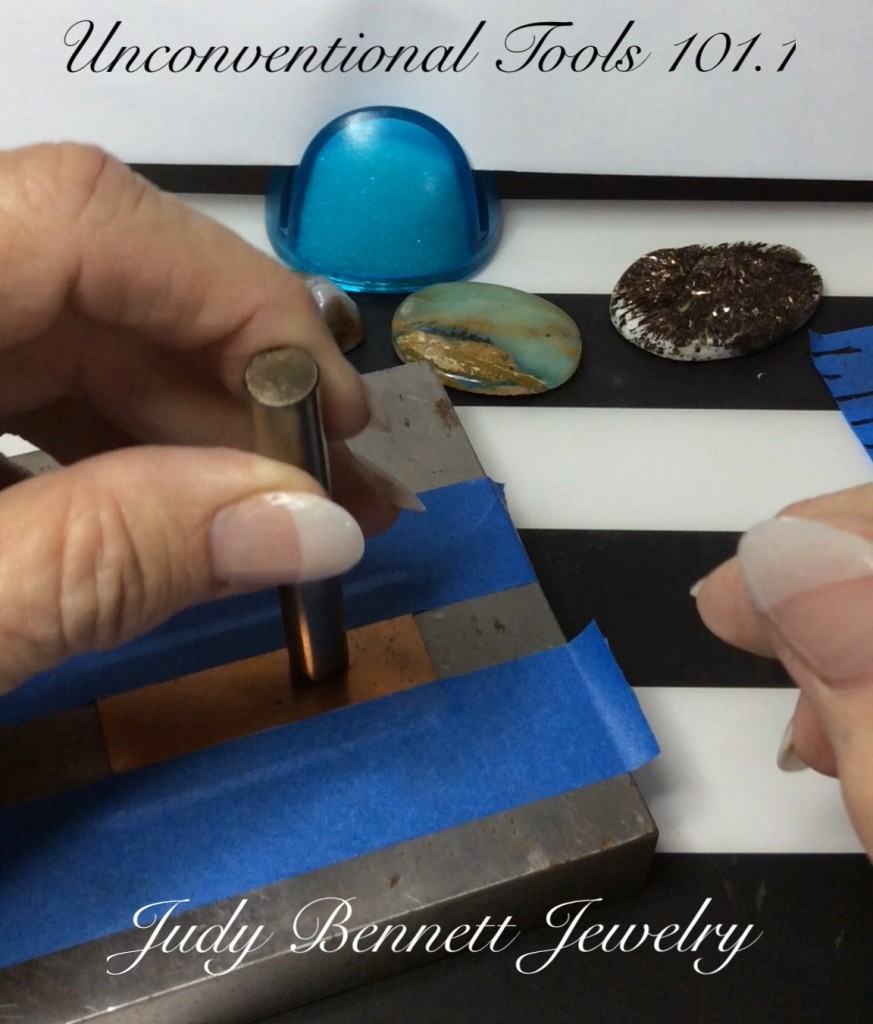
My other use for painters tape is for taping sheet silver (or copper) down to your bench block which will help keep it stable while punching designs into the surface. It also makes a great straight edge for doing letter stamping.
Additionally, when I sit down to work on a wrapped design, I use a metal or plastic tray large enough to hold my tools, wire, supplies, and my work. I usually have a hand towel to line the bottom of the tray and set these items in an organized fashion onto the tray. I tear off about 6” or 8” of tape and use my scissors to cut the length of the tape in approximately 1/3” wide strips. Once I have my strips, I cut each one into 1.5” to 2” long and tape the end of each piece to the outer edge of my tray. When I do need to wrap a bundle/bezel, I have precut pieces of painters tape at hand.
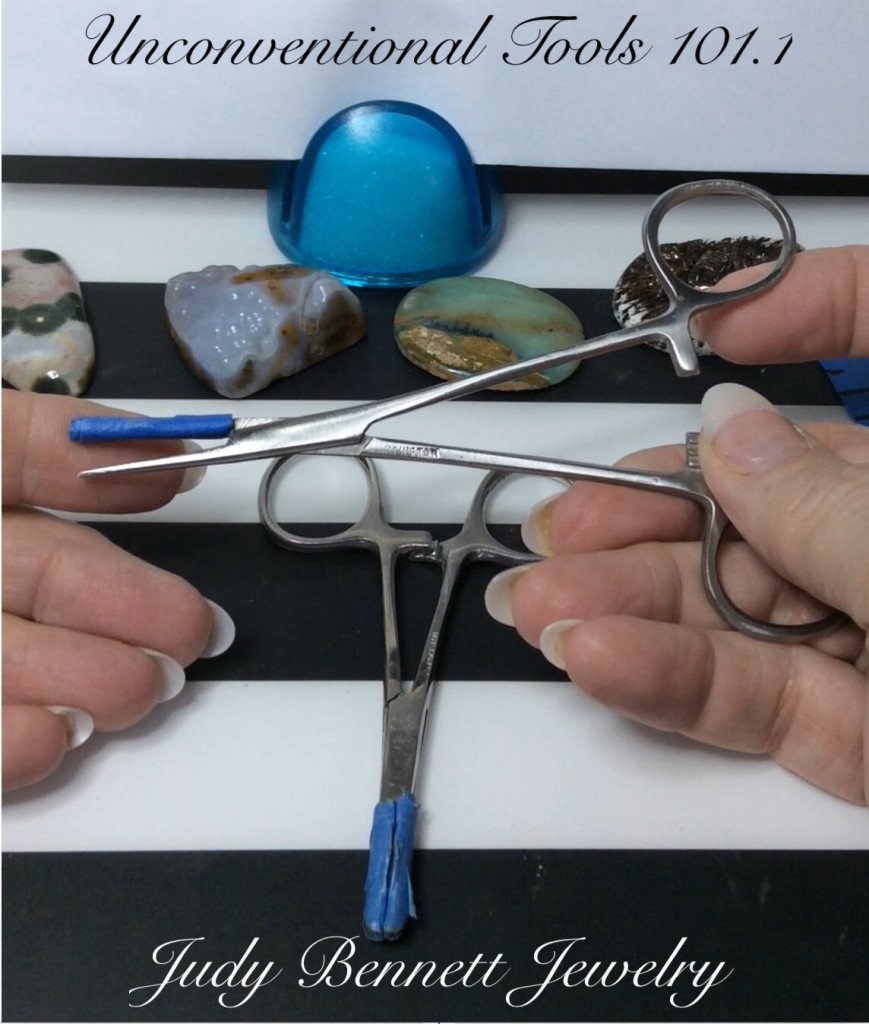
Now for my next tool! Meet the handy hemostates! This magic little tool is used for so many things. I use it to hold my bundle/wire bezel in place so that the little wires do not jump ship to visit a neighbor two doors down and accidentally get wrapped out of the proper order. They come in a couple of sizes and they are inexpensive. I started with the longer pairs but when I found the smaller ones, I fell in love. I wrap the grip area of the hemostats with my fabulous painters tape to avoid marking my wire bundle. The longer ones work well but the smaller ones weigh less and don’t weigh the bundle down. Plus, they are easier to hold on to when you are trying to do two things at once. Do you do that too? I am so guilty…. I usually use a hemostat on the end I’m holding and tape the opposite end of the bundle with my painters tapes strips.
Finally, you may have noticed my lovely placemat where the photos were taken. I found this treasure at one of my favorite stores, Ikea. I think it cost a $1 to $1.50 and when you are working and you need a straight edge, voila! It’s right under your nose. I use it for everything from rolling out metal clay, checking sheet metal and wire for a straight edge, and keeping my bench clean.
These tips are primarily for the beginner but even though I’ve been around a while, I’m thrilled when I find something so simple that it makes my work easier. I hope there is something here even for experienced artists. That’s what you are, you know. Artists.
I pronounce thee ARTISTS!
I’ll never forget the first time someone called me an artist at a show. I started thinking about it and realized that if others thought of me as an artist, that I should think of myself as an artist too. So, start thinking of yourself in that way and continue to grow. Today you are an Artist! Judy said so!
Happy Wrapping!
![]()
Click to Receive Daily Tips by Email





Alicia
August 16, 2017 at 6:44 am
I just want to say, thank you very much for all your amazing and simples tips!!! Have a wonderful day!
Frohna Armstrong
August 16, 2017 at 6:57 am
Thank you for these very helpful tips! I especially like the one on hemostates as I struggle with “butterfly” wires that flit from here to there!
Connie
August 16, 2017 at 1:56 pm
I use Tiger tape which has lines and makes it easier just use a Sharpie to highlight the areas where you want to wire wrap. Also use a cheap 99 Cent Store tray to hold my beads, needles and thread. Place a piece of foam to hold everything together.
Brenda Trudell
August 16, 2017 at 9:55 pm
Love this tip/tips. I,too, am always looking short cuts, etc. All your tips are great, so please keep them coming. We sometimes forget to tell , so all the times, BRAVO!