- NEW DVD Series – Stone Setting with Bezels
- Tube Set Charm by Kim St. Jean
- Prong Basket Pendant by Kim St. Jean
- NEW DVD Series – Stone Setting with Cold Connections
- New DVD Series – Stone Setting with Wire
- NEW DVD Series: Introduction to Stone Setting by Kim St. Jean
- Featured Tool: Bracelet Bending Plier
- NEW Dvd by Eva Sherman
- Fun, Fast Fold Forming DVD Series
- Double Band Ear Cuff from Alex Simkin
Free Pattern: Heart Frame Bracelet by Abby Hook
by Judy Ellis, Wirejewelry.com
Wire Jewelry Pattern for July 24th, 2017
Heart Frame Bracelet
by Abby Hook
Repetition of a simple shape in a design can create a striking effect, it is also the best way to master a technique and open spirals can be tricky!
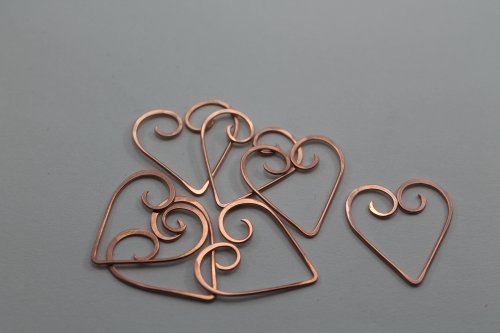
This lesson teaches you how to make little heart shaped frames and then how to hammer them.
The finished size of the bracelet is 7 1/2”. It is easy to adjust the size by adding or subtracting links or heart frames.
Materials:
- 18 Gauge Round Dead Soft Copper Wire (Pattern Quantity 44 Inches, Product ID: H11-18D)
- 28 Gauge Round Dead Soft Copper Wire (Pattern Quantity 24 Inches, Product ID: H11-28D)
Tools:
- Chain Nose Wire Plier (Pattern Quantity 1 Piece, Product ID: G2-508)
- Round Nose Wire Plier (Pattern Quantity 1 Piece, Product ID: G2-507)
- 5 1/2 Inch Nylon Flat Jaw Pliers with Replacement Jaws (Pattern Quantity 1 Piece, Product ID: G2-1)
- C.H.P Milano Italian Flush Cutter, 5 1/2 Inches (Pattern Quantity 1 Piece, Product ID: PLR-487.00)
- Chasing Hammer with Wooden Handle, 1 1/8 Inch Face (Pattern Quantity 1 Piece, Product ID: G3-27)
- Premium Steel Bench Block 2 1/2 X 2 1/2 (Pattern Quantity 1 Piece, Product ID: G17-9)
- Needle File Set Pack of 5 (Pattern Quantity 1 Piece, Product ID: FIL-970.00)
- 8 Piece Brass And Steel Mini Mandrel Set (Pattern Quantity 1 Piece, Product ID: G7-28)
- Half Round Sanding Sticks Set of 6 (Pattern Quantity 1 Piece, Product ID: BUF-751.98)
Directions:
Step 1: This bracelet is made using several heart shaped links, which are then connected together with jump rings.
To begin with we need to form all the hearts. Start by cutting 6 x 4” pieces of 18 gauge wire.
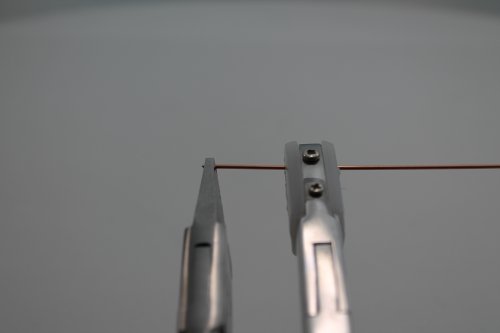
Straighten each piece by grasping one end with the flat nose pliers and pulling the length of wire through the jaws of the nylon jaw pliers a couple of times.
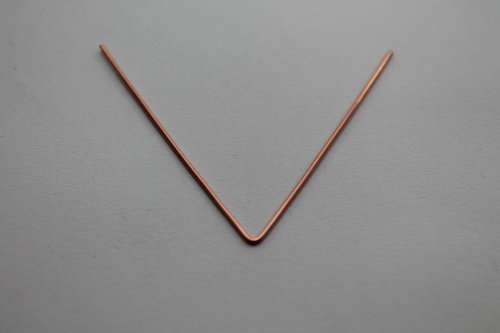
Step 2: At the center point of each piece of wire, make a 45 degree bend with chain-nose pliers.
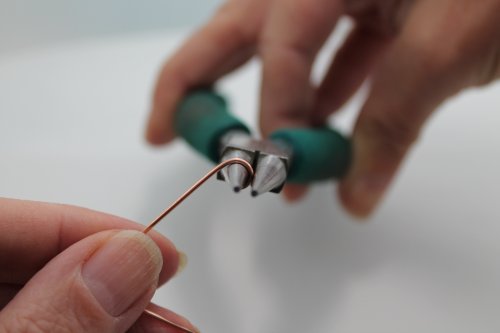
Step 3: Grasp one end with the centre of the jaws of the round nose pliers and form a loop approx. 1/4” across.
Repeat on the other side.
Trim the tips of the wires off to create tapered ends.
File and sand the ends smooth. Make sure you remove any sharp edges – remember these frames are going to be sitting against the skin.
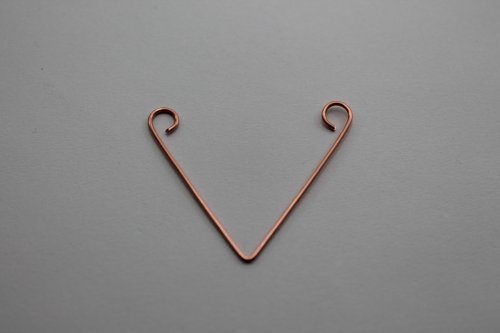
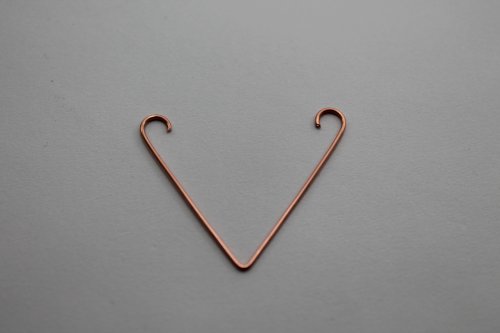
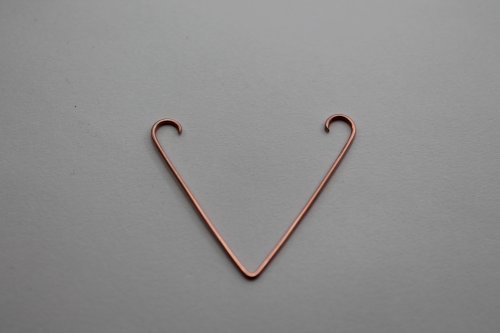
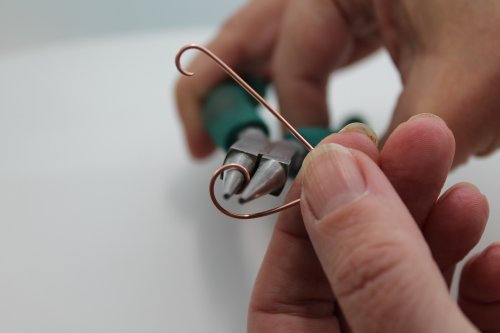
Step 4: Turn the pliers to form an open spiral, ensuring the gap is even all the way round.
Repeat on the other side, so that it is a mirror image.
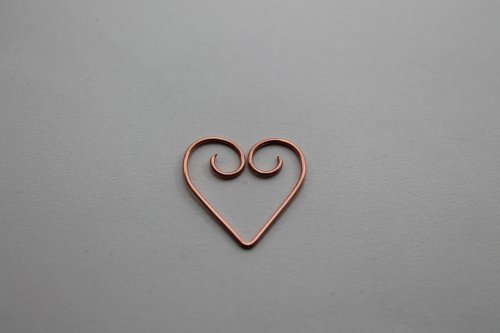
The heart should meet in the middle, if it doesn’t, adjust the bend in the middle.
The heart should measure just under 1” across and tall.
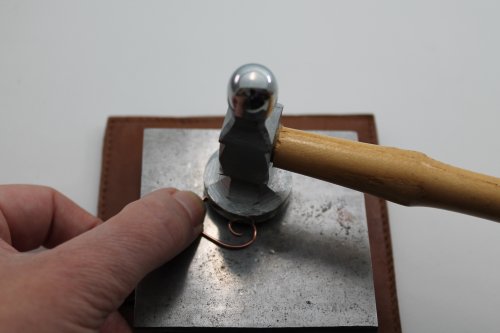
Step 5: Lay your heart on the bench block or anvil and carefully hammer the curves at the top of the heart and the very tip of the point.
Make sure you keep the hammer at a 90° angle to the block, so that you hit the wire squarely each time.
Use several little taps to flatten the wire, rather than one big whack.
Notice how the hammering caused the wire heart to open up and change shape slightly. Adjust as necessary.
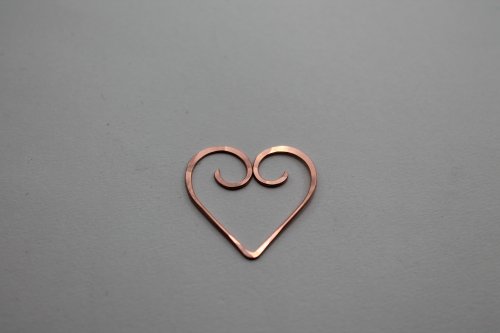
Step 6: Make another 5 hearts, so that you have 6 in total.
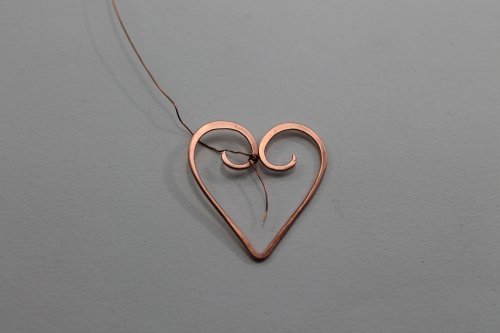
Step 7: Cut a 4” piece of 28 gauge wire.
Attach it to one of the open loops, just before the open loops meet, by coiling 3 times leaving a small tail to hold onto.
Bind the center together 5 times, securing the heart closed and also strengthening it.
Note: – Be careful when binding, not to pull too tightly, as this will cause the frame to overlap itself slightly.
Coil 3 times to secure.
Trim the 28 gauge wire tails on the inside of the frame and tuck the ends in, using the chain nose pliers.
Squeeze the binding flat with the nylon jaw pliers. Repeat on all 6 hearts.
Step 8: The hearts are connected together with multiple jump rings. They are made on a 4mm mandrel. Cut a 22” length of 18 gauge wire and straighten.
Position the wire at a 90° angle to the mandrel, leaving a 1” tail to hold onto.
Wrap the wire around the mandrel, forming the first jump ring.
Ensure you keep the wire straight, so that the finished jump rings are consistently sized and shaped.
Keep coiling until you have used all the wire.
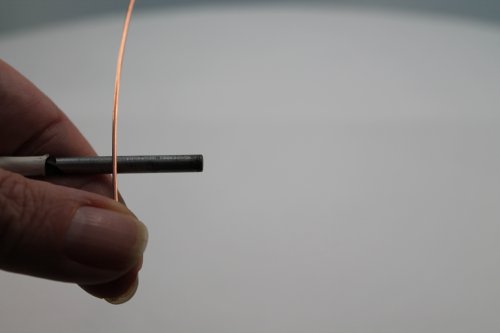
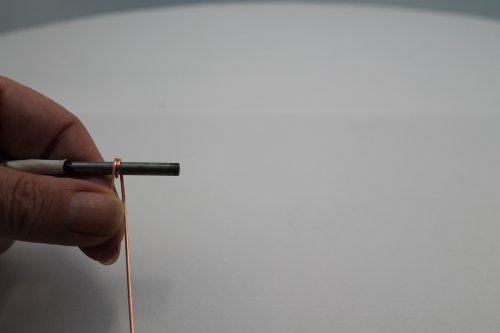
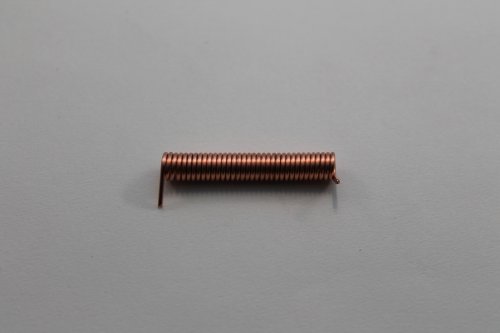
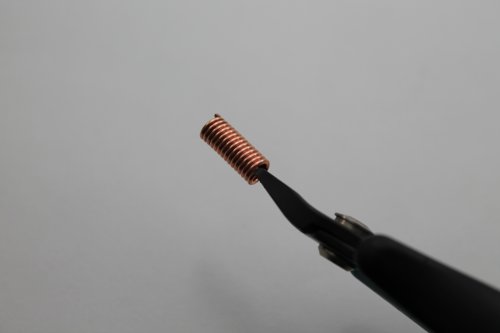
Step 9: The proper way to cut jump rings is with a jewellers saw, but it is possible to do it with flush cutters.
Cut the small straight wire ends from the coil, making sure that the flush edge of the cutters is against the ring.
Trim both ends on each jump ring with the flush side of your cutters, so that the rings meet perfectly.
Notice that by trimming the pinched nib from the end, you lose a tiny piece of wire each time, so that you end up with fewer jump rings than the number of coils you had.
Note: – each ring uses approx. 2/3” of 18 gauge wire.

Step 10: Now that all of the components have been made, the bracelet can be connected together.
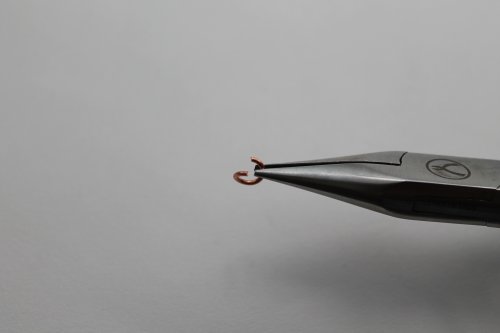
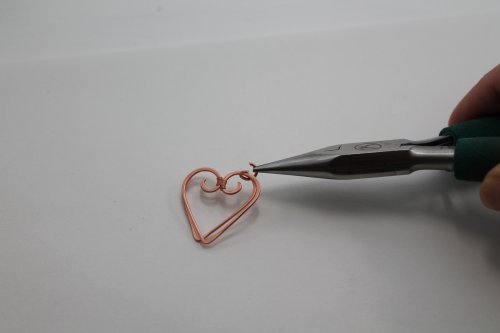
To open a jump ring, twist one end of the wire away from the other as shown.
Never pull open as this action not only distorts the finished shape of the ring, as shown in the picture, it also fatigues the metal, making it more brittle and subject to breaking.

Tip: – It is easier to connect the hearts if they sit on top of each other.
When you close the ring, rub the ends against each other a couple of times, by twisting left and right. This burnishes the metal slightly and also hardens the ring, making it stronger.
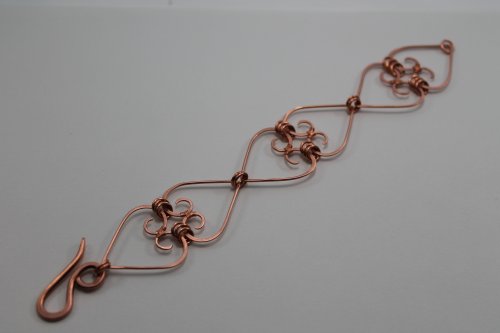
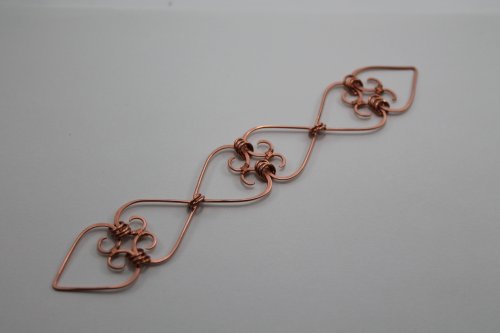
Use 3 rings on each curve and 2 on each point. Connect 6 hearts as shown
Step 11: Connect the hook clasp to one end with 2 rings and add one ring to the other end, for the clasp to link to. Check out my hook clasp tutorial on making a handmade hook.
Notice how the rings can move around the hearts when not being worn.
The finished size of this bracelet is 7 1/2”. You can add or subtract jump rings and heart frames to increase or decrease the length.
Happy Wrapping!
![]()
Click to Receive Daily Tips by Email






Belinda Miller
July 24, 2017 at 9:02 am
Love the heart chain. Very pretty. Concise directions