- NEW DVD Series – Stone Setting with Bezels
- Tube Set Charm by Kim St. Jean
- Prong Basket Pendant by Kim St. Jean
- NEW DVD Series – Stone Setting with Cold Connections
- New DVD Series – Stone Setting with Wire
- NEW DVD Series: Introduction to Stone Setting by Kim St. Jean
- Featured Tool: Bracelet Bending Plier
- NEW Dvd by Eva Sherman
- Fun, Fast Fold Forming DVD Series
- Double Band Ear Cuff from Alex Simkin
The Five Cs of Wire Wrapping: Step 4: Cover then Cut By Melissa Cable
by Judy Ellis, Wirejewelry.com
Wire Jewelry Tip for July 5th, 2017
The Five Cs of Wire Wrapping: Step 4: Cover then Cut
by Melissa Cable
Your beautiful wrapped coil is complete and now all that’s left is trim the excess wire from the tail. Seems simple, right? Well, it is, but there are a few tricks to doing it right. You want to safely cut the tail without accidentally cutting through your circle or coil while making sure you don’t leave a pointy wire end sticking out.
But before we get into the tricks, let’s talk safety. This is the most important part of Step 4. When we cut the small piece of tail off, it will fly! Worst case scenario, it flies into your eye or embeds itself into your foot when you step on it later. Best case scenario, your beading buddy or significant other will be annoyed when a stray wire bounces off their forehead. Either way, the forecast is not good if you don’t follow one simple rule. ALWAYS COVER YOUR CUTS.
Cover
When you prepare to cut, position your wire cutters where you would like to cut the wire and then cup your hand over the cutters before actually cutting. This will prevent the wire from flying. Sometimes, you will feel the force of the wire on your palm and it is a good reminder of how much damage that wire could have done. Make sure to cup your hand enough so that you do not cut your hand and be especially conscious of the location of the tips of the cutters. Even better, consider wearing safety glasses in addition to covering.
Cut
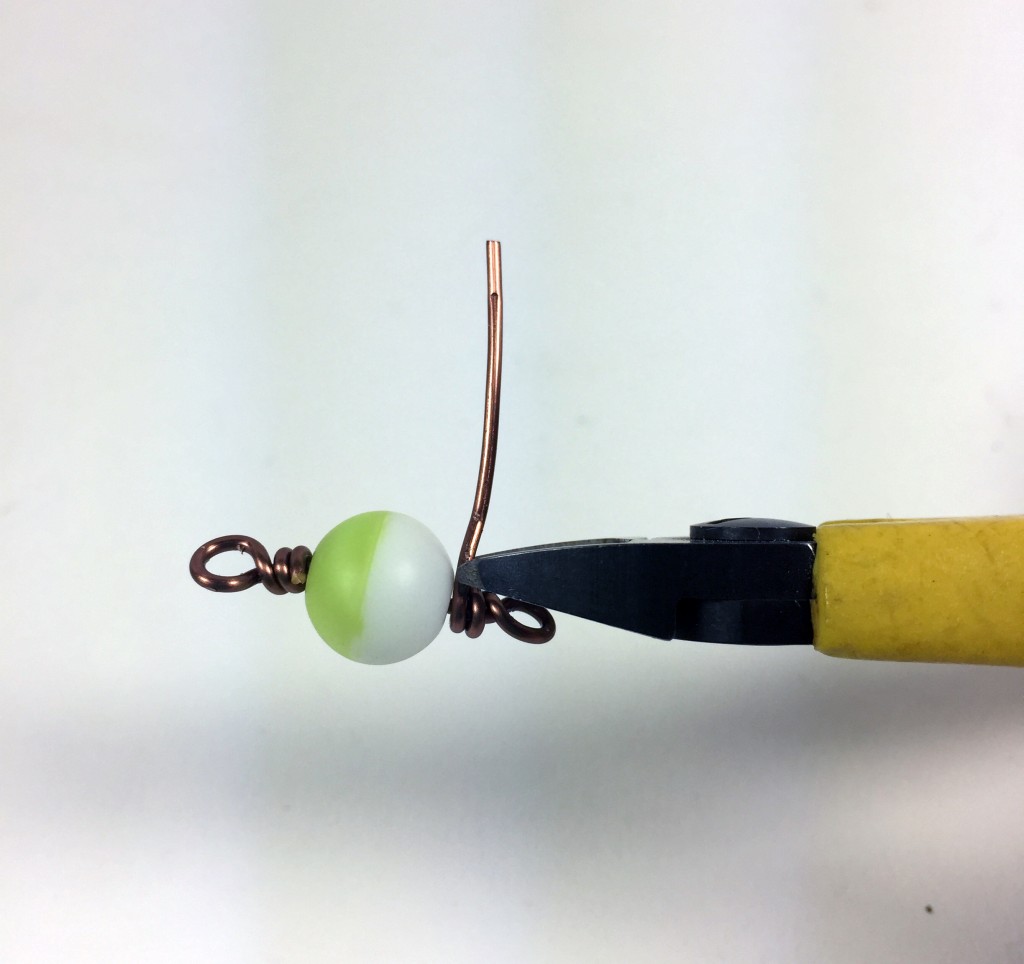
In Step 3, we discussed finishing your wrapped coil with the tail perpendicular to the circle. By doing this, you minimize the risk of cutting the circle and get a closer cut. As you can see in the photo, our wire cutters are able to lay flat over the circle and the tips of the cutter can reach the base of the tail.
TIP: Be sure to gather all of your little cut ends so they do not end up on the floor. I keep a piece of painters tape, sticky side up, on my bench and place my trimmings on it. It reminds me not to put my elbow in the pile of pointy ends, keeps them from rolling off the table, and makes clean up quick.
You’ve now complete four of the five steps to perfect wire wrapped loops!
Step 1: Circle
Step 2: Connect
Step 3: Coil
Step 4: Cover then Cut
Coming Up!
Step 5: Clean
Happy Wrapping!
![]()
Click to Receive Daily Tips by Email


0 comments