- NEW DVD Series – Stone Setting with Bezels
- Tube Set Charm by Kim St. Jean
- Prong Basket Pendant by Kim St. Jean
- NEW DVD Series – Stone Setting with Cold Connections
- New DVD Series – Stone Setting with Wire
- NEW DVD Series: Introduction to Stone Setting by Kim St. Jean
- Featured Tool: Bracelet Bending Plier
- NEW Dvd by Eva Sherman
- Fun, Fast Fold Forming DVD Series
- Double Band Ear Cuff from Alex Simkin
Free Pattern: Bloom Earrings by Oksana Truhan
by Judy Ellis, Wirejewelry.com
Wire Jewelry Pattern for July 3rd, 2017
Bloom Wire Earrings
by Oksana Truhan
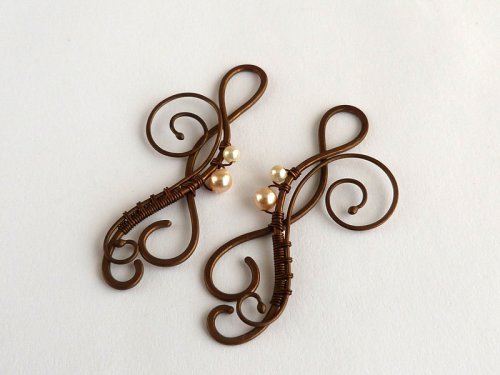
These earrings will teach you a bunch of great wire techniques! Weaving, coiling, making loops and spirals! Grab your pliers and let’s get started.
Materials:
- 16 Gauge Round Half Hard Copper Wire (Pattern Quantity – 1 Foot, Product ID: H11-16H)
- 18 Gauge Round Half Hard Copper Wire (Pattern Quantity – 8 Inches, Product ID: H11-18H)
- 28 Gauge Round Dead Soft Copper Wire (Pattern Quantity – 2 Feet, Product ID: H11-28D)
- 3mm round Beads (Pattern Quantity – 2 Pieces)
- Mini Economy Double Horned Jewelers Anvil – Pack of 1 (Pattern Quantity – 1 Piece, Product ID: G17-1)
- 6 1/2 Inch Solid Stainless Steel Ball Peen Hammer (Pattern Quantity – 1 Piece, Product ID: G3-18)
- 5 inch Plato Slim Flush Cutters for Wire Working or Beading – Pack of 1 (Pattern Quantity – 1 Piece, Product ID: G35-3)
- Blazer Big Buddy Turbo Torch, Black (Pattern Quantity – 1 Piece, Product ID: TRCH-8010)
- Liver of Sulfur 4 oz (Pattern Quantity – 1 Piece, Product ID: SOL-600.04)
Tools:
- 90 Degree Bent Nose Pliers (Pattern Quantity -1 Piece, Product ID: G2-66)
- Chain Nose Wire Plier (Pattern Quantity – 1 Piece, Product ID: G2-508)
- Acculoop Precision Round Nose (Pattern Quantity – 1 Piece, Product ID: PLR-741.00)
Directions:
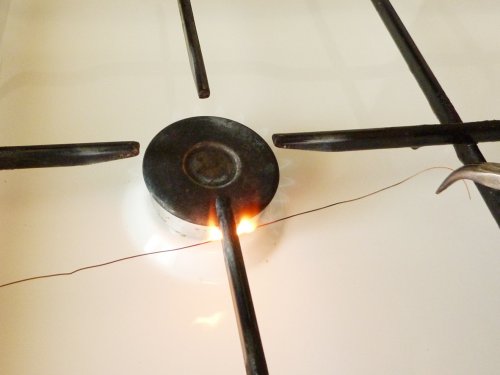
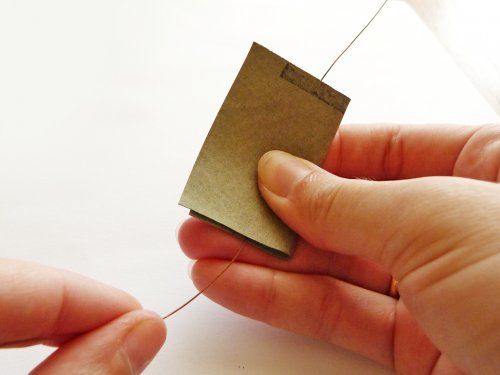
Step 1: To prepare your wire, make sure the wire is not covered with lacquer. Patina won’t stick to lacquered wire. How to check? Wear gloves,
protect your hands and arms! Run the piece of wire through a flame. If it smokes, flames, and it smells unpleasant, it means there is some lacquer.
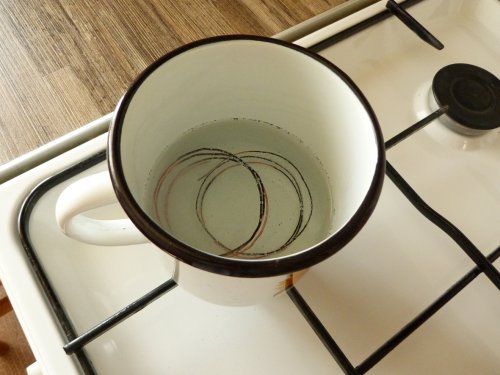
To remove this lacquer, run the thin wire through the fire very fast, so it will not burn. The wiire will become black. The rest of the lacquer I’ll remove with sandpaper. Or sometimes I boil burned pieces in citric acid solution. After citric acid I wash the wire in the water very carefully.
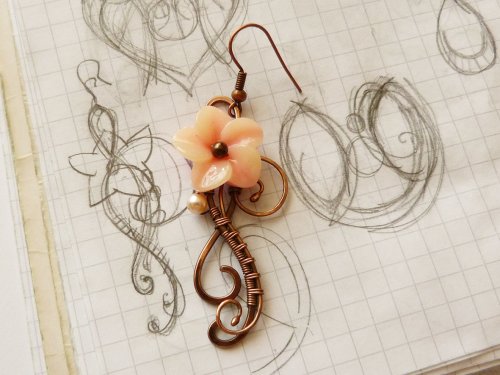
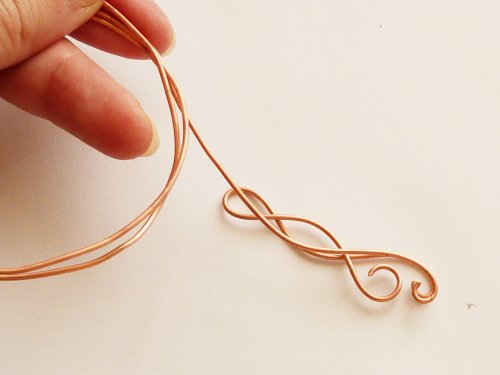
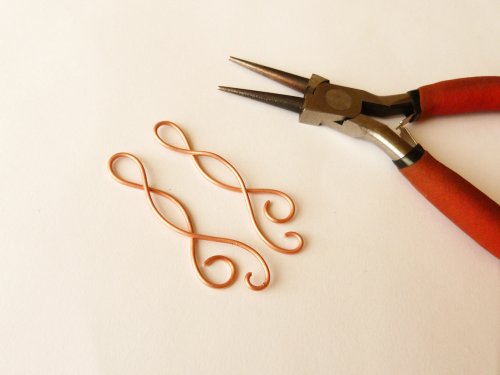
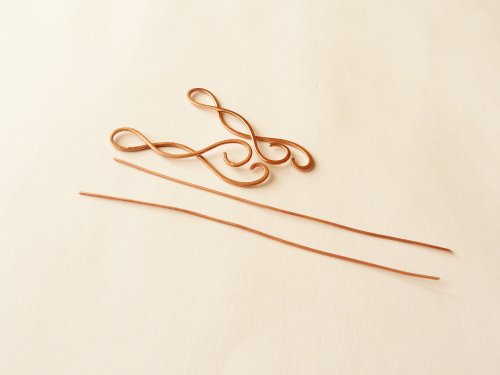
Step 2: Sketch out the design. You can follow my sketch. Start bending the 16g wire. Don’t hurry, work in small steps and compare it to the sketch frequently.
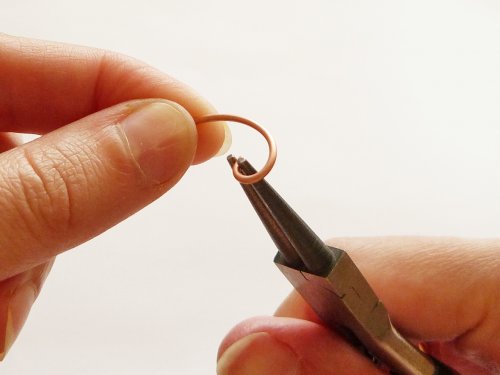
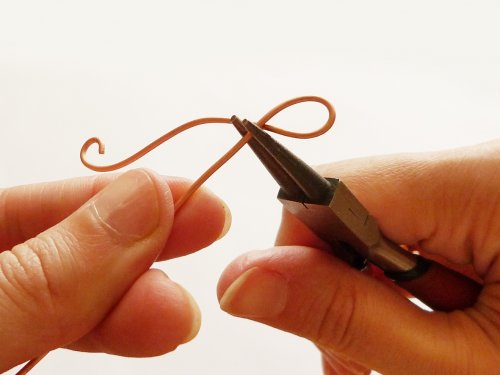
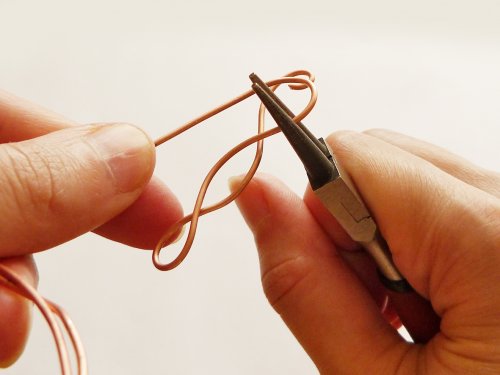
Step 3: For the second earring we bend the wire in mirror image. Use the first earring to follow along. Just turn over the first earring form and compare accurately.
Step 4: Flatten the earrings with a hammer. Strike carefully. It’s better to strike 3 times than cause damage. Don’t hammer where the wire cross each other, as that weakens the wire. Flattening some areas and not others creates visual interest.
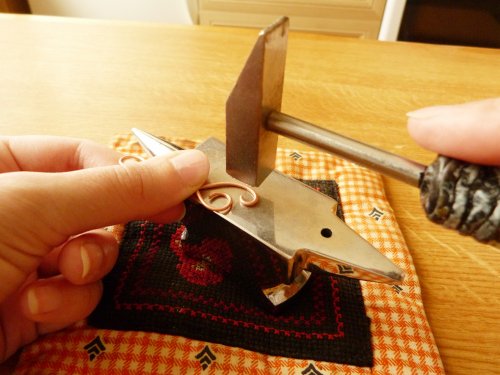
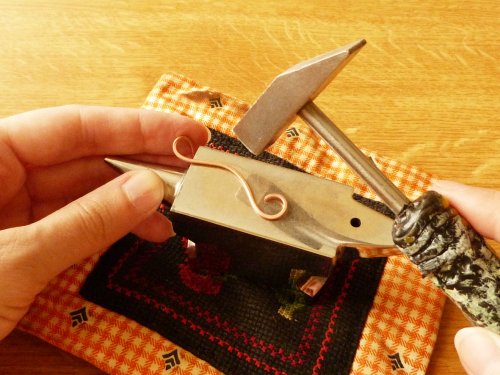
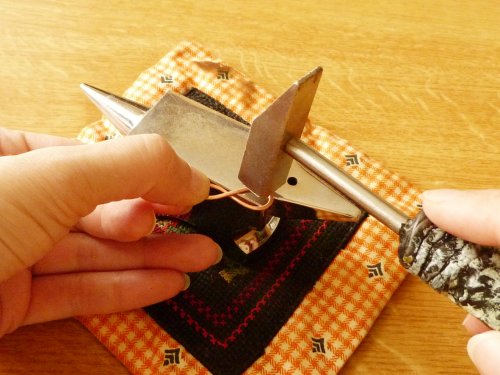
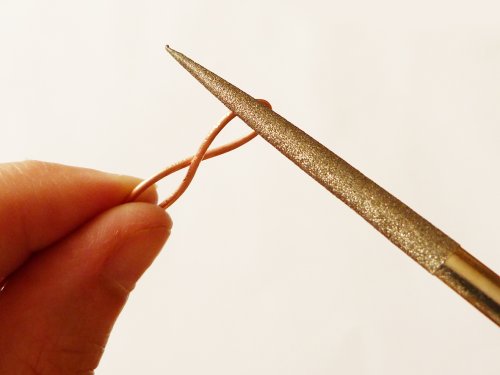
Step 5: Tweak the shapes with round-nose pliers so they’re identical. File away any stray tool marks.
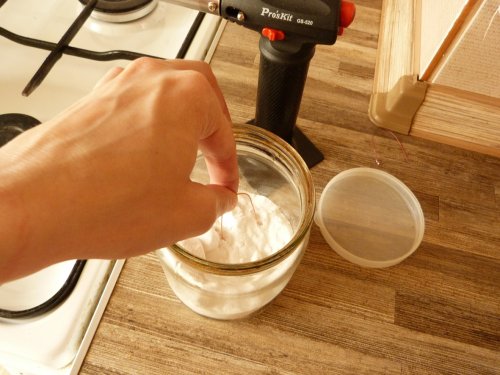
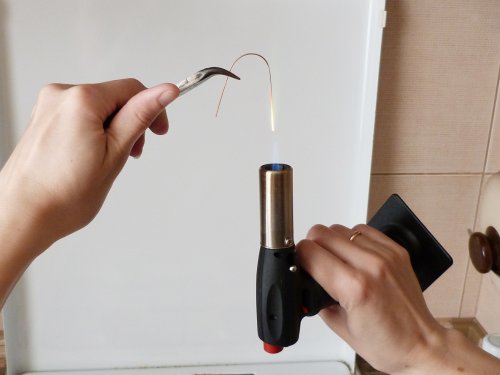
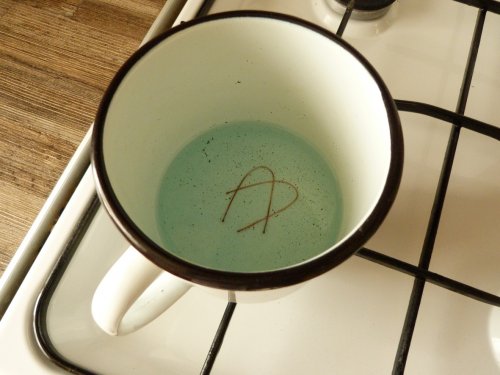
Step 6: Cut two pieces of 18-gauge wire, 4″ each. On the ends of these pieces we need to draw beads. We need butane torch and borax powder or flux. Borax powder makes the ends ball up smoothly and greatly hastens the process. Bend the forms, dip the ends into the borax powder and direct the flame from the bottom upwards. Be attentive, the process takes only a few seconds. Clean the wires in a borax solution. (1 spoonful of borax to 1 cup of water)
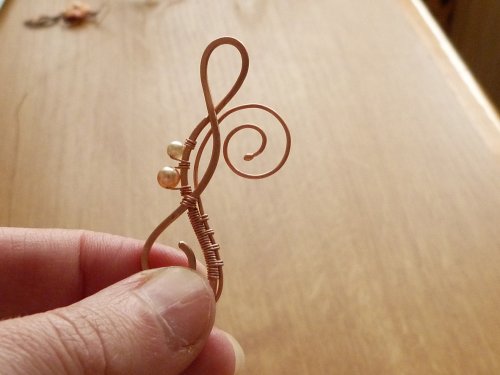
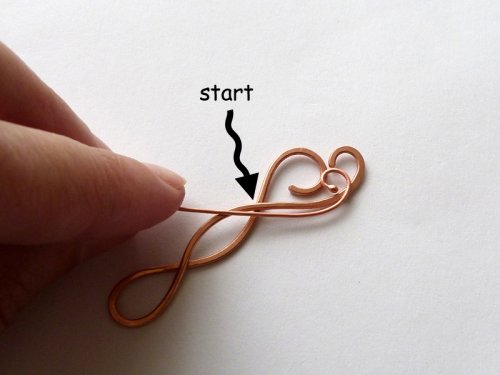
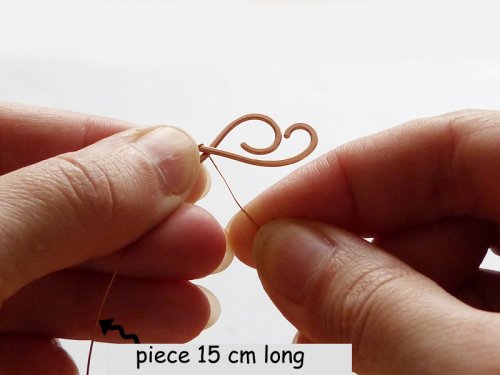
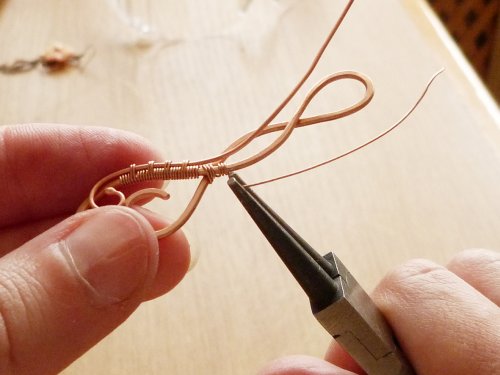
Step 7: Use the 28g wire to weave the two pieces together. Bend the 18g pieces according to the sketch. Leaving a 6″ tail, start the weaving by coiling a few times around the earring frame wire.
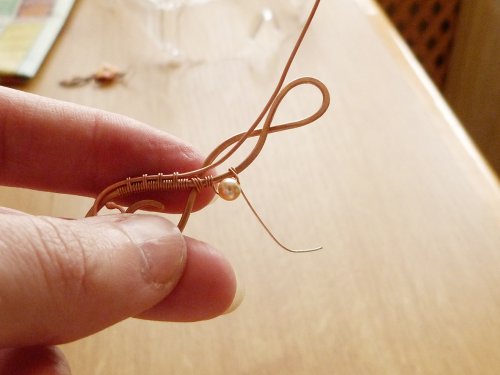
Step 8: Use the 6″ tail at the beginning to attach the bead. String on the bead and coil the frame 4 times next to it. Add second bead and coil the frame next to that one. Trim wire.
Step 9: Make a pretty spiral with the end of the 18g wire. Weave the second earring in the mirror reflection.

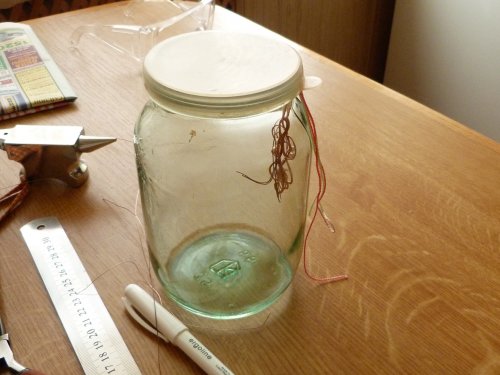
Step 10: Now we need to patinate the earrings, along with two pieces of 28-gauge wire, 6 inches each. You can use liver of sulfur, or, for this project I choose ammonia 10% solution because of a special shade of green brown patina it creates on copper. I take a glass jar with a tight lid, pour some ammonia solution into the bottom on the jar, and hang the pendant on the thread over the liquid. Then I close the lid tightly and wrap it with cling film to prevent the smell of ammonia from spreading around. It usually takes about an hour or two to get a dark patina. You can watch the process through the glass and speed it up if you put the jar in a warm place.
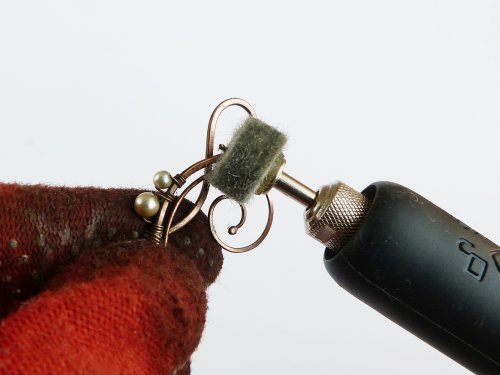
Step 11: Wait 1-2 hours till cooper becomes dark. Polish the pieces in your preferred way. Then wash the pieces carefully with some dishwashing soap, and dry.

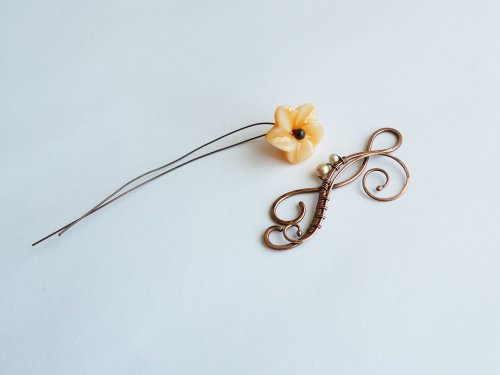
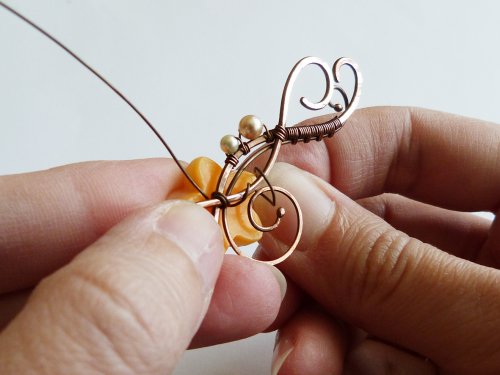
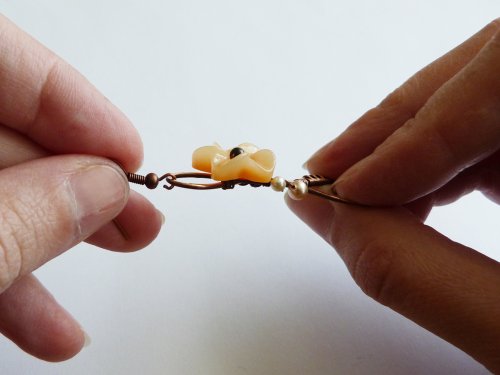
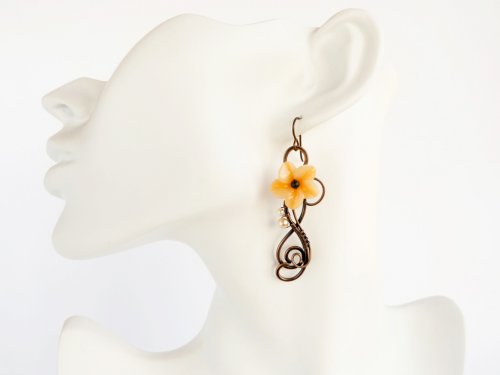
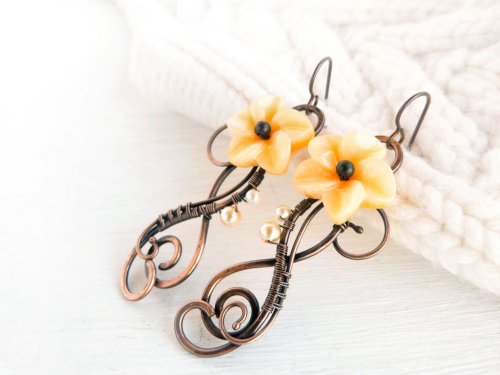
Step 12: I used the patinated pieces of 28g wire to add a flower bead at the top of the earrings. You can choose to add any bead you like, or none at all! Add ear wires, and lacquer with matte or shiny finish spray if desired.
Happy Wrapping!
![]()
Click to Receive Daily Tips by Email




Sergey
July 3, 2017 at 2:30 pm
Very good lesson