- NEW DVD Series – Stone Setting with Bezels
- Tube Set Charm by Kim St. Jean
- Prong Basket Pendant by Kim St. Jean
- NEW DVD Series – Stone Setting with Cold Connections
- New DVD Series – Stone Setting with Wire
- NEW DVD Series: Introduction to Stone Setting by Kim St. Jean
- Featured Tool: Bracelet Bending Plier
- NEW Dvd by Eva Sherman
- Fun, Fast Fold Forming DVD Series
- Double Band Ear Cuff from Alex Simkin
Free Pattern: Chunky Steel Wire Chain By Judy Freyer Thompson
by Judy Ellis, Wirejewelry.com
Wire Jewelry Pattern for June 22nd, 2017
Chunky Steel Wire Chain
by Judy Freyer Thompson
Do you have some awesome focal pieces that scream for a chunky chain to showcase them? Make your own chunky chain to suspend them from! I used 16 gauge steel wire for this one, but I have also made this particular style of chain using 14 gauge copper wire. To make the links intriguing, add some dimension to the steel wire by hammering before you clean the tool oil off. Steel wire is tough to cut and rough on wire cutters, I suggest using an inexpensive pair and keep them just for steel wire.
Materials:
- 19 Gauge Steel Wire
- 16 gauge steel wire
Tools:
- Round Nose Wire Plier (Pattern Quantity – 1 Piece, Product ID: G2-507)
- Wubbers Jumbo Round Mandrel Pliers (Pattern Quantity – 1 Piece, Product ID: G2-1305)
- 8 Piece Mini Brass Mandrel Set (Pattern Quantity – 1 Piece, Product ID: G7-14)
- Chasing Hammer with Wooden Handle, 1 1/8 Inch Face (Pattern Quantity – 1 Piece, Product ID: G3-27)
- Premium Steel Bench Block 2 1/2 X 2 1/2 (Pattern Quantity – 1 Piece, Product ID: G17-9)
- Memory Wire Cutters – Pack of 1 (Pattern Quantity – 1 Piece, Product ID: G2-36)
- 6 Piece Assorted File Set with Wooden Handle (Pattern Quantity – 1 Piece, Product ID: G14-7)
- Renaissance wax
- 400 grit sandpaper
- 28 oz tin can
Directions:
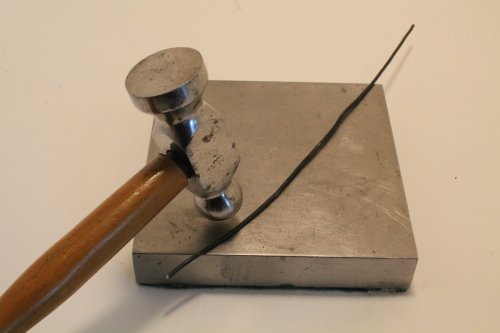
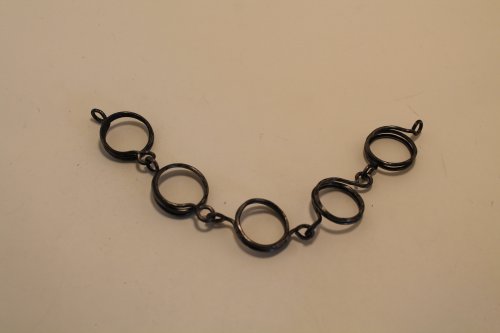
Step 1: To make (5) chunky links, cut (5) pieces of 16 gauge wire and file the ends flat. Hammer at this point if you desire on a steel bench block using the ball end of the chasing hammer.
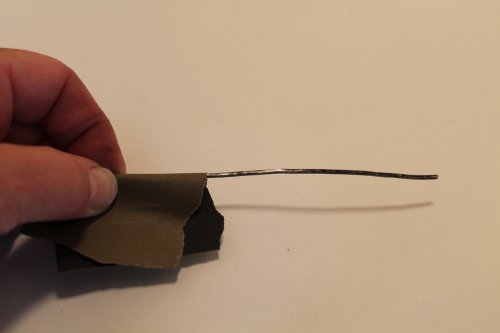
Step 2: Clean the wire using 400 grit sandpaper
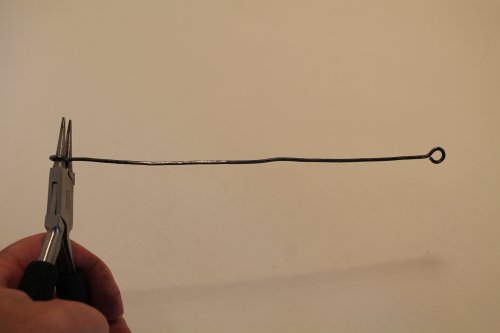
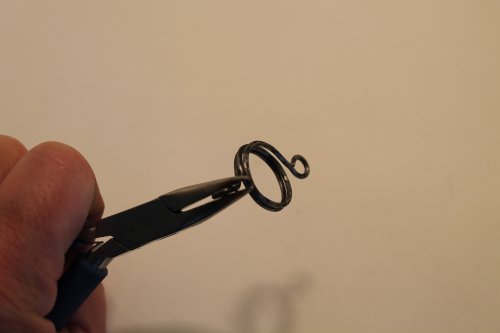
Step 3: Make a 4mm eye loop on one end of a wire using round nose pliers, make a second eye loop perpendicular to the first on the other end of the wire.
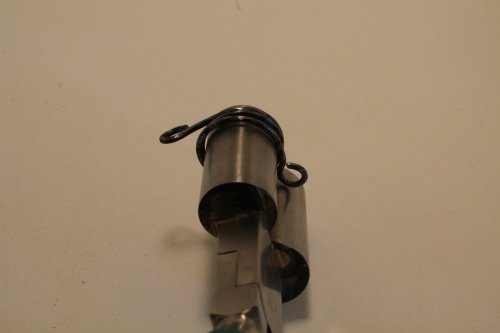
Step 4: Using the 18mm side of the mandrel pliers, wrap the wire around 2 ½ times.
Step 5: Adjust the eyes as necessary. Make the additional 4 links following the instructions above.
Step 6: Connect the links opening and closing the eye loops.
Step 7: Make (4) 8mm jump rings.
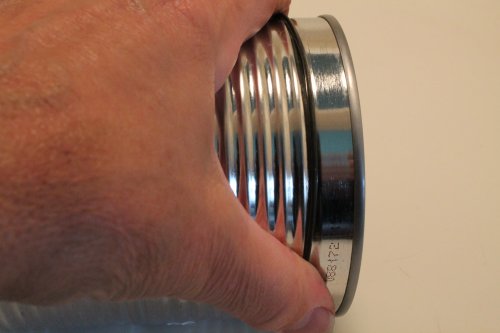
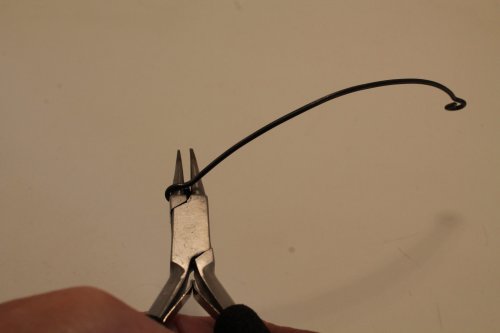
Step 8: Cut (6) pieces of iron wire and clean using 400 grit sandpaper. Make a curve in the wires using the 28 ounce can for the mandrel.
Step 9: Make 4mm eye loops on both end of the wires.
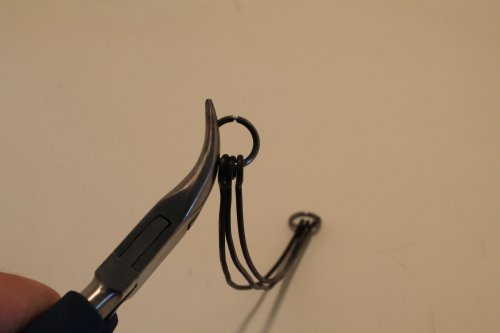
Step 10: Slide one 8mm jump ring through the eyes on the 6” wires and close ring; repeat on other end.
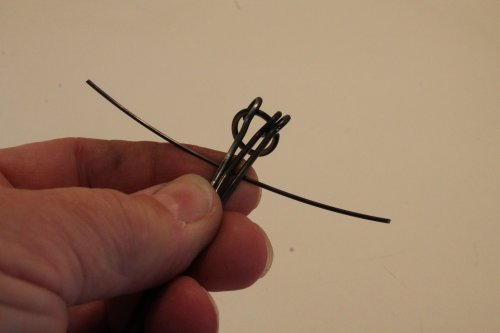
Step 11: Cut (4) 4” pieces of 19 gauge wire and wrap around the three 16 gauge wires.
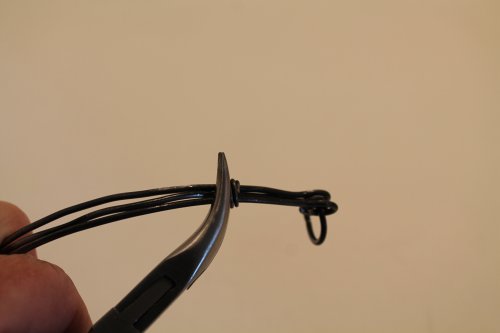
Step 12: Secure using bent nose pliers.
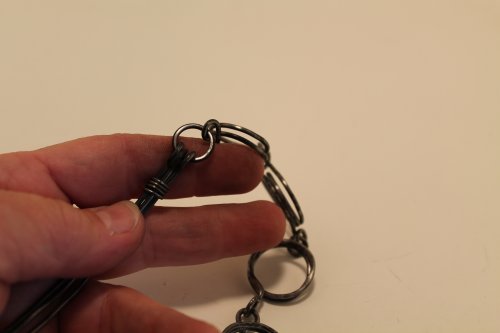
Step 13: Attach the 3-wire assemblies to the links.
Step 14: Cut a 3” piece of 16 gauge wire and clean using 400 grit sandpaper. Flatten both ends using a chasing hammer on the steel bench block.
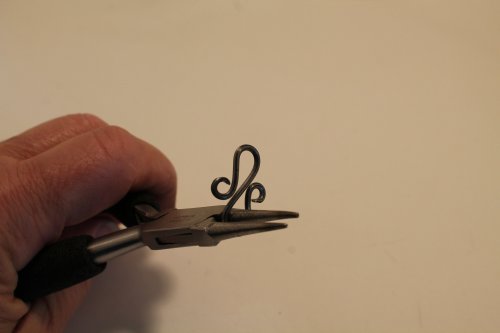
Step 15: Using round nose pliers, make opposing eyes in each end then bend the wire into an ‘s’ shape.
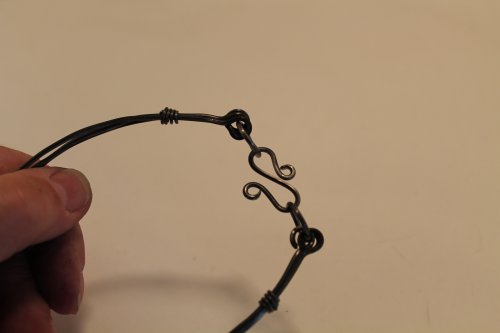
Step 16: Attached one end of the ‘s’ connector to one jump ring, and close the gap. Slightly open the other end to serve as the hook clasp.
Step 17: Seal the chain using Renaissance Wax or a clear spray sealant.
Happy Wrapping!
![]()
Click to Receive Daily Tips by Email




0 comments