- NEW DVD Series – Stone Setting with Bezels
- Tube Set Charm by Kim St. Jean
- Prong Basket Pendant by Kim St. Jean
- NEW DVD Series – Stone Setting with Cold Connections
- New DVD Series – Stone Setting with Wire
- NEW DVD Series: Introduction to Stone Setting by Kim St. Jean
- Featured Tool: Bracelet Bending Plier
- NEW Dvd by Eva Sherman
- Fun, Fast Fold Forming DVD Series
- Double Band Ear Cuff from Alex Simkin
Make a Rivet and Eyelet Tile
by Judy Ellis, Wirejewelry.com
Wire Jewelry Tool Tip for March 1st, 2017
Make a Rivet and Eyelet Tile
by Judy Larson
Today we continue our short series of tips from Judy Larson on making and using Rivet and Eyelet Tools. Tip #2 – Make a Rivet and Eyelet Tile
Judy says:
Rivets need to be cut a specific length after inserting through the pieces they will be riveted in. This rivet/eyelet tile was made with tube rivets and eyelets as well as 16 gauge flat and balled head rivets in mind.
Step 1: Start with a piece of 22 gauge sheet metal. It can be cut in any shape. Here, a ¾” circle was punched from a piece of brass. Brass was used because it is harder than copper. Since you will be filing across the top of the tile, it needs to be made from a relatively hard metal.
Step 2: Using a 1.5mm hole punch, make the first hole. This hole will be used with 16 gauge flat and balled head rivets.
Note: Check the diameter of the shank of your tube rivets and eyelets to know what size holes to punch in your tile. Tube rivets require 2 tiles.
Step 3: The next size hole was made with the 2.38mm or 3/32″ punch from a multi size hole punch, shown to the right. This hole will fit 3.5mm x 3mm (as well as longer than 3.5mm) eyelets and domed face tube rivets.
Step 4: The largest hole was made with the 3.16mm or 1/8″ punch from a multi size hole punch. This hole fits 5.5mm x 4mm eyelets.
Step 5: Use number stamps to show the approximate hole size.
Hint: For a tile to use in tight spaces, make a narrow rectangular tile with one hole at each end. Those holes should be the ones you use most often.
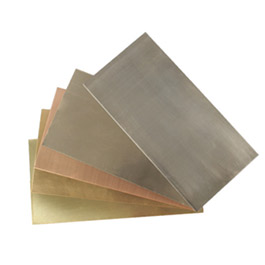
Do you need a few pieces of sheet metal for your next project? CLICK HERE or click the sheet metal image below to see what’s available.
Metal Sheet and Blanks |
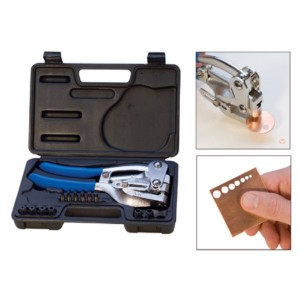
Looking for a great hole punch?CLICK HERE! 
|
I hope you’ve enjoyed this tip from Judy. For more of her tips CLICK HERE!
Happy Wrapping!
![]()
Click to Receive Daily Tips by Email


Catherine Barron
March 2, 2017 at 2:47 pm
I have this heavy duty punch, and managed to damage one of the components. Short of buying another complete kit, where can I buy replacement components? Any help is appreciated?
Judy Larson
March 3, 2017 at 5:50 pm
What part is damaged and how is it damaged?