- NEW DVD Series – Stone Setting with Bezels
- Tube Set Charm by Kim St. Jean
- Prong Basket Pendant by Kim St. Jean
- NEW DVD Series – Stone Setting with Cold Connections
- New DVD Series – Stone Setting with Wire
- NEW DVD Series: Introduction to Stone Setting by Kim St. Jean
- Featured Tool: Bracelet Bending Plier
- NEW Dvd by Eva Sherman
- Fun, Fast Fold Forming DVD Series
- Double Band Ear Cuff from Alex Simkin
Get to know your hand tools
by Judy Ellis, Wirejewelry.com
Wire Jewelry Tool Tip for December 14th 2016
Get to know your hand tools
A 12-part series of how-to tips by Helen I. Driggs
Today, I’d like to introduce to you one of our newest contributors – Helen Driggs. We will be hearing more from her as we feature her 12-part series of tips.
A little about Helen:
HELEN I. DRIGGS is an experienced metalsmith, lapidary and studio jewelry instructor and has appeared in 6 instructional jewelry technique videos. Her book, The Jewelry Maker’s Field Guide was published in 2013.
Follow her blog: materialsmithing.wordpress.com, Instagram: hdriggs_fabricationista and Twitter feed @fabricationista for news, her teaching schedule and for other jewelry-related information.
Helen Says:
Tool Tip One: The Bench Pin
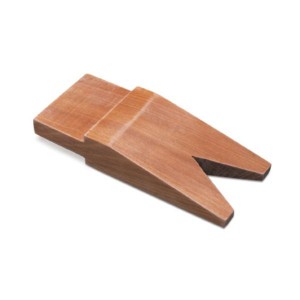
It’s hard to believe, but the tool you’ll use the most is not a saw, hammer or pair of pliers. You may not even remember it’s a tool. What? Well, it’s your bench pin. If you think about it, you’ll realize that your bench pin is where the action is. You’ll saw on it, file on it, fabricate on it, use your flex shaft at it, and if you are a professional jeweler, you very often solder at it too. Its hard to believe a small wedge of wood is so important, but you can’t really fabricate without one.
How it works:
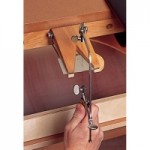
Most jeweler’s benches are designed with an interchangeable slot for bench pins, but if you don’t own a bench you can still have a pin. And once you are serious about making jewelry, you’ll customize your pin according to the work you do. Portable bench pins are a great option for workshops held in non-studio situations, like convention or recreation centers. There are several options for ready made portable bench pins on the market, and in an emergency, you could even make one yourself with a pine 1×3 and a C-clamp.
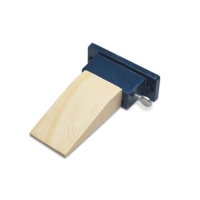
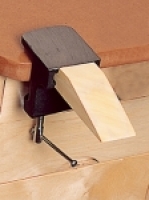
On the economy end, there is an inexpensive clamp-on bench pin which features a reversible clamp. This is a handy feature when you are faced with convention center tables that are variable thickness. Many beginners choose this type of bench pin when they are learning metalwork, and it is a fine starter pin, although I prefer a pin with a narrow V-slot. Fine in a pinch, it’s lightweight, usually not too expensive and extremely portable.
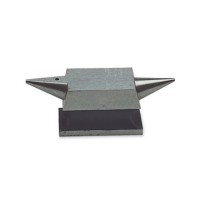
On the higher end, I have a personal favorite portable bench pin that is also a combination steel bench block/anvil as part of the clamp. This bench pin requires custom treatment, which is why I like it.
How to use the portable pin:
I have to laugh at the number of times I’ve had to demonstrate how to set up the economy portable pin, because it just isn’t intuitive. Here’s how: insert the clamp into the round hole first, and then clamp the pin to the table. Easy.
For the combination anvil/bench pin, insert the tang of the pin into the slot and then clamp the unit to the table. The nice thing about this pin is that it is wedge shaped like a bench-mounted pin, and is flat on one side (for sawing) and angled on the other (for filing). You’ll have to saw out your own V-slot.
My 5 favorite tips for the bench pin:
• File a perpendicular and hemispherical slot at the place where the tip of the V-slot ends. Park tubing in there for clean sawing.
• Burr a small depression into the bench pin to hold small parts, stones or bits of wire and metal.
• Drill a hole all the way through the pin for earring posts to sit in as you work.
• File an angle on one side of the pin to allow easy filing of edges.
• Don’t be afraid to file, saw or sand away parts of the pin to allow you to work. Bench pins are easy to replace!
Classes with Helen:
If you’d like to spend some one-on-one time with Helen and learn more about metalsmithing – why not join her at JOGS in Tucson. Her classes will be offered January 30th and 31st. Click below to see what she will be teaching for our sister company JewelryTools.com.
JOGS 2017 Jewelry Making Classes:
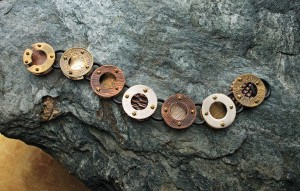
Multi-Metal Cold Connected Bracelet
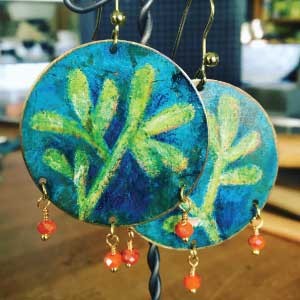
Color on Metal
I hope you’ve enjoyed and learned a little bit more about hand tools. Look for more great tips from Helen in the future.
Happy Wrapping!
![]()
Click to Receive Daily Tips by Email





0 comments