- NEW DVD Series – Stone Setting with Bezels
- Tube Set Charm by Kim St. Jean
- Prong Basket Pendant by Kim St. Jean
- NEW DVD Series – Stone Setting with Cold Connections
- New DVD Series – Stone Setting with Wire
- NEW DVD Series: Introduction to Stone Setting by Kim St. Jean
- Featured Tool: Bracelet Bending Plier
- NEW Dvd by Eva Sherman
- Fun, Fast Fold Forming DVD Series
- Double Band Ear Cuff from Alex Simkin
Make a Perfect Loop
by Judy Ellis, Wirejewelry.com
Wire Jewelry Tutorial for October 2nd, 2015
Make a Perfect Loop
Traditional Style Wire Wrapping By Lilian Chen
Today we bring you Part 1 of a 2-part tutorial by Lilian Chen. Part 1 is this Traditional Creative Earring Project which will help you work on your traditional wire wrapping skills, then Part 2 will show you Lilian’s Wire Sketch Style Sculpture Making Method and introduce you to Lilian’s creative world! (Look for Part 2 in a few weeks!)
Part 1 – Make a Perfect Loop
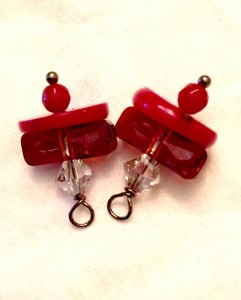
Traditional Style Wire Wrapped Earring Bangle
Skill level:
Beginner to advanced
Materials:
- 2 pieces 18 gauge square wire – Two full coils of wire from the spool
- 2, 1 inch head pins
- One pair of Ear wire
- Beads of your choice
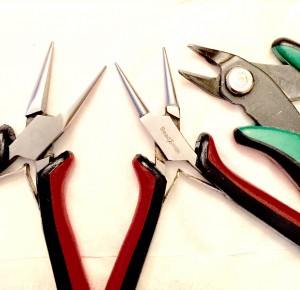
Tools:
Instructions:
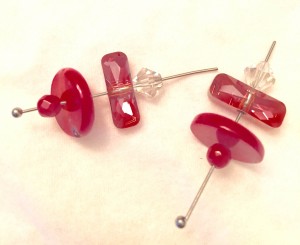
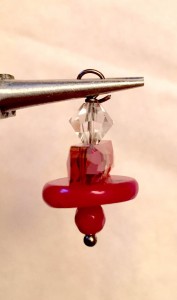
1. String the beads on both head pins. Try to use a unique style of beads with bright color, to create the most interesting pattern. (The first part of new creative thinking)
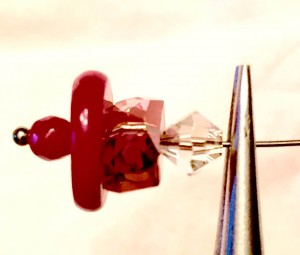
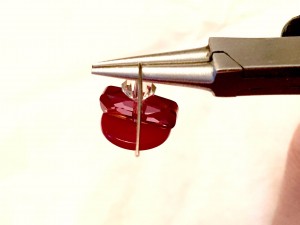
2. Grasp the head pin at a 90 degree angle to the jaw of the pliers. Hold it as tight as you can, but not too far away from the beads. Check the space between the beads and the jaw of pliers.
3. Push the head pin to the jaw, then around the jaw straight toward to you, until the pin touches the beads.
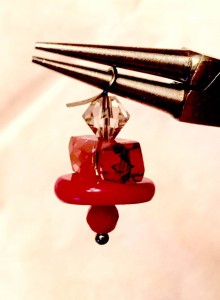
4. Turn the wire to the left side, cross the beads, set it at a 90 degree angle to the beads as shown in photo.
5. Change and grasp in by the left hand. Hold the jaw at a 90 degree angle to the beads, not to the loop, as shown in photo.
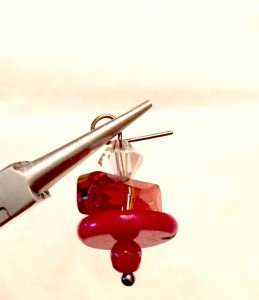
6. Grasp the head pin by your right hand with chain nose pliers. Turn it toward you, then move the loop straight to the beads, as shown in photo.
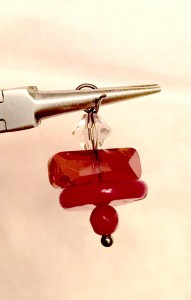
7. Then wrap the wire around just once as shown.
8. Cut the remainder of the wire and push the end in to join the wire that has been wrapped.

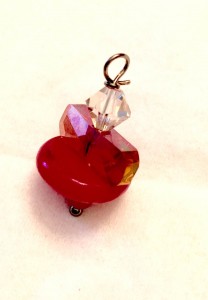
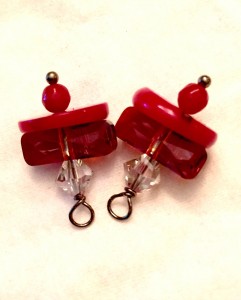
Congratulations! You have now completed a traditional wire wrapped earring bangle.
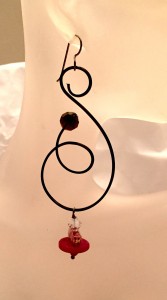
Stay tuned for Part 2 of tutorial called Lilian’s Creative Sketch Style Making Method when we will be adding the traditional bangle to a new coiled earring as shown below!
Happy Wrapping!
![]()
Click to Receive Daily Tips by Email




Pingback: Featured Tool – Mister Twister Hand Coiler | Jewelry Making Blog | Information | Education | Videos