Don't Miss
- NEW DVD Series – Stone Setting with Bezels
- Tube Set Charm by Kim St. Jean
- Prong Basket Pendant by Kim St. Jean
- NEW DVD Series – Stone Setting with Cold Connections
- New DVD Series – Stone Setting with Wire
- NEW DVD Series: Introduction to Stone Setting by Kim St. Jean
- Featured Tool: Bracelet Bending Plier
- NEW Dvd by Eva Sherman
- Fun, Fast Fold Forming DVD Series
- Double Band Ear Cuff from Alex Simkin
Perfect for Spring – Ten Minute Toe Rings
By Judy Ellis on March 25, 2015
by Judy Ellis, Wire-Sculpture.com
Daily Wire Jewelry Inspiration March 25, 2015
Perfect for Spring – Ten Minute Toe Rings
by Layna Palmer
Spring has sprung in our neighborhood, and we have all started to think about summer fashions and new jewelry.
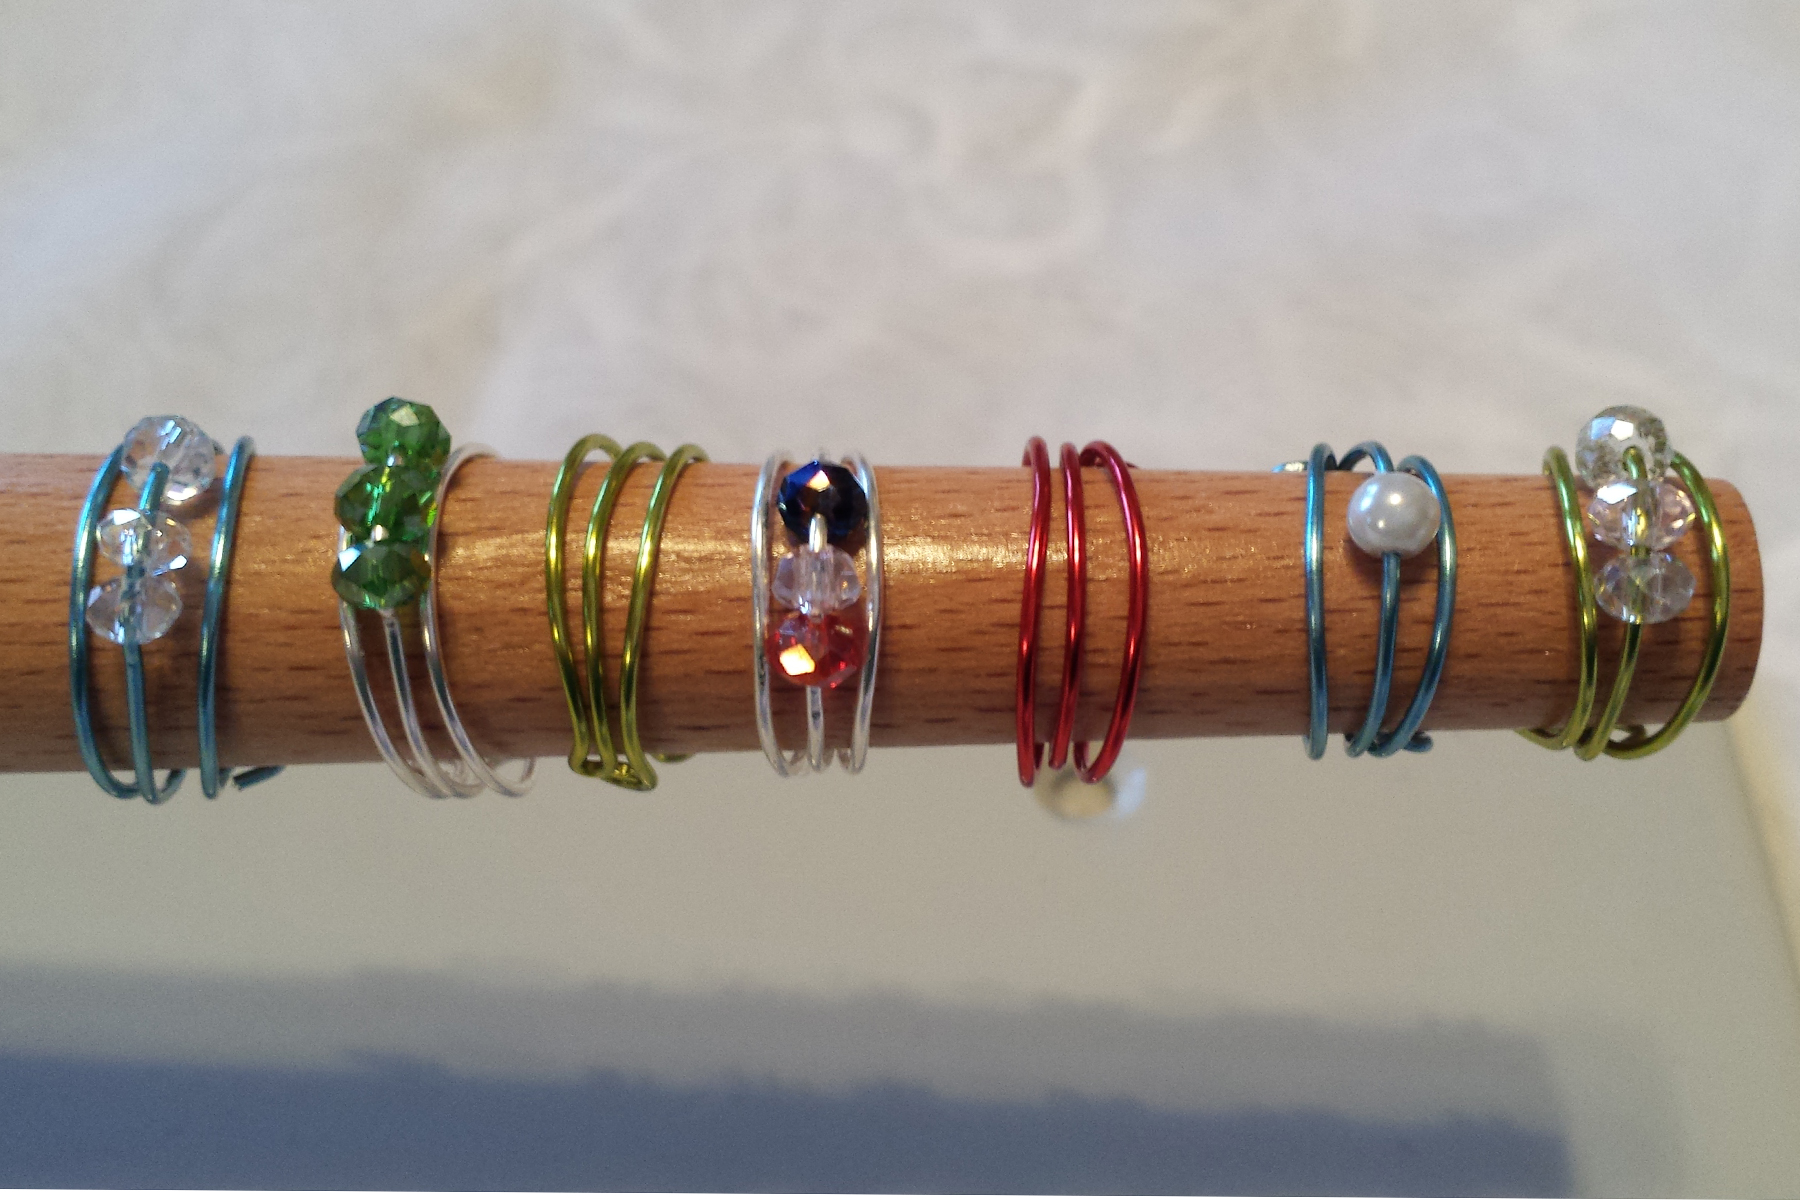
Today I wanted to feature a very easy pattern by one of our staff members – Layna Palmer. This simple Toe Ring pattern is great for beginners, can be made is as little as ten minutes, and are fun to wear with your favorite sandals or flip flops!
Enjoy!
Ten Minute Toe Rings
Skill Level: Beginner/All
Materials
- 6.5 inch – 20 gauge craft wire. You can also use any other 20 gauge wire you have available. End pieces are great for this pattern. Color of choice.
- 3, 4mm swarovski crystals or small beads – color of choice
Tools
- Round Nose Pliers
- Chain Nose Pliers
- Wire Rounder
- Small mandrel or any other “round” object. In this case, I used a small tube of chapstick.
Instructions
- Cut 6 1/2 inches of wire. Round ends with wire rounder.
- Make a loop at the end of the wire and hold against mandrel (lip balm in my case)
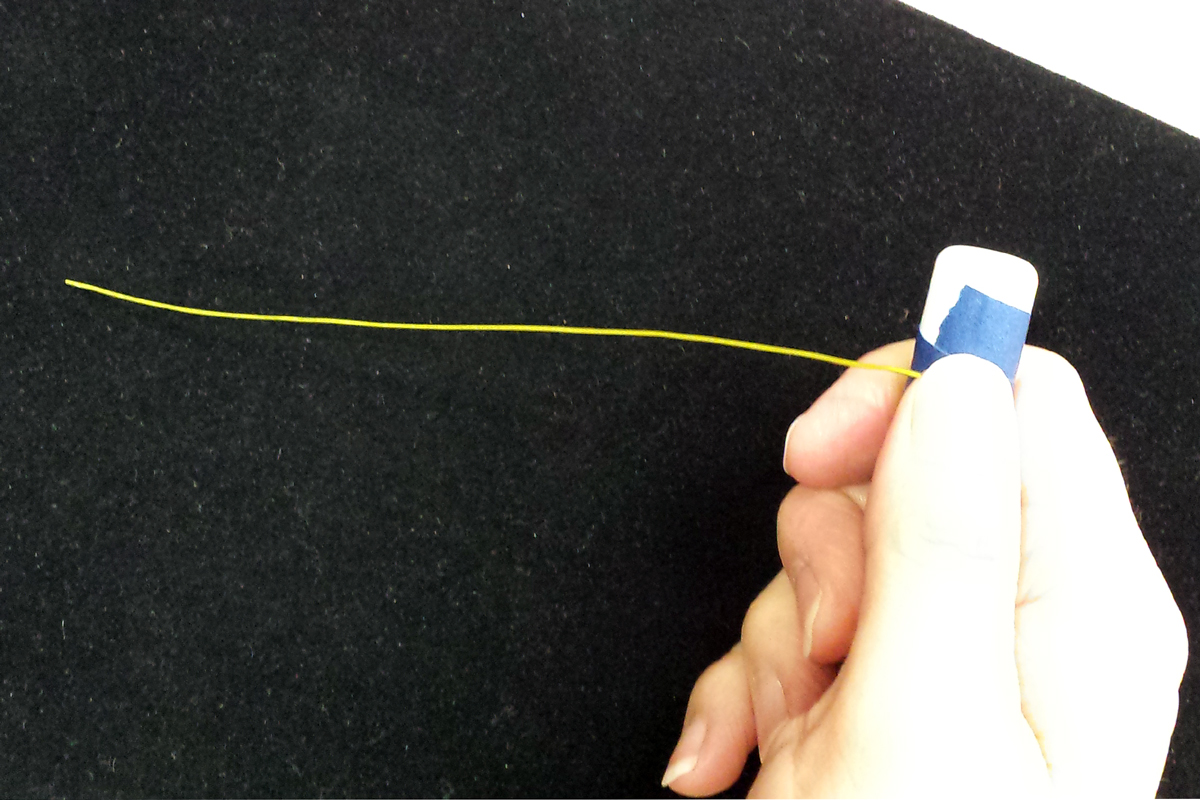

- Wrap around the mandrel (or tube of chapstick) until the wire meets. Take round-nose pliers and loop the wire back on itself.
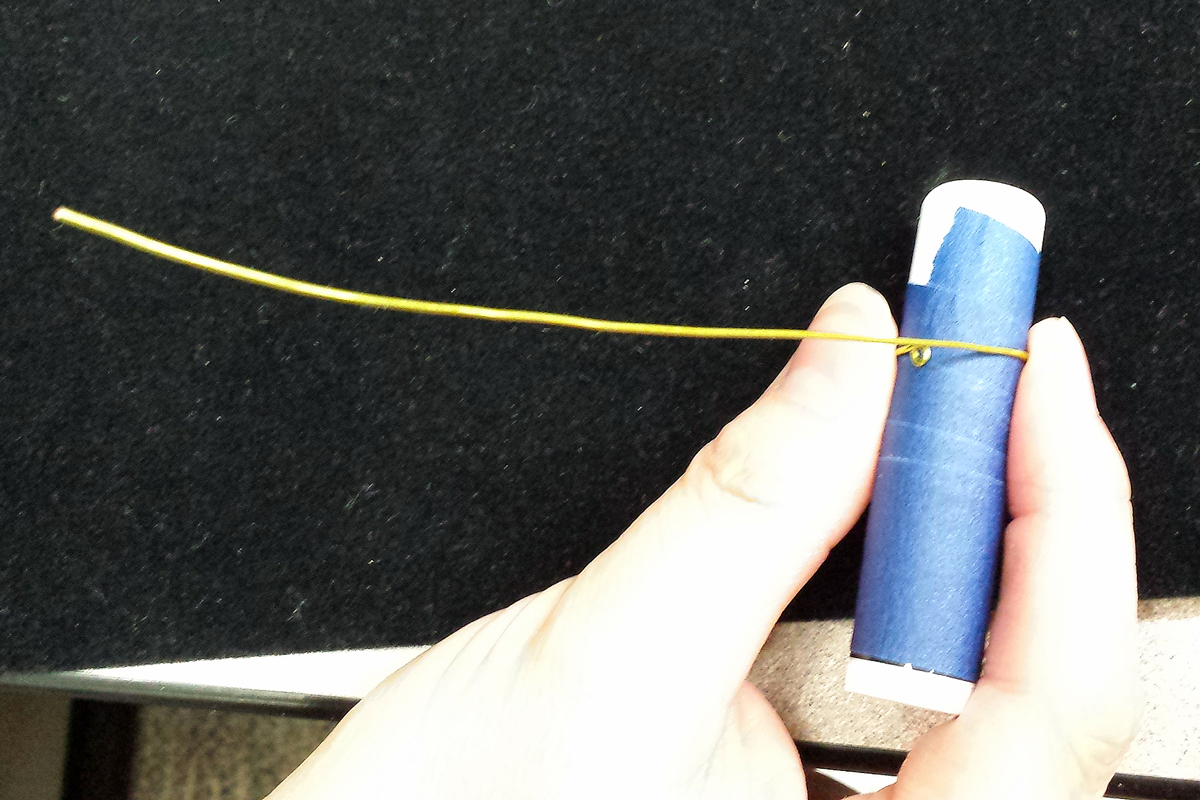

- String your crystals or beads on the wire, then continue to wrap around the mandrel until it meets the other wire again. Loop the wire back on itself as before and wrap around the mandrel.
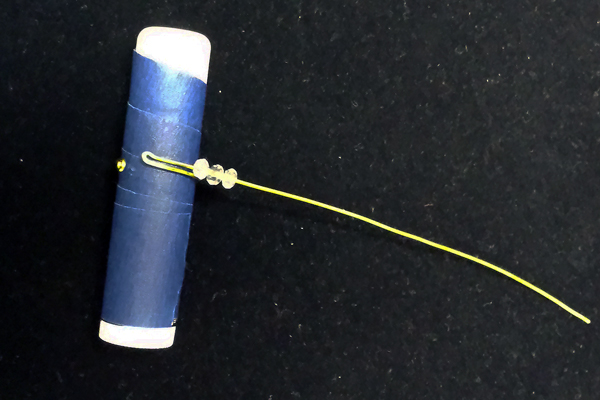

- Trim if necessary to make a loop in the end of the wire. You may need to pinch the wires together to prevent the crystals from sliding, or even put a wrap in the ends if needed. I put a little kink at the end of the crystals to hold them in place.
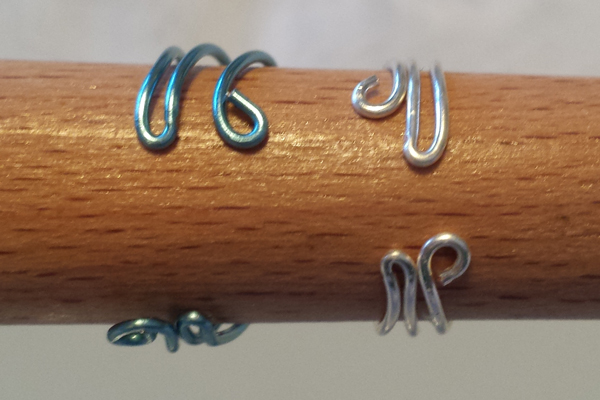

- After you’ve pinched the wires together, you may need to size the ring. Try them on your toe and make adjustments on your mandrel. Multiple sizes can be made and each ring can easily be adjusted.
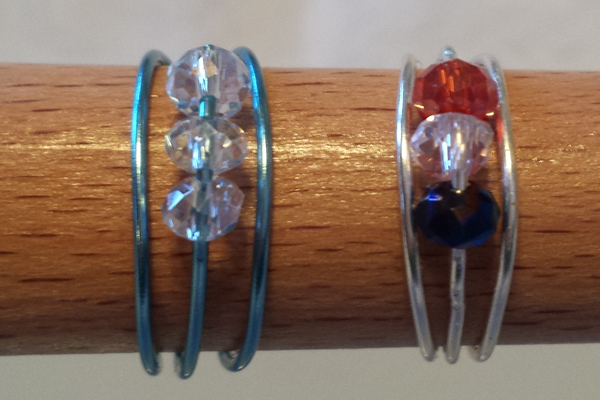
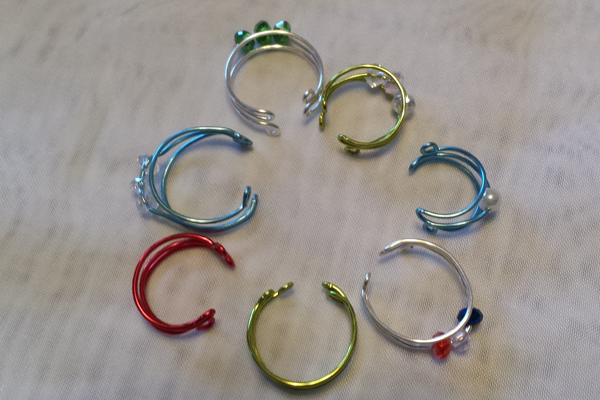

- Congratulations! You’ve made your first Ten Minute Toe Rings.
Free Wire Jewelry Patterns
This Free Wire Jewelry Pattern is just one of dozens of free wire jewelry patterns we send via email. Get patterns like this one straight to your inbox – click here!
![]()
Click to Receive Daily Tips by Email


Jane Elizabeth Duke
March 25, 2015 at 8:46 am
Judy,
Kudos to Layna Palmer for this cute little design! Nice job, well explained and photographed!
Judi Morningstar
March 25, 2015 at 10:36 am
How cute! I don’t think I’d wear a toe ring (sensitive) but I’ll bet my neices would. The technique looks a lot that used by like ear cuff.
Marcia Hooten
March 28, 2015 at 9:07 pm
Thanks for the sharing. My granddaughter loves toe rings. I will be able to make her several now.