- NEW DVD Series – Stone Setting with Bezels
- Tube Set Charm by Kim St. Jean
- Prong Basket Pendant by Kim St. Jean
- NEW DVD Series – Stone Setting with Cold Connections
- New DVD Series – Stone Setting with Wire
- NEW DVD Series: Introduction to Stone Setting by Kim St. Jean
- Featured Tool: Bracelet Bending Plier
- NEW Dvd by Eva Sherman
- Fun, Fast Fold Forming DVD Series
- Double Band Ear Cuff from Alex Simkin
Beautiful Snowflake Ornament
by Judy Ellis, Wire-Sculpture.com
Daily Wire Jewelry Tip November 19, 2014
Beautiful Snowflake Ornament
As we get closer to the Thanksgiving Holiday, many of us begin thinking about putting up the Christmas tree and filling our homes with holiday decor. Many look at purchasing or making new ornaments for the tree as well. I know that I try to to add a new ornament every year, typically something that has significance to me from an event throughout the year.
As I was perusing our patterns this week, I came across this one from one of our past contributors, Brenda Sigafoos, and I thought I would share it with you – the Beautiful Snowflake Ornament.
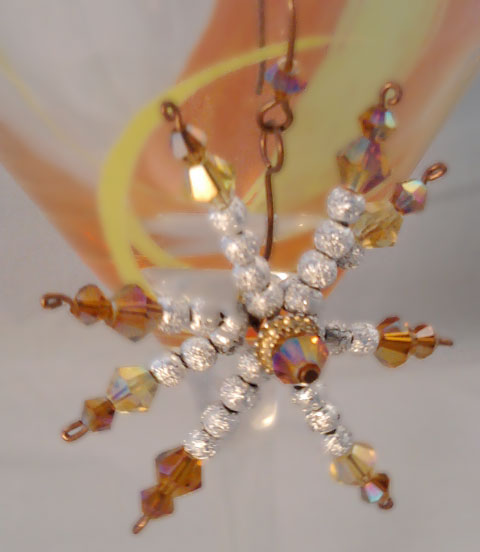
There are so many fun variations you could do with this! Take a look at our Siam, Peridot, and Crystal Bicone Swarovski. We also have Emerald and Garnet in the round Swarovski Crystals. All are perfect for this project and would light up any tree with color!
Beautiful Snowflake Ornament
Designed by Brenda Sigafoos © 2012
Skill Level: Intermediate
Technique: Forming loops, wire and glue assembly
Bling it up next winter with a beautiful Swarovski® snowflake created with just headpins and crystals! Make it a family project – kids would love to help make their own snowflake ornaments! – or use fine materials to give as gifts or sell as stocking stuffers. You’ll use a little glue in this pattern to keep the arms of the snowflake in place, but you can experiment with other ways to lock them in place, too!
Materials
- Nine 22-gauge eye pins, 1-1/2″ long
- One 22-gauge head pin, 1-1/2″ long (or another eye pin)
- 28 2mm round beads
- 9 4mm bicones
- 9 2mm bicones
- 1 6mm spacer
Tools
- Flat nose pliers
- Round nose pliers
- Chain nose pliers
- Wire cutters
- Superglue or E6000 (be sure to read the glue instructions)
- Pencil or jump ring maker for shaping
Instructions
- Place the following beads on a single eyepin in this order: four 2mm beads, one 4mm bicone, and one 2mm bicone. Then trim 1/2″ away from the last bead and make a small loop with round nose pliers. Squeeze the little loop you just made with flat nose pliers to secure.
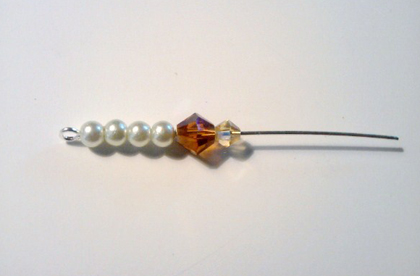
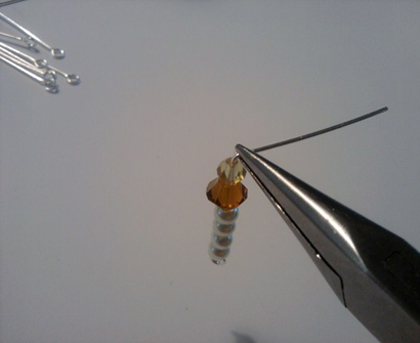
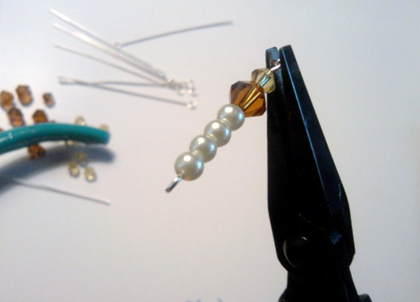
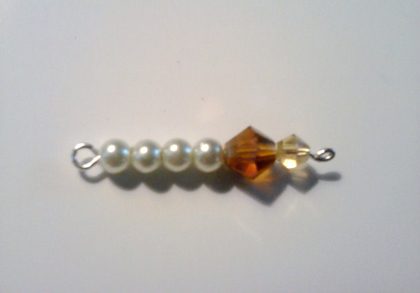 Repeat these steps until you have eight eyepins with beads.
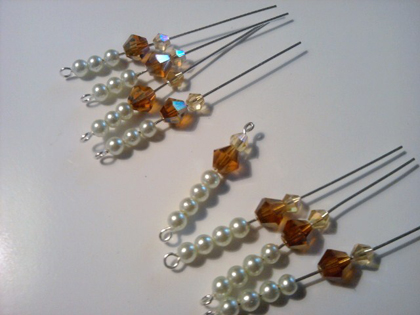
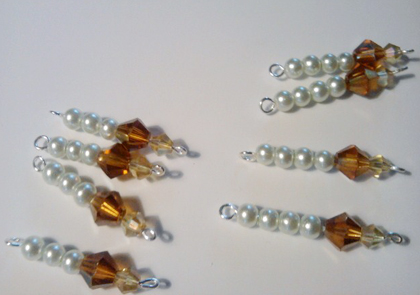

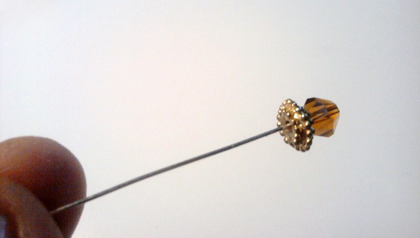
- Take your headpin and slide on one 4mm bicone and a spacer bead.
- Next, slide all the looped eyepins on the headpin, so that the 4 similar beads of each eyepin are facing inward. Fan out in a snowflake arrangement, as shown. Now take your last 2mm bead and slide it on the headpin, where it will hold the eyepins in place.
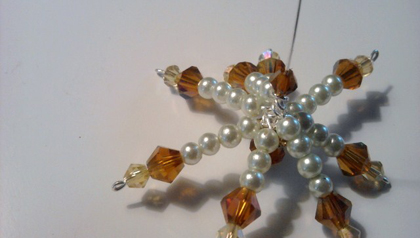

- Move the 2mm bicone back slightly, out of the way, and squeeze a drop of Super Glue under the bicone. Squeeze a drop of Super Glue on the bead end, then slide the bicone back in place, holding the eyepins. Super Glue it will dry quickly, so work fast! Note: Be sure to read the directions on your glue, in case it needs time to set.


- Take your flat nose pliers and bend the headpin at a 90° angle immediately after the glued bicone. Then make a simple loop or wrapped loop at the end of this bent wire. This loop will attach to the ornament hook.
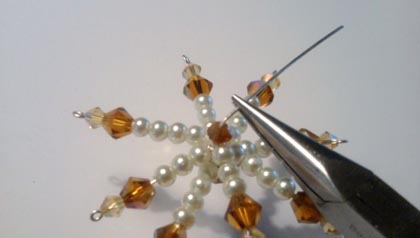
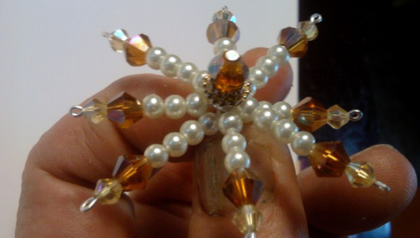

- Take the last headpin and shape it over a pencil, jump ring maker, or round nose plier jaws. Firmly shape it into an ornament hook.Hint: Beat the hook with a rawhide or nylon hammer to harden the hook.Open the eyepin loop to attach it to the snowflake.
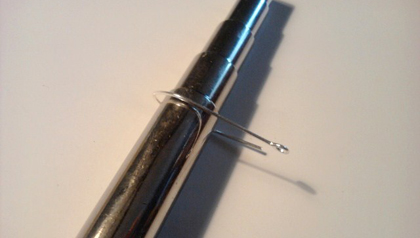


There you go, a beautiful handmade ornament: a great gift to give, or to make as a family project to hang on your tree. Thanks to Brenda for sharing this beautiful pattern with us. I hope that you all enjoy making these and including them in your holiday decor! Take a few pictures and send them to us – we’d love to see them!
Happy Wrapping!
![]()
Click to Receive Daily Tips by Email




Jane Elizabeth Duke
November 19, 2014 at 8:10 am
Thanks for reprinting this pattern, and just in time for the Holidays! Thanks to Brenda Sigafoos for her beautiful design … helping brighten everyones tree, packages etc.!
Rebecca
November 19, 2014 at 8:21 am
WOW, Been thinking about how I would make these for about a week now, and this appeared like MAGIC in my email today!! Thank you so much for sharing … (was even better to know that I had it right in my head on how to so it)!!