- NEW DVD Series – Stone Setting with Bezels
- Tube Set Charm by Kim St. Jean
- Prong Basket Pendant by Kim St. Jean
- NEW DVD Series – Stone Setting with Cold Connections
- New DVD Series – Stone Setting with Wire
- NEW DVD Series: Introduction to Stone Setting by Kim St. Jean
- Featured Tool: Bracelet Bending Plier
- NEW Dvd by Eva Sherman
- Fun, Fast Fold Forming DVD Series
- Double Band Ear Cuff from Alex Simkin
Free Pattern: Crystal Burst Earrings by Kylie Jones
by Judy Ellis, Wirejewelry.com
Wire Jewelry Pattern for August 17th, 2017
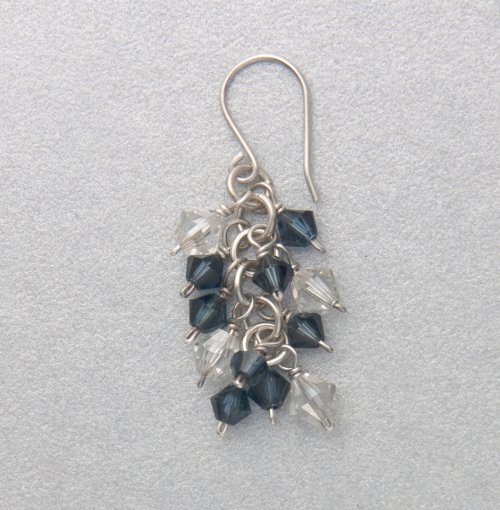
Crystal Burst Earrings
by Kylie Jones
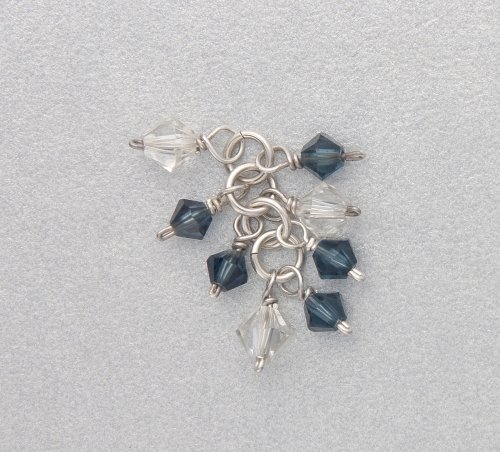
These earrings are based on a very simple chain pattern. They are a burst of crystal reflections and color and remind me of the bouquet fireworks displays.
Materials:
- 26 Gauge Round Half Hard .925 Sterling Silver Wire (Pattern Quantity 24 Inches, Product ID: H8-26H)
- 4mm Montana blue Swarovski 5301 Bi-Cone (Pattern Quantity 16 Pieces)
- 5mm clear crystal Swarovski bicones (Pattern Quantity 8 Pieces)
- 20 gauge AWG sterling silver jump rings 3.25mm ID (Pattern Quantity 12 Pieces)
Tools:
- Round Nose Wire Plier (Pattern Quantity 1 Piece, Product ID: G2-507)
- Flat Nose Wire Plier (Pattern Quantity 1 Piece, Product ID: G2-506)
- 5 inch Plato Slim Flush Cutters for Wire Working or Beading – Pack of 1 (Pattern Quantity 1 Piece, Product ID: G35-3)
- 12 Inch Stainless Steel Ruler (Pattern Quantity 1 Piece, Product ID: G7-30)
Directions:
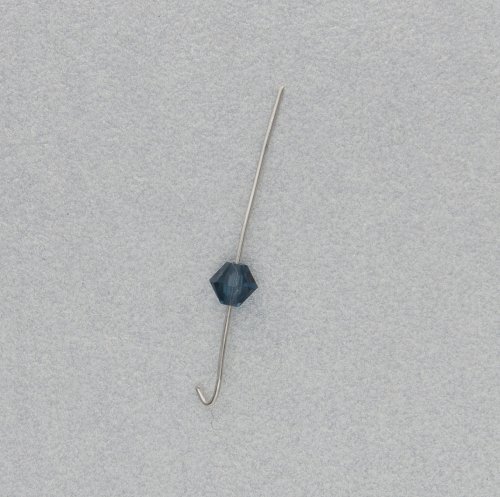
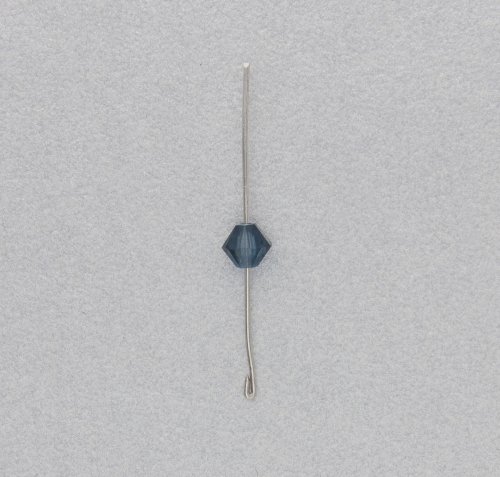
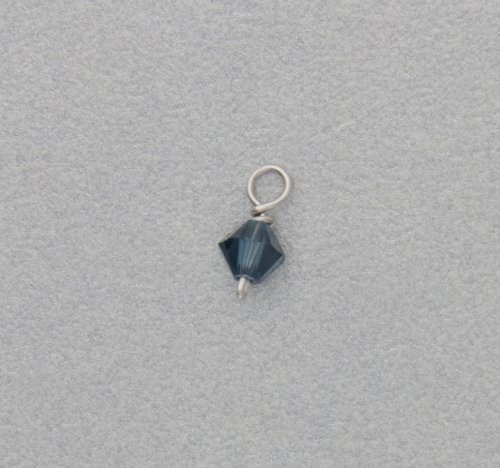
Step 1: Each crystal drop needs about 1″ (2.5cm) of 26g wire. If you are comfortable working straight from your coil of wire this method will waste a lot less wire, otherwise just cut an inch piece off for each crystal. If you are working from the coil remember to put your crystal on first before you bend the end of the wire. For each crystal drop, put your crystal on the wire, with your flat-nose pliers grip the end 26g of wire and bend it back towards itself in a hook shape.
Step 2: Squeeze the hook tightly so that both sides of the hook are together leaving a little bulge at the bottom so the crystal can’t fall off.
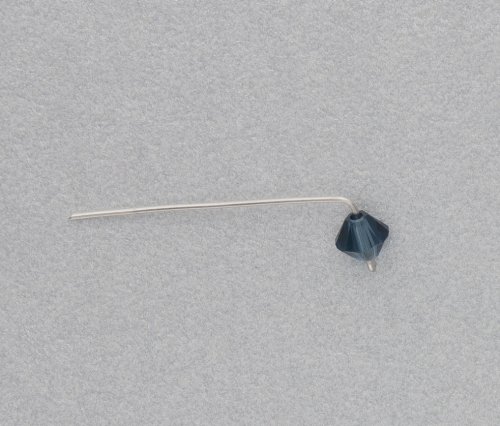
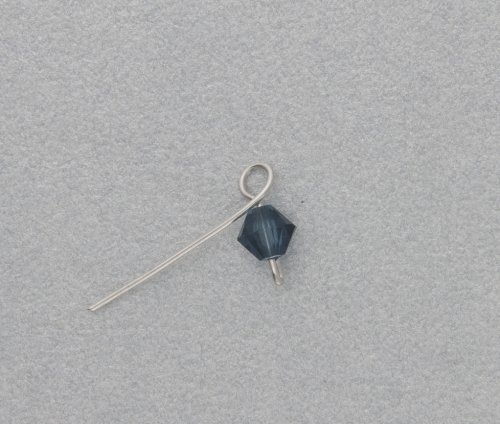
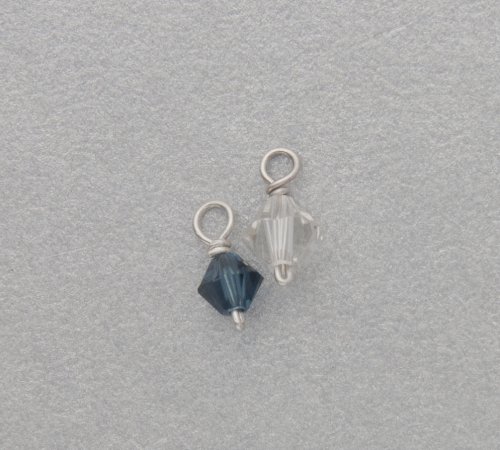
Step 3: Make a double wrapped loop at the top and flush cut the end. Use pliers or crimping pliers to squeeze the end snugly so there’s no sharp end sticking out. Repeat Steps 1 & 2 for all the crystals.
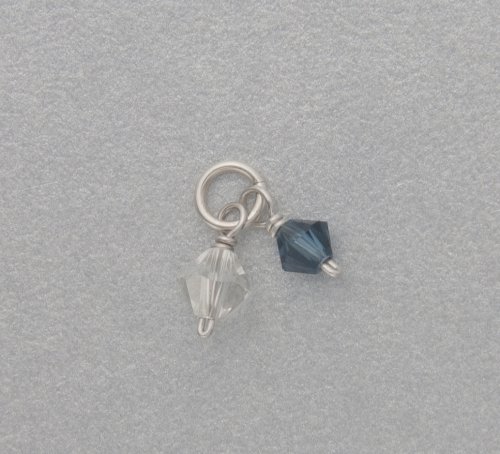
Step 4: Place a clear and a blue crystal on a jump ring and close the ring.
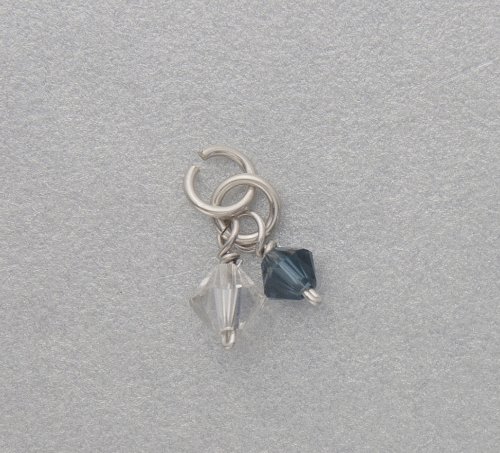
Step 5: Take an open jump ring and go through the ring that is holding the 2 crystals, add 2 blue crystals, one on each side of the hanging jump ring and close the ring.
Step 6: Take an open jump ring and go through the previous ring, add a clear and a blue crystal, one on each side of the hanging ring, and close the ring. I add the clear crystal to the opposite side of the last clear crystal.
Step 7: Repeat step six.
Step 8: Add another ring and this time add 2 blue crystals in the same way.
Step 9: Repeat step 6. Then repeat Steps 4 – 9 for the second earring.
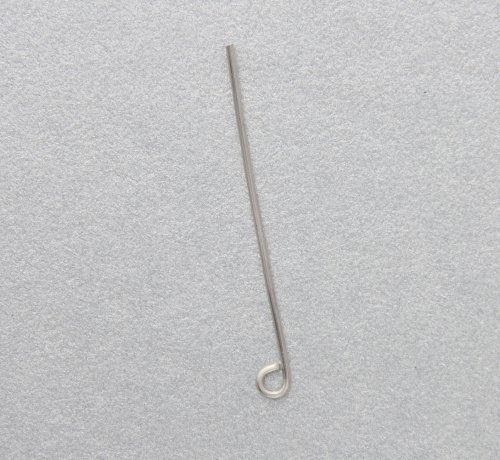
Step 10: The ear wires for these earrings are really small. This is so the crystal burst starts just below the ear lobe. Cut the 21g wire in half. With round-nose pliers, make a small loop at one end of each wire.
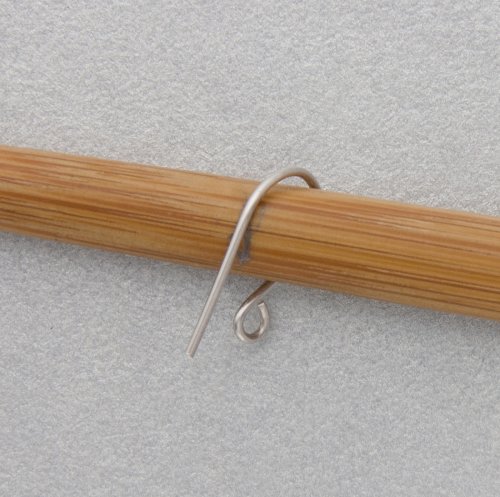
Step 11: Hold the wire on a pen, or mandrel, with the loop on the outside and bend the wire around the mandrel to the shape you want.
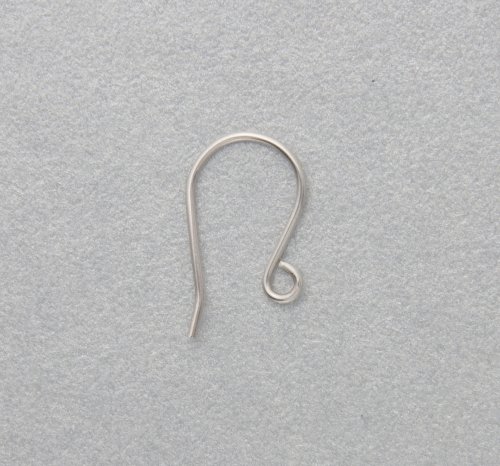
Step 12: Because the ear wires are small a longer tail with a bend in it will stop them from easily coming out of your ear. Flush cut the end and smooth any rough spots with a metal file or nail file. The ear wires need to be work hardened so they maintain their shape. You can do this by hammering them with a rawhide or plastic mallet, or put them in a jewelry tumbler.
Step 13: Attach the ear wires to the top rings added in step 9.
Happy Wrapping!
![]()
Click to Receive Daily Tips by Email








0 comments