- NEW DVD Series – Stone Setting with Bezels
- Tube Set Charm by Kim St. Jean
- Prong Basket Pendant by Kim St. Jean
- NEW DVD Series – Stone Setting with Cold Connections
- New DVD Series – Stone Setting with Wire
- NEW DVD Series: Introduction to Stone Setting by Kim St. Jean
- Featured Tool: Bracelet Bending Plier
- NEW Dvd by Eva Sherman
- Fun, Fast Fold Forming DVD Series
- Double Band Ear Cuff from Alex Simkin
Free Pattern: Stone Twist Wrap by Karen Meador
by Judy Ellis, Wirejewelry.com
Wire Jewelry Pattern for July 31st, 2017
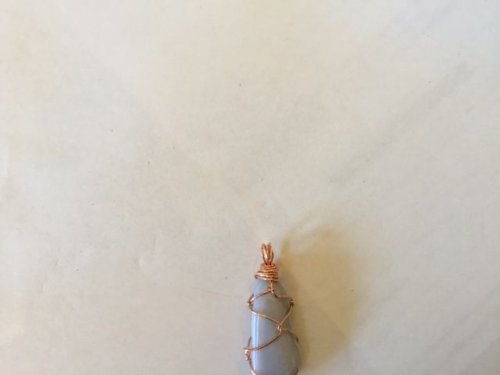
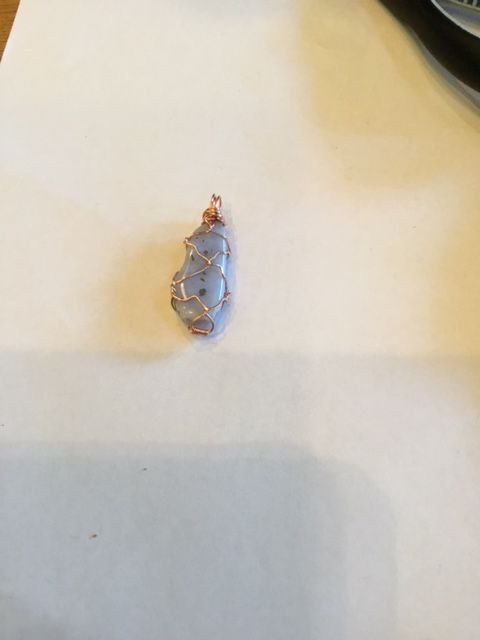
Stone Twist Wrap
by Karen Meador
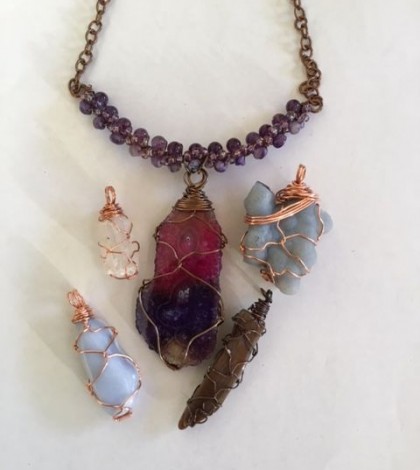
This wrap is a good way to showcase any unusual shaped stone. The wire forms an interesting cage around any shape.
You can choose to 20-gauge or 22-gauge wire, depending upon the size of your stone. Likewise, for the wrapping wire, you can use either 24- or 26-gauge wire.
Materials:
- 24 Gauge Round Dead Soft .925 Sterling Silver Wire (Pattern Quantity 3 Inches, Product ID: H8-24D)
- 20 Gauge Square Dead Soft .925 Sterling Silver Wire (Pattern Quantity 2 Feet, Product ID: H8-20SQD)
Tools:
- Chain Nose Wire Plier (Pattern Quantity 1 Piece, Product ID: G2-508)
- Tape Measure (Pattern Quantity 1 Piece)
- 6 1/2 Inch Bail Making Pliers (Pattern Quantity 1 Piece, Product ID: G2-18)
- 5 inch Plato Slim Flush Cutters for Wire Working or Beading – Pack of 1 (Pattern Quantity 1 Piece, Product ID: G35-3)
Directions:
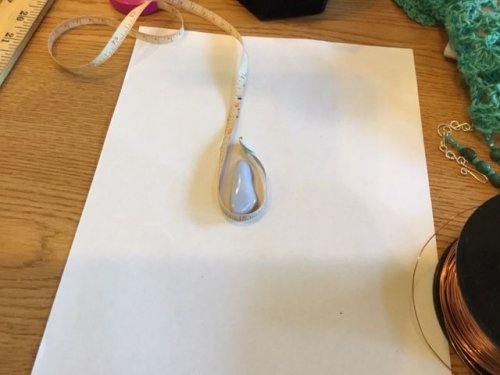
Step 1: Use a tape measure to determine the circumference of the stone or object.
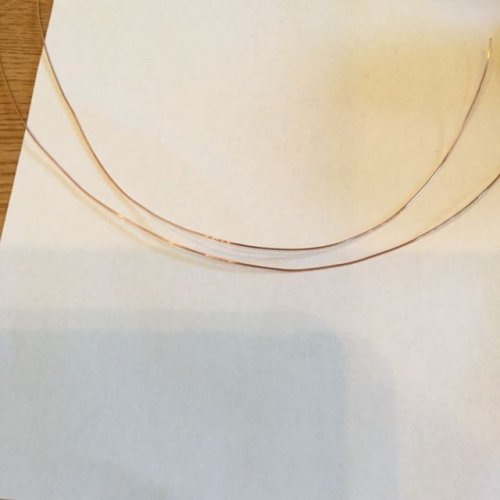
Step 2: Measure two pieces of the heavier gauge wire that are each at least 4 times as long as the circumference determined in step 1.
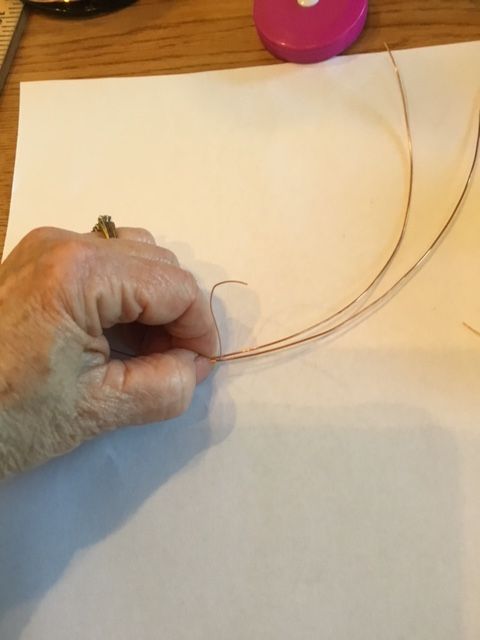
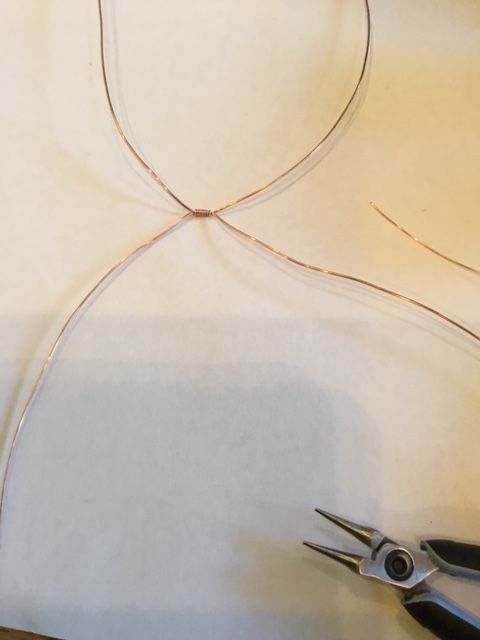
Step 3: Bind the middle of these two wires with the lighter gauge wire by holding the tail of the wire and wrapping it around the two heavier wires. Wrap around five times or more.
Step 4: Spread the two wires apart on each side.
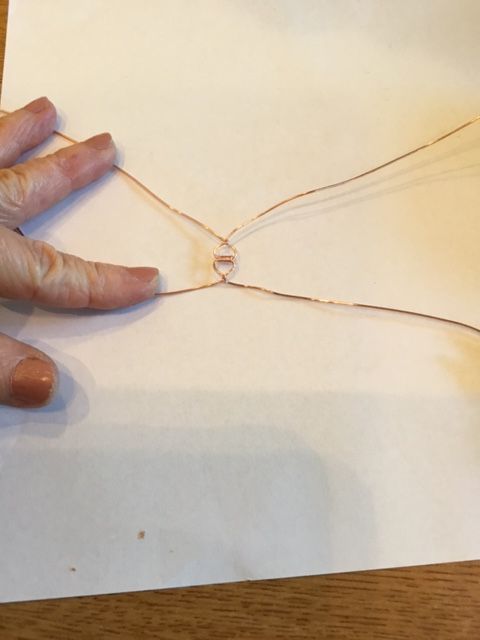
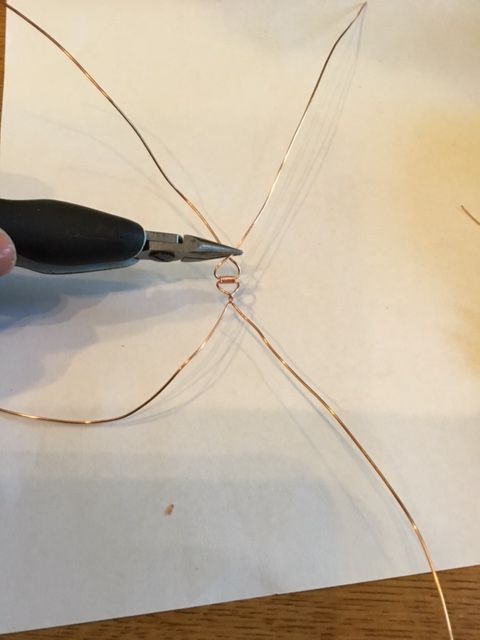
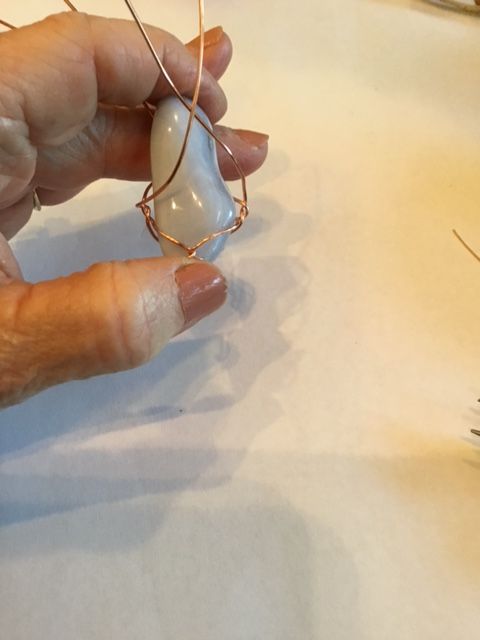
Step 5: Bring the top two wires up and across each other and the bottom two down and across each other.
Step 6: Use the chain nose pliers to twist the wires together one or two times where they cross.
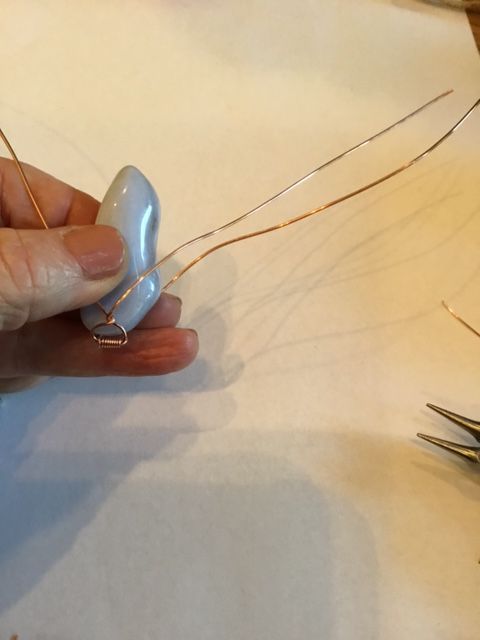
Step 7: Insert the stone and note that after you twist the wires, they will extend to the sides of the it. Note: The stone will be slippery and try to escape the wrap. Just hold it in place as best you can.
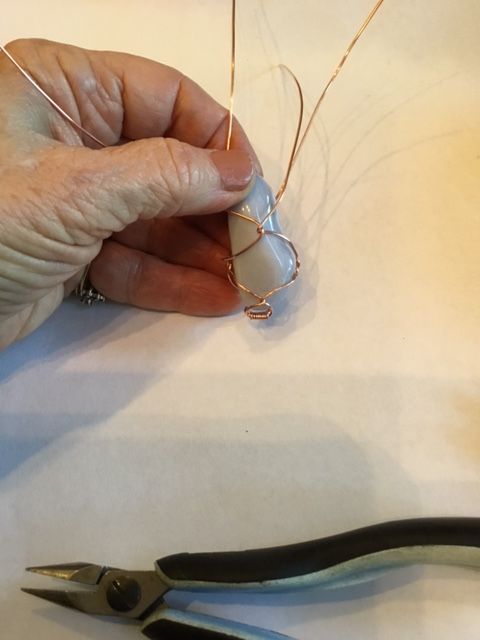
Step 8: Twist the one front wire and one back wire on each side of the stone in the same manner as steps 5 & 6. The wrap may look pretty messy at this point, but this will be alleviated in a later step.
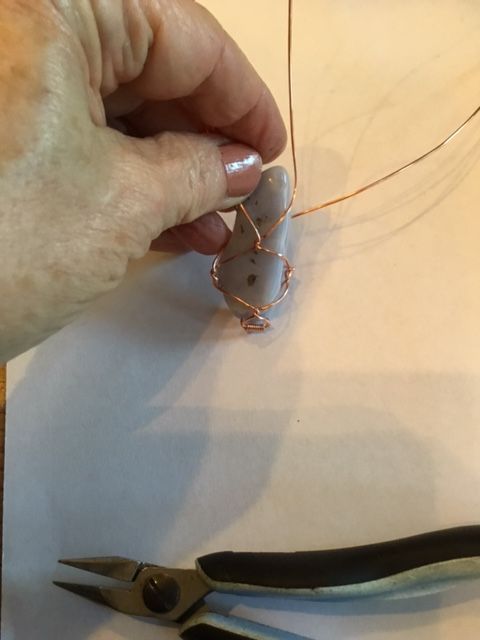
Step 9: Bring two wires back to the front and two wires to the back, twisting them again as in steps 5 & 6.
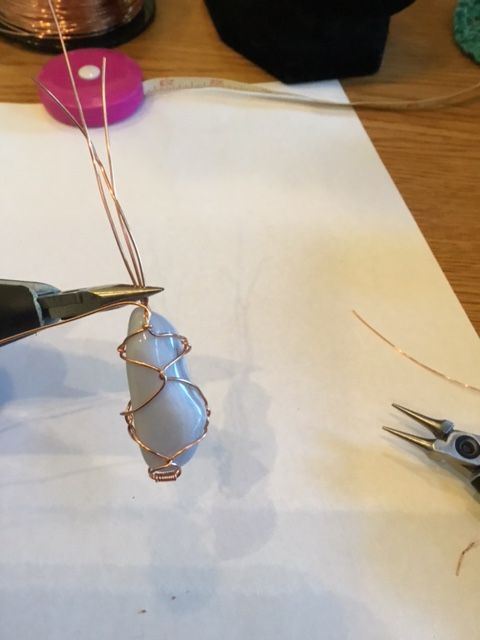
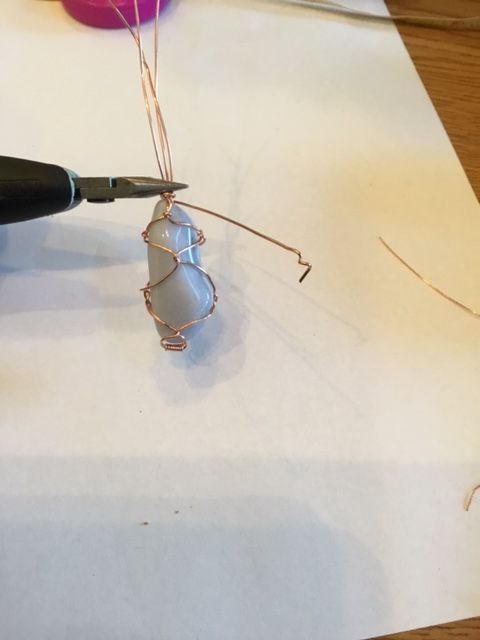
Step 10: Continue in this back and forth crossing/twisting manner until you reach to top of the stone. Then grasp three of the four wires together with the chain nose pliers in preparation for making the bail. Leave the front wire out for use in wrapping the bail.
Step 11: Wrap the omitted wire once or twice tightly around the other three wires.
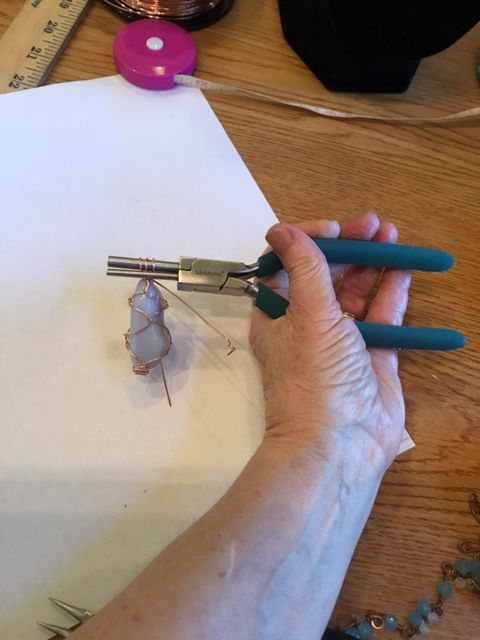
Step 12: Wrap the three remaining wires from front to back around the bail making pliers.
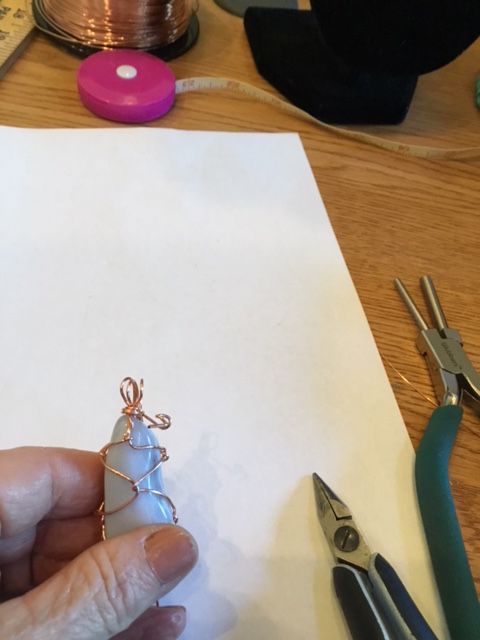
Step 13: Wrap the same wire used in step 10 a couple of times around the three wires to create the bail.
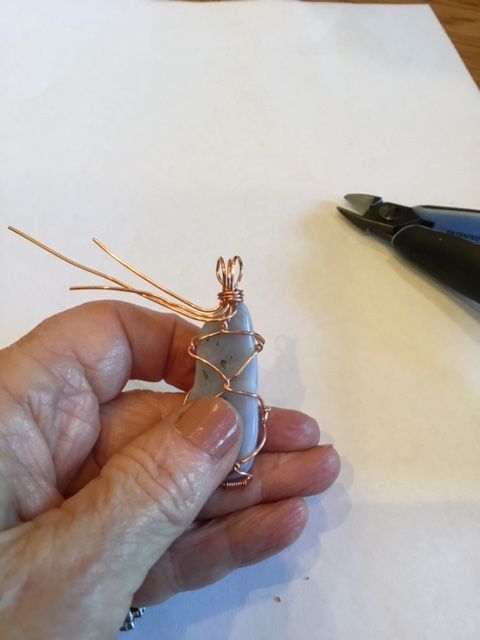
Step 14: Wrap the three bails wires from the back to the front several times around the bail base and the stone finally tucking the ends in at the back.
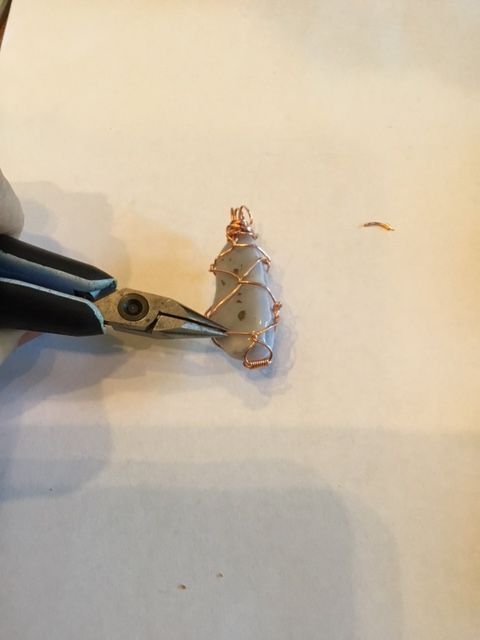
Step 15: Take up any slack in the wrap by gently turning some of the straight pieces of wire between the twists with the chain nose pliers. You can do this in the back and/or the front. Be gentle or you might break the wires.
Happy Wrapping!
![]()
Click to Receive Daily Tips by Email




0 comments