- NEW DVD Series – Stone Setting with Bezels
- Tube Set Charm by Kim St. Jean
- Prong Basket Pendant by Kim St. Jean
- NEW DVD Series – Stone Setting with Cold Connections
- New DVD Series – Stone Setting with Wire
- NEW DVD Series: Introduction to Stone Setting by Kim St. Jean
- Featured Tool: Bracelet Bending Plier
- NEW Dvd by Eva Sherman
- Fun, Fast Fold Forming DVD Series
- Double Band Ear Cuff from Alex Simkin
Free Pattern: Hammered Lace Earrings
by Judy Ellis, Wirejewelry.com
Wire Jewelry Pattern for May 11th, 2017
Hammered Lace Earrings
by Kimberly Newman
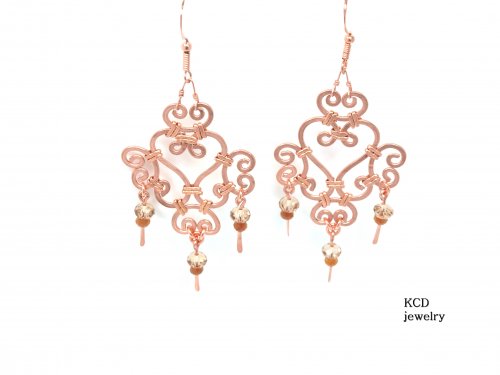
In this tutorial you will learn how to make Hammered Lace Earrings.
Materials:
- 16 Gauge Round Dead Soft Copper Wire (Pattern Quantity – 17 Inches, Product ID: H11-16D)
- 18 Gauge Round Dead Soft Copper Wire (Pattern Quantity – 18 Inches, Product ID: H11-18D)
- 21 Gauge Round Half Hard Copper Wire (Pattern Quantity – 21 Inches, Product ID: H11-21H)
- 24 Gauge Round Half Hard Copper Wire (Pattern Quantity – 24 Inches, Product ID: H11-24H)
- 6mm Crystal 5000 Round Swarovski Crystal Beads – Pack of 10 (Pattern Quantity – 6 Pieces, Product ID: A13-83)
- 4mm Crystal Aurore Boreale 5000 Round Swarovski Beads – Pack of 12 (Pattern Quantity – 6 Pieces, Product ID: A13-75)
- 4mm Copper Jump Rings (Pattern Quantity – 10 Pieces)
- Ear Wires Copper (Pattern Quantity – 2 Pieces)
Tools:
- Chain Nose Wire Plier (Product ID: G2-508)
- Round Nose Wire Plier (Product ID: G2-507)
- 5 inch Plato Slim Flush Cutters for Wire Working or Beading – Pack of 1 (Product ID: G35-3)
- Steel and Rubber Bench Block 2X2 Inches (Product ID: G17-22)
- Flat Face Chasing Hammer (Product ID: HAM-161.00)
- 12 Inch Stainless Steel Ruler (Product ID: G7-30)
- 6 Piece Assorted File Set with Wooden Handle (Product ID: G14-7)
Directions:
Step 1: Measure and cut 2 pieces of round 16 gauge copper wire at 1 ½ inches, 2 pieces of round copper wire 16 gauge at 2 ½ inches, 3 pieces of round copper wire 18 gauge at 3 inches, 10 pieces of half round copper wire 21 gauge at 1 inch and finally, 1 piece of round 24 gauge wire 2 inches long. That’s for one earring.
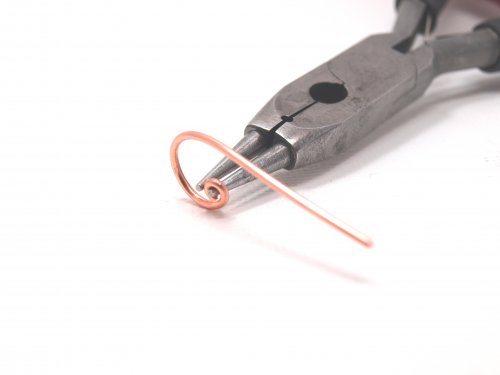
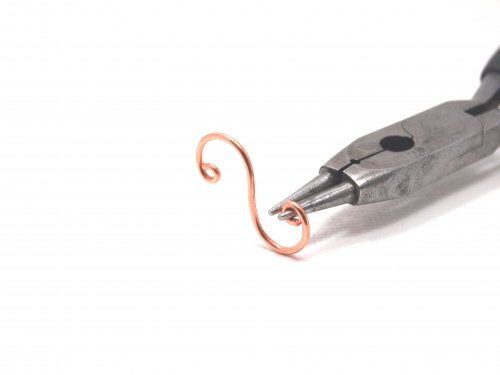
Step 2: Using your round nose pliers, make a loop at one end of one of your 2 ½ inch pieces of 16 gauge wire by grabbing the end of the wire and rolling it in until it touches itself.
Step 3: Holding on to the uncoiled end, keep your pliers in the loop and roll it over until it resembles a candy cane. (You will adjust the size later when you make the second scroll.)
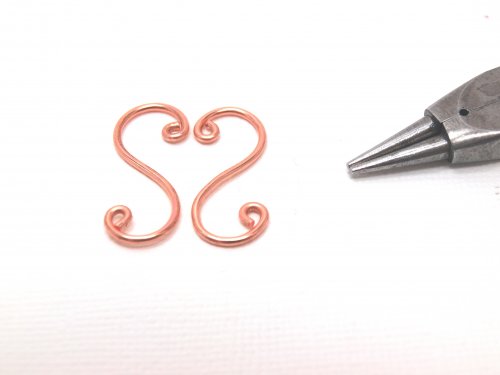
Step 4: Make a loop on the opposite end of your wire and coil it the opposite way from your first making it look like an S shape.
Step 5: Repeat steps 2, 3, and 4 with your second piece of 2 ½ inch 16 gauge wire. Lay the two pieces on top of each other and adjust shape to get them the same size.
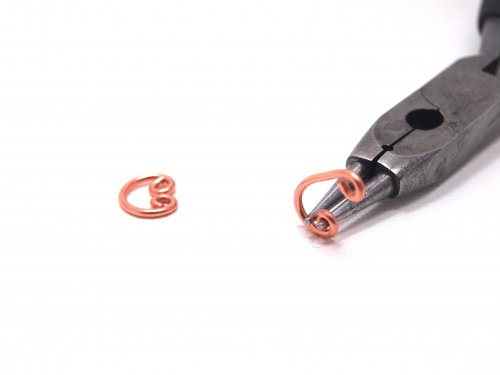
Step 6: Take 1 piece of your 1 ½ inch 16 gauge wire and put a loop on both ends rolling them toward each other until they touch in the middle. Do this with the other three 1 ½ pieces.
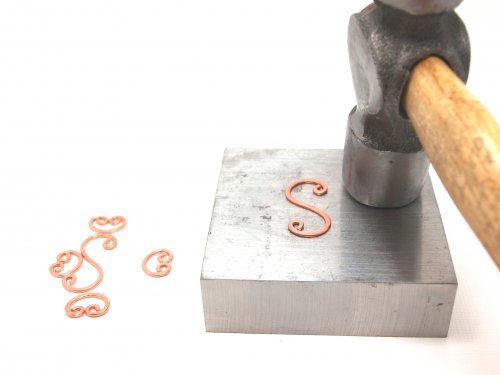
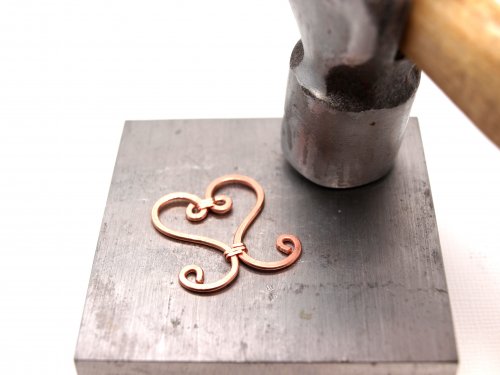
Step 7: Using your hammer and steel block, hammer all 6 of your scrolled pieces until they are evenly level when placed on a flat surface beside each other
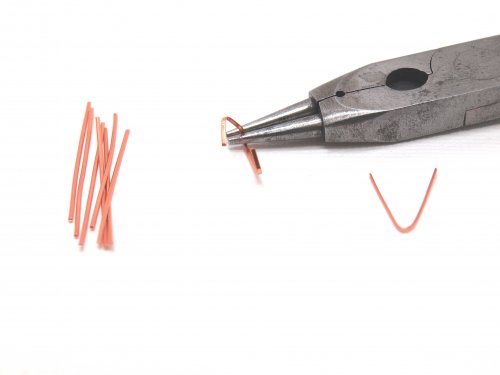
Step 8: With your round nose pliers, bend all of your ½ round 21 gauge pieces of wire in the middle into a V shape, making sure to keep the round side on top and the flat side of the wire underneath.
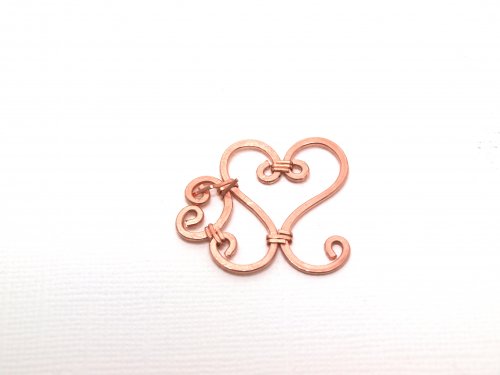
Step 9: Place the 2 large scrolls next to each other, facing opposite and touching as shown. Now place one of your ½ round bent pieces around both scrolled pieces at the bottom. Wrap the ½ round piece twice ending up on the same side and clip off excess with your cutters. Take your chain nose pliers and give the wrapped area a squeeze to make it secure. (When cutting ends of wire, make sure they are all cut on the same side or back of earring.)
Step 10: Put a wrap on the top of the large scroll and the start adding the smaller scrolled pieces by wrapping them through the loop of the large scroll on the bottom and at the side of the large scroll as shown. (Don’t forget to secure each wrap with chain nose pliers after cutting.)
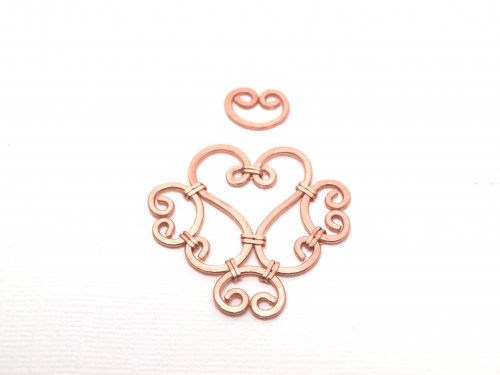
Step 11: Finish placing the rest of the scrolls and wrap accordingly.
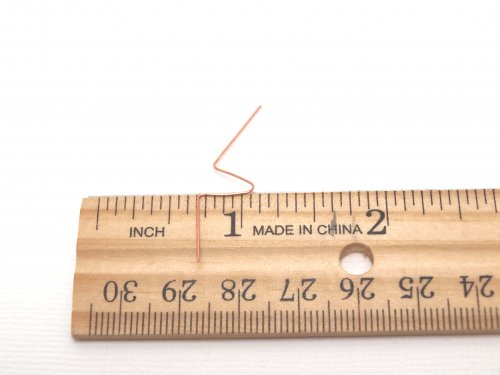
Step 12: Bend your piece of 24 gauge wire in the center with your round nose pliers.
Step 13: Measure ¼ of an inch on both sides from the center bend and bend the wire as shown.
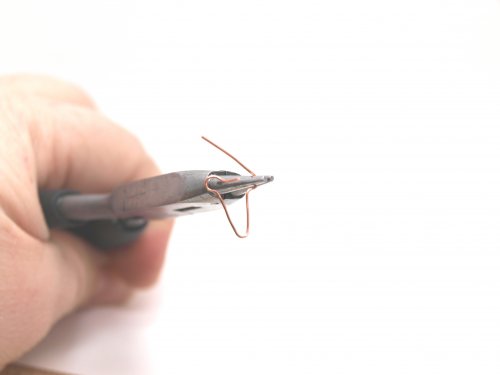
Step 14: On your round nose pliers, put an open loop at the top bend on both sides.
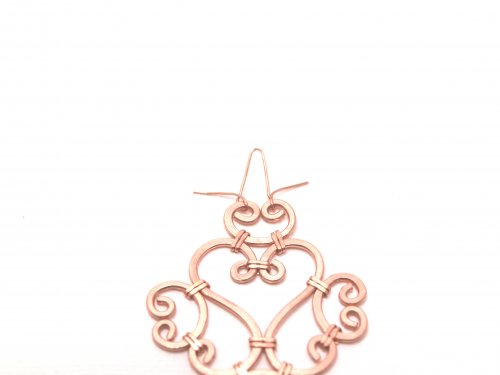
Step 15: Place your 24 gauge piece of wire on a flat surface, hold the loops down with your finger and point the end of the wire on each side upward. Slip the earring body onto the 24 gauge piece of wire and press wire with your fingers to the sides.
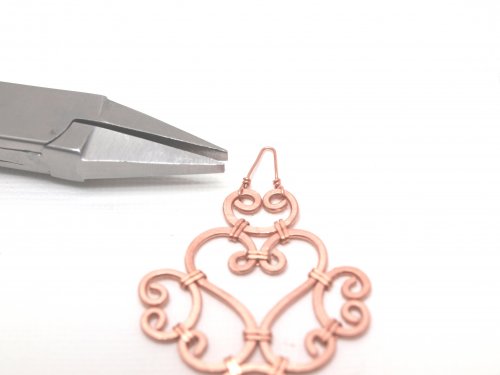
Step 16: Grab the end of your wire with your chain nose pliers and wrap both sides of your wire around three times, cut off excess and use your pliers to smooth any sharp ends.
Step 17: Take your three pieces of 18 gauge 1 inch wire and flatten one end on your steel block with your hammer to make a paddle.
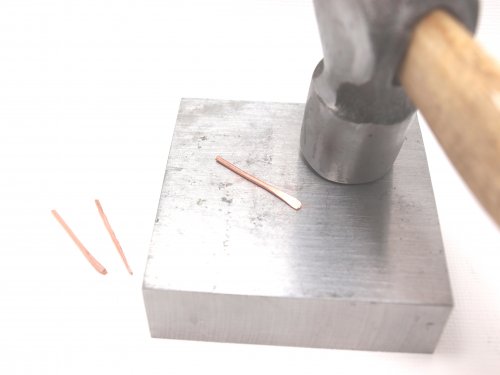
Step 18: Slide on your 4mm crystal and then your 6mm crystal to all three paddles.
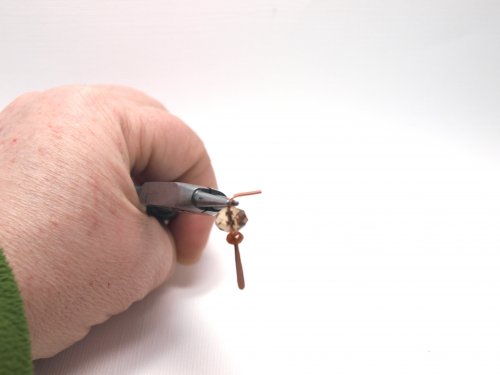
Step 19: Grab the end of the wire and roll it towards the crystals to make a loop at the top.
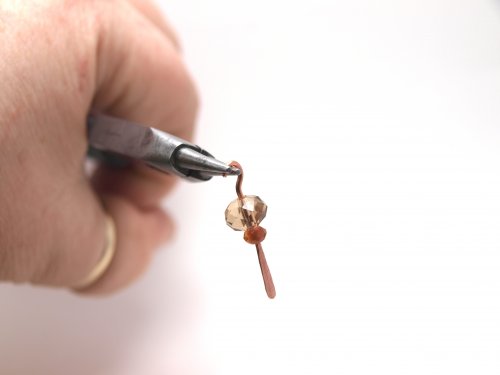
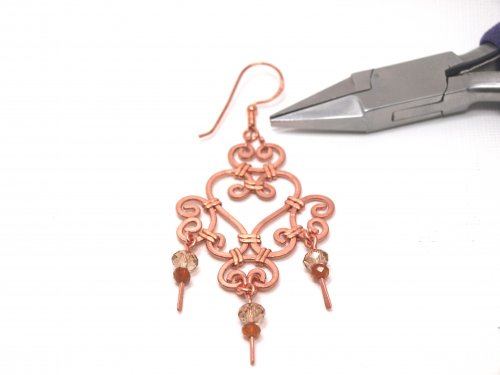
Step 20: To finish, add the crystal charms with jump rings so they dangle freely, one on each side of the earring. To connect the bottom drop I added three jump rings. A jump ring through each earring loop and then one through both jump rings with the drop added. Put your ear wire on and then repeat all steps for the second earring. (Always remember to open jump rings side to side and close them the same way.)
Happy Wrapping!
![]()
Click to Receive Daily Tips by Email









0 comments