- NEW DVD Series – Stone Setting with Bezels
- Tube Set Charm by Kim St. Jean
- Prong Basket Pendant by Kim St. Jean
- NEW DVD Series – Stone Setting with Cold Connections
- New DVD Series – Stone Setting with Wire
- NEW DVD Series: Introduction to Stone Setting by Kim St. Jean
- Featured Tool: Bracelet Bending Plier
- NEW Dvd by Eva Sherman
- Fun, Fast Fold Forming DVD Series
- Double Band Ear Cuff from Alex Simkin
FREE Pattern: Inverted Round Maille Temple Earrings
by Judy Ellis, Wirejewelry.com
Wire Jewelry Pattern for May 6th, 2017
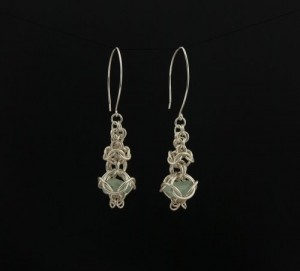
Inverted Round Maille Temple Earrings
by Kylie Jones
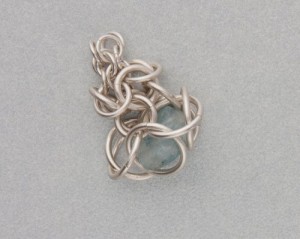
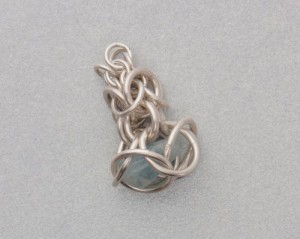
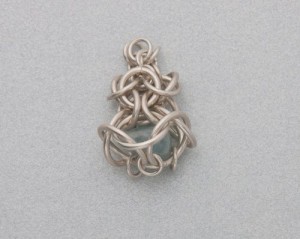
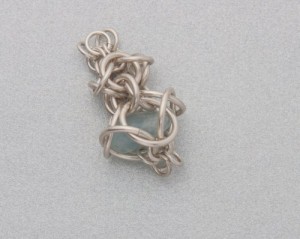
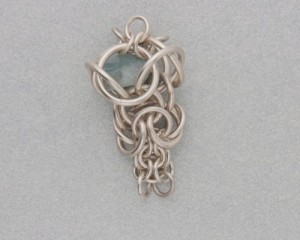
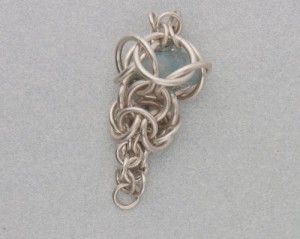
These gorgeous earrings remind me of Buddhist pagoda temples. The patterns of the inverted rings are similar to the decorated eaves of the temples. The round maille encloses a hidden Aquamarine treasure.
Materials:
- 20 gauge AWG sterling silver jump rings 3.2mm (Pattern Quantity – 36 Pieces)
- 18 gauge AWG sterling silver jump rings 5mm (Pattern Quantity – 6 Pieces)
- 16 gauge AWG sterling silver jump rings 5.4mm (Pattern Quantity – 12 Pieces)
- 16 gauge AWG sterling silver jump rings 8.2mm (Pattern Quantity – 12 Pieces)
- 20 Gauge Round Half Hard .925 Sterling Silver Wire (Pattern Quantity – 5.50 Inches, Product ID: H8-20H)
- Aquamarine nuggets approx 11mm x 7mm (Pattern Quantity – 2 Pieces)
Tools:
- Flat Nose Wire Plier (Product ID: G2-506)
- Round Nose Wire Plier (Product ID: G2-507)
- Xuron Double Flush Wire Cutters – 4-3/4 Inches (Product ID: PLR-469.10)
- Medium Rawhide Hammer 1 1/4 inch – Pack of 1 (Product ID: G3-7)
- 5 Piece Steel Mandrel Set – (Product ID: G7-5)
Directions:
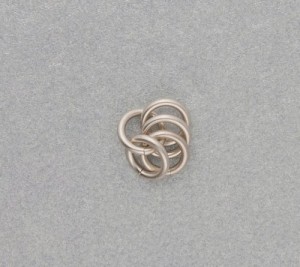
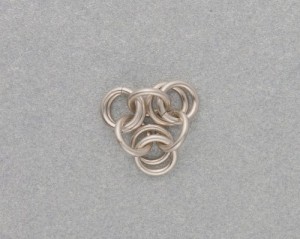
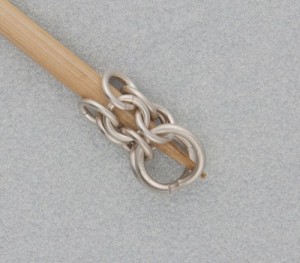
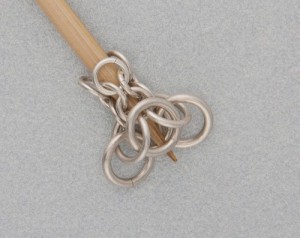
Step 1: Using 1/8″ (3.2mm) rings place 4 closed rings on an open ring and close the ring.
Step 2: Take an open ring and go through 2 of the 4 rings, add 2 closed rings and close the ring.
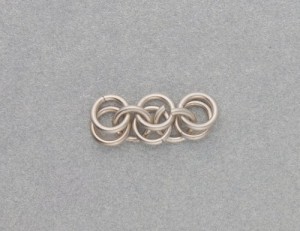
Step 3: To join the chain into a circle take an open ring and go through the sets of 2 rings on both ends of the short chain, close the ring.
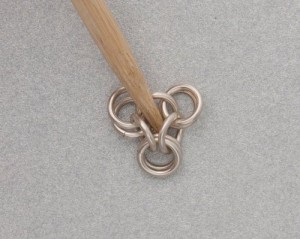
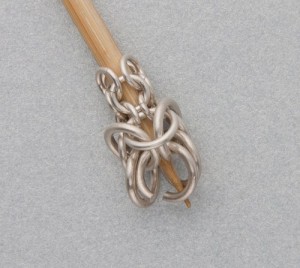
Step 4: Place a bamboo skewer or thin mandrel in the center of this tight circle and bring the chain up onto the mandrel.
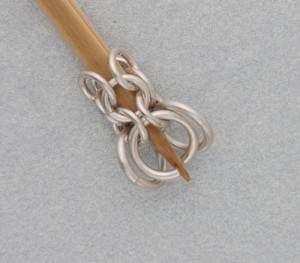
Step 5: The 3 sets of 2 rings have one ring lying on the other. Take the top ring of each set and rotate them 180 degrees so they lie flat against the mandrel. This piece is now 3 rows of round maille.
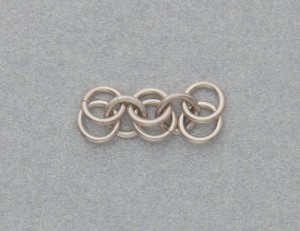
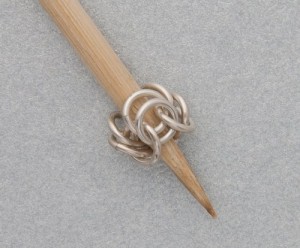
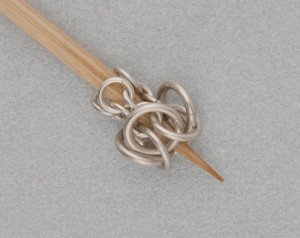
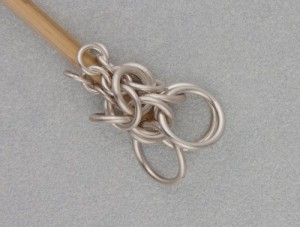
Step 6: Now using the larger 3/16″ (5mm) rings add a new row. To begin adding the new row take an open ring and go through 2 rings that are next to each other in the previous row, at the point where they meet. Go down into the first ring, up through the second and close the ring. Add another ring in the same way at the next point where 2 rings from the 3rd row meet. Add the third ring in the same way at the last spot where 2 rings meet. This piece now has 4 rows of round maille.
Step 7: Add another row using 13/64″ (5.4mm) rings.
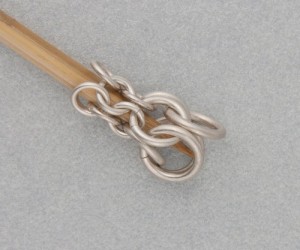
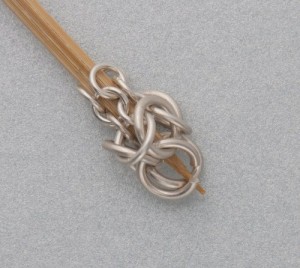
Step 8: The row you just added is now inverted to create the pagoda look. To invert the rings, hold the bottom of the ring and rotate it 180 degrees towards the top of the chain maille piece so it lies flat against the chain maille. What was the top of the ring is now the bottom. Do this for all 3 rings.
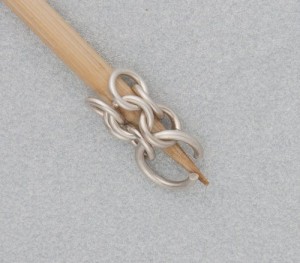
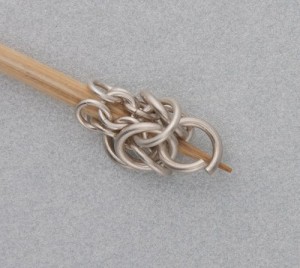
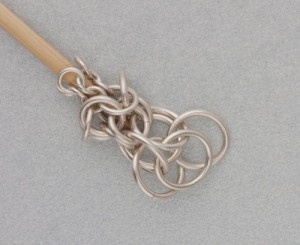
Step 9: With 13/64″ (5.4mm) rings add another row as before. The inverted rings of the previous row are a little harder to see because they don’t come down as far and they sit under the rings from the 4th row. Make sure you are adding your new row to the row of inverted rings. The process is exactly as before, adding a ring to 2 rings of the previous row where they meet.
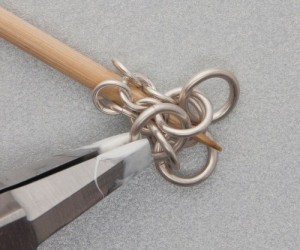
Step 10: Add 2 rows with 5/16″ (8.2mm) rings. Now place the aquamarine nugget inside these 2 rows.
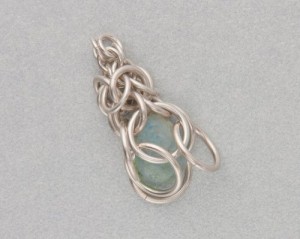
Step 11: Invert the 3 rings from the last row and capture the nugget inside the inverted rings.
Step 12: Add 2 rows of 1/8″ rings to close the cage around the stone.
Step 13: To finish off the top of the earring you add 2 rows that taper to one ring. Using 1/8″ (3.2mm) rings add one row with only 2 rings leaving the third position empty. Add the last row with one ring going through the 2 rings of the previous row. Make 2.
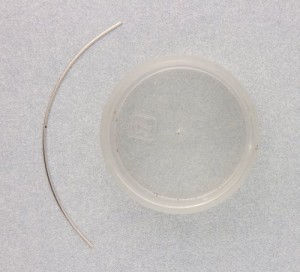
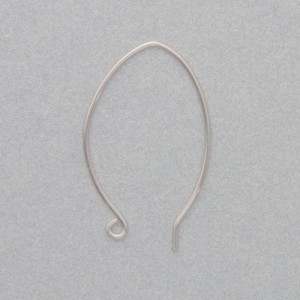
Step 14: For each ear wire cut a piece of wire about 2.75″ (7cm) long. Mark the middle of the wire. Hold the middle mark on your round container and bend the wire to the shape of the circle. It will spring back a little and end up a bit larger than the mandrel shape.
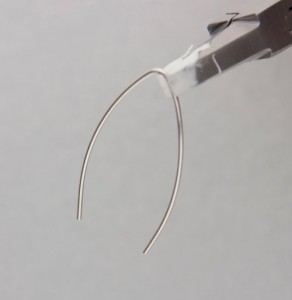
Step 15: Place the side edge of your flat-nose pliers next to the middle mark, bend both sides of the half circle towards each other to make the ear wire shape. On one of the ends with round-nose pliers make a loop that curves away from the main shape. If you like you can put a slight bend in the other end. The ear wires need to be work hardened so they maintain their shape. You can do this by hammering them with a rawhide or plastic mallet, or put them in a jewelry tumbler.
Step 16: Attach the ear wire to the top ring of the earring.
Kylie Jones Biography
I am a jewelry designer living on the Sunshine Coast, Qld, Australia. I love the challenge of designing jewelry, the mix of creative energy and problem solving. I love chain maille because it is low tech, it makes gorgeous ornamental patterns and textures, and it has a strong link to the past. You can see more of my work at: www.ringsandstones.com.au
Happy Wrapping!
![]()
Click to Receive Daily Tips by Email







Kathleen W.
May 27, 2017 at 9:29 am
What a pretty design! I do have a request. Please indicate if the jumprings listed in the materials are available in the US. If so, please give a source for the materials. Also, it is not clear if the sizes of the jumprings are ID.
Thank you,
Kathleen Williams