- NEW DVD Series – Stone Setting with Bezels
- Tube Set Charm by Kim St. Jean
- Prong Basket Pendant by Kim St. Jean
- NEW DVD Series – Stone Setting with Cold Connections
- New DVD Series – Stone Setting with Wire
- NEW DVD Series: Introduction to Stone Setting by Kim St. Jean
- Featured Tool: Bracelet Bending Plier
- NEW Dvd by Eva Sherman
- Fun, Fast Fold Forming DVD Series
- Double Band Ear Cuff from Alex Simkin
FREE Pattern: Swan Hook
by Judy Ellis, Wirejewelry.com
Wire Jewelry Pattern for September 21st 2016
Swan Hook
by Judy Larson
Today we share a great tip and pattern all in one – the Swan Hook. Read what Judy has to say about keeping these on hand.
Judy Says:
For small items you make repeatedly, you can save yourself a lot of time if you keep a wire template for each item on hand.
For example, you will make ear wires quite often. Keep a wire the length you first cut it, with only one flush cut end. Also cut a finished wire with both ends flush cut. Put them in a small labeled pill bottle or in a small plastic bag along with a note with pertinent information.
The following hook may be a component you might make often. You may find it helpful to have the hook in several stages of construction and in different wire gauges available to you for comparison when making a new hook.
You may want a wire length, Step 1, a scrolled piece, Step 3, a bent over piece, Step 5, and an finished hook to use as step templates. Another option is to make one of each step, and then photocopy those pieces together so you can use your copy as a template.
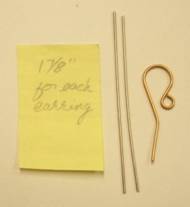
Swan Hook Pattern
Skill Level: All
Materials:
- 4 1/2 ” of 18 gauge round wire
Hint for a more rustic look: If you use 16 gauge wire to make the hook, you can more easily texture the component with the ball end of your chasing hammer or with a texture hammer.
Tools:
- Round or chain nose pliers
- Flat nose pliers
- Soft jaw pliers
- Flush cutter
- 1/4″ mandrel
- Optional: Bench block and chasing hammer
Instructions:
Step 1. Straighten and cut a 4 1/2″ piece of 18 gauge round wire.
Step 2. On one end of the wire, make a slightly more than full circle with the tip of a round nose pliers. Hint: You may find it easier to use chain nose pliers to start the center of the spiral.
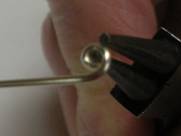
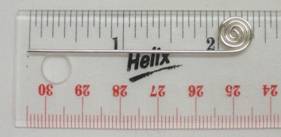
Step 3. Using soft jaw pliers, tightly scroll the wire until the scroll is 2″ from the end of the wire.

Step 4. Place the tips of the round nose pliers as close to the scroll as possible, as shown. Bend the wire over the plier tips and up the side of the scroll.
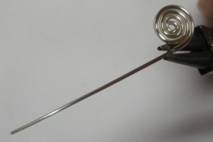
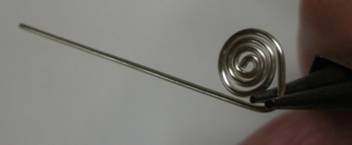
Step 5. Switch back to the soft jaw pliers and finish bending the wire up over the top of the scroll as shown, left.
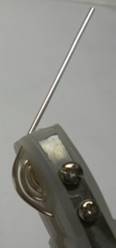
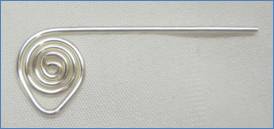
Step 6. Bend the wire tail around the 3/8″ mandrel as shown, right

Step 7. Use the tip of round or chain nose pliers and make half a curl. Use flat nose pliers to press the curl flat down to the wire.
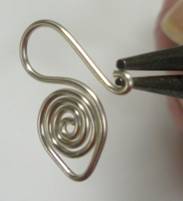
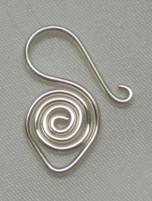
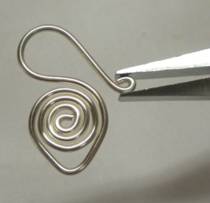
Step 8. Lightly hammer the top curve of the hook and the lower “V” to work harden the component.

Congratulations! You’ve made your first Swan Hook component.
To read more of Judy’s posts – CLICK HERE!
Happy Wrapping!
![]()
Click to Receive Daily Tips by Email


0 comments