- NEW DVD Series – Stone Setting with Bezels
- Tube Set Charm by Kim St. Jean
- Prong Basket Pendant by Kim St. Jean
- NEW DVD Series – Stone Setting with Cold Connections
- New DVD Series – Stone Setting with Wire
- NEW DVD Series: Introduction to Stone Setting by Kim St. Jean
- Featured Tool: Bracelet Bending Plier
- NEW Dvd by Eva Sherman
- Fun, Fast Fold Forming DVD Series
- Double Band Ear Cuff from Alex Simkin
Featured Patteren: Bead Charm
by Judy Ellis, Wirejewelry.com
Wire Jewelry Pattern for August 10th 2016
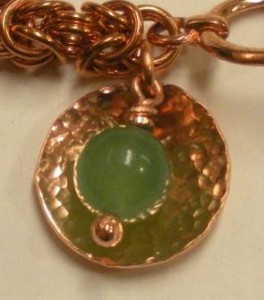
Bead Charm
by Judy Larson
Today we have a simple and yet versatile pattern for a Bead Charm that can be created easily by any beginner and added to any kind of jewelry. Enjoy!
Materials:
- 24 gauge sheet metal—use the circle template (CLICK HERE to see Judy’s Templates)
- One 8mm round bead
- One purchased 4mm ID jump ring or make your own
- 20 gauge balled headpin or make your own
Tools:
- Tools for your preferred method of cutting out sheet metal shapes
- Mini TruStrike Embossing Hammer
- Bench block
- 1.5mm hole punch
- Dapping punch set and hammer
- Flat and chain nose pliers
- File
- Liver of sulfur and 0000 steel wool
Directions:
Step 1: Copy the circle template. – CLICK HERE to use Judy’s templates
Step 2: Transfer the design to your sheet metal.
Step 3: Cut the circle out using your preferred method for cutting sheet metal.
Step 4: File any sharp edges.
Step 5: Use a 1.5mm hole punch to make a hole in the center top of the piece.
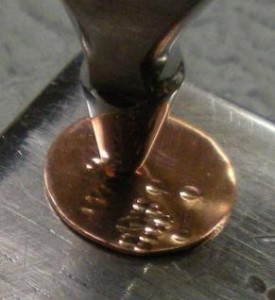
Step 6: Use the larger side of the Mini TruStrike Embossing Hammer to texture the disk.
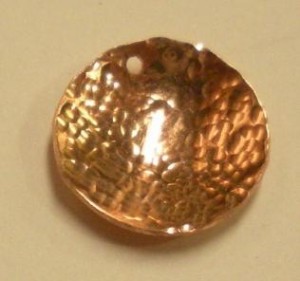
Step 7: Use the Dapping Punch Set to cup the disk, textured side facing up. To preserve the texture when forming the piece, consider placing a piece of felt between the dap and the disk.
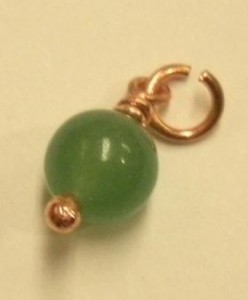
Step 8: Make a wire wrapped bead dangle using your bead on the balled headpin.
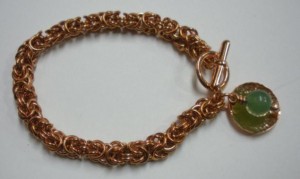
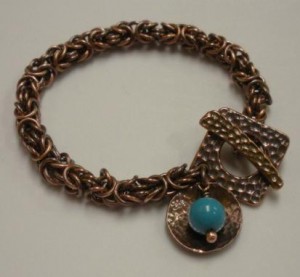
Step 9: Use the jump ring to connect the bead and disk to another piece of jewelry. Charms are really versatile. You could attach the charm to a necklace or bracelet as shown.
Note: The byzantine chain seen here can be made using a tutorial by Marilyn Gardiner on her website:
Step 10: You can leave your piece bright and shiny or use liver of sulfur to patina it. Buff with 0000 steel wool to bring out the dimension.
I hope you enjoyed this great pattern from Judy. If you’d like to read more of Judy’s blog posts – CLICK HERE!
Happy Wrapping!
![]()
Click to Receive Daily Tips by Email






Susannah
August 10, 2016 at 10:43 am
That really is beautiful and so easy!!Been working a lot and have not been able to make any jewelry but I think Now I am inspired
Thank you, I really enjoy your posts and e-mails