- NEW DVD Series – Stone Setting with Bezels
- Tube Set Charm by Kim St. Jean
- Prong Basket Pendant by Kim St. Jean
- NEW DVD Series – Stone Setting with Cold Connections
- New DVD Series – Stone Setting with Wire
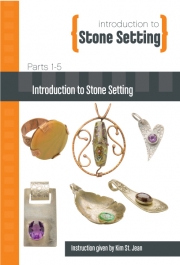
- NEW DVD Series: Introduction to Stone Setting by Kim St. Jean
- Featured Tool: Bracelet Bending Plier
- NEW Dvd by Eva Sherman
- Fun, Fast Fold Forming DVD Series
- Double Band Ear Cuff from Alex Simkin
Bezel-Set Spoon Pendant by Kim St. Jean
by Judy Ellis, Wire-Sculpture.com
Daily Wire Jewelry Tip July 24th, 2015
Highlights of the Free Bezel-Set Spoon Pendant Lesson
There’s something gorgeous about the craftsmanship and beauty of vintage tableware.
There’s something about this summer – I’ve been invited to a couple bridal showers, one right after the other, and I’ve been puzzling over what to bring as a gift. Something small but meaningful that suits these brides’ rustic, free-spirited styles.
Last time I went to the swap meet I got a bunch of old teaspoons and sugar spoons because they were just too pretty to pass up. I knew I’d find SOMETHING to do with them.
Now that I know I can get 2 pendants out of each spoon, I can’t wait to get started on these pendants that these brides-to-be are going to love.
To make a fun spoon pendant, you’ll need:
Tools:
- Bench block
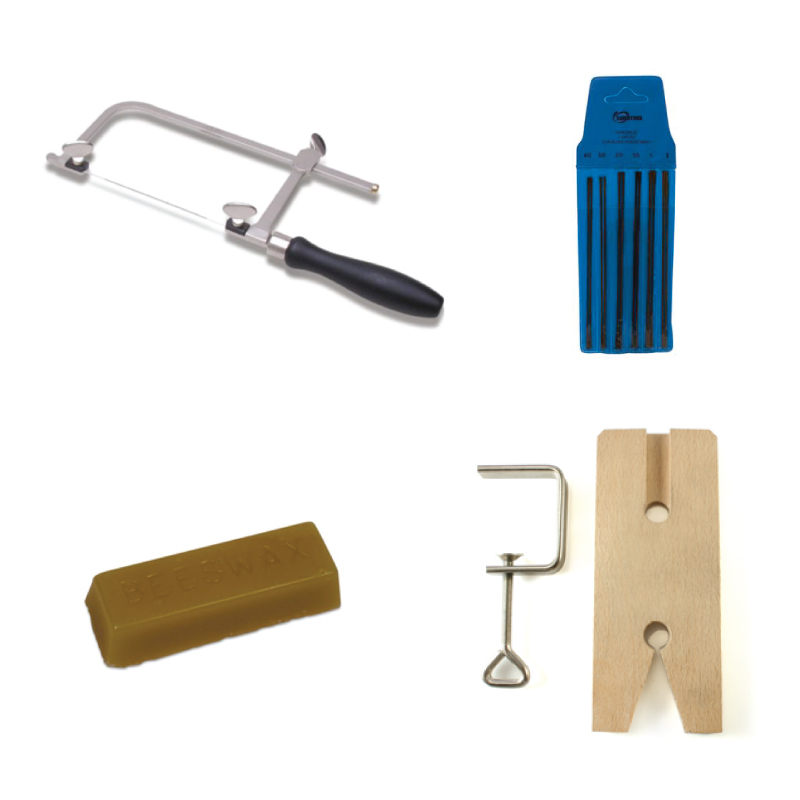
- Jeweler’s saw with 3/0 saw blades, beeswax, and V-slot bench pin
- Metal file
- Rawhide mallet
- Spring-loaded punch
- Transfer punch
- Chasing hammer
- Bezel pusher
- Round bail making pliers, such as Wrap & Tap
- Metal punch to make 1/16″ holes and able to punch through your spoon: Drill press recommended
CLICK HERE to see our Basic Sawing Kit – a perfect companion to this video!
Materials:
- Sterling silver bezel cup setting
- Calibrated stone
- Two 1/16″ eyelets
- Vintage spoon: Look for bendable silver plated spoons, marked with A1. Stay away from restaurant-ware.
Here’s why I LOVE this project:
- The great thing about this project is it’s actually 2 projects! Kim shows us how to make a pendant with the handle of the spoon – and then she comes back and we get to go through the bowl half, too!
- At 8:15 Kim reminds us like last time: we’ve gotta use 2 rivets to set this bezel cup to the spoon handle, so it doesn’t spin. Once again, we’re using Kim’s eyelet trick.
- Ah, but this time we’re adding something! Kim shows us how to get a good hole using a drill press at 11:54 – as well as the dos & don’ts of drill press use for jewelry. (Yep – my metal punch pliers wouldn’t touch a spoon handle!)

- You’ll discover how to use bezel cups – these are so handy!
- You can make your own Rivet Measuring Cards out of something you probably already have around the house already, that you can use and re-use for ALL your riveting projects
- More rivet practice – everyone needs more of that
- When Kim pulled out a vise at 18:15, I had NO idea what she was doing. Then I saw the little bitty mini anvil she made with it and WOW – that’s how she was able to flare the rivet on the front of the bezel cup!
- Kim shows the floss trick for setting a stone at 23:12 – such a good idea.

And that boulder opal cab is gorgeous – looks like a Celtic design with the silverware spoon she chose.
- Kim shows how to use a hammerhead attachment on the Flex shaft – it doesn’t hurt the stone and it does SUCH a great job of setting the stone securely in a bezel cup!
The nice thing about this project – if all you can find at yard sales or your mother-in-law’s basement are forks, simply saw off the “food” end with the tines, and there you have a handle to work with just like the one above.
I can’t wait to see what you come up with after watching this project!
OK – I know what I’m making for my next project – how about you? I’m excited to see what you make from this project, so make sure and post it on our Facebook page or send me an email with a picture of how it turns out for you!
If you haven’t had a chance to purchase this amazing DVD Set – Don’t wait! (Get this 5 DVD set for FREE – just pay $9.95 Shipping & Handling)
Happy Wrapping!
![]()
Click to Receive Daily Tips by Email


BERNIE WEIGEL
July 24, 2015 at 10:17 am
LOVE THIS IDEA WITH OLD SILVERWARE AM GOING TOO TRY
Sandy
July 24, 2015 at 4:12 pm
Thank you so much for all your hits andhow to do. Looking forward to new site
Lisa
August 25, 2015 at 3:38 pm
Really really nice! I’m excited! I am new (as of today). I will come back to buy the DVD. Thank you