- NEW DVD Series – Stone Setting with Bezels
- Tube Set Charm by Kim St. Jean
- Prong Basket Pendant by Kim St. Jean
- NEW DVD Series – Stone Setting with Cold Connections
- New DVD Series – Stone Setting with Wire
- NEW DVD Series: Introduction to Stone Setting by Kim St. Jean
- Featured Tool: Bracelet Bending Plier
- NEW Dvd by Eva Sherman
- Fun, Fast Fold Forming DVD Series
- Double Band Ear Cuff from Alex Simkin
Pet Heart Charm Pattern
by Judy Ellis, Wire-Sculpture.com
Wire Jewelry Pattern June 19th, 2015
Wire Wrapped Pet Heart Charm
Designed by Tracey McKenzie
Today we feature a pattern of a different sort – take a look at this adorable Wire-Wrapped Pet Charm!

Tracey Says: “Like most artists, I have several furry and feathered friends to keep me sane. This pattern is for a charm to hang from your pet’s collar, and has been requested by my veterinarian!
Although this sample is made using colored wire, it looks great when made in copper or even silver (for the human version). You can make this heart charm using your personal favorite colors and bead shapes, and by adding either a silk cord or making the bail in a traditional manner, you will have a matching charm to use as a pendant for a human!”
Skill Level: Beginner/All
Technique: “Sewing” with Round Wire
Materials
- 20-gauge round dead soft jewelry wire, approx. 30cm (1 foot)
- 26-gauge round dead soft jewelry wire, approx. 130 cm (4¼ feet)
- Your choice of beads (used red beads)
Tools
Instructions
- Find the center of the 20-gauge wire, and use round nose pliers to fold it in half. Use round nose pliers to slightly curl the folded tip, working on the same plane as the fold.
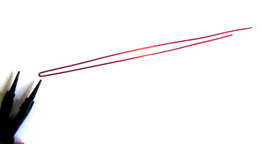
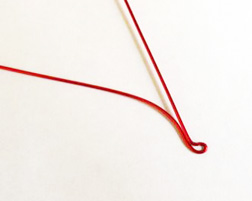

- Using your index finger and thumb, carefully form one side of the heart, and then the other.
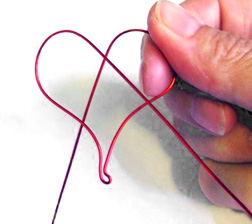

- Use flat nose pliers to bend one side of the heart wire up 90°. Note: This wire will be used to form the bail.
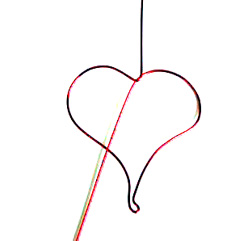

- Use flat nose pliers on the other heart wire, to bend it out about 45°. This wire will wrap around the bail.
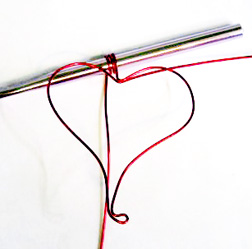
- On the straight wire, measure ½” (10mm) up from the two-wire junction. Use a 5mm mandrel or found item (such as a crochet hook) to wrap the straight wire around 3 times. Use the end of the now-coiled wire to wrap around the stem, from the coil toward the heart, 2 times to show and trim.

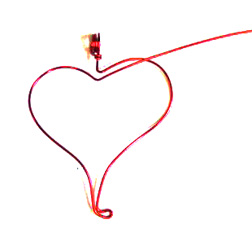

- Using the other wire, wrap it around the base of the stem and up until it meets the 2 wraps below the coiled bail and trim.
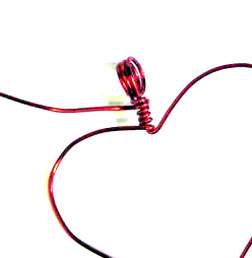

- Reshape by hand until the desired heart shape is achieved.
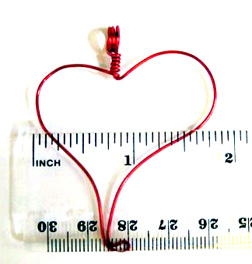
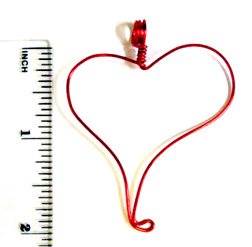

- Decide which beads are to be used and arrange them inside the heart frame. Remove the frame without disturbing the beads.
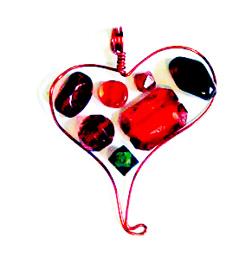
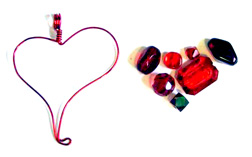

- Cut a 2-foot (60cm) piece of 26-gauge wire. Begin by wrapping one end of this wire into the wraps under the bail, working from the top down. Upon reaching the heart frame thread on a bead, and while holding it in place with one hand, use the other to bring the wire to the opposite side of the frame and wrap it around the frame 3 times.
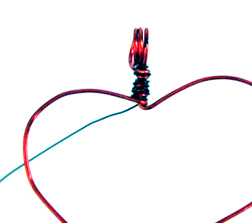
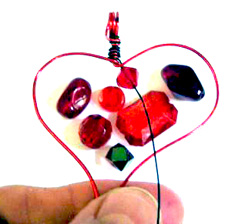
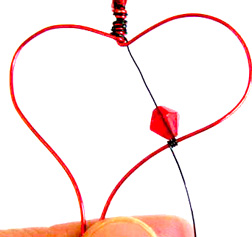

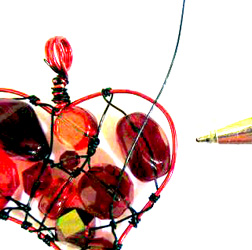
- Grab another bead and repeat the process until all of the beads are within the heart frame. (You may find the pattern changes as you go, but so long as they all fit nicely it doesn’t matter.) Please note: During the bead sewing, if you are using shorter lengths of wire, you will need to start a new piece. If this is the case, you must first secure your old end by wrapping it around a new piece. You can then hide the remaining bit inside a bead, or just trim neatly making sure to tuck the end in, otherwise it may scratch the wearer, or unravel. (Insert: 18, and 19_pet.jpg)
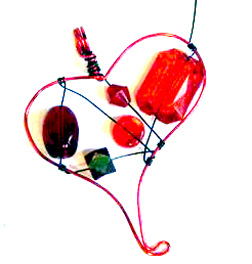


- To secure the beads, wrap them once at their base before moving on to the next bead. If there are any gaps remaining on the outside of the heart frame, simply fill them in by taking the 26-gauge wire around (or through) the beads, wrap it around the 20-gauge wire (3 times!) and then move on to anywhere else that needs wrapping. You may need to add smaller beads to fill in any holes in the heart. Now the heart should be evenly wrapped (by wrapping 3 times) and all areas are looking even and balanced.
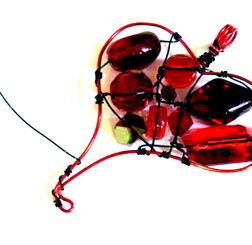
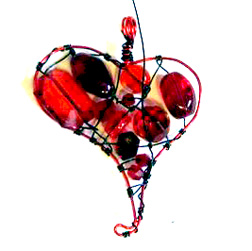

- Next, the beads need to be “caged”. I do this by taking my wire over 1, 2 or 3 beads and then secure it by wrapping once, and then taking the same wire over a few more beads in a different direction. Do this until you are happy with the outcome and the beads have all been caged.
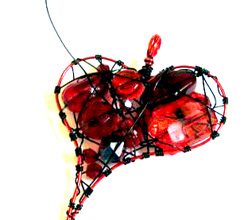
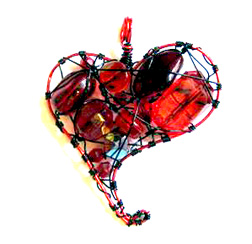

- Use your fingers to gently reshape the heart. Slide a huge split ring through the bail coil and attach it to your favorite pet’s collar.
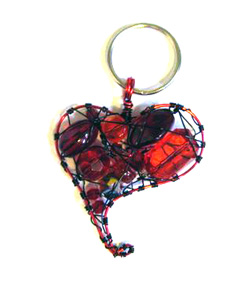
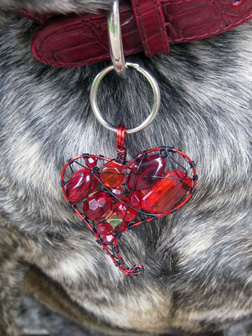

Enjoy making this adorable Pet Charm for your furry family members! Drop us a picture and show us how they turn out!
Happy Wrapping!
![]()
Click to Receive Daily Tips by Email




Sandra
June 25, 2015 at 3:25 pm
I love the dog collar