
Foxtail Chain aka Loop-in-Loop
- Category: Contemporary
- Technique(s): Chain Making, Butane Torch Techniques
- Skill Level: Intermediate
The beauty of this chain is that it is very stable and not easily broken. And it is really easy to make. Argentium, used here, and fine silver wire fuse beautifully and there is no fire scale. Soldered rings can be more finicky to work with. Before a chain can be drawn down, it should be annealed. If heated too much, the solder could re-flow, soldering the shaped rings together so not using solder, but fusing, is the way to go! Practice your fusing skills to make these beautiful chains. You may end up wanting to make many more of them because they can become addicting to make
Materials

20 Gauge Half Round Dead Soft Argentium .940 Silver Wire
H19-20HRD
- Lesson Quantity: 1.00 pieces
- Purchase Quantity: 1.00 5FT
- Price: $8.77
- Gold Club Price: $6.58
Tools

8, 10, 12mm mandrels
- Lesson Quantity: 1.00 pieces
- Purchase Quantity: 1.00 each

French Shears - Straight Shear with Spring
SHR-530.01
- SHR-530.01
- Lesson Quantity: 1.00 pieces
- Purchase Quantity: 1.00 each
- Price: $25.97
- Gold Club Price: $19.48

Rosewood Draw Plate for Vise
G28-7
- G28-7
- Lesson Quantity: 1.00 pieces
- Purchase Quantity: 1.00 each
- Price: $17.97
- Gold Club Price: $13.48

GB2001 Self-Igniting Butane Micro-Torch
TRCH-GB2001
- TRCH-GB2001
- Lesson Quantity: 1.00 pieces
- Purchase Quantity: 1.00 each
- Price: $84.95
- Gold Club Price: $63.71

Magnesia Soldering Block
SOL-455.00
- SOL-455.00
- Lesson Quantity: 1.00 pieces
- Purchase Quantity: 1.00 each
- Price: $7.95
- Gold Club Price: $5.96

Round Nose Wire Pliers
G2-507
- G2-507
- Lesson Quantity: 1.00 pieces
- Purchase Quantity: 1.00 each
- Price: $32.95
- Gold Club Price: $24.71

awl
- Lesson Quantity: 1.00 pieces
- Purchase Quantity: 1.00 each

Flat Nose Wire Pliers
G2-506
- G2-506
- Lesson Quantity: 1.00 pieces
- Purchase Quantity: 1.00 each
- Price: $32.95
- Gold Club Price: $24.71

Pickle Pot, 16 Ounces
CLN-584.00
- CLN-584.00
- Lesson Quantity: 1.00 pieces
- Purchase Quantity: 1.00 each
- Price: $31.95
- Gold Club Price: $23.96

Thumlers Tumbler Model MP-1 Rock Tumbler Kit
G34-101
- G34-101
- Lesson Quantity: 1.00 pieces
- Purchase Quantity: 1.00 each
- Price: $119.11
- Gold Club Price: $89.33

NATURE'S TOUCH CITRIC PICKLE, 2LB PLASTIC JAR
CLN-163.00
- CLN-163.00
- Lesson Quantity: 1.00 pieces
- Purchase Quantity: 1.00 each
- Price: $17.95
- Gold Club Price: $13.46
Instructions
Step 1
Read through the tutorial before starting the project. Follow all safety precautions pertaining to the tools and supplies being used and the space you are working in.
It is a good idea to make short practice chains to help you decide which chain, single or double, and which size link would work best for you. Each of the chains shown on a one-inch grid have been pulled through a drawplate once to even the shape of the rings. They have not been tumbled so are a bit stiff. Each chain has been made with ten shaped rings. The top two chains are Single Foxtail Chains and the bottom two are Double Foxtail Chains. From top to bottom, the mandrel sizes used to make the 20-gauge fused and shaped rings for each chain are: 8mm, 10mm, 10mm, 12mm.
It is a good idea to make short practice chains to help you decide which chain, single or double, and which size link would work best for you. Each of the chains shown on a one-inch grid have been pulled through a drawplate once to even the shape of the rings. They have not been tumbled so are a bit stiff. Each chain has been made with ten shaped rings. The top two chains are Single Foxtail Chains and the bottom two are Double Foxtail Chains. From top to bottom, the mandrel sizes used to make the 20-gauge fused and shaped rings for each chain are: 8mm, 10mm, 10mm, 12mm.
How much wire is needed?
This depends on which chain is being made as well as how long the chain needs to be for the jewelry item being made. The harder the wire temper, the more spring the wire has. That means it takes a bit more wire to made the same size coil as the same gauge in a softer temper. Some people coil wire tighter or looser than others. Since I fall in the middle, the measurements and numbers shown here are approximations to be used as a rough guide.
Five foot lengths of 20-gauge Argentium wire were cut. Each was wound on a different size mandrel. The mandrels, from top to bottom: 12mm, 10mm, and 8mm.
Mandrel Size Coil Length Rings Cut From Coil
12mm 1-1/8" 34 rings
10mm 1-3/8" 41 rings
8mm 1-9/16" 52 ringa
Make and cut jump rings for the chain you will make. A single loop-in-loop chain, with 10mm ID rings is the easiest chain to start with. If you are comfortable working with smaller pieces, a single loop-in-loop chain made with 8mm ID rings is also doable.
Do not make smaller rings with 20-gauge wire until you know how supple a chain made with 8mm rings is, especially after it is pulled through a drawplate to even out the interlocked rings. Double loop-in-loop chains are made with 10mm and 12mm ID rings. The 10mm chain is the more difficult of the two. This is because shaped rings that are not shiny and smooth do not fit together easily. Each chain is very stiff until it is tumbled, at which time the chain will become more flexible.These chains do not look and feel all that great until the final steps are completed, so be patient and be prepared to be wowed!
Do not make smaller rings with 20-gauge wire until you know how supple a chain made with 8mm rings is, especially after it is pulled through a drawplate to even out the interlocked rings. Double loop-in-loop chains are made with 10mm and 12mm ID rings. The 10mm chain is the more difficult of the two. This is because shaped rings that are not shiny and smooth do not fit together easily. Each chain is very stiff until it is tumbled, at which time the chain will become more flexible.These chains do not look and feel all that great until the final steps are completed, so be patient and be prepared to be wowed!


Step 2
Close all the jump rings. 10mm and 12mm ID jump rings can be closed using your fingers. I personally find that a bit more difficult to do with the 8mm jump rings so use two inexpensive wide jaw flat nose pliers to do the job
Step 3
Place the rings on a soldering block. It is helpful to place the rings on the block with the seam facing away from you. That way, when heating to fuse them, you will know where to watch.
Heat each ring separately. The ring will turn frosty before it becomes shiny. At that point it is ready to fuse. Watch for the ends to fuse together and IMMEDIATELY remove the heat. Repeat the process with all the rings.
This is a boring task and it is easy to let your mind wander, especially when fusing over100 rings that it might take to make a simple necklace chain. If a brain wander moment does occur, a ring may shrink in size, such as the ring on the bottom right of the second photo. Set it aside to use as the first or last link in a chain.
The seam on the ring on the left was not tightly closed. Allow it to cool. Turn it over, heat the ring slightly and then try to fuse just that area - the ring on the right. If for some reason the ring seam was not tight enough and the ring ends start to ball up, there is no saving the ring - center ring. However, continue to ball it. It will be a perfect embellishment for a later project.
Allow the rings to cool naturally before moving on to the next step.
Allow the rings to cool naturally before moving on to the next step.
Pro Tip: If quenched too soon after fusing, the metal and/or join may crack. After fusing all the rings and allowing to cool for 20-30 seconds, dump them in a metal bowl set on a bench block. They will quickly cool and be ready to use


Step 4
Use the tips of a round nose pliers to stretch each ring into an oval shape. Be careful as the rings can go flying. It is helpful to use a pair of round nose pliers with jaws that are not shiny. The dark jaws of the ones shown here are not shiny smooth and therefore have a bit of grip to hold the rings in place.
Option:Ring opening pliers are wonderful. There are grooves to hold a ring in place and the jaws open when the handles of the pliers are squeezed.
Option:Ring opening pliers are wonderful. There are grooves to hold a ring in place and the jaws open when the handles of the pliers are squeezed.


Step 5
Not all the rings may survive the stretching process. Some may break open completely and fly off the pliers. Others may break but not completely open. In my mind, the word "chunk" describes what I feel during stretching a ring when a fused join becomes compromised and cracks before opening completely. This is an easy fix. Just close each ring (the top pointy end of the rings in the photo), place on a soldering brick, and fuse again

Step 6
Use the tips of a round nose pliers to squeeze the center of each oval together into a "bowtie" shape. Again, the rougher jaws of these pliers help keep the shaped rings from flying off the work table, never to be seen again. If during this process a fused seam starts to crack open, just refuse that end of the shaped ring


Step 7
Each chain photographed on a 1" grid is made with 10 links. The top chain is made with 20-gauge 8mm ID Argentium rings. The bottom chain is made with 20 gauge 10mm ID Argentium rings. Both have been drawn down to 3/16".
Even when the chains are pulled through a round hole, they remain square. 108 20-gauge 8mm ID rings make a chain that, drawn to 3/16", lengthened to 17-5/8". With a clasp, it will be 18" long. It measures 3.5mm wide on one side and 4mm wide on the other. The drawn chain will fit a 4mm ID end cap/cord end.
Note: If a finer chain is desired, use 22 gauge rings made on a 7mm mandrel. Remember, the smaller the parts, the more fiddly a chain is to make.
Center a bowtie shape centered between the tips of a round-nose pliers. Form the bowtie into a "U"shape by bending over one of the tips of the pliers using your fingers. Repeat the process with all the links.
Pro Tip: Since the rings were work hardened by forming the bowtie shapes, bending many of these into a "U"shape can be uncomfortable on your fingers. Annealing the bowtie shapes before starting this step could be helpful, but is not necessary.


Step 8
Attach a twist tie or a 3" scrap wire to the bottom of one of the "U" shapes. I used a twist tie so the cut wire ends would not poke and scratch while making the chain. The twist tie should be replaced with wire before drawing the chain down to even it out

Step 9
Slide a new "U" shape into the first one as shown, by placing one side of the "U" shape into the "hole" of the first link (photos 1,2, and 3). Pull the second link up and into the rounded tip of the first link. Pull it into alignment with the first link (photos 4 and 5).
Pro Tip: I am right-hand dominant but through my 30+ teaching years, I learned to do many things left-handed, but not well. My brain, however, did not and still does not want to easily interpret left-handed photo directions. You may have trouble with these chains because they worked from left to right for all us righties. Just copy the photos and reverse them.


Step 10
The next "U" shape is added to the second one in the same manner as in the last step. If there is difficulty inserting the "U" shape into the previous ring, the opening in the previous ring can be opened/rounded a bit using an awl.
Awls used here are shown in the third photo. The stiletto end of the silver one is much narrower than the turquoise handled sewing awl.The tip of the awl is pressed and twisted into the opening, helping to make the opening better able to accept the new "U" link - fourth photo. If this does not work, lightly squish (love those technical terms!) one side of the "U" shape to be added.
If you can see the fused end, try to avoid doing this to that side as the excess stress on the join may pop it. The new narrower side of the "U"should easily slip into the previous "U". An awl or the tips of a chain nose pliers can be used to re-round the squished side of the link after it is inserted and pulled into line with the previous link - fifth photo


Step 11
Continue to add new "U" shapes to the chain until it is a bit shorter than the desired finished length.

Step 12
You will notice that the chain links are not even. Don't worry. The chain will become more even if drawn down through a drawplate. You may also notice that the chain is not very supple and there are places where it kinks. Don't worry. The chain will become more supple and shiny after tumbling.


Step 13
Before using a drawplate, the chain should be annealed. Softening the links makes it easier for the links to compress into a more even size and shape when pulled through a drawplate.
Remove the twist tie or scrap wire. Place two soldering bricks side by side to lay the chain out. That way, it is less likely that part of the chain would be overheated, thus fusing some of the links together.If the chain becomes dark pinky orange or red, it has been heated too long and some of the links will have fused.
Moving along the chain with the torch flame, it only needs to be heated until there is just a slight hint of color which will go away as you move down the chain. Allow the chain to cool naturally on the soldering bricks before moving it.


Step 14
Even though there is no fire scale to be removed, it may be helpful to pickle the chain at this time. Rinse and dry the chain before continuing
Step 15
Add a scrap piece of wire to the beginning end of the chain. Twist the scrap wire ends together. Use a pliers with teeth to grip the wire to pull the chain through the drawplate.
Start with a hole that is larger than the chain. Work your way down the drawplate until there is resistance in the pull. Pull the chain through that hole three or four times before going down to the next hole.
Only two sizes can be drawn down before the chain needs to be annealed again. This chain was drawn down only two sizes with resistance in this drawplate.
Pro Tip: If you want to see what a chain will look like if drawn down too far, make one with 10 links and see what will happen. That way, an entire chain will not be ruined if it is drawn down so far that it becomes really stiff and tumbling will not help
Chains made with either 8mm or 10mm rings can be drawn down to 3/16". The smaller chain made with 8mm ID rings will become stiff and no longer be supple if pulled down one more step to 11/64".
The chain made with 10mm ID rings can possibly be pulled down one more step with a little loss in flexibility. Remember, even though the draw plate holes are round, the chain remains square.
The chain made with 10mm ID rings can possibly be pulled down one more step with a little loss in flexibility. Remember, even though the draw plate holes are round, the chain remains square.
This is the drawplate I made for Viking Knit and used to draw down all the chains in this series. It would have been better if made with walnut or maple, but oak is what I had in my shop, so that is what I used and it seems to be working fine, even after 15 years of use.


Step 16
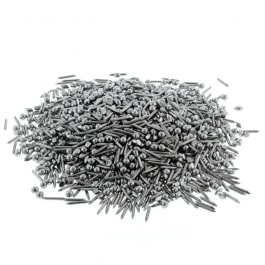
To become more fluid and supple, the chain can be tumbled in water with Dawn dish liquid and steel shot for several hours.




 Beaded Briolette Pendant
 Snail Trail Spiral Earrings
 Heart Link Bracelet and Earrings
 Crazy Hoop Earrings
 Double Delight Jade Bracelet
 Swagged Pearl Pendant
 Heart Earrings with Drops
 Scarab Bracelet
 Birthstone Heart Pendant
 Pearl of the Sea Woven Pendant
 Bead Charm
 Coiled Rosette Link
 Wire Jewelry Component and Swan Hook
 Leaf Bail
  Component Templates with Heart Earrings and Pendant
 Ring Pendant
 Calla Lily Earrings
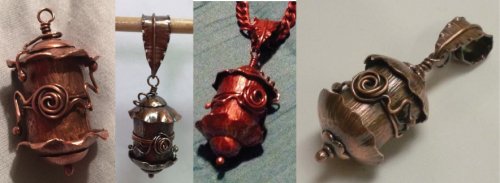 Birdhouse Pendant
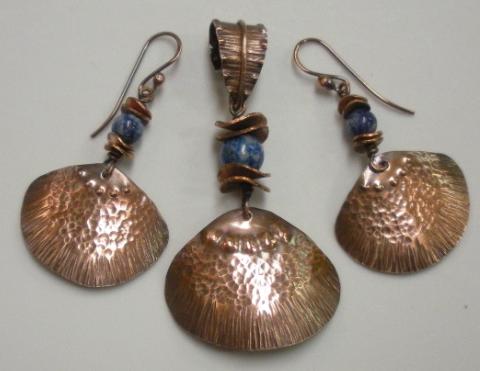 Clamshell Earrings and Pendant
 Bracelet Component
 Teardrop Earrings and Pendant
 Tab Style Pendant
 Coiled End Caps
 Freeform Pendant
 French Hook Ear Wires
 Necklace Component
 Triangle Shield Earrings, Pendant and Bail
 How to Make a Wire Coil and Bead
 Egyptian Coil Bracelet
 Focal Bead Egyptian Coiled Bracelet
 Sweetheart Round Cabochon Pendant
 Making Cobblestone Cabochons
 Cupcake Wrapper Earrings
 How to Make Metal Washers
 Baseball Skin Keychain
 Pat's Silver Domed Earrings
 Blaze Your Own Path Pendant
 Semi Snap-on Bail
 Interlocking Faux Twist Wire Bracelet
 Fold Formed Cuff With Faux Roman Glass or Coin Cabochon
 Steampunk Style Leaf Earrings
 Stamped Saucer Beads
 Kat's Wire Hoop Earrings
 Simple Bail on a Coin Pendant
 Wire Bangles
 Rolling Mill - or not - Cuff Bracelet
 Jen's Chain
 Making Neckwires
 Silver Scrap Wire Focals to Embellish
 Splash Ring
 Cobblestone Cab Earrings
 Multi Gemstone Necklace
 Southwest Style Pendant
 Bezels Using Square Wire
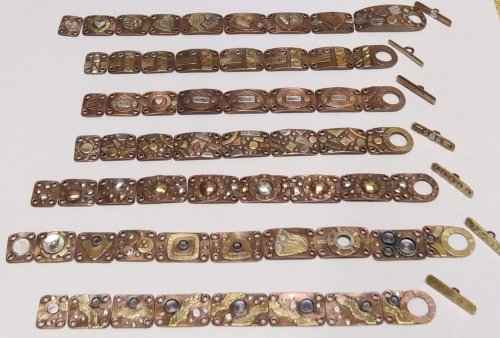 Mixed Metal Sampler Bracelet 1
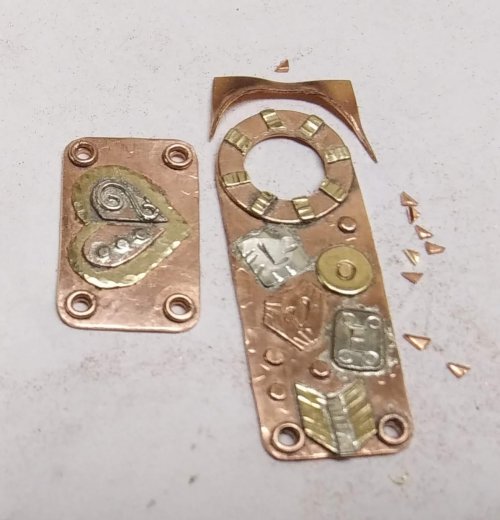 Mixed Metal Sampler Bracelet 2
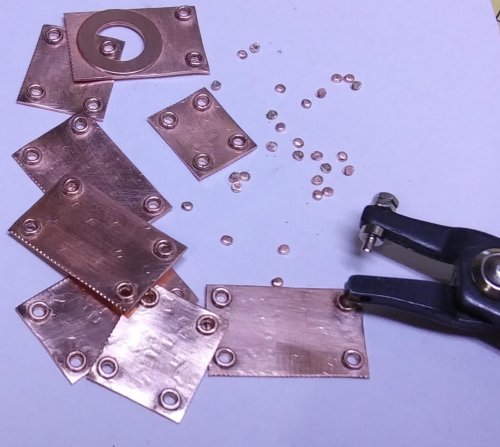 Mixed Metal Sampler Bracelet 3
 Mixed Metal Sampler Bracelet 4 - Words Matter
 Mixed Metal Sampler Bracelet 5 - River Walk
  Mixed Metal Sampler Bracelet 6 - A Little Bling
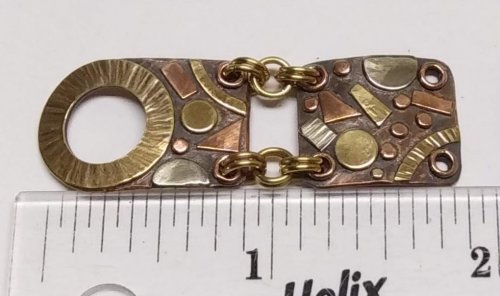 Mixed Metal Sampler Bracelets Series PUTTING IT ALL TOGETHER
  Mixed Metal Sampler Bracelet 7 - Steampunk Space Oddity
 Mixed Metal Sampler Bracelet 8 - Fun Shapes
 Jump Ring Fringe Bracelet
 Easy Artisan Earrings
 Making Chain with Wubbers and Wire
 Heirloom Buttons and Beads Bracelet
  Tiny Silver Charms part 1
 Argentium Silver Scrap Chain
 Sterling Lake Stone Pendant with Twisted Wire
 Smashing Drop Earrings
 Argentium Silver Scrap Nugget Cuff
 Finish Them Your Way Earrings
 Paddle Fringe Earrings
 Seed Bead Earrings
 Bracelet Links 1, 2,3
 Stamped Saucer Beads
 Chaos Scrap Wrap Jewelry
 Maple Leaf Earrings
 Child's Bracelet That Grows with Them
 Mike's Surpirise Claire's Ripple Pendant
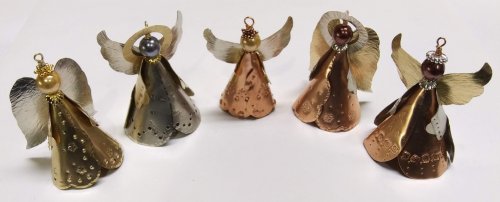 Angel Ornament
 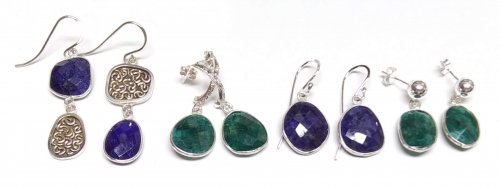 Diamonds, Emeralds, and Sapphires, Oh My.
 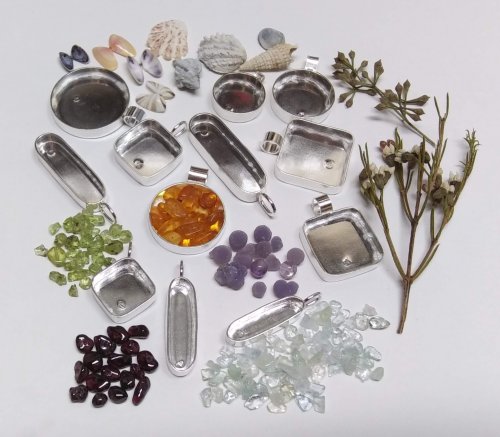 Treasure Bezel Cups
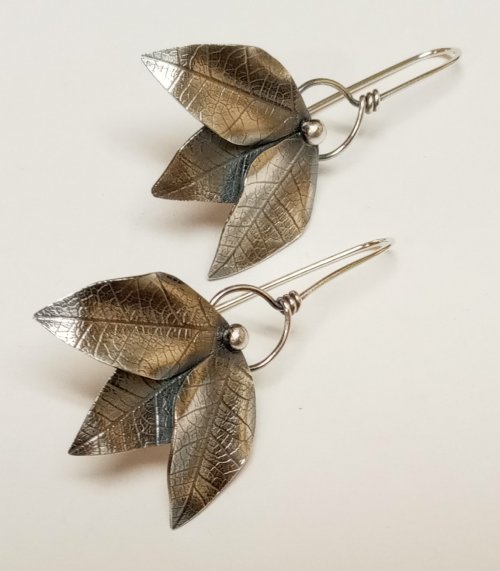 Three Leaves Earrings
 Silver and Gold Earrings
 Make a Hidden Bail
 Wire Links 4, 5, 6
 Wire Links 7, 8, 9, and 10
 Double Loop Ear Wires
 Balled and Paddled Head Pins
 Textured Stacked Rings
 Cord and Bead Earrings
 Bali Style Adjustable Closures
 Organic Fused Silver Dust Earrings
 Mobius Rings
 Dainty Bead and Wire Bangle with Hook Closure
 Seed Bead and Nugget Necklace
 Love Locks Heart Charm
 Traditional Southwest Style Hook Closures
  Negative Space Earrings
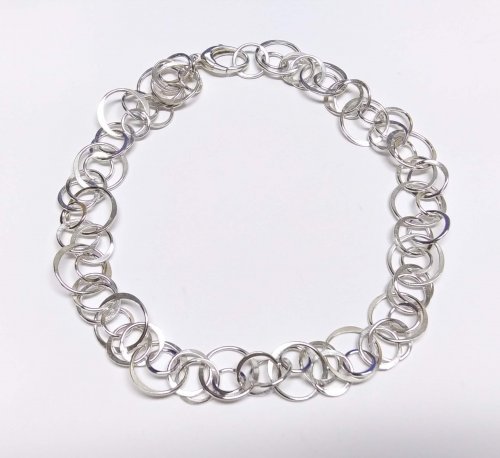 Jumbled Lacy Chain
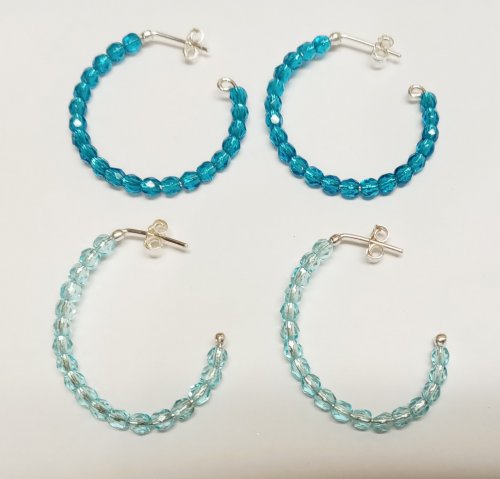 Easy Beaded Post Hoop Earrings
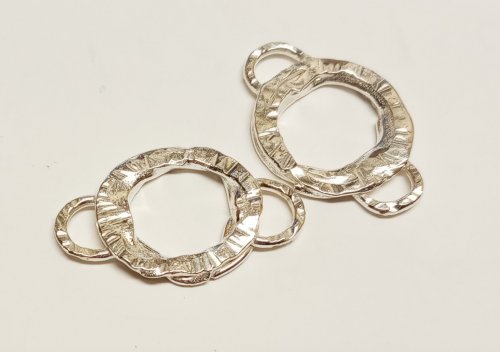 Rustic Silver Links
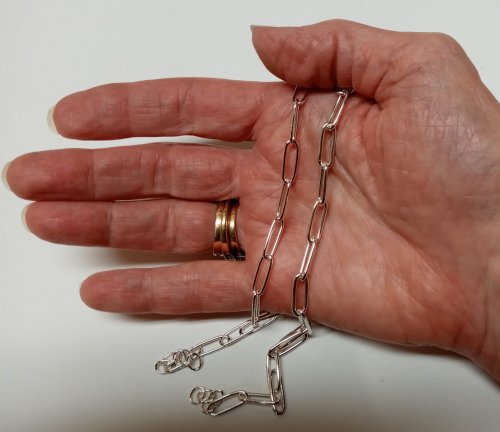
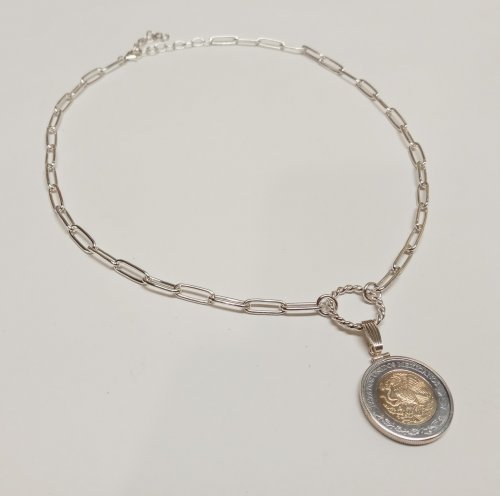 Make a Soldered Paperclip Chain
 Make a Fused Paperclip Chain
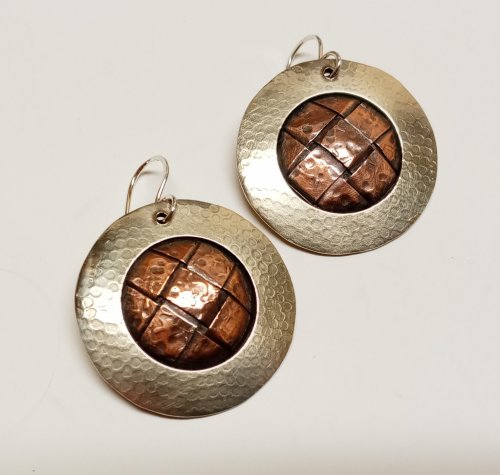 Make Woven Metal Strips to Use in Your Designs
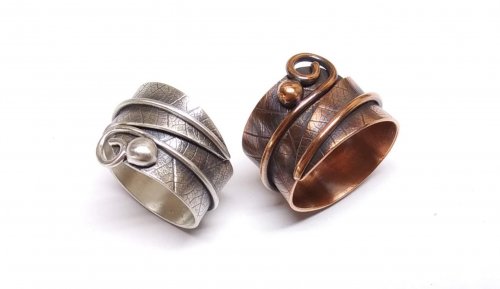 Leaf Wrap Metal Rings version 1
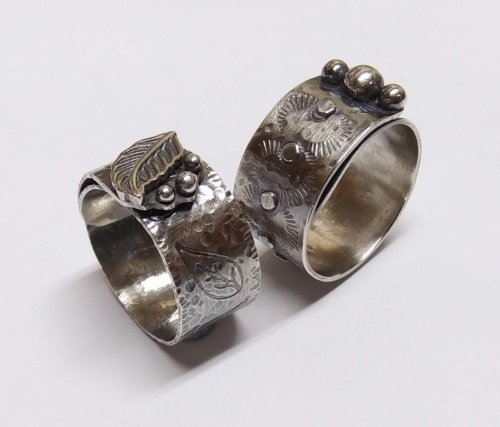 Leaf Wrap Metal Rings version 2
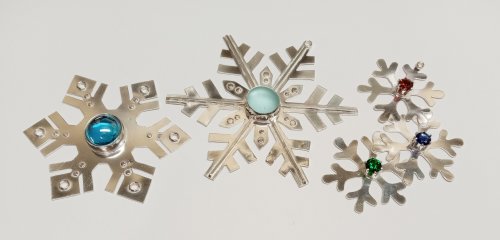 Snowflake Ornaments
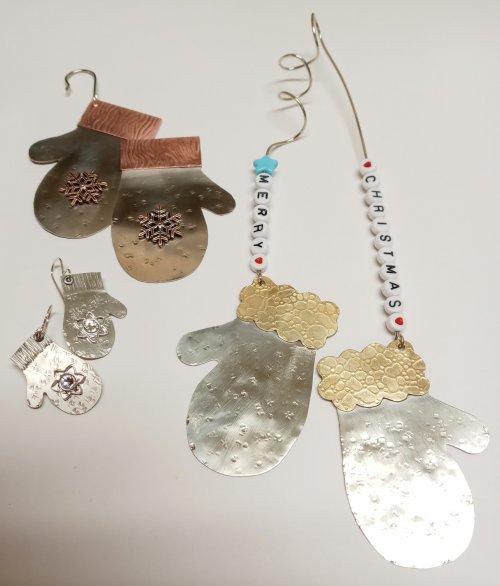 Mitten Ornament
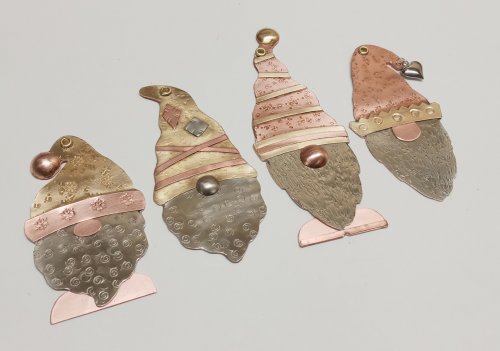 Gnome Ornaments
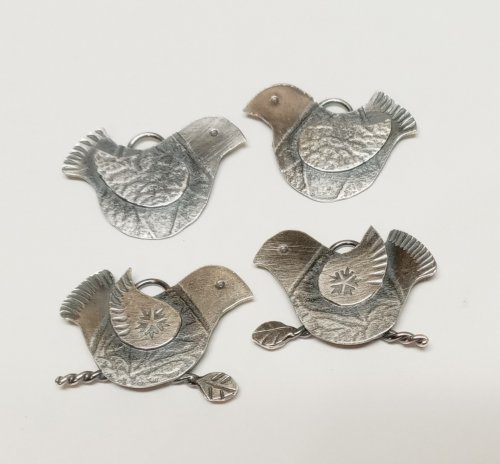 A Partridge in a Pear Tree Earrings
 Two Turtle Doves Earrings
 Three French Hens Earrings
 Four Calling Birds Earrings
 Five Golden Rings Earrings
 Six Geese a Layin' Earrings
 Seven Swans a Swimming Earrings
 Eight Maids a Milking earrings
 Nine Ladies Dancing Earrings
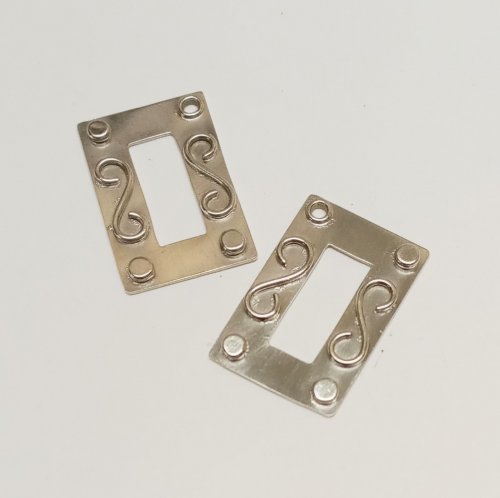 Ten Lords a Leaping Earrings
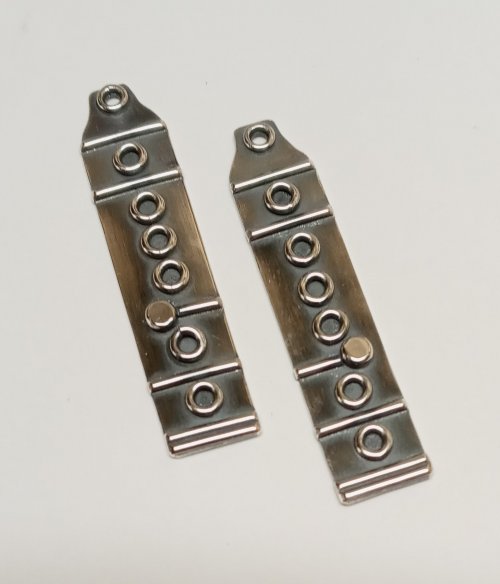 Eleven Pipers Piping Earrings
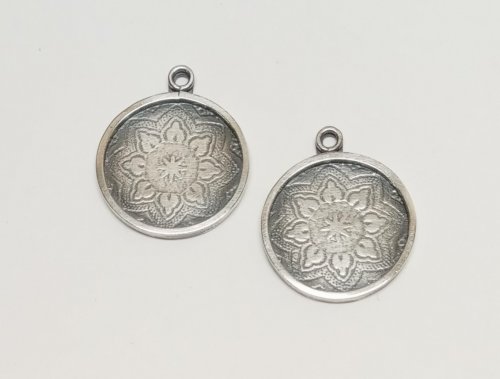 Twelve Drummers Drumming Earrings
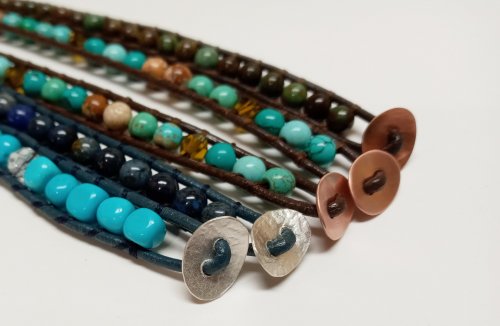 Make Your Own Bracelet Button Clasps
 Little Saucer Bells
 Doodads - Fun Findings
 No Measure Hearts, Any Size, Any Gauge
  Cascading Drops Earrings
 WIre Basics - Spiral Charms
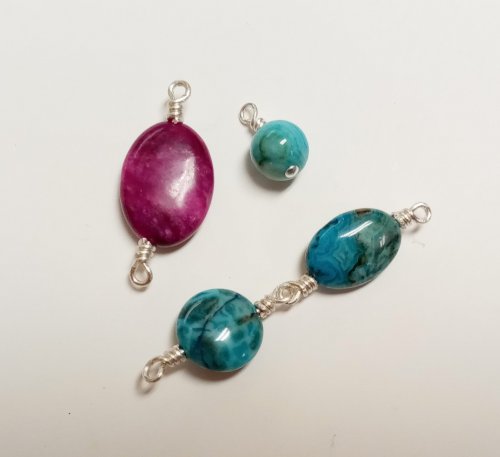 Wire Basics - Wrapped Loops and Links
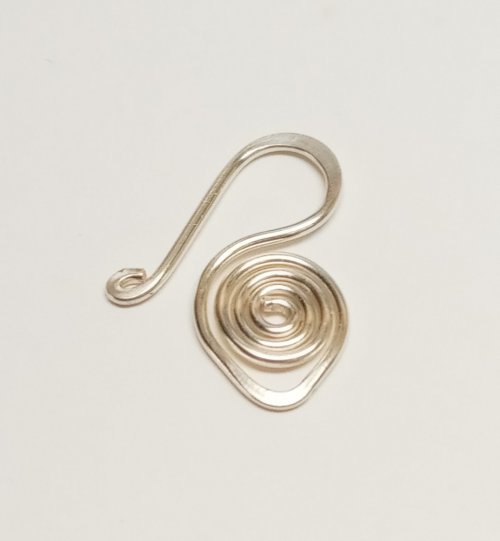 Wire Basics - Simple Swan Hook
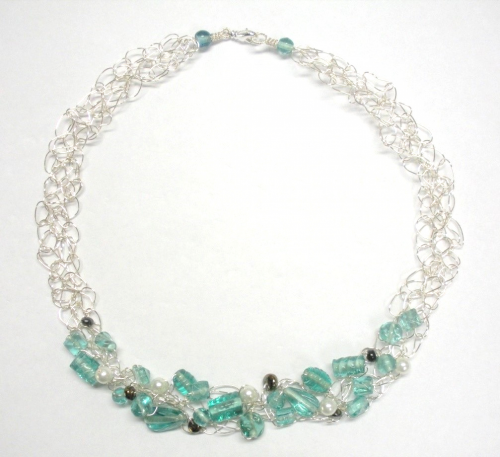 Wire Crocheted Necklace
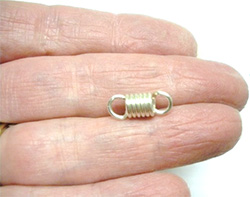 Wire Basics - Wire Garage Door Spring Link
 Easy Post Hoop Earrings
 Double Wrap Wire Bangle Bracelet
 Organic Wire Pendant
 Coiled, Beaded Slide
 Cone and Chain Earrings
 Embellished Sterling Cones
 Classic Wire Wrap Bezelled Pendant
 Wire Wrap a Coin
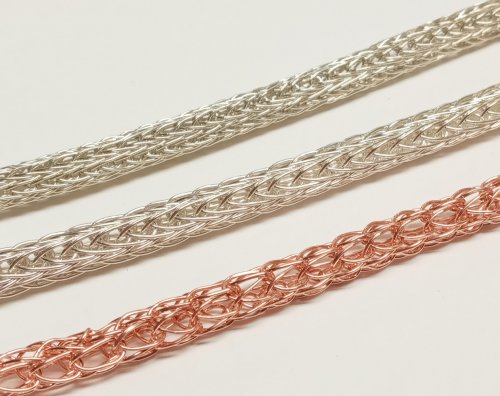 Viking Knit
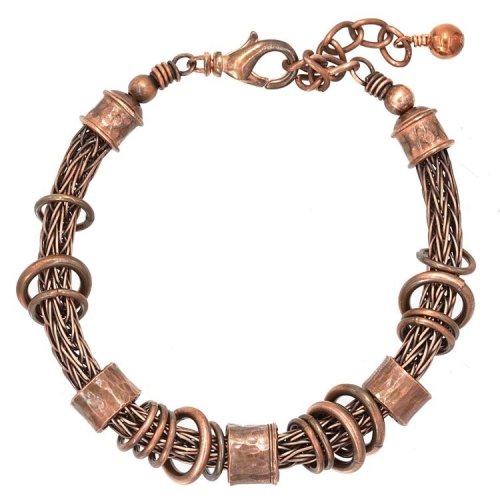 Viking Knit Bracelet
 Coiled Wire End Caps
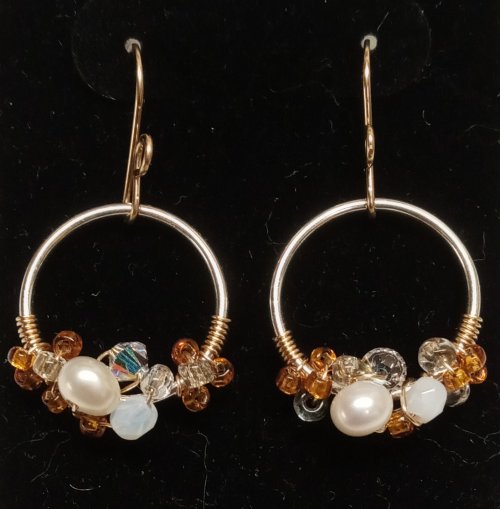 Bead-Wrapped Hoop Earrings
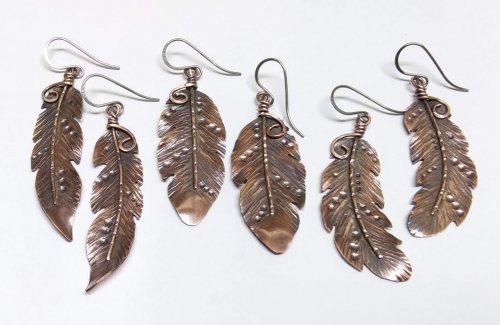 Copper Feather Earrings
 Soldering a Dome to a Backplate
  Wire Heart Pendant with Gemstone Drop
 Make Basic Wire Shapes for Jewelry
 Make Simple Wire Slide Bails
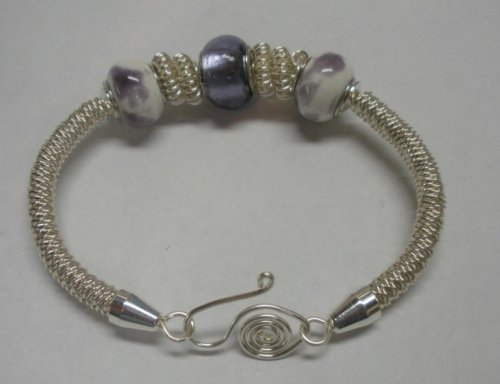 Coiled Bead and Twisted Wire Bracelet
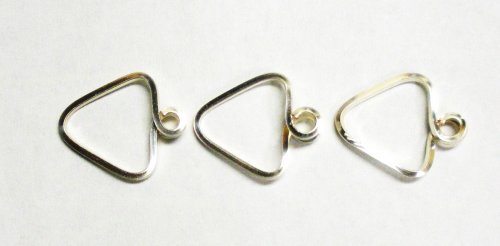 Wire Triangle Link
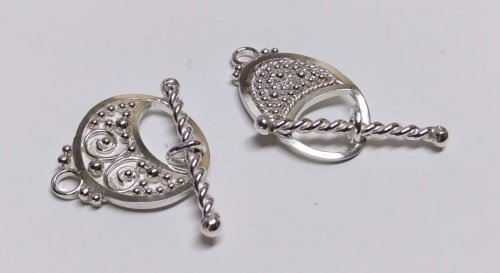 Bali Style Focal Toggle
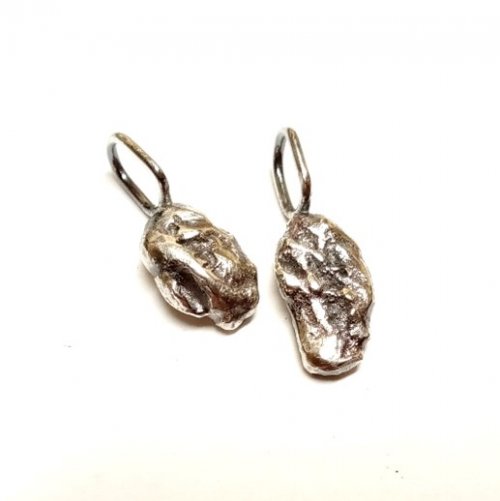 Silver Nuggets
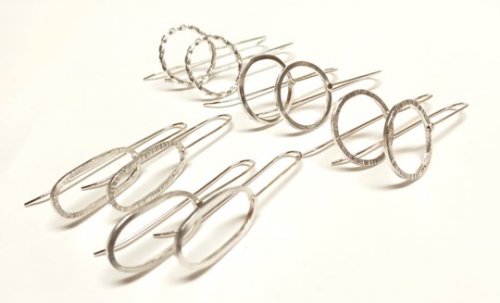 Fun Shapes Fish Hook Earrings
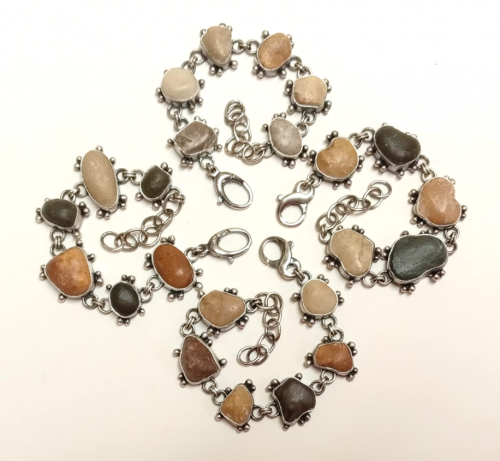 After the Rain Bracelets
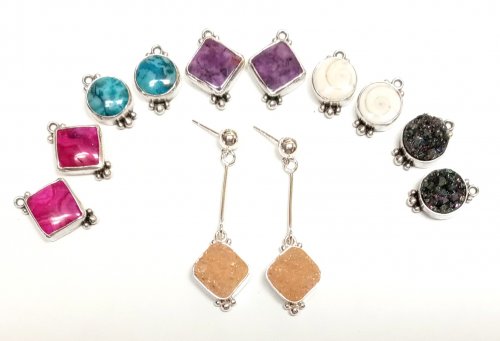 Dangling Drop Earrings
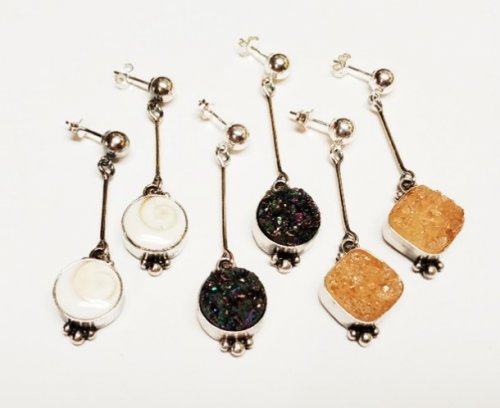 Dangling Chain Sticks
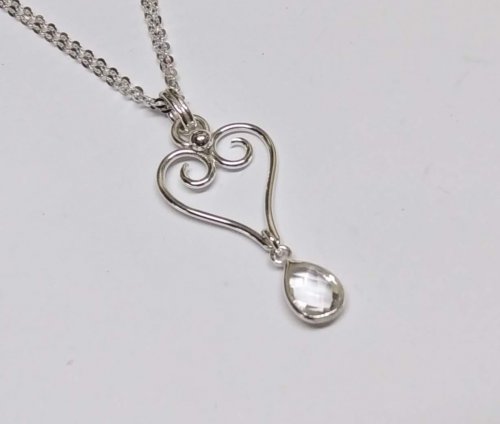 Wire Heart Pendant with Gemstone Drop
 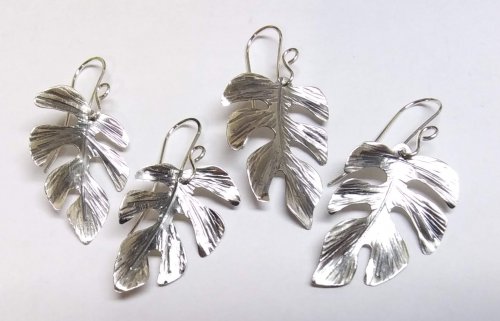 Tropical Leaf Earrings
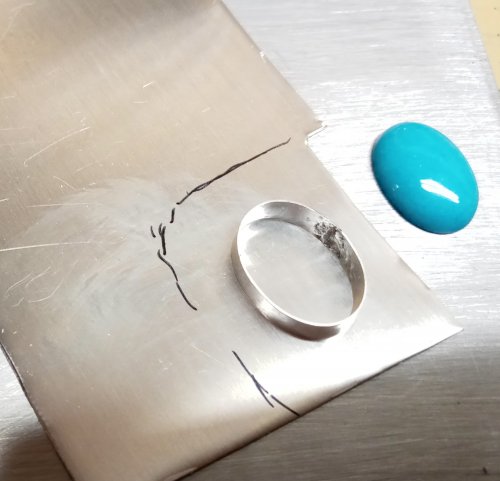 Basic Bezel Wire Tutorial
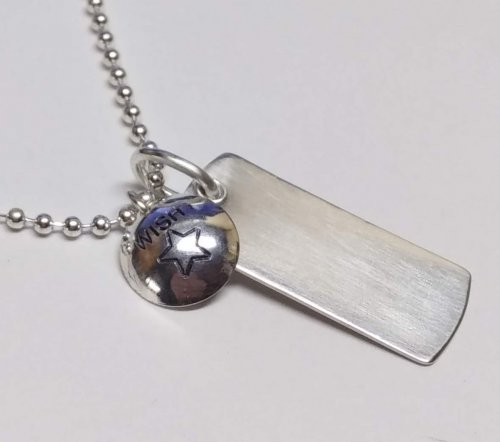 Dog Tag Style Necklace
 Lacy Washers
 8-Strand Kumihimo
 Closed Loop Ear Wires
 Simple Strip Bails from Scratch
 Anti-tarnish Silver Cloth Bags
 Cotter Pin Style Bail
 Holiday Woodland Fairy Ornament
 Happy Holly Days Wreath Ornament
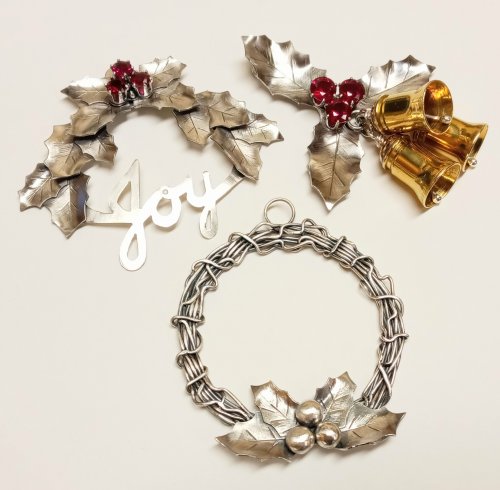 Happy Holly Days Leaves and Berries
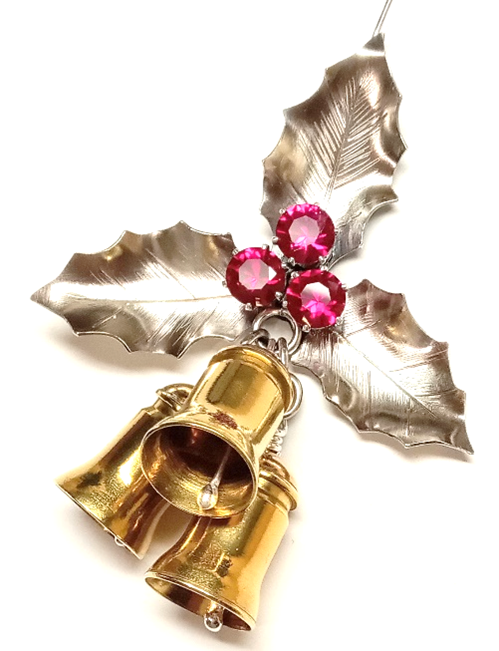 Happy Holly Days Bells Ornament
 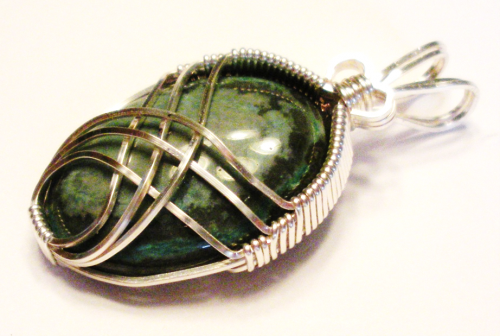 Art Deco Wire Wrapped Pendant
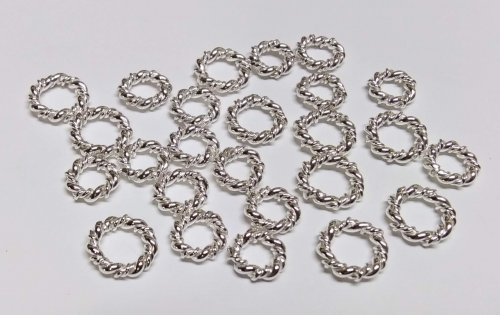 Twisted Wire Jump Rings
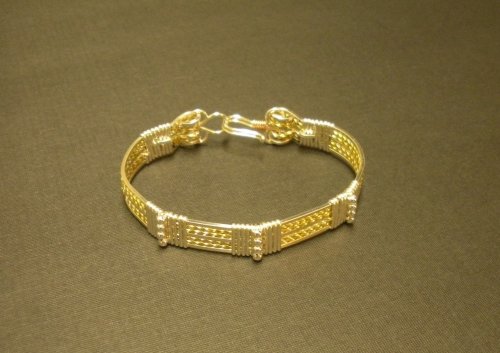 Two-tone Beaded Bangle
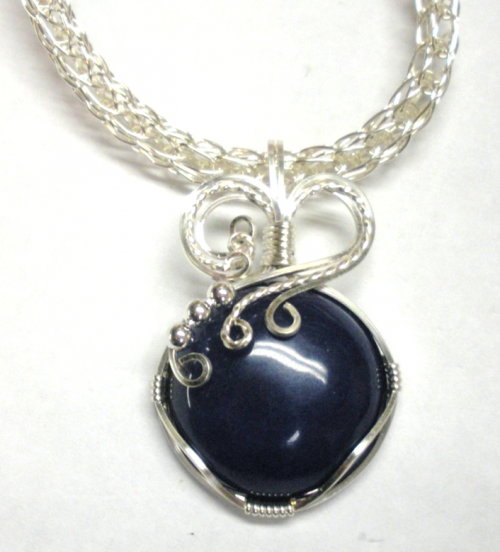 Sweetheart Pendant
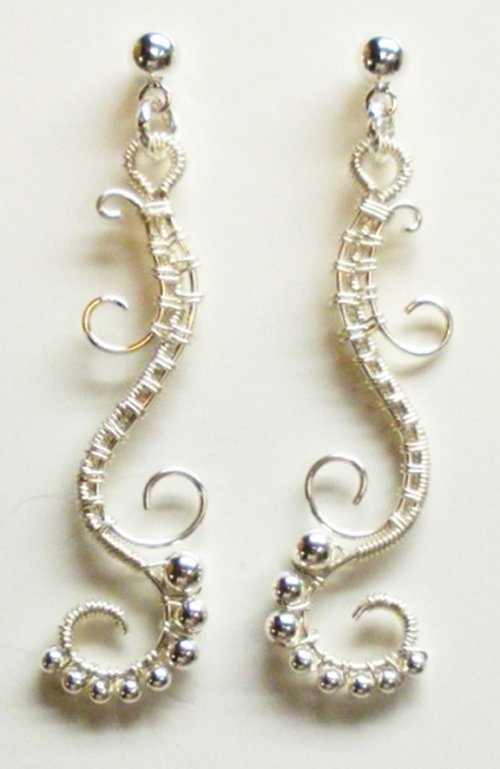 Waves on the Beach Earrings
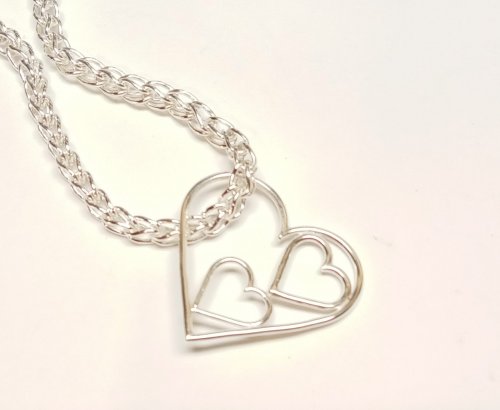 Any Size Wire Hearts - Any Size, Any Gauge
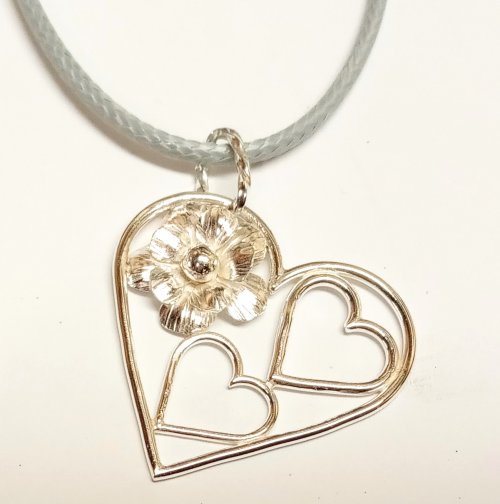 Just in Case Heart Pendant
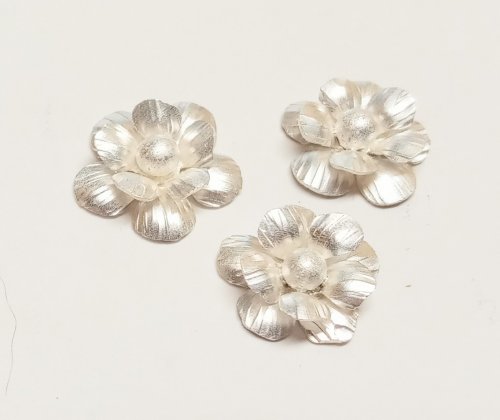 Small Flower Embellishment
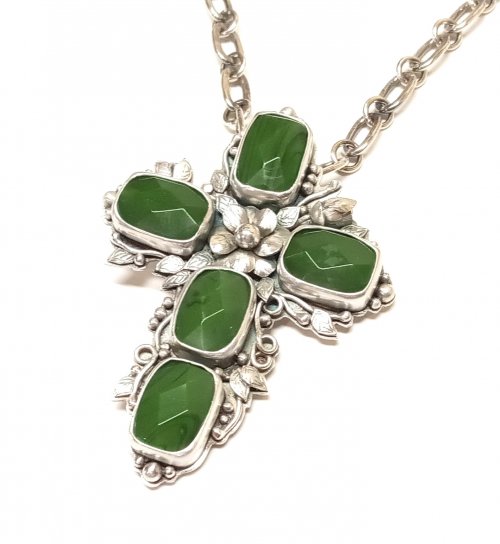 Making Tiny Dapped Metal Leaves
 Spinner Fidget Bangles
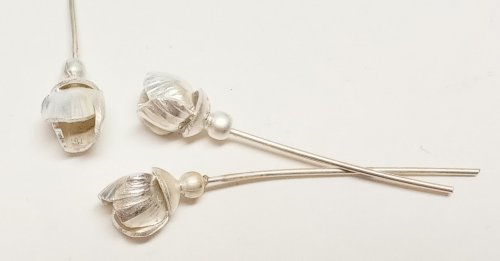 Small Flower Bud Embellishment
 Three Petal Bud and Layered Embellishment
 Creating a Flower Stem
 Stamped Tube Beads
 Water Cast Scrap Cross
 Sugared Grapes Pendant
 Tourist Rock Cuff Bracelet
 Gemstone Chains Reimagined
 Checkerboard Faceted Earrings
